 A
A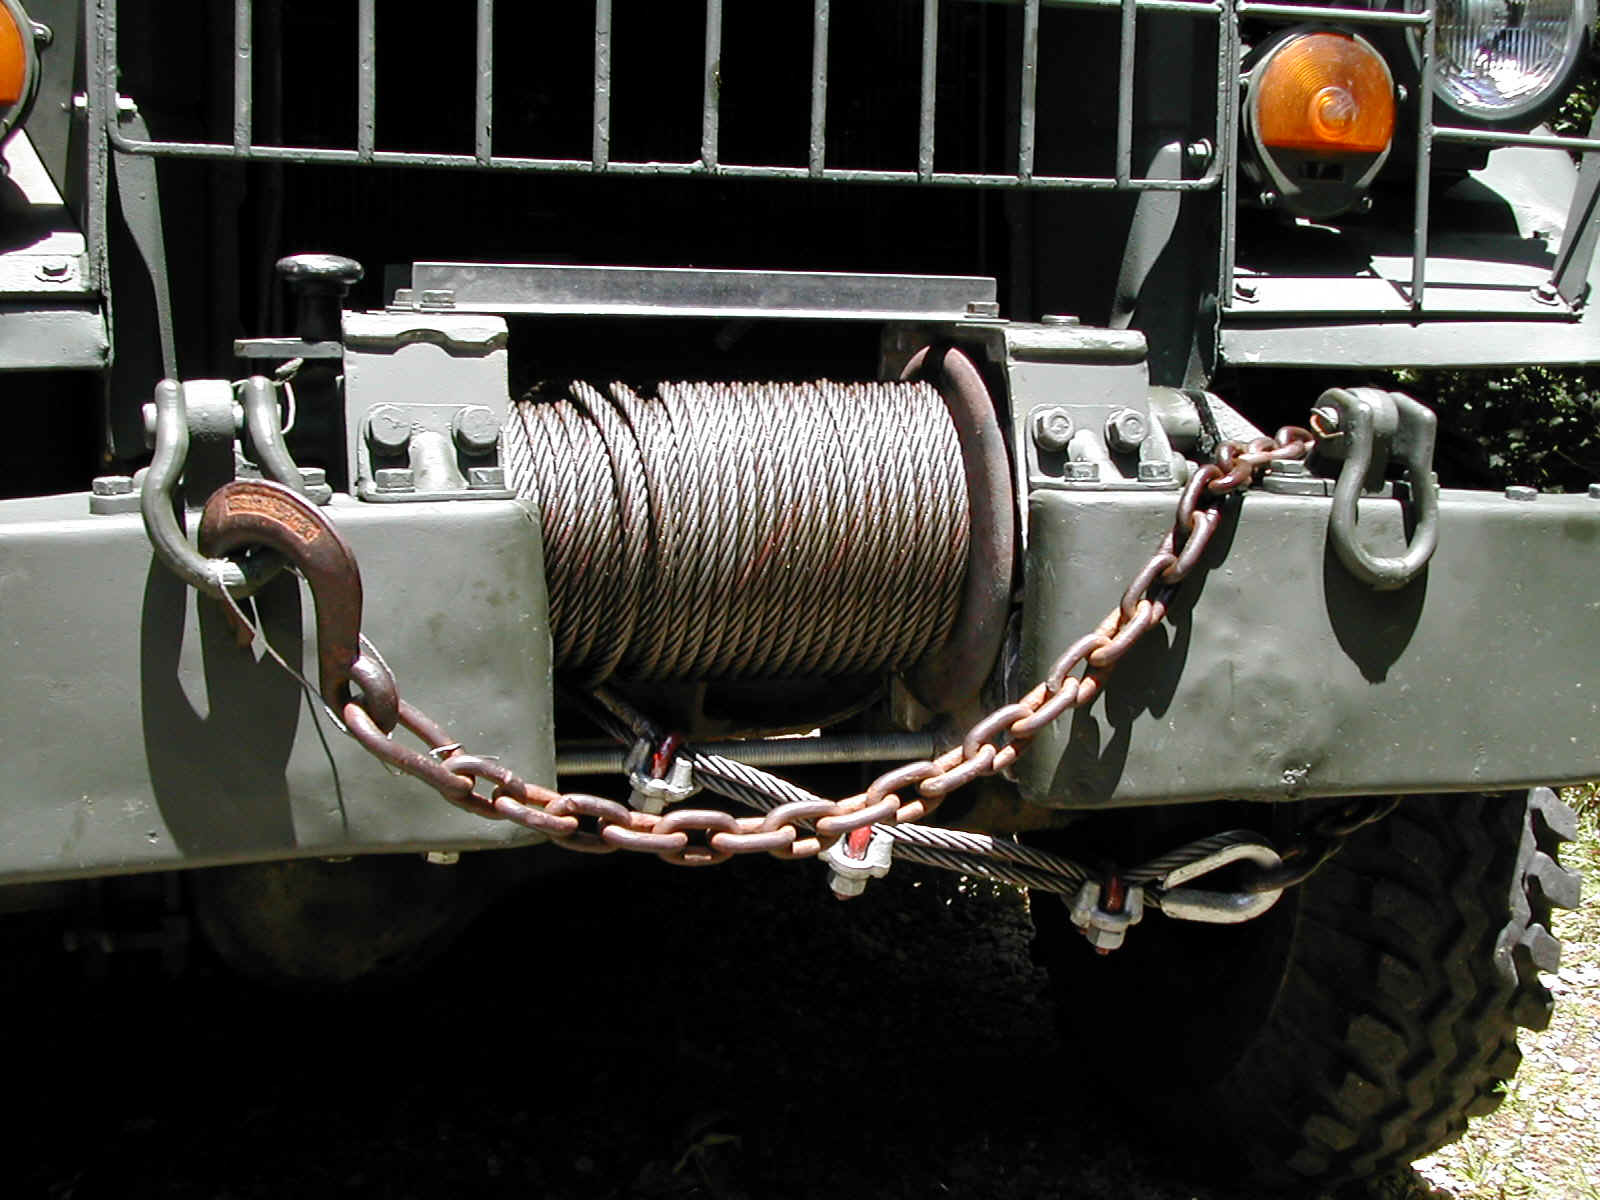 B
B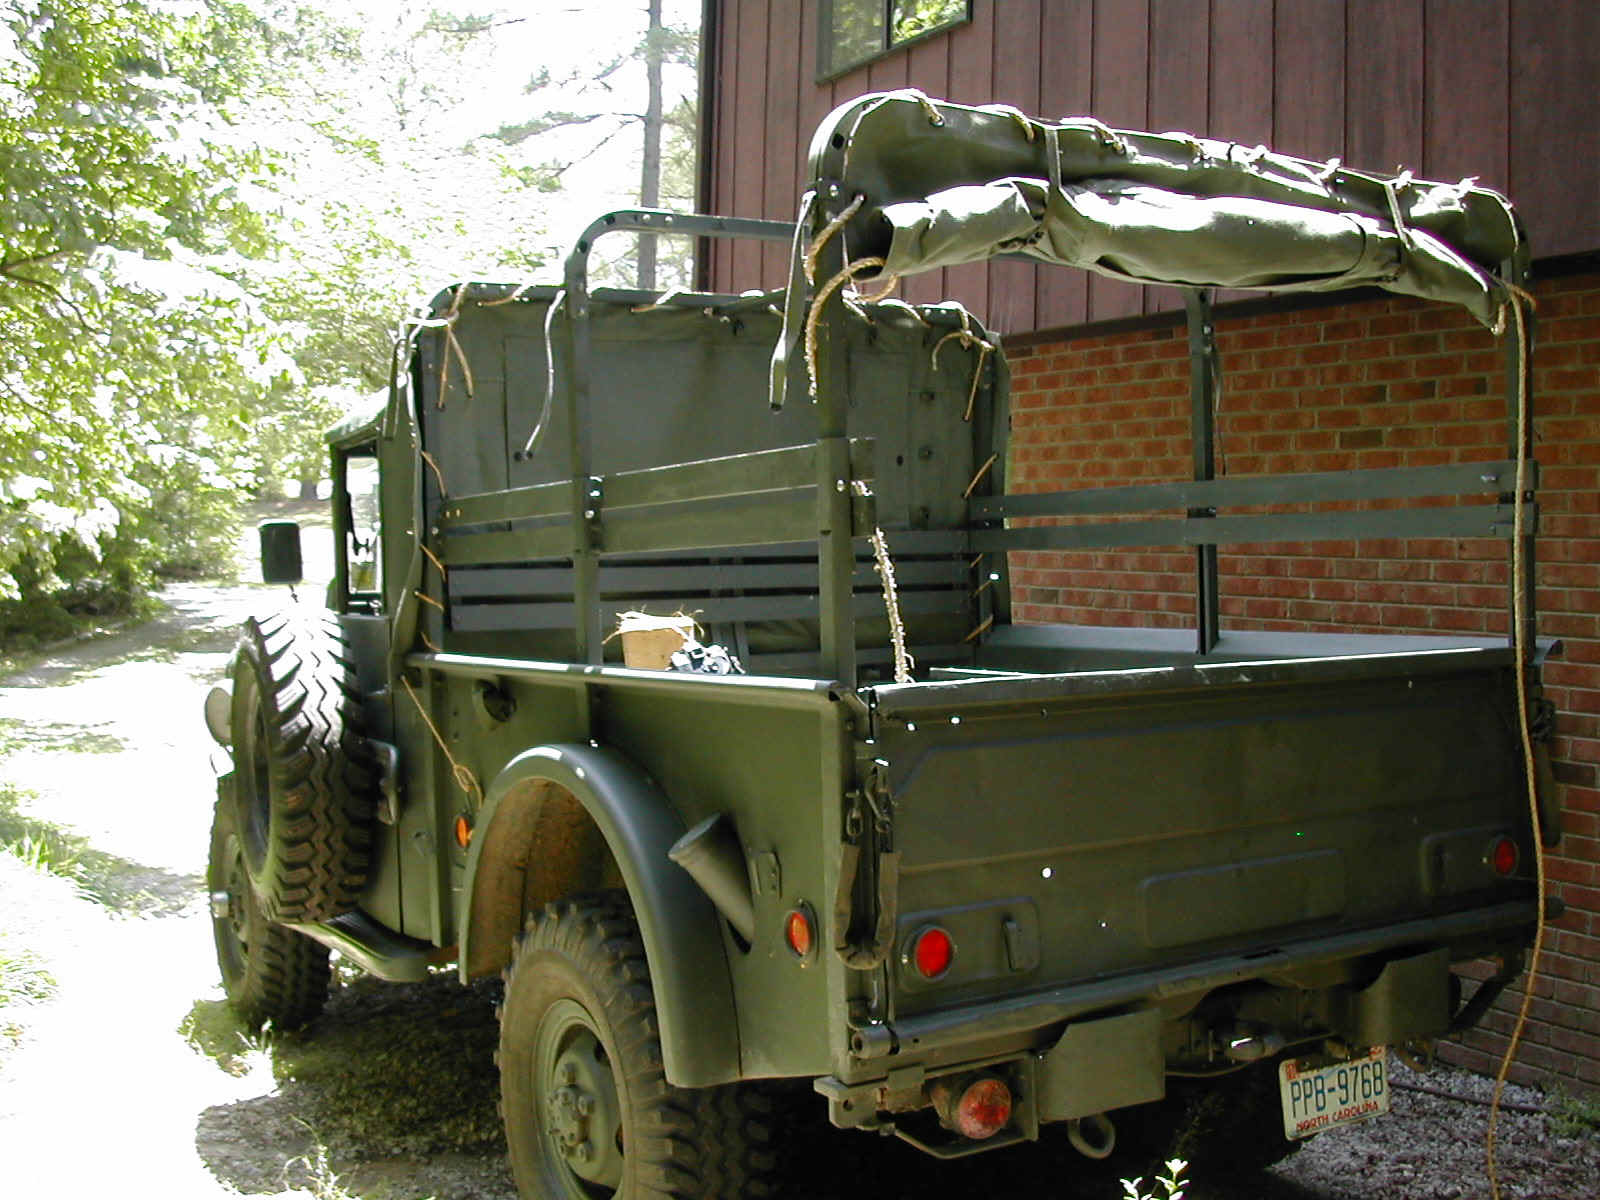 C
C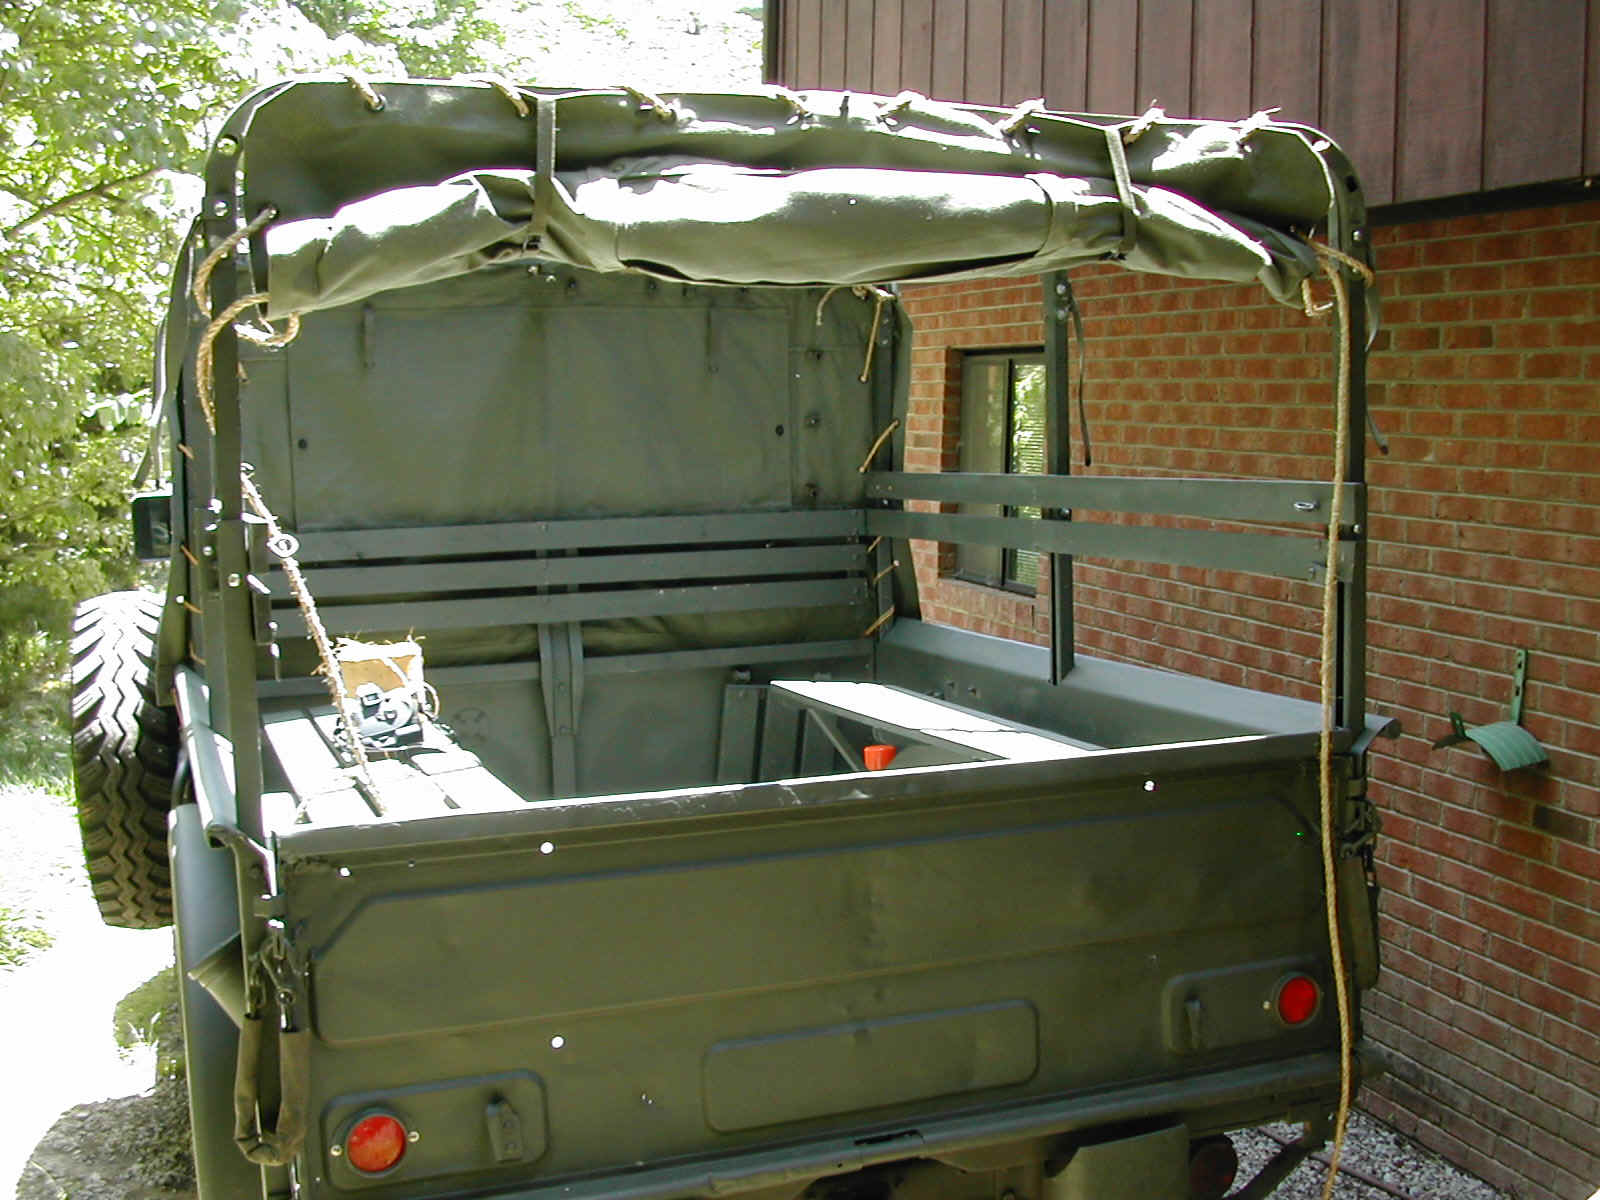 D
D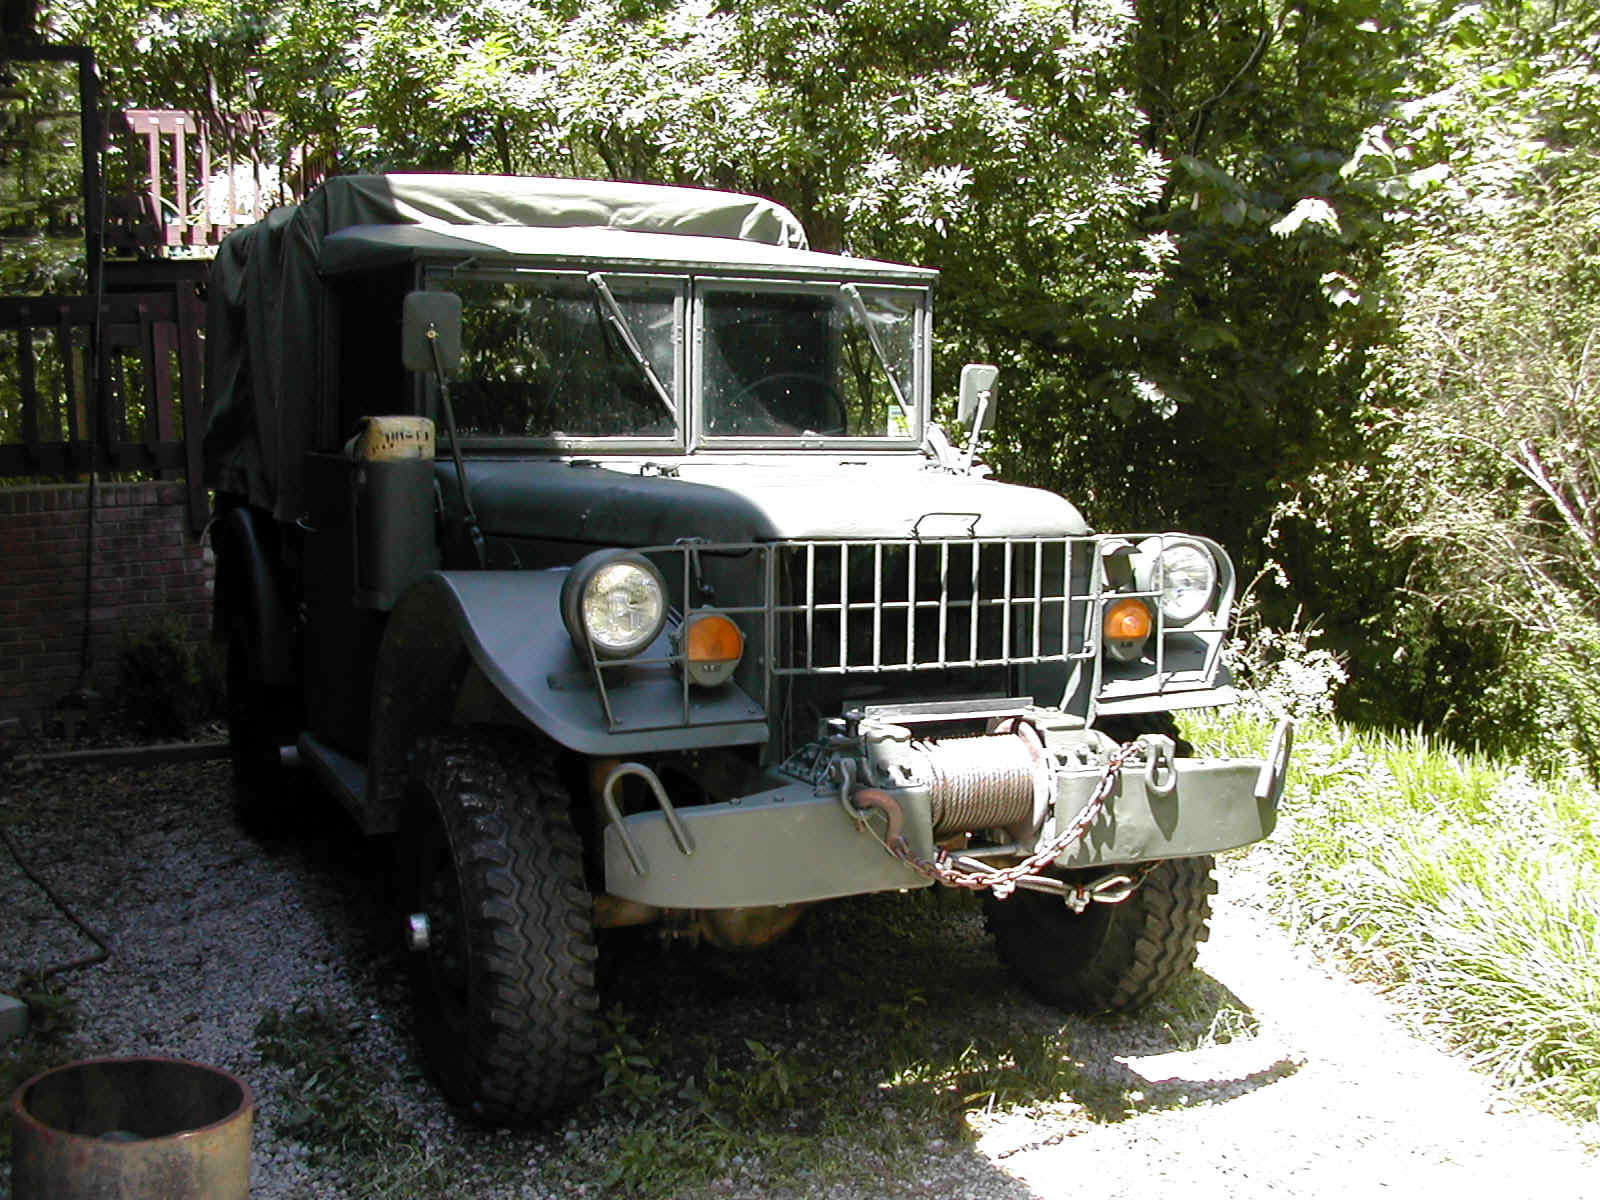 E
E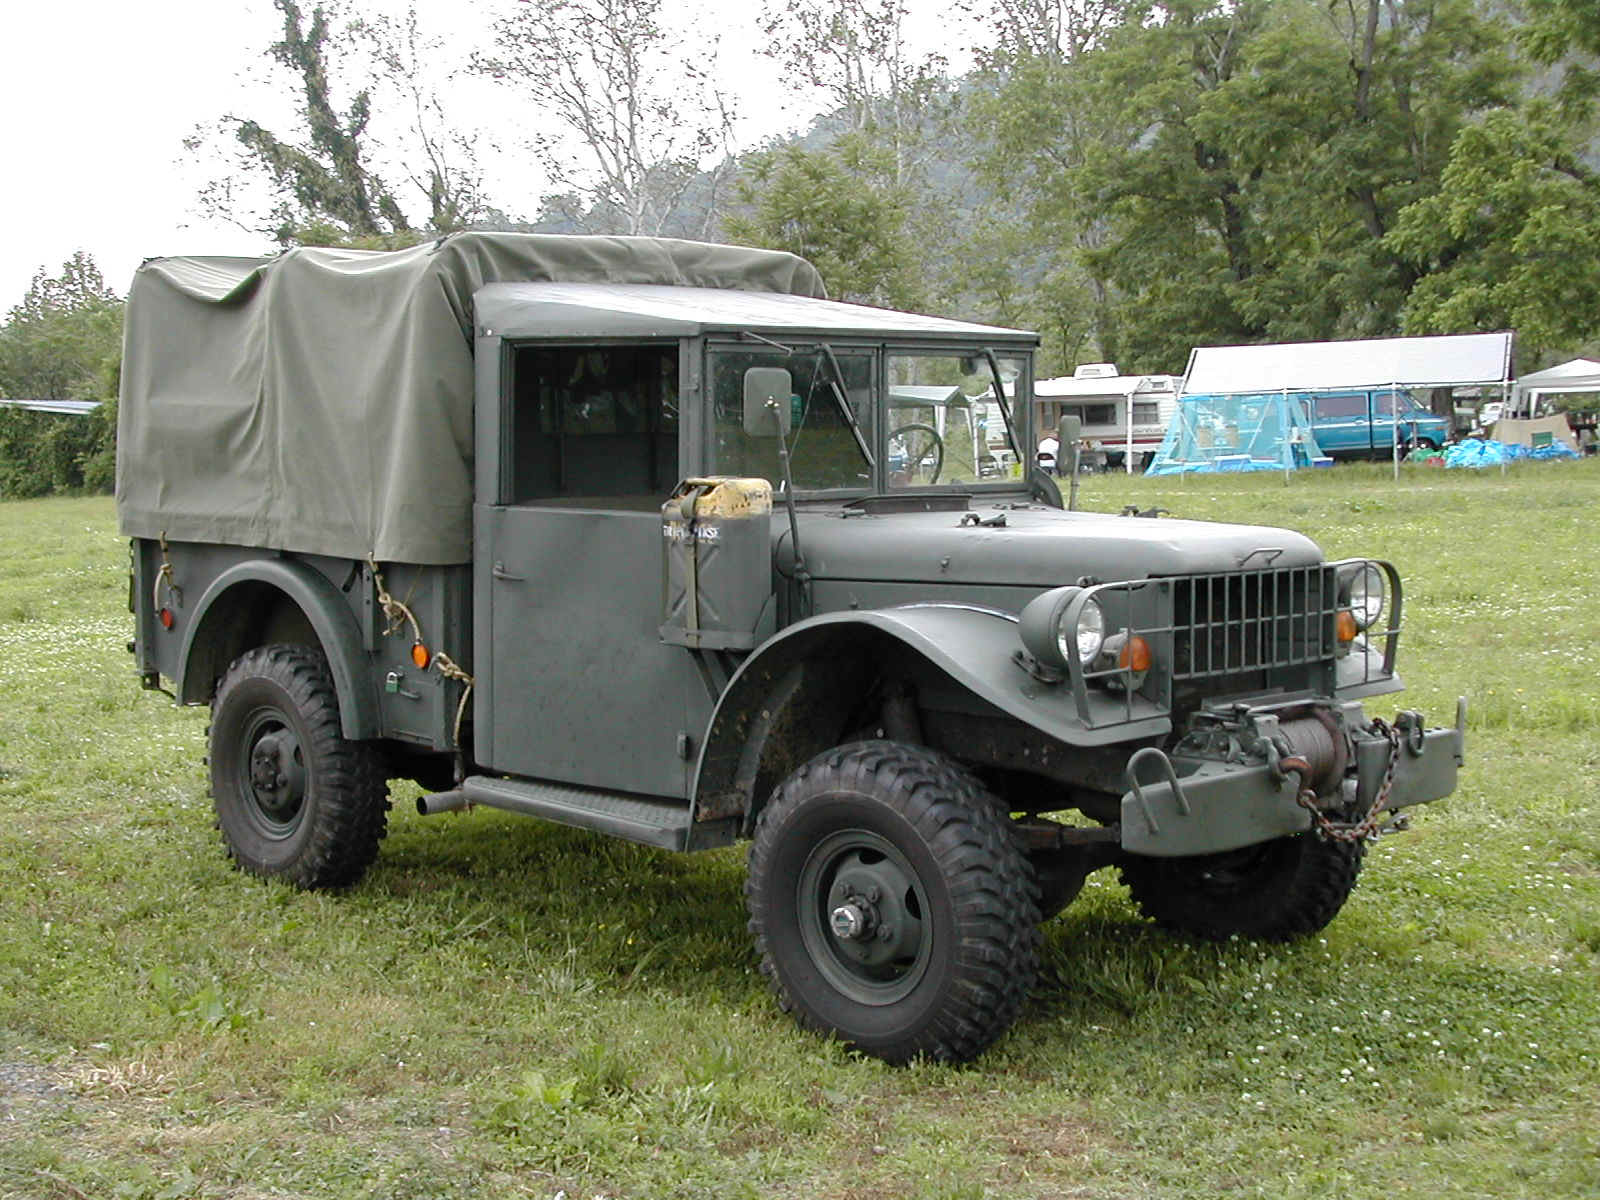 F
F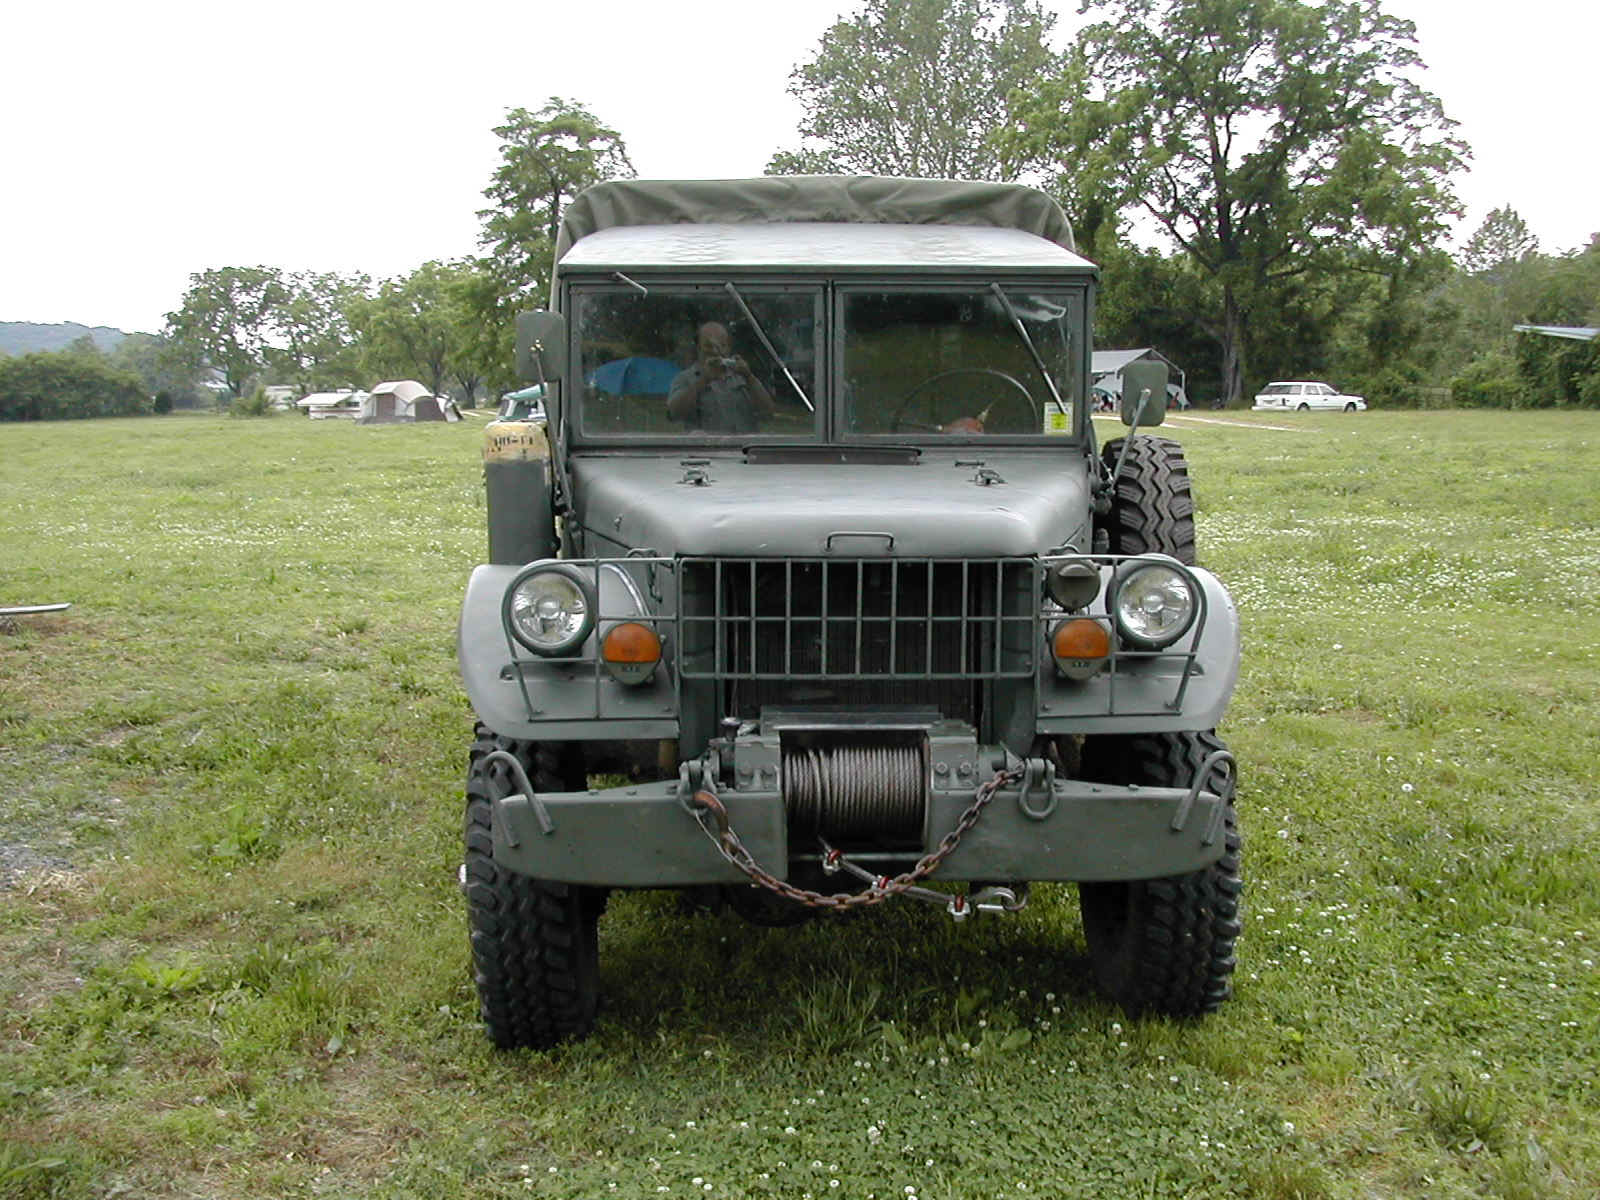 G
G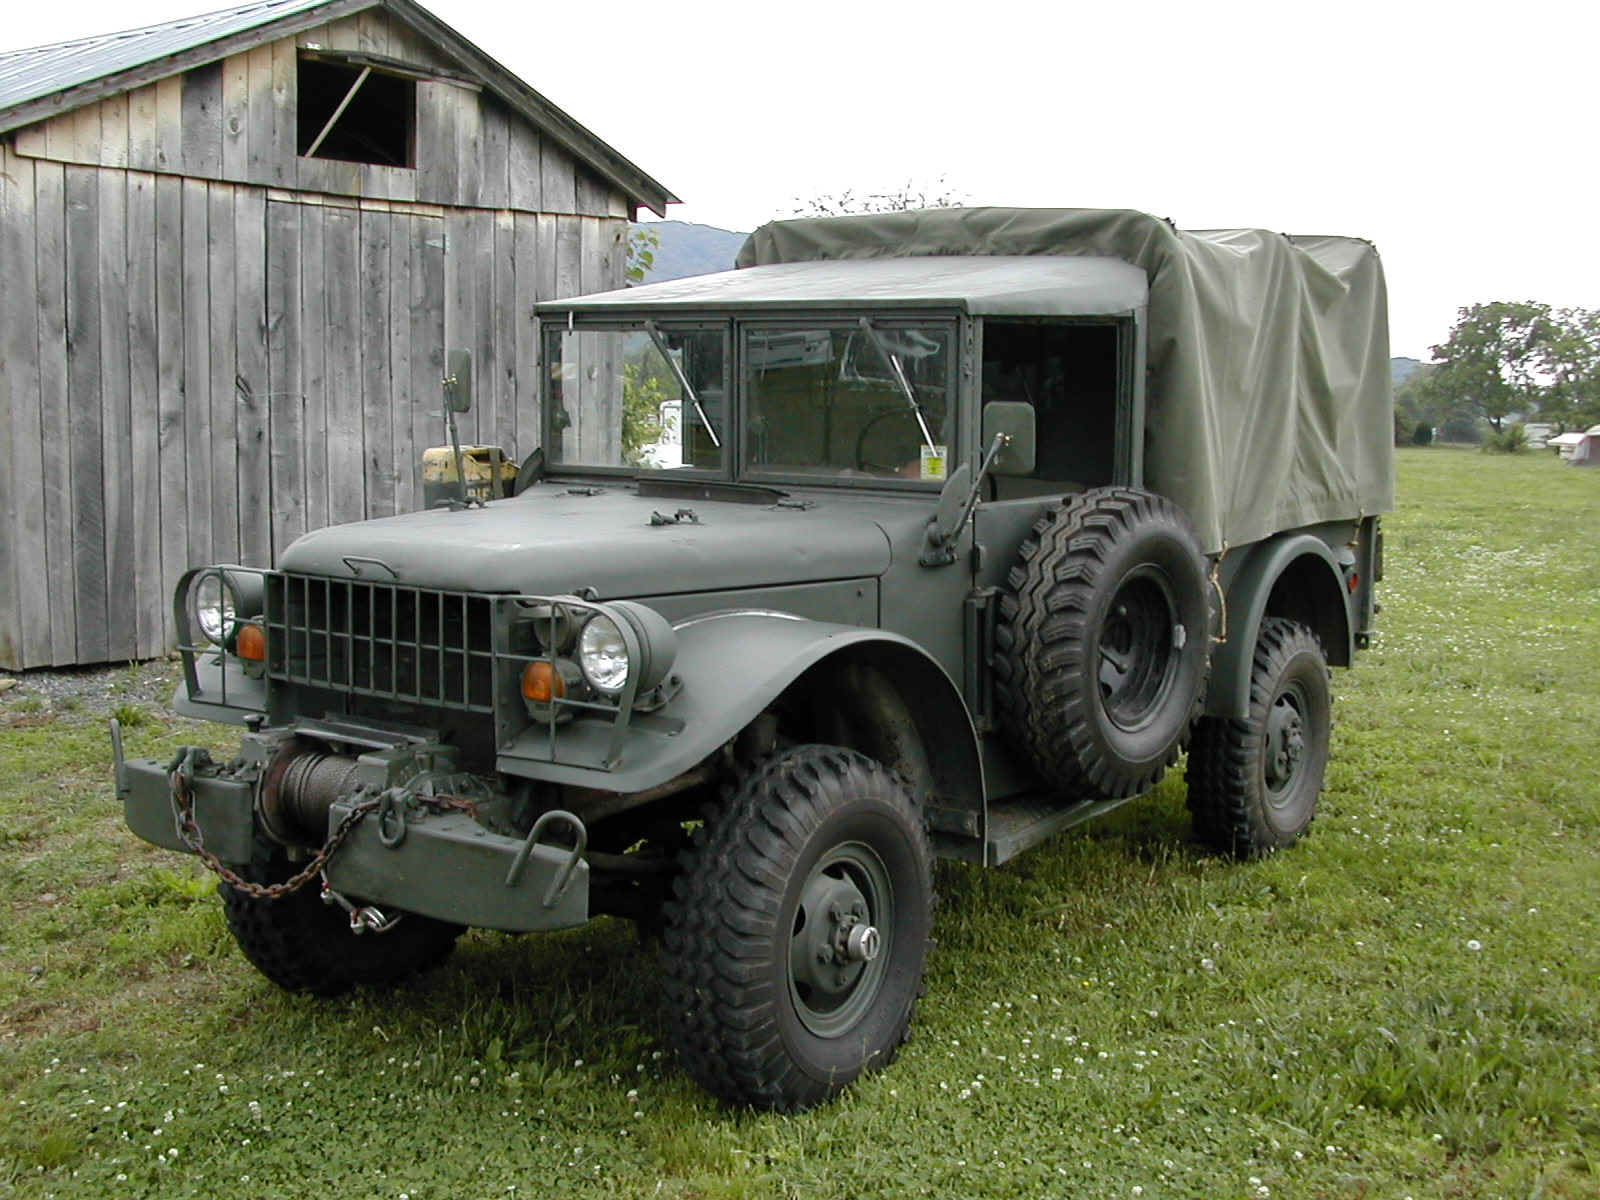 H
H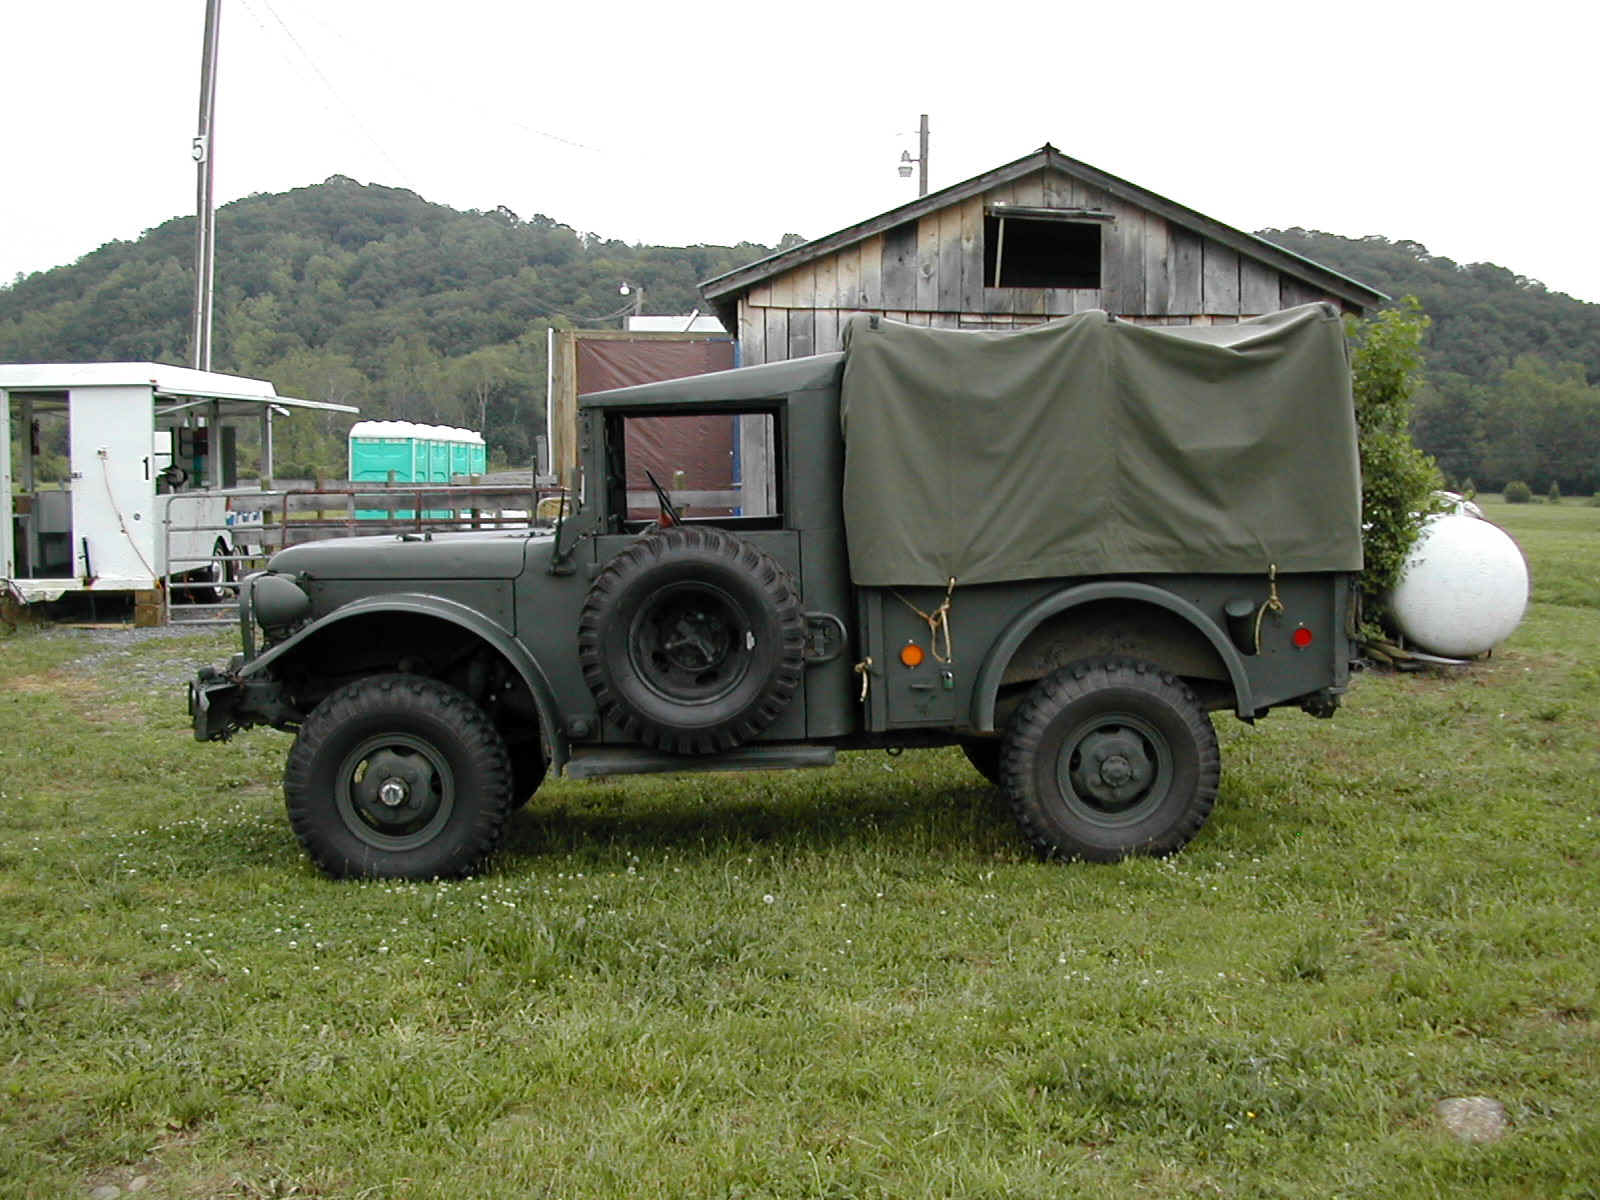 I
I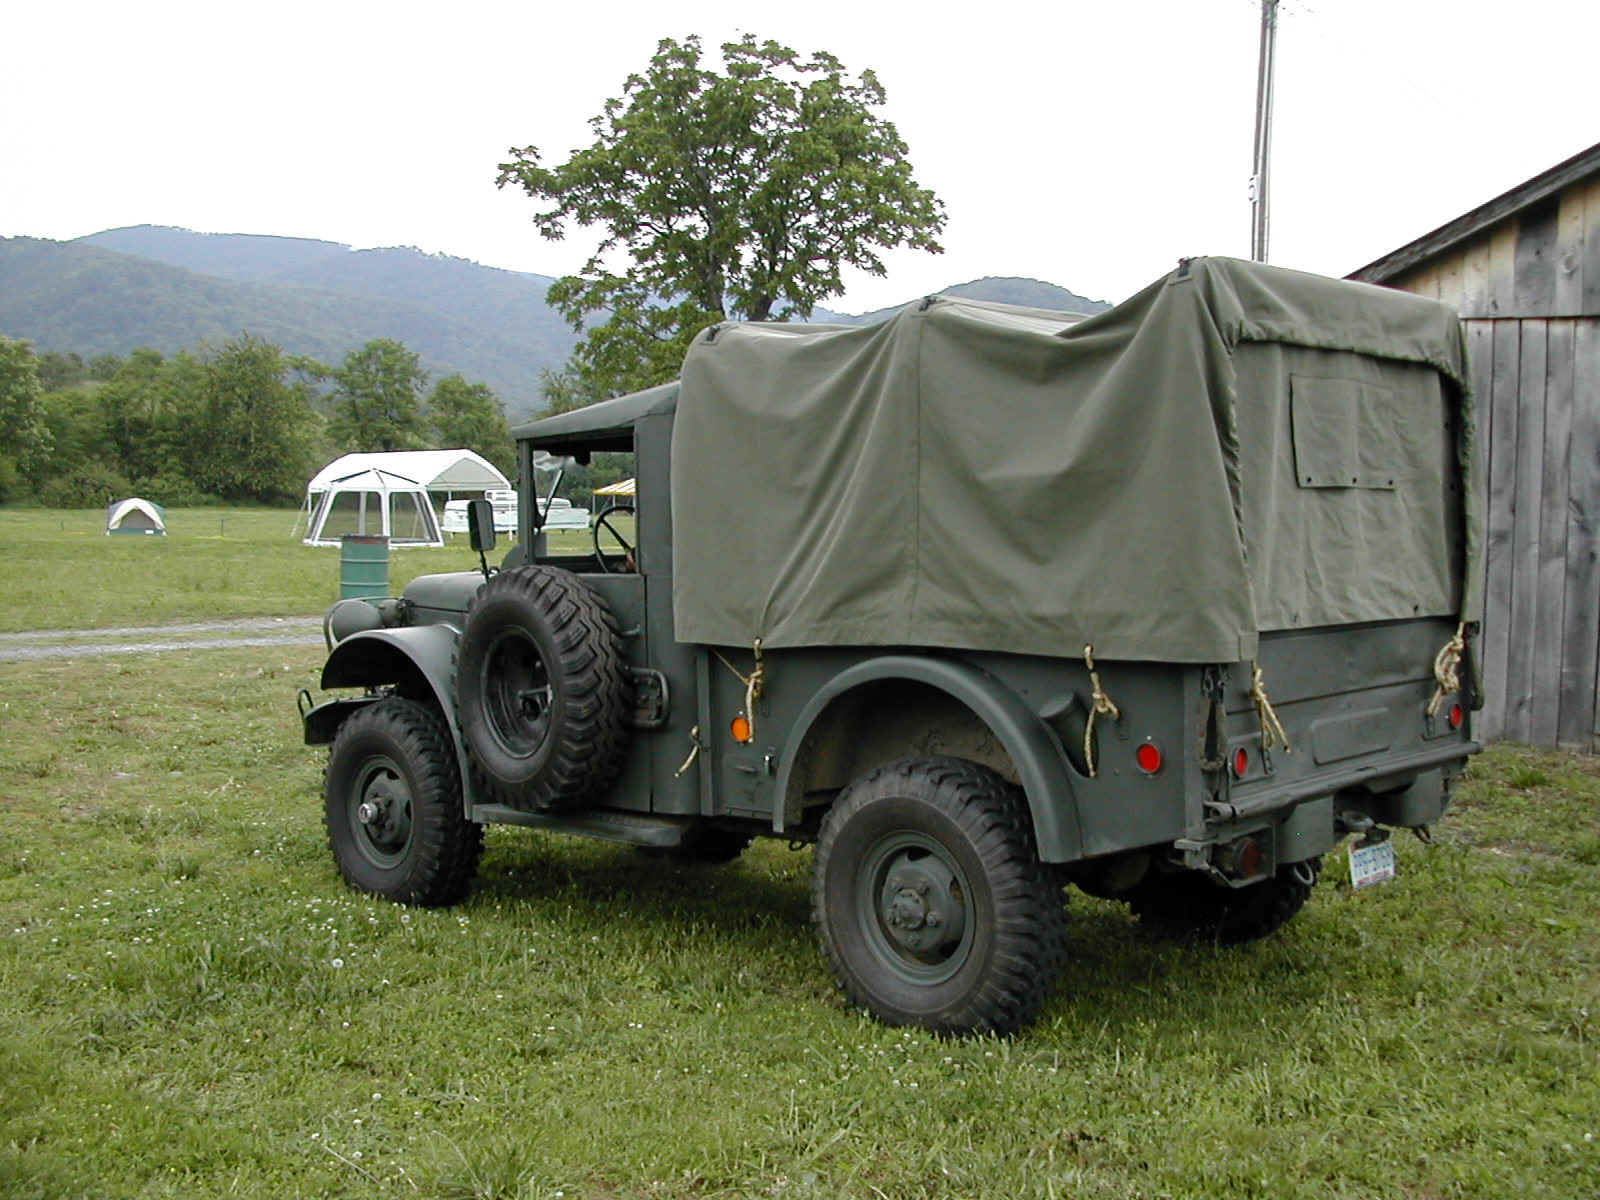 J
J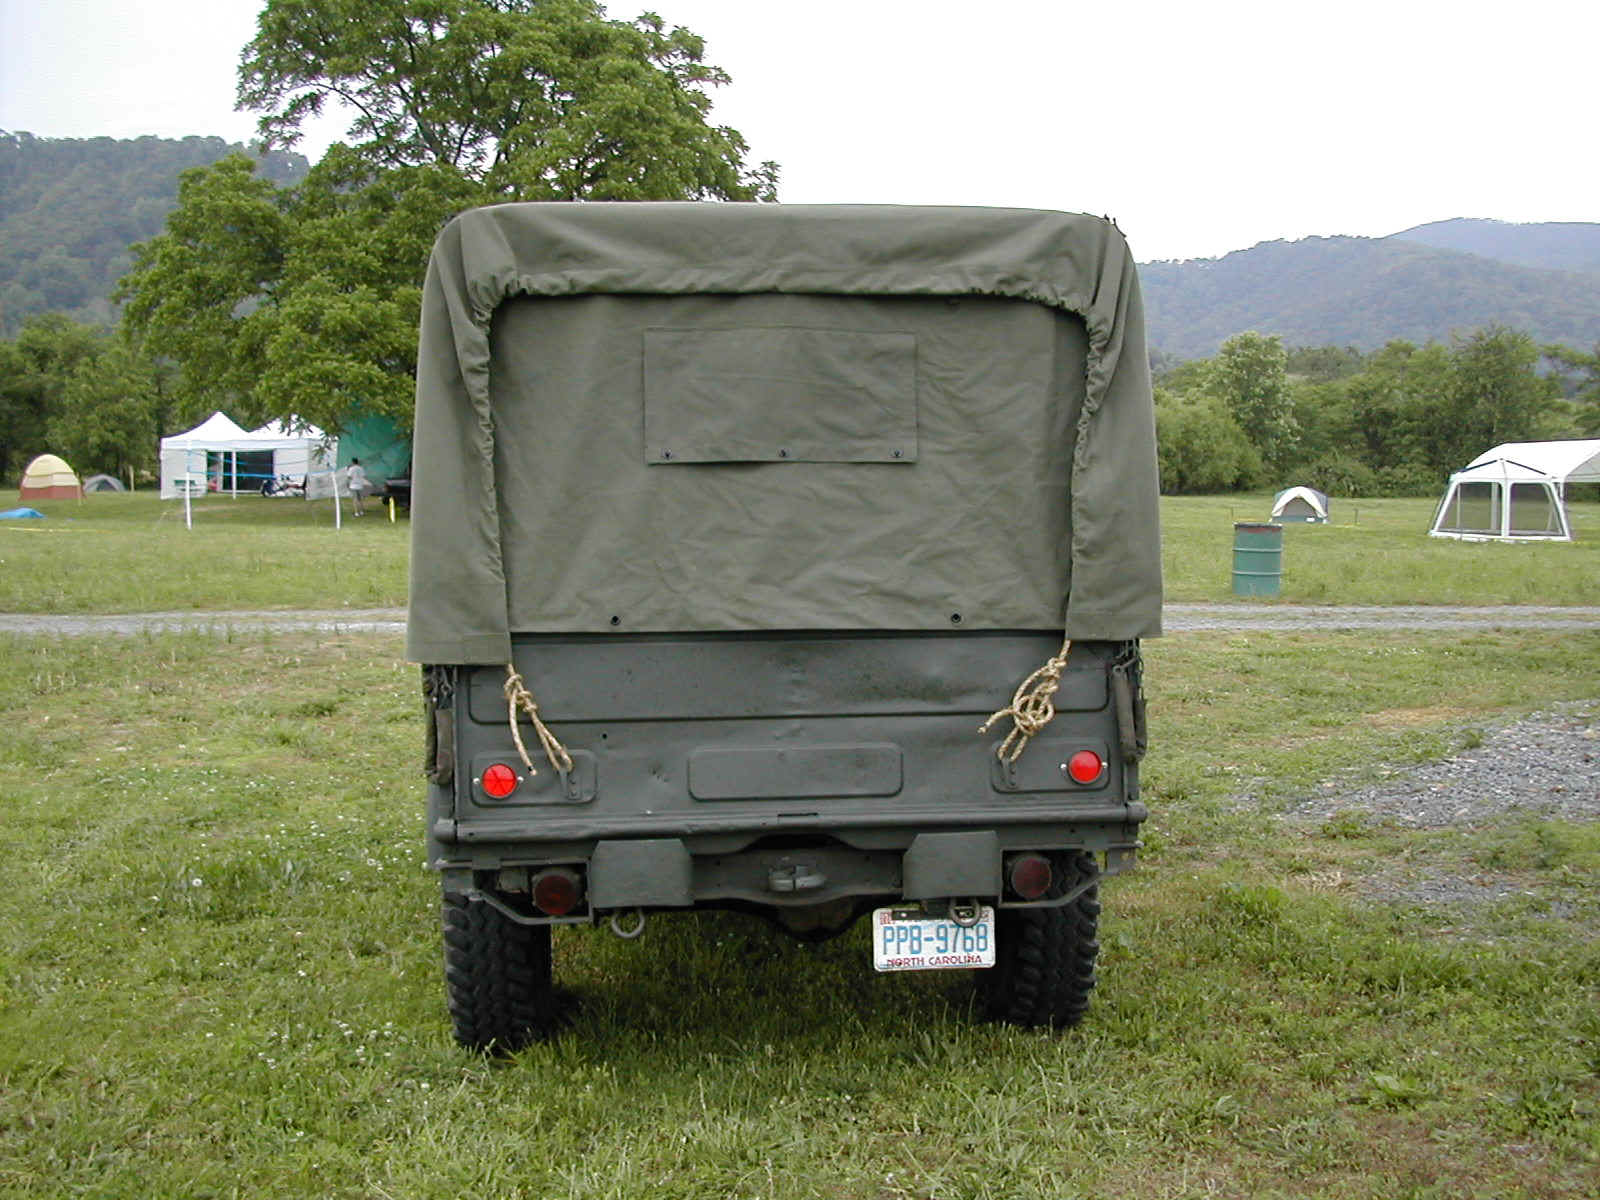 K
K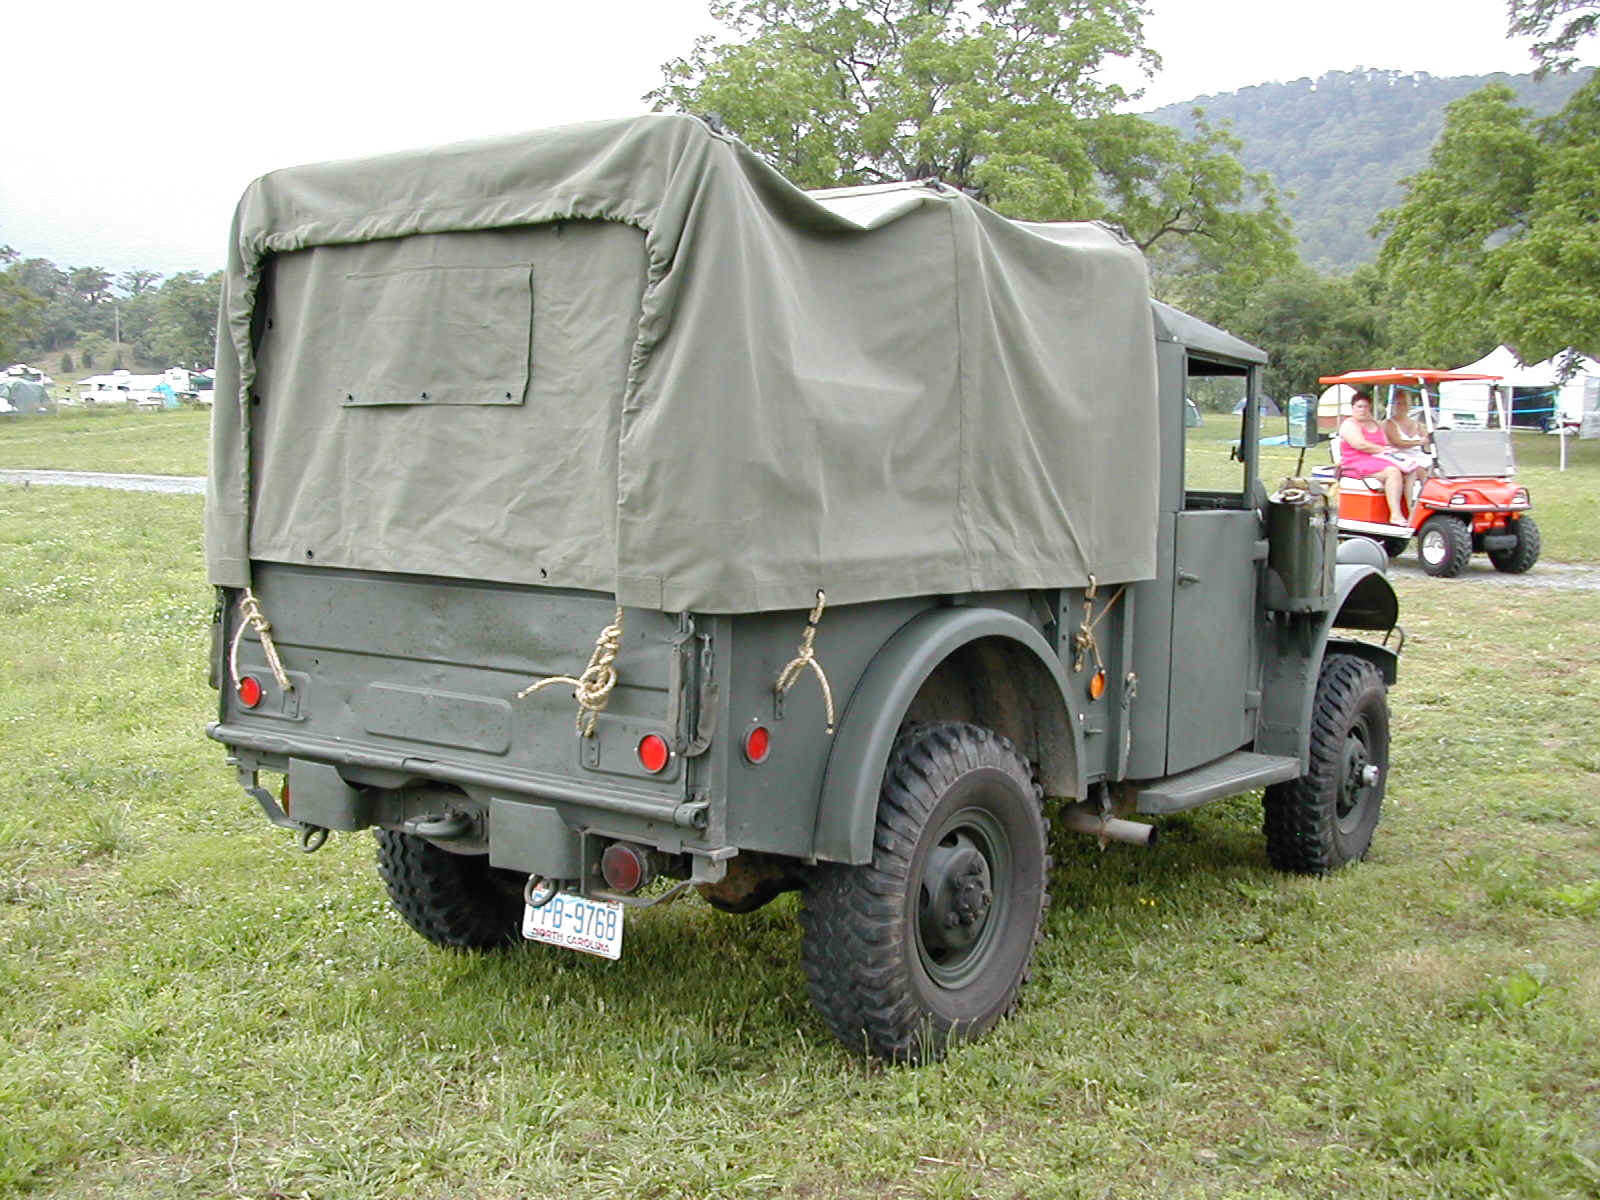 L
L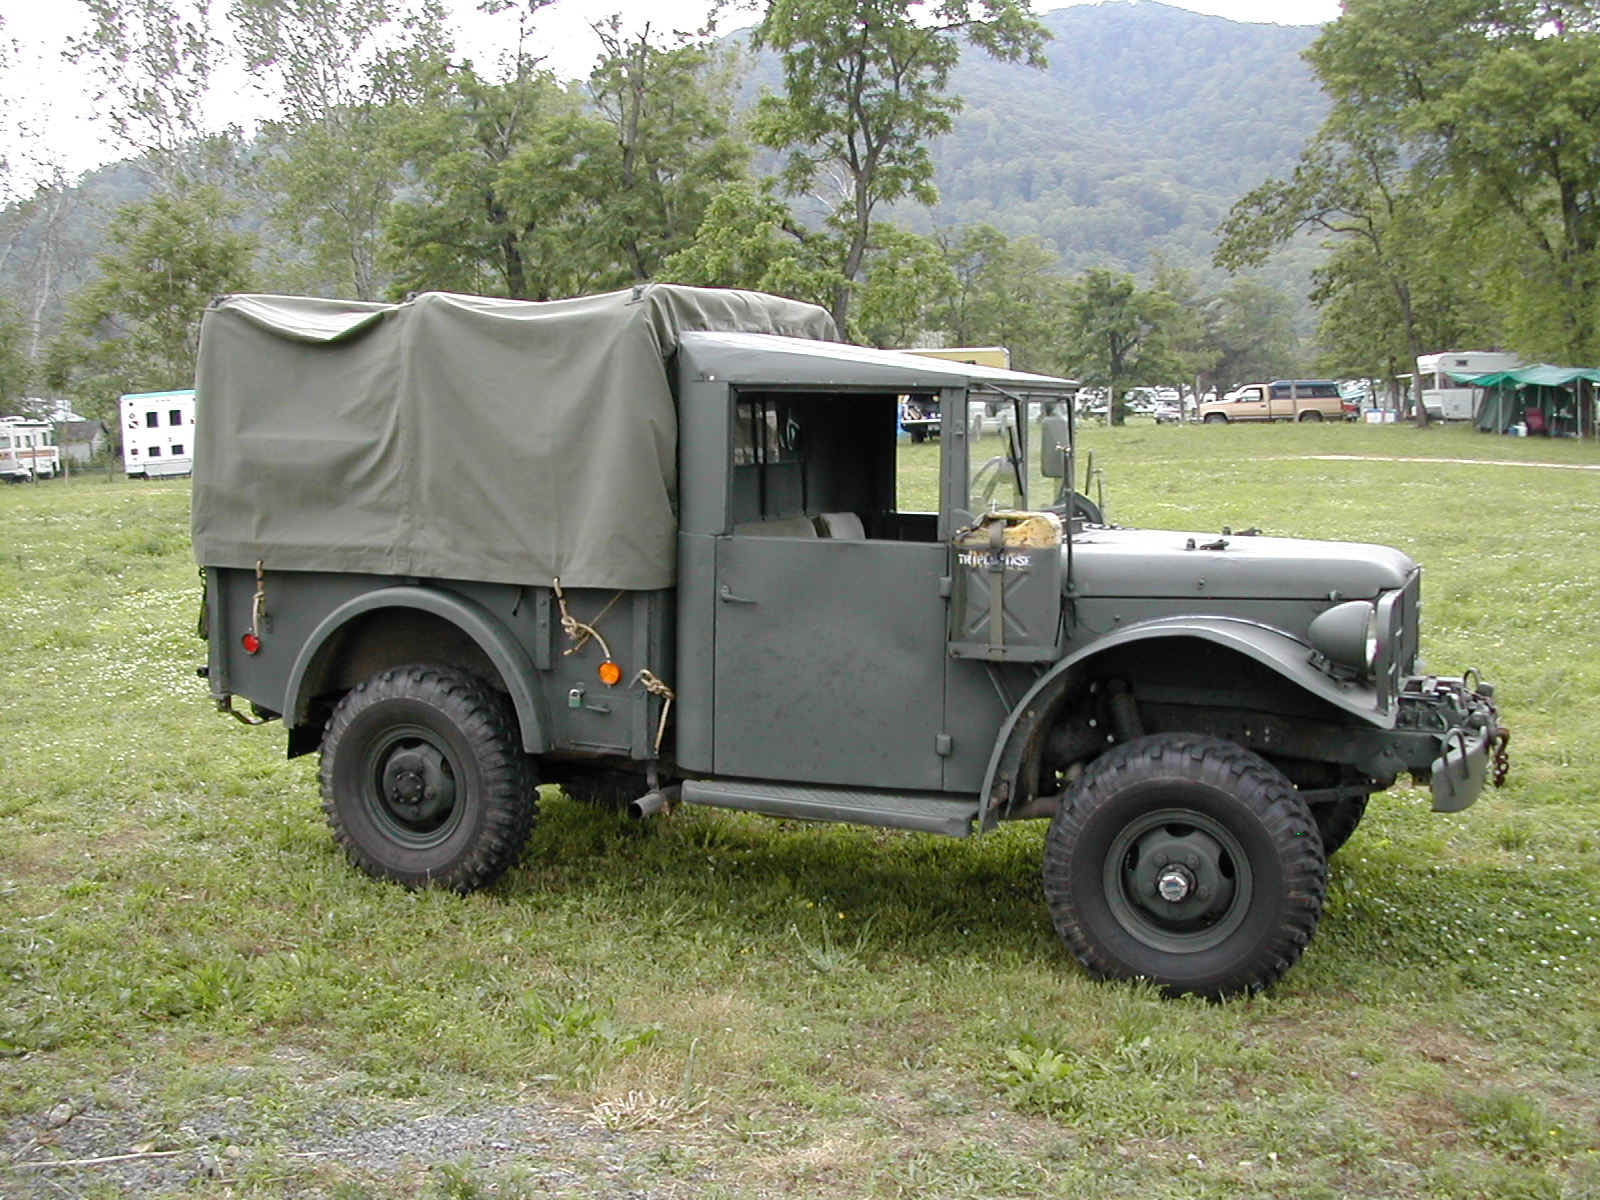 M
M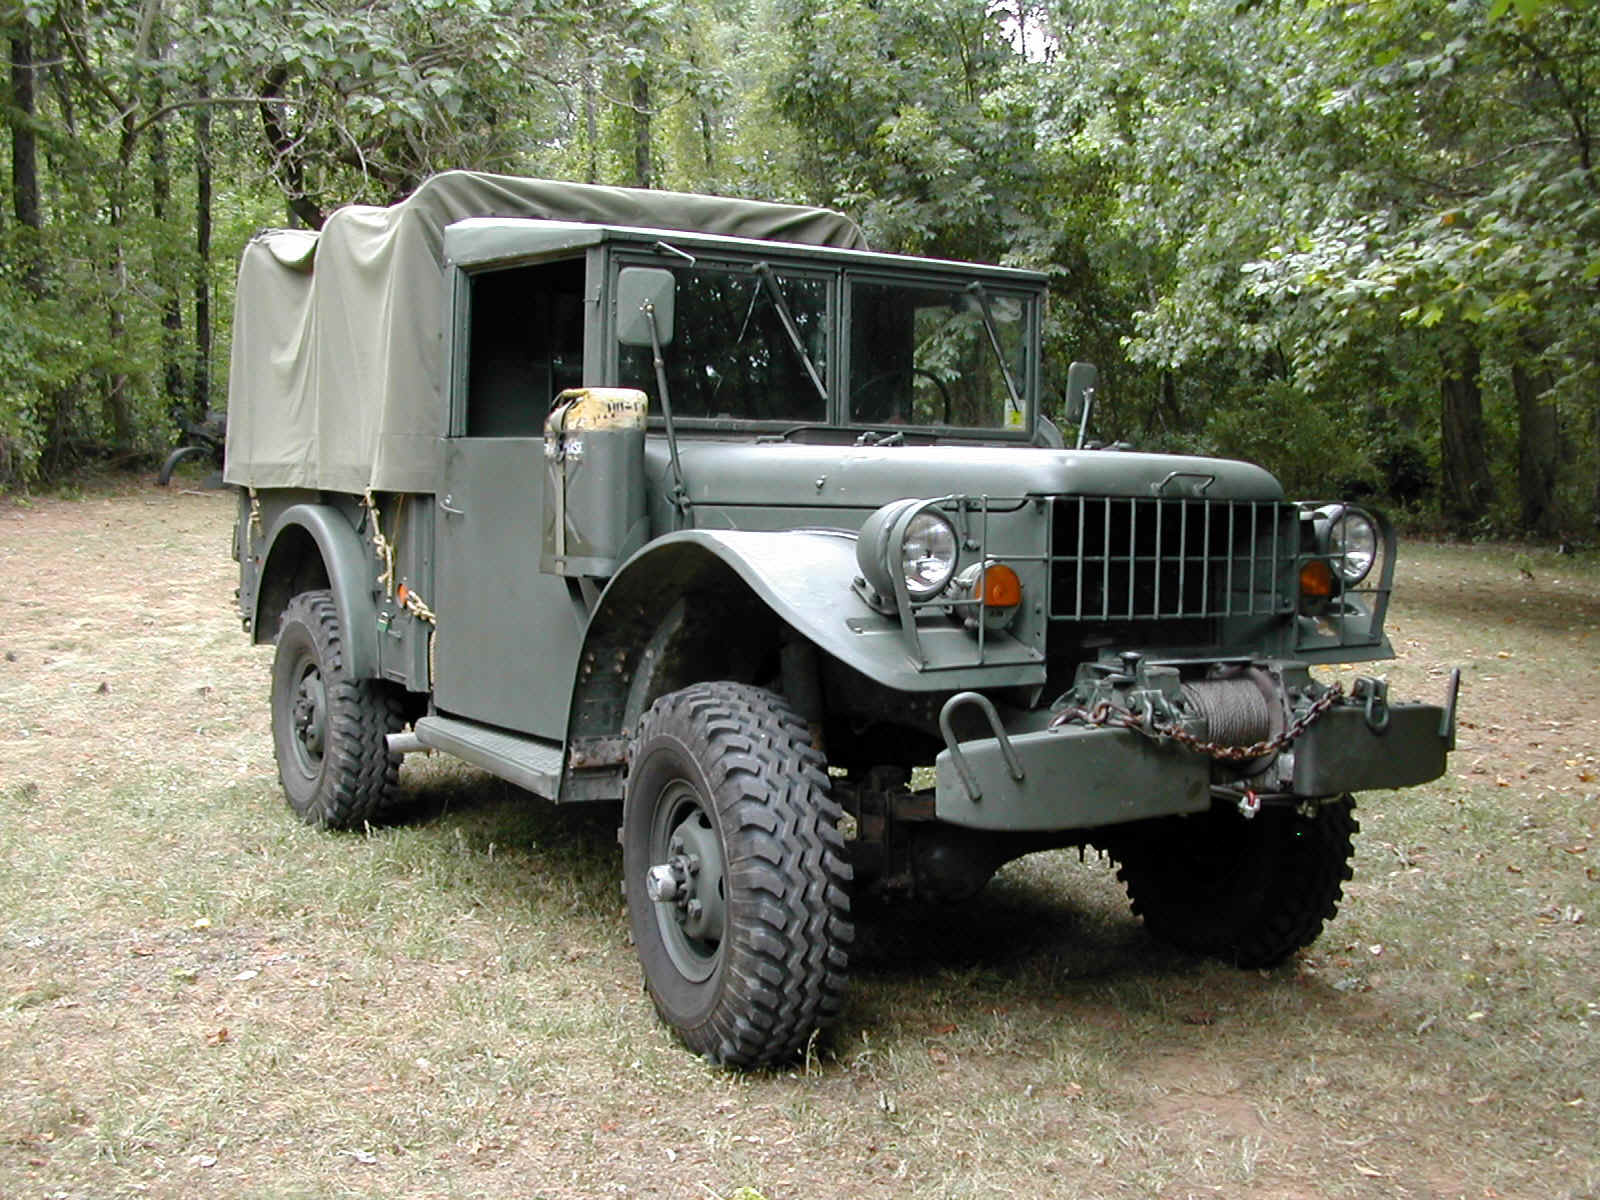 N
N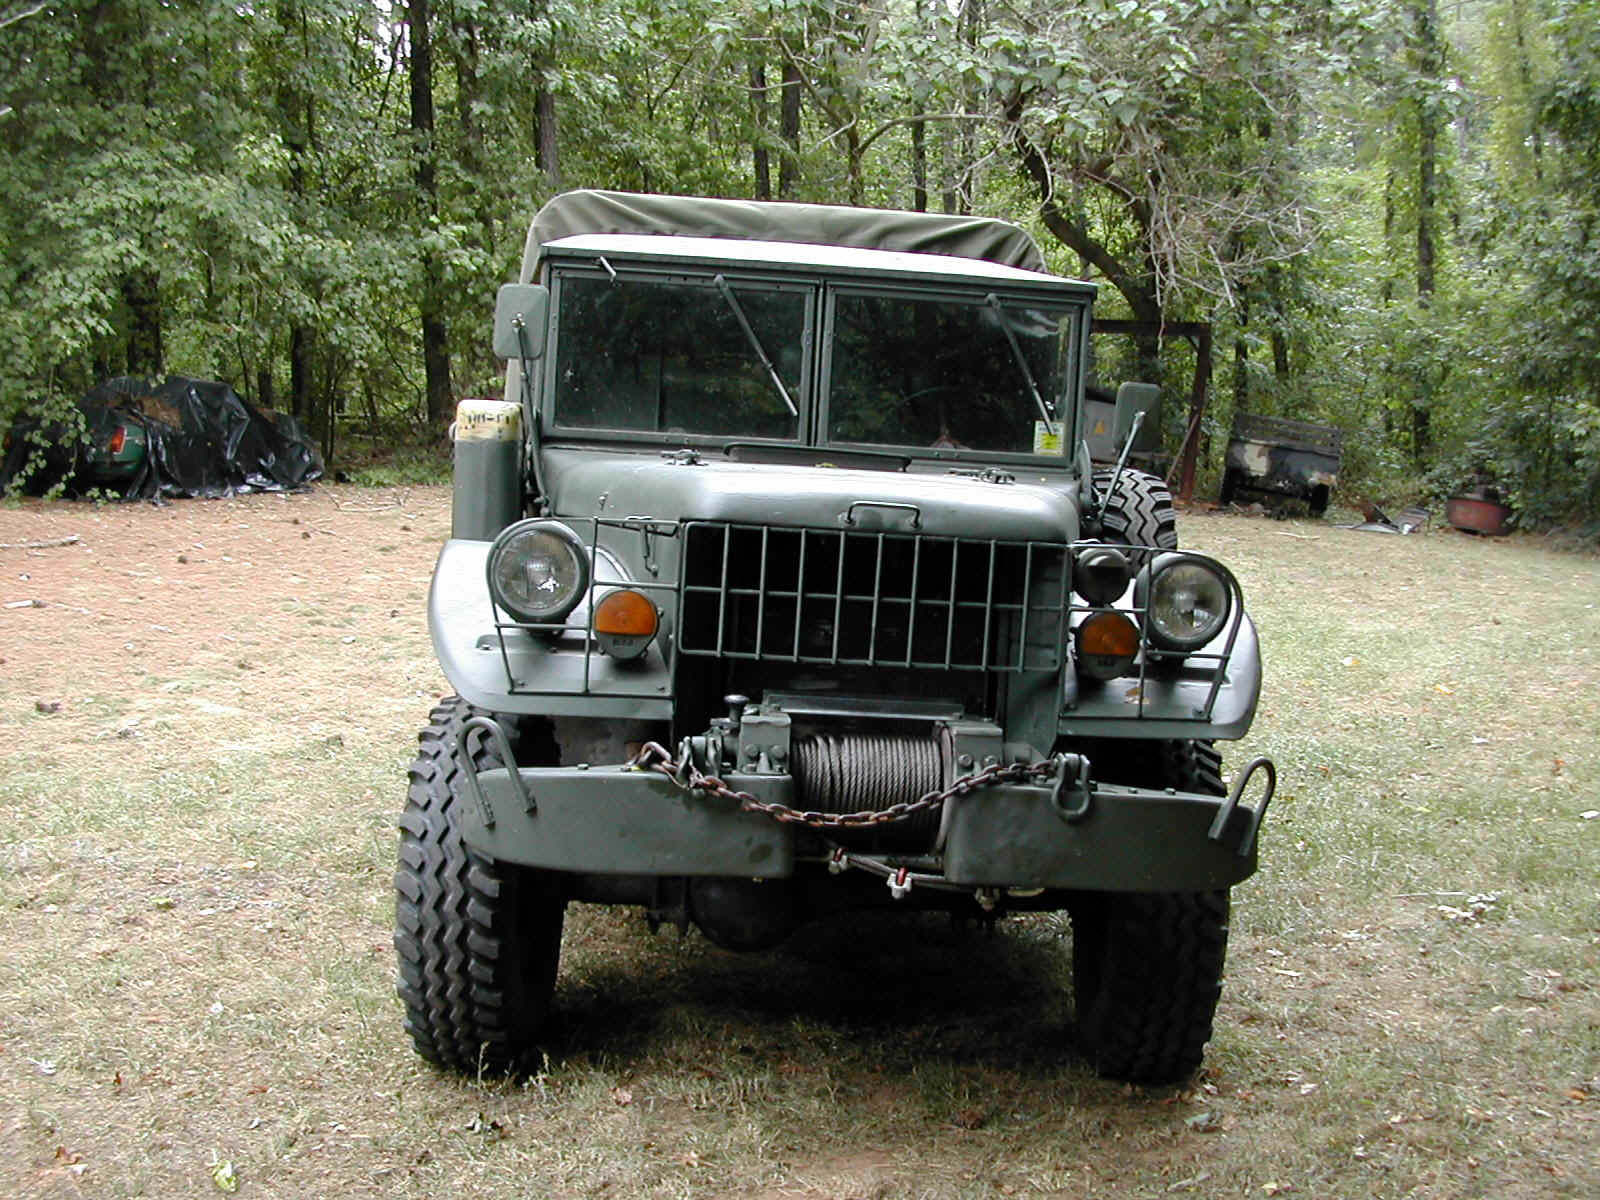 O
O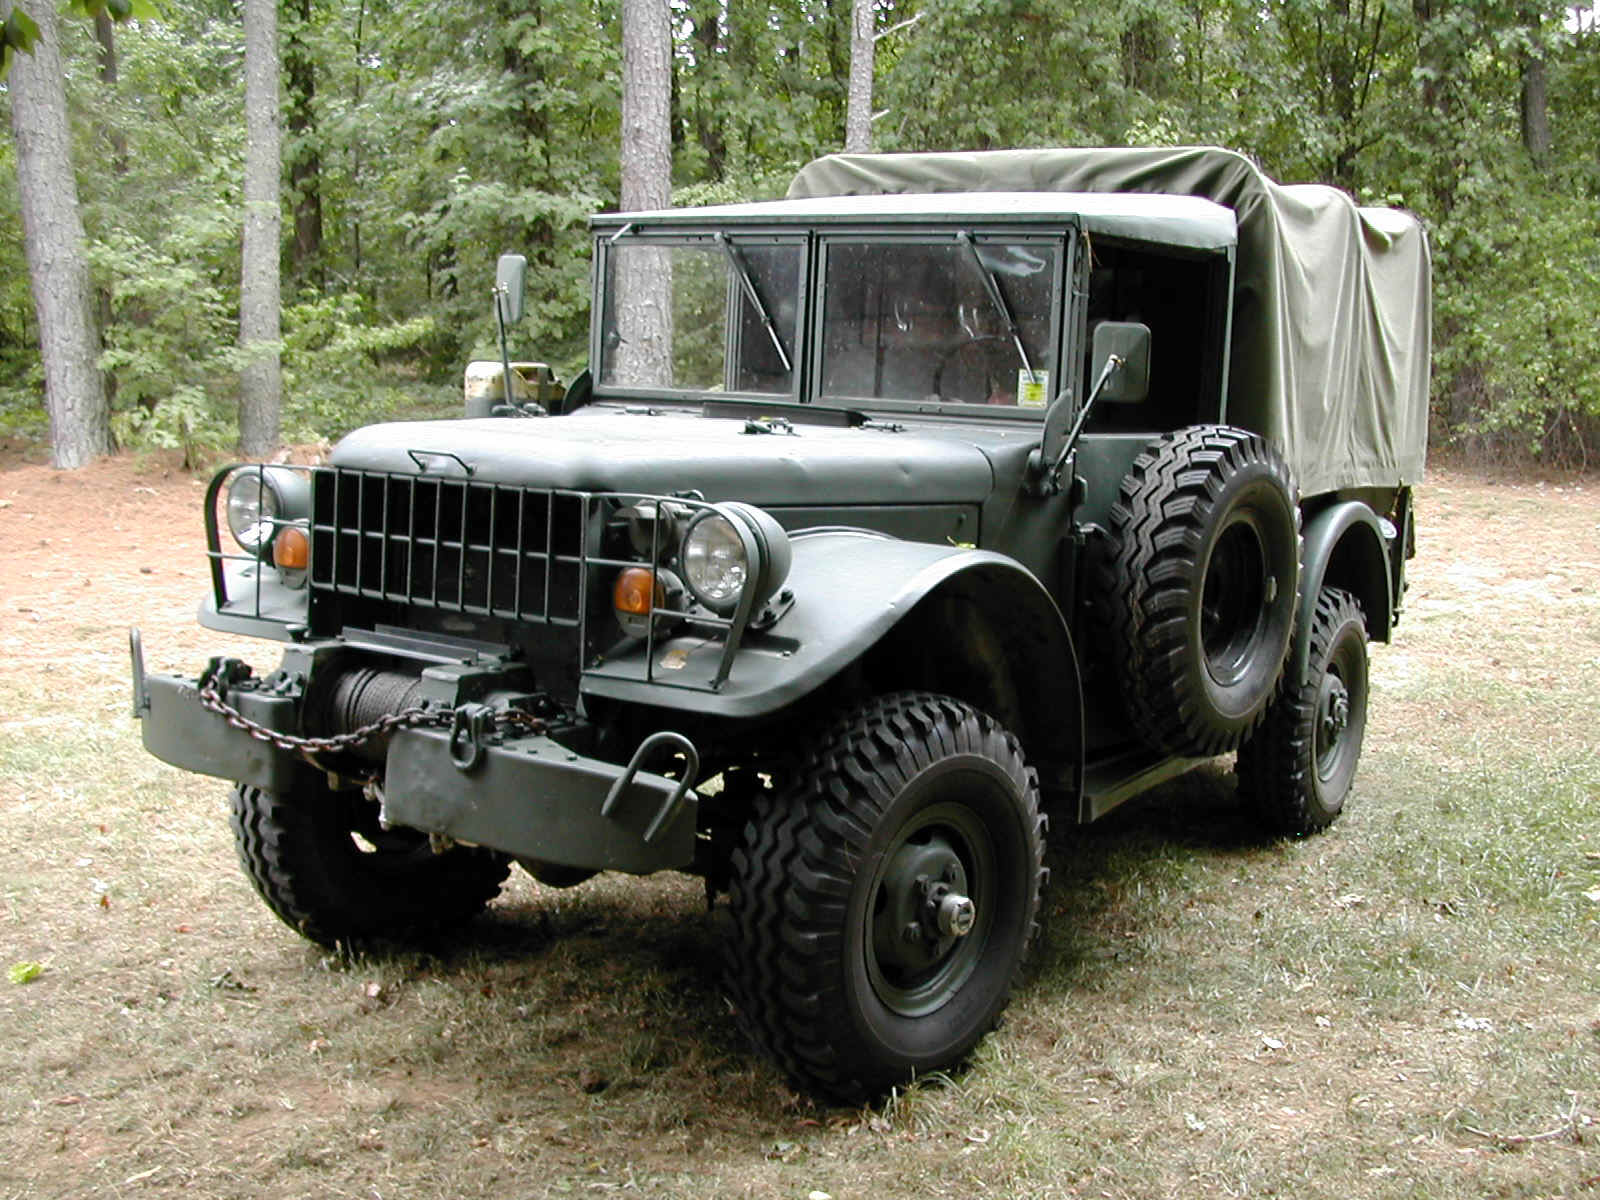 P
P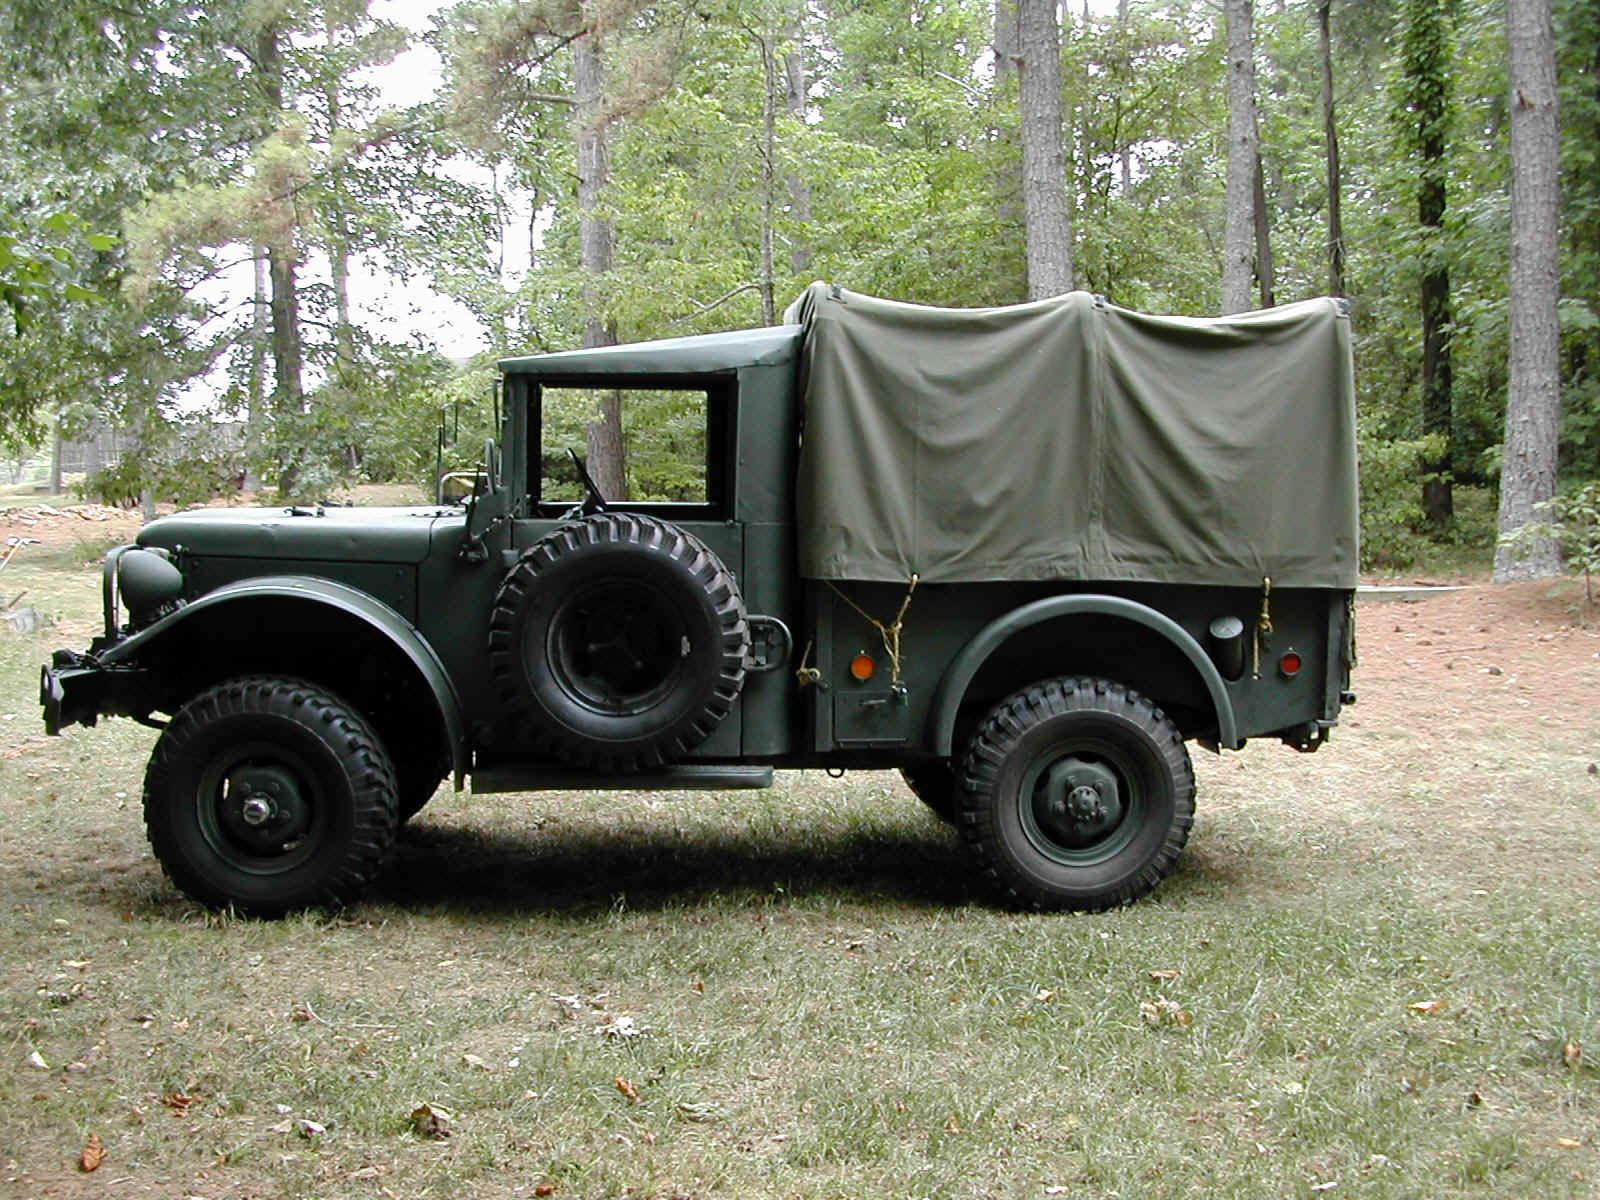 Q
Q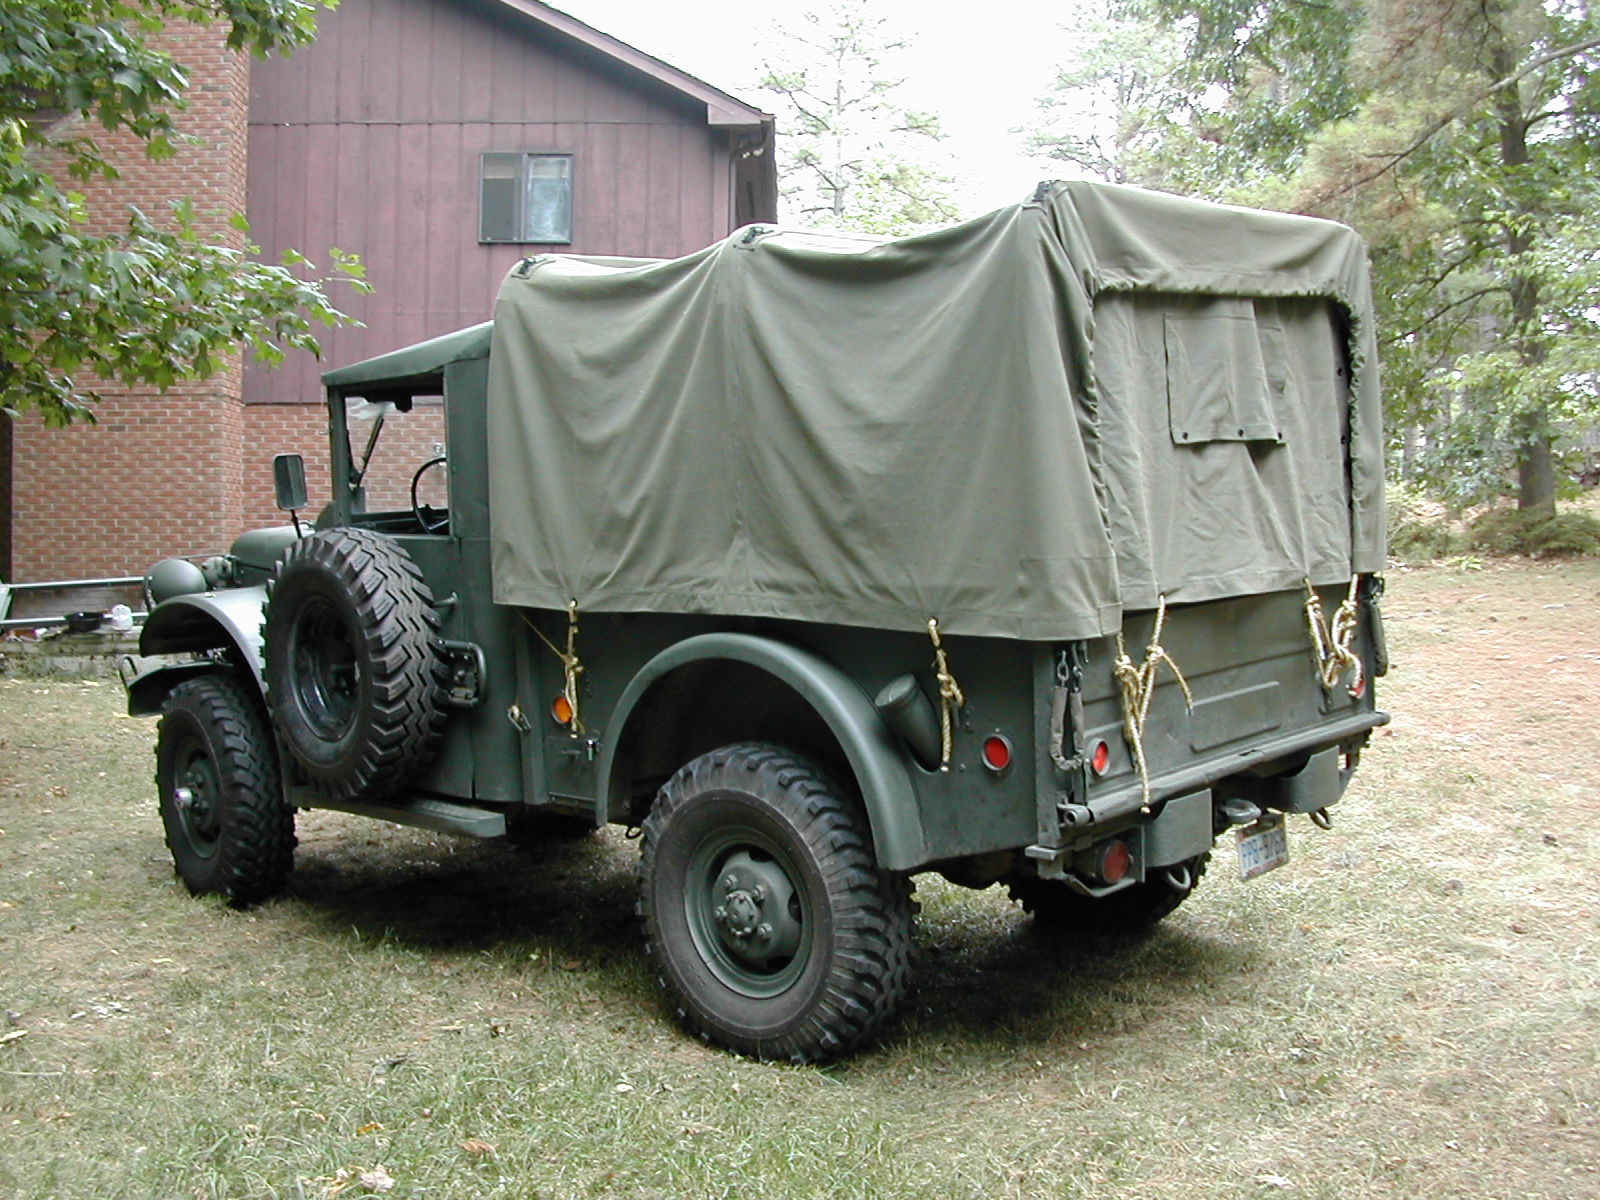 R
R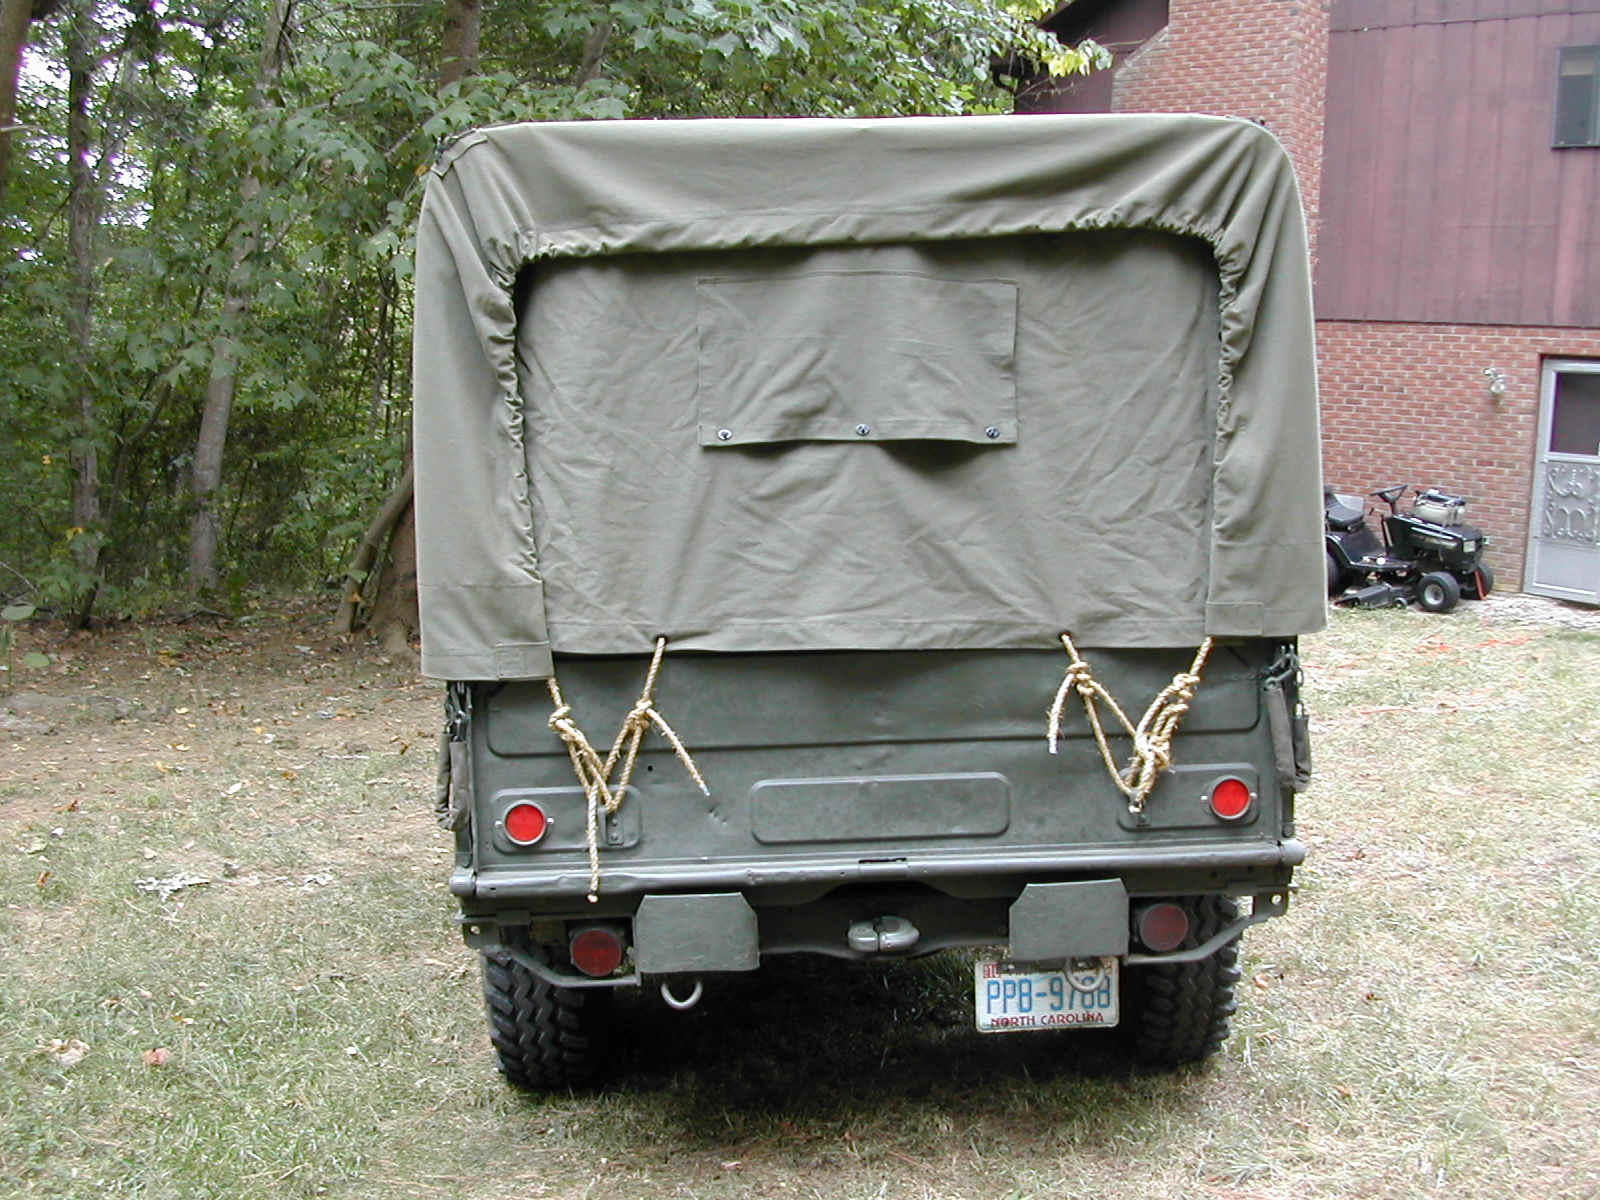 S
S T
T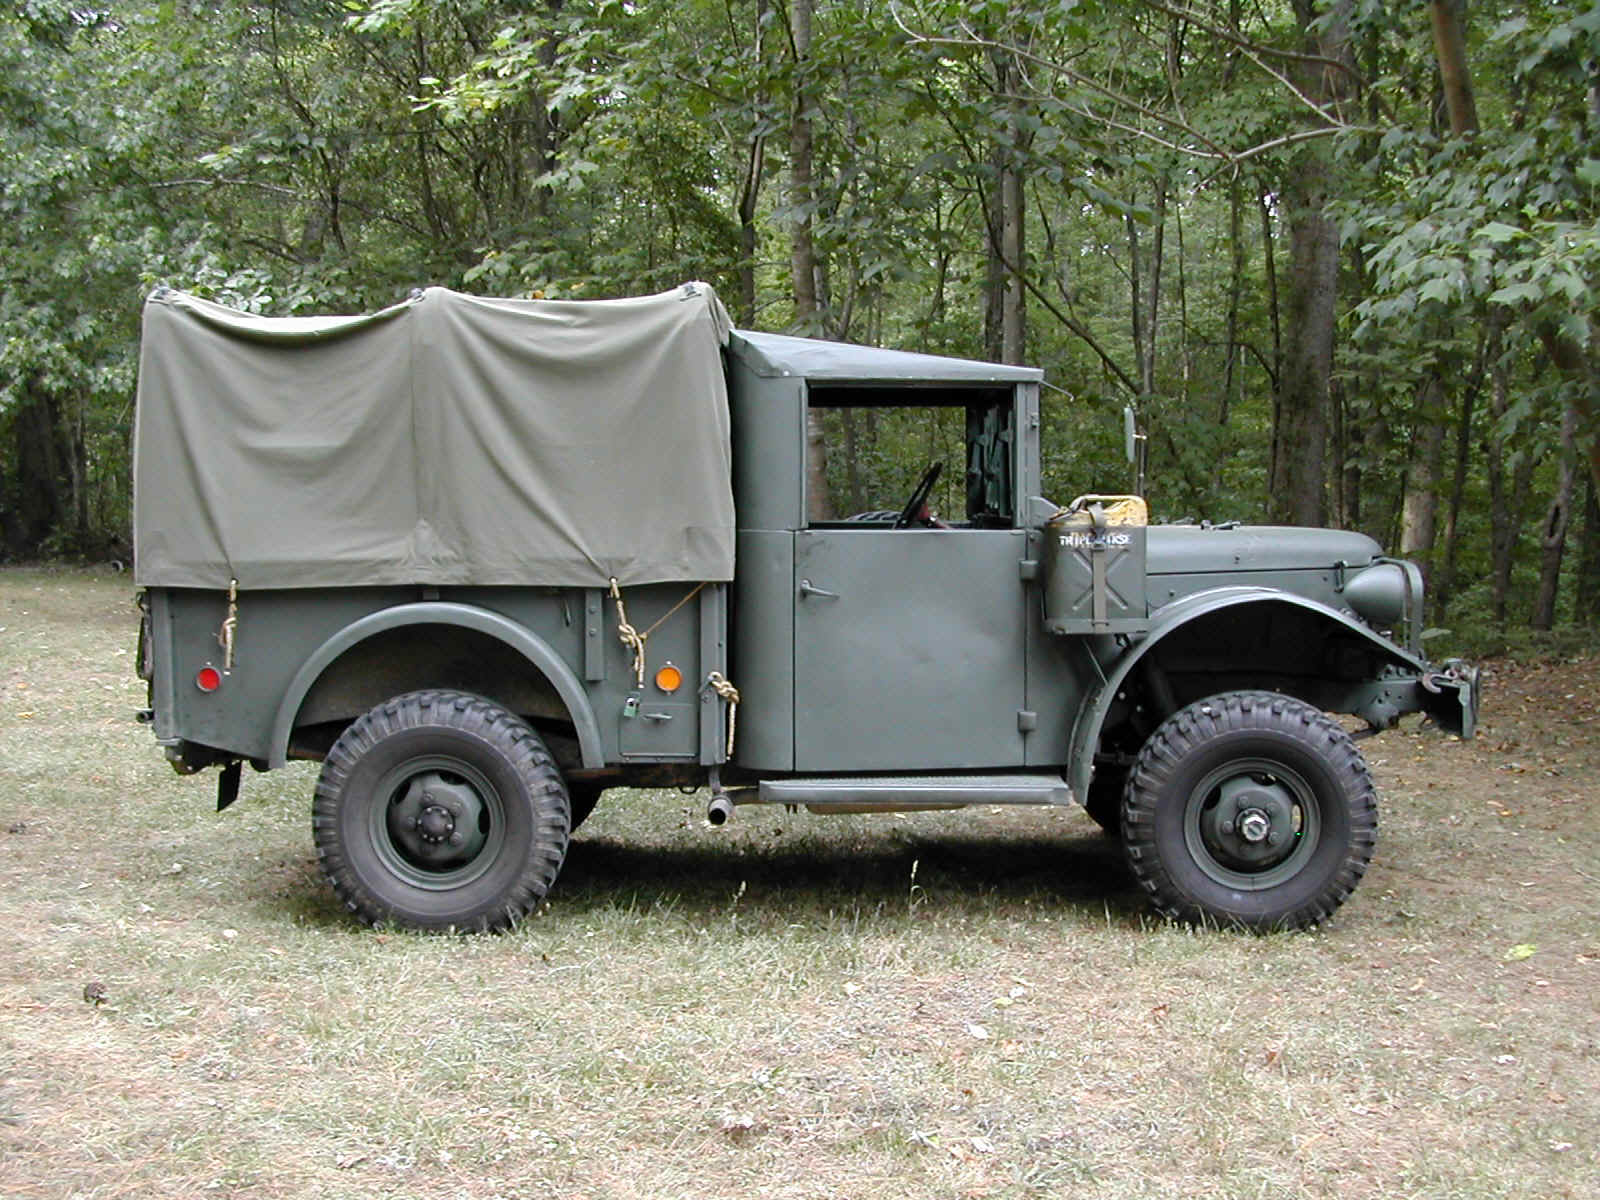 U
U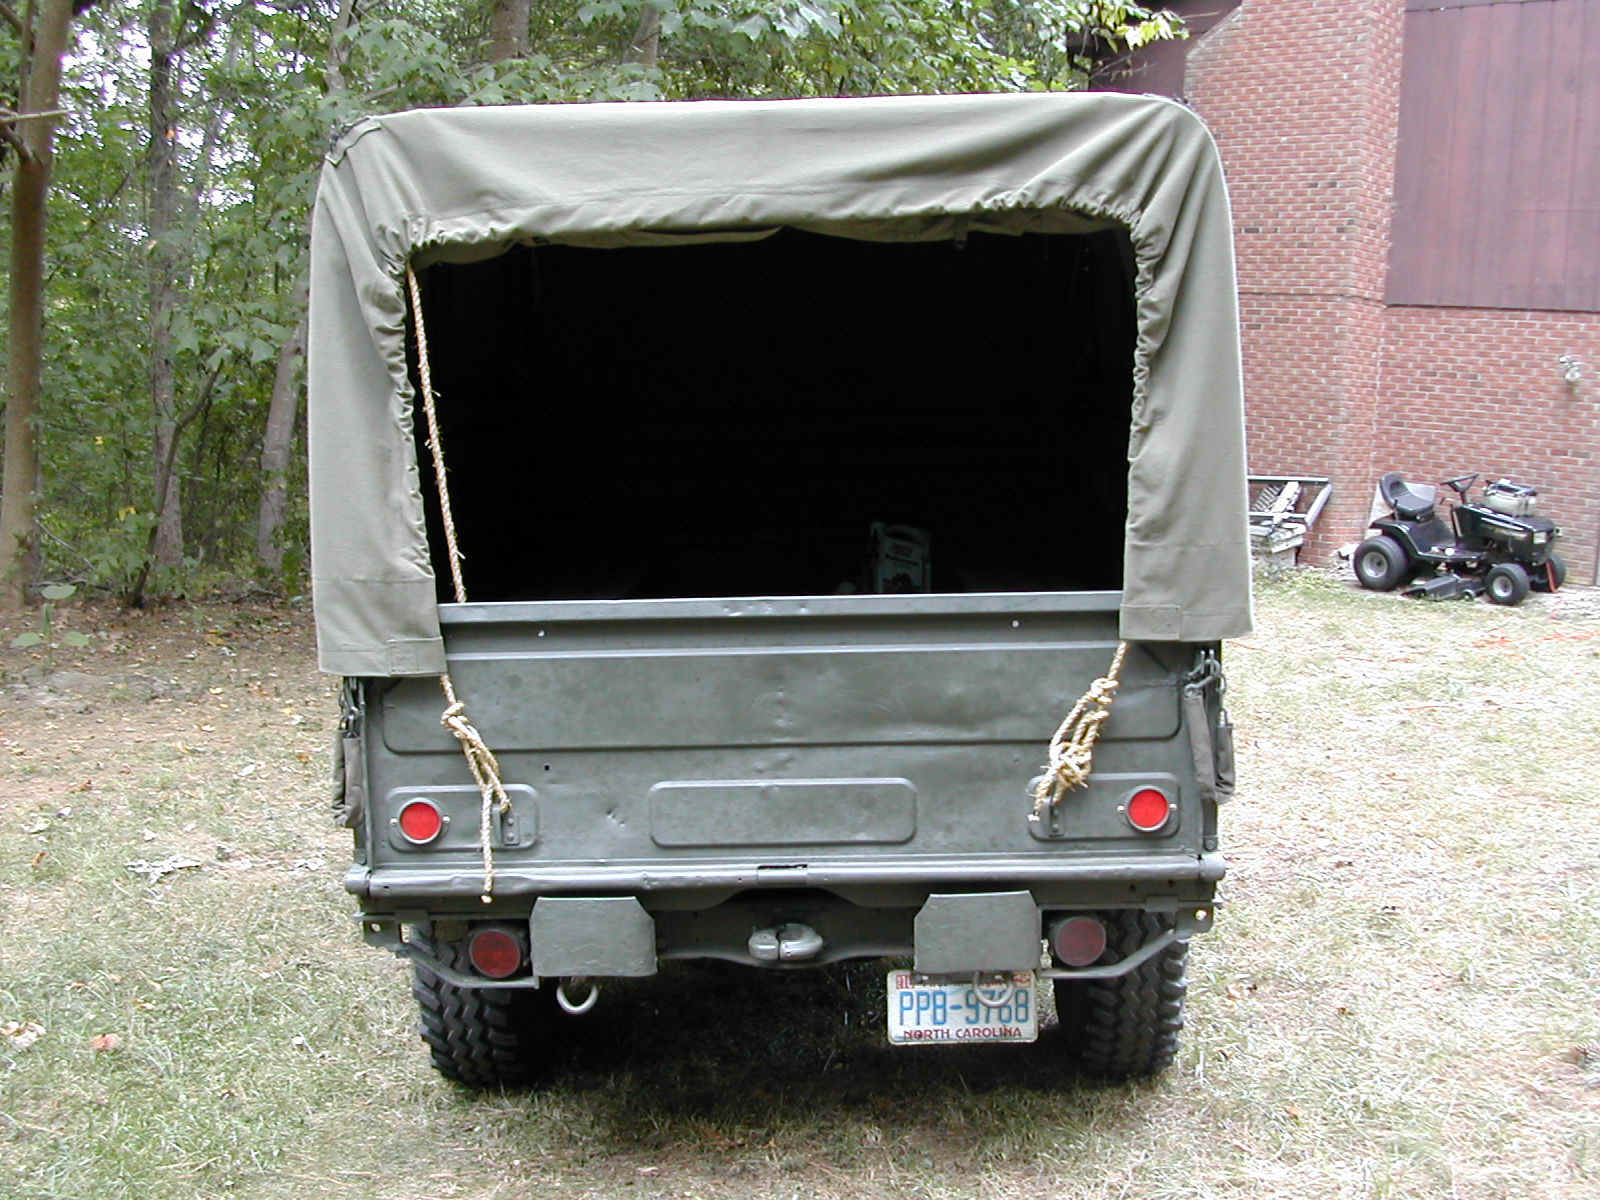 V
V W
W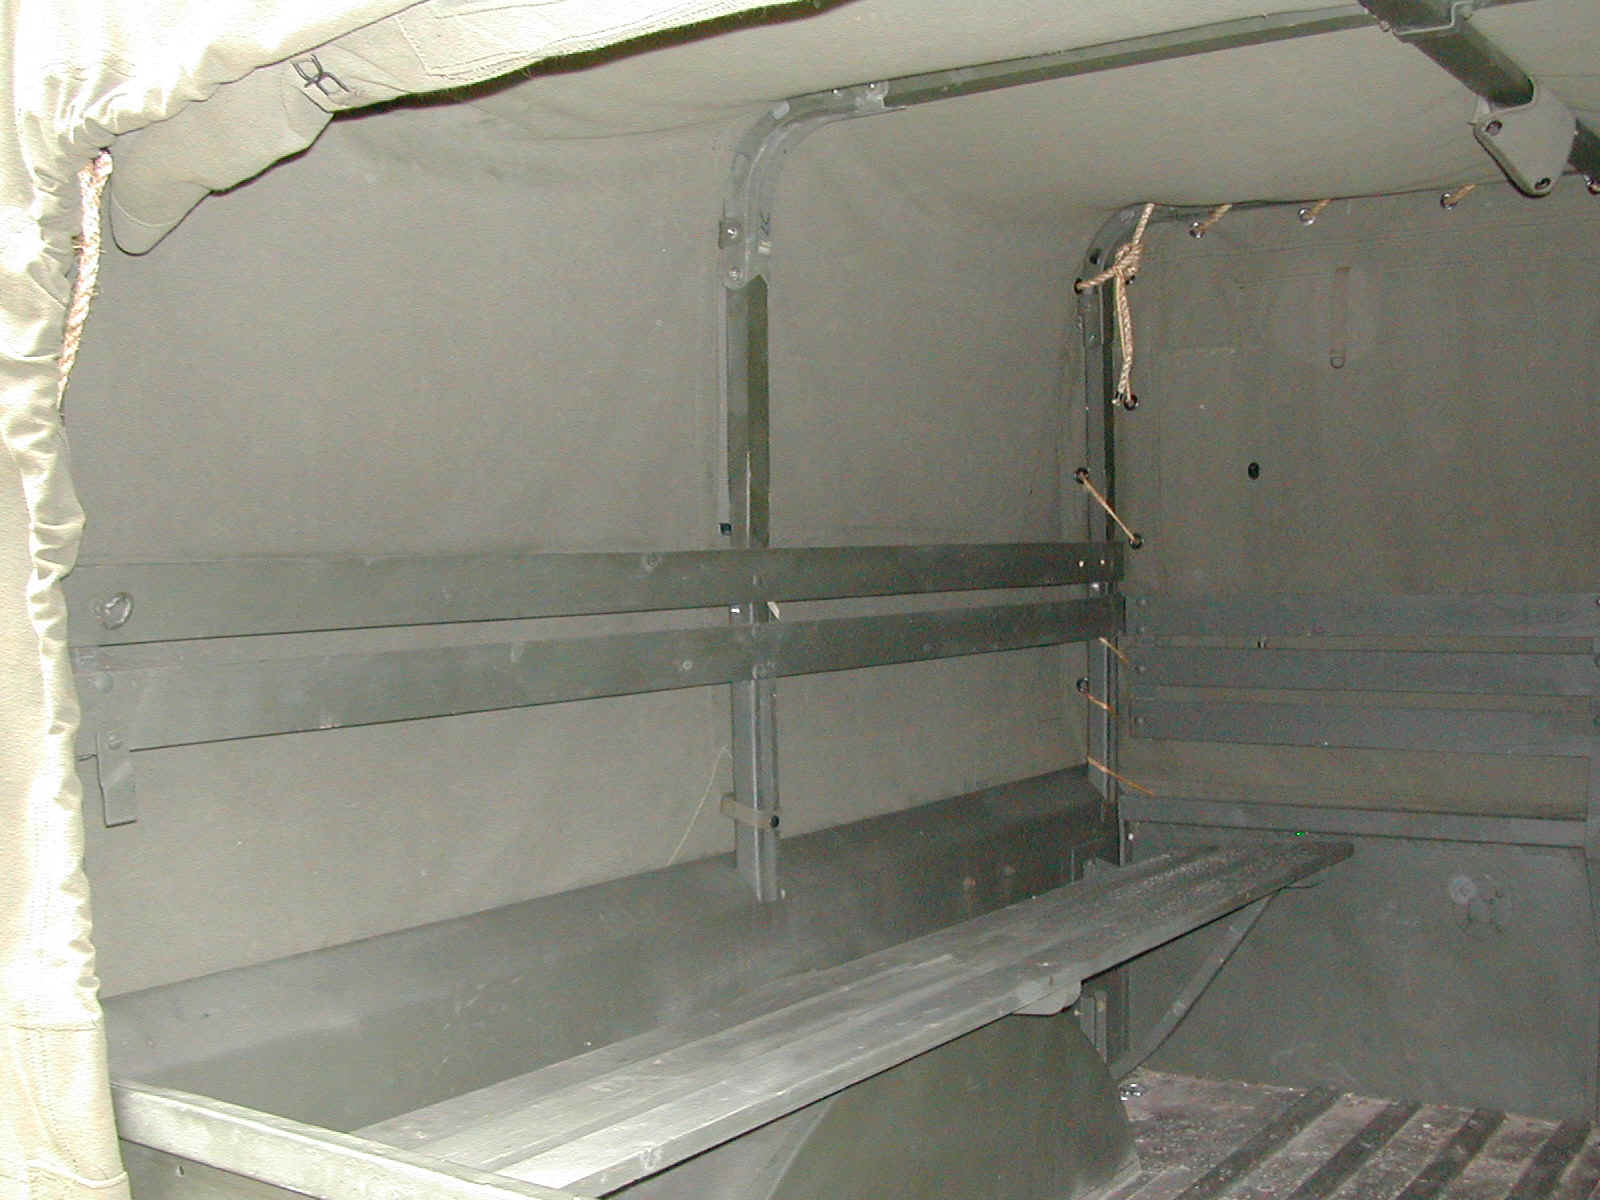 X
X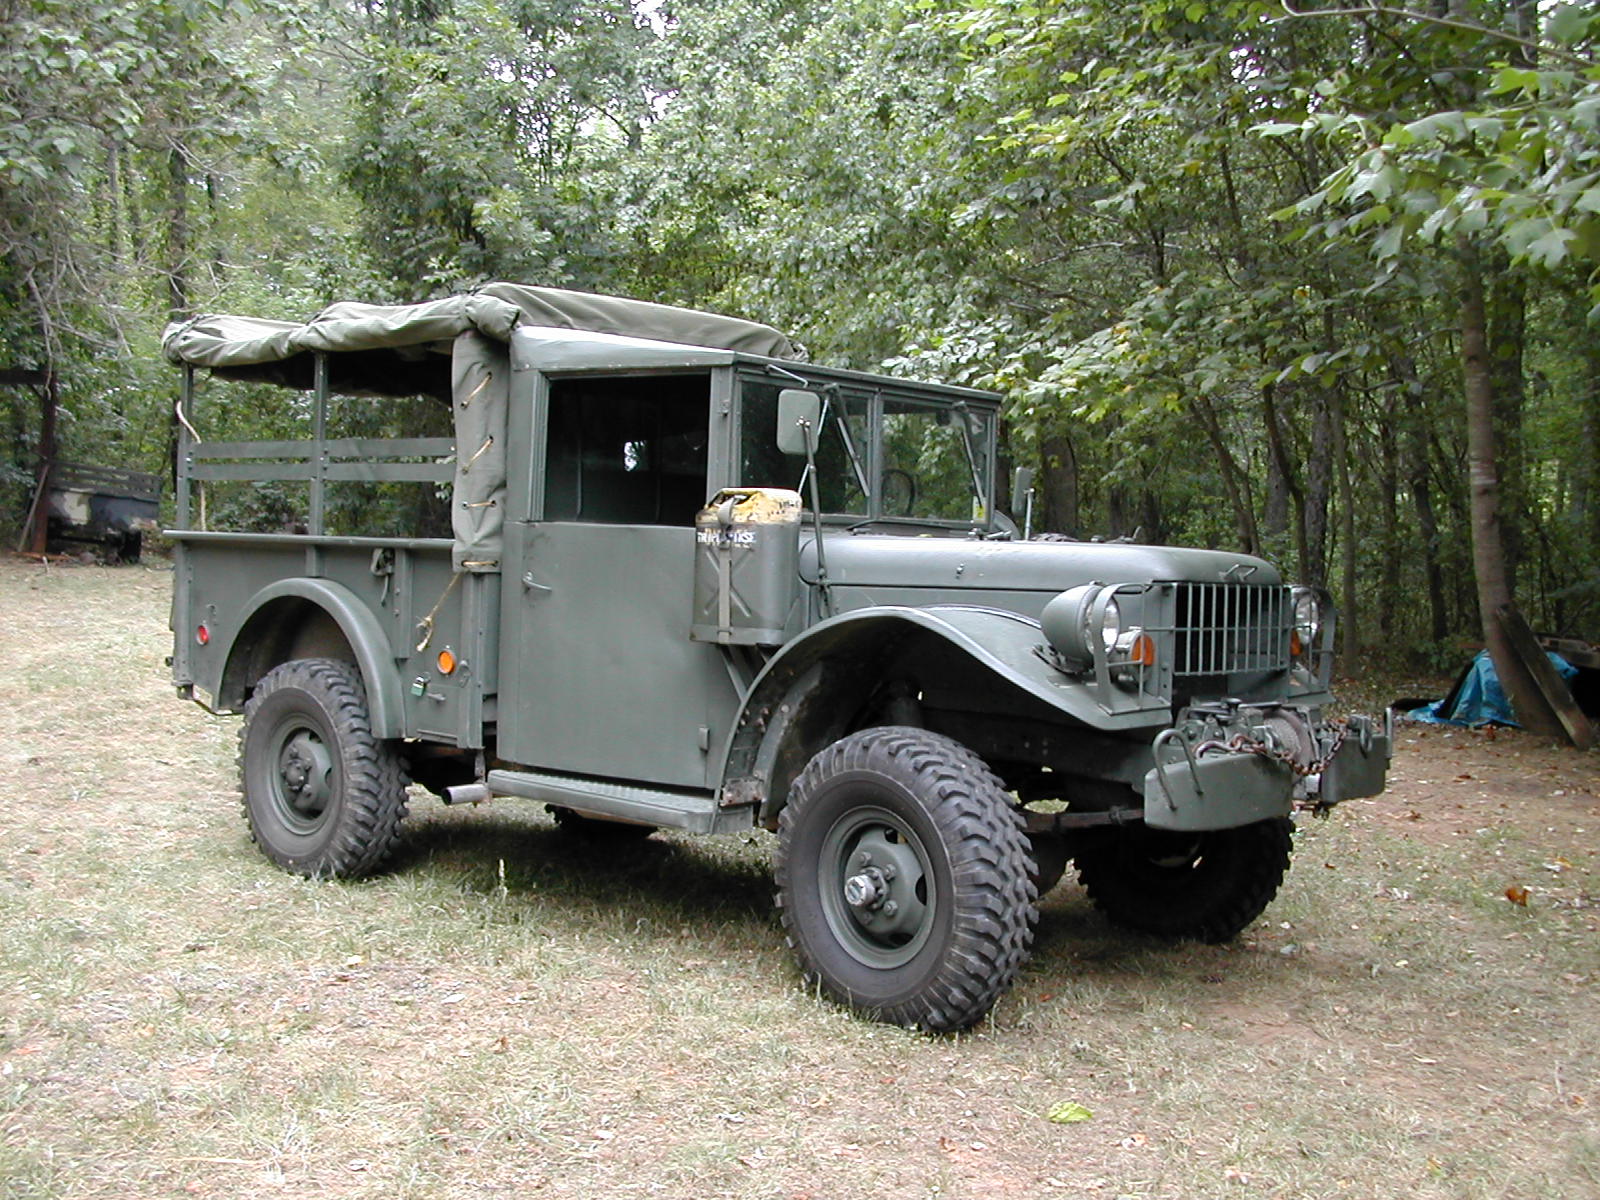 Y
Y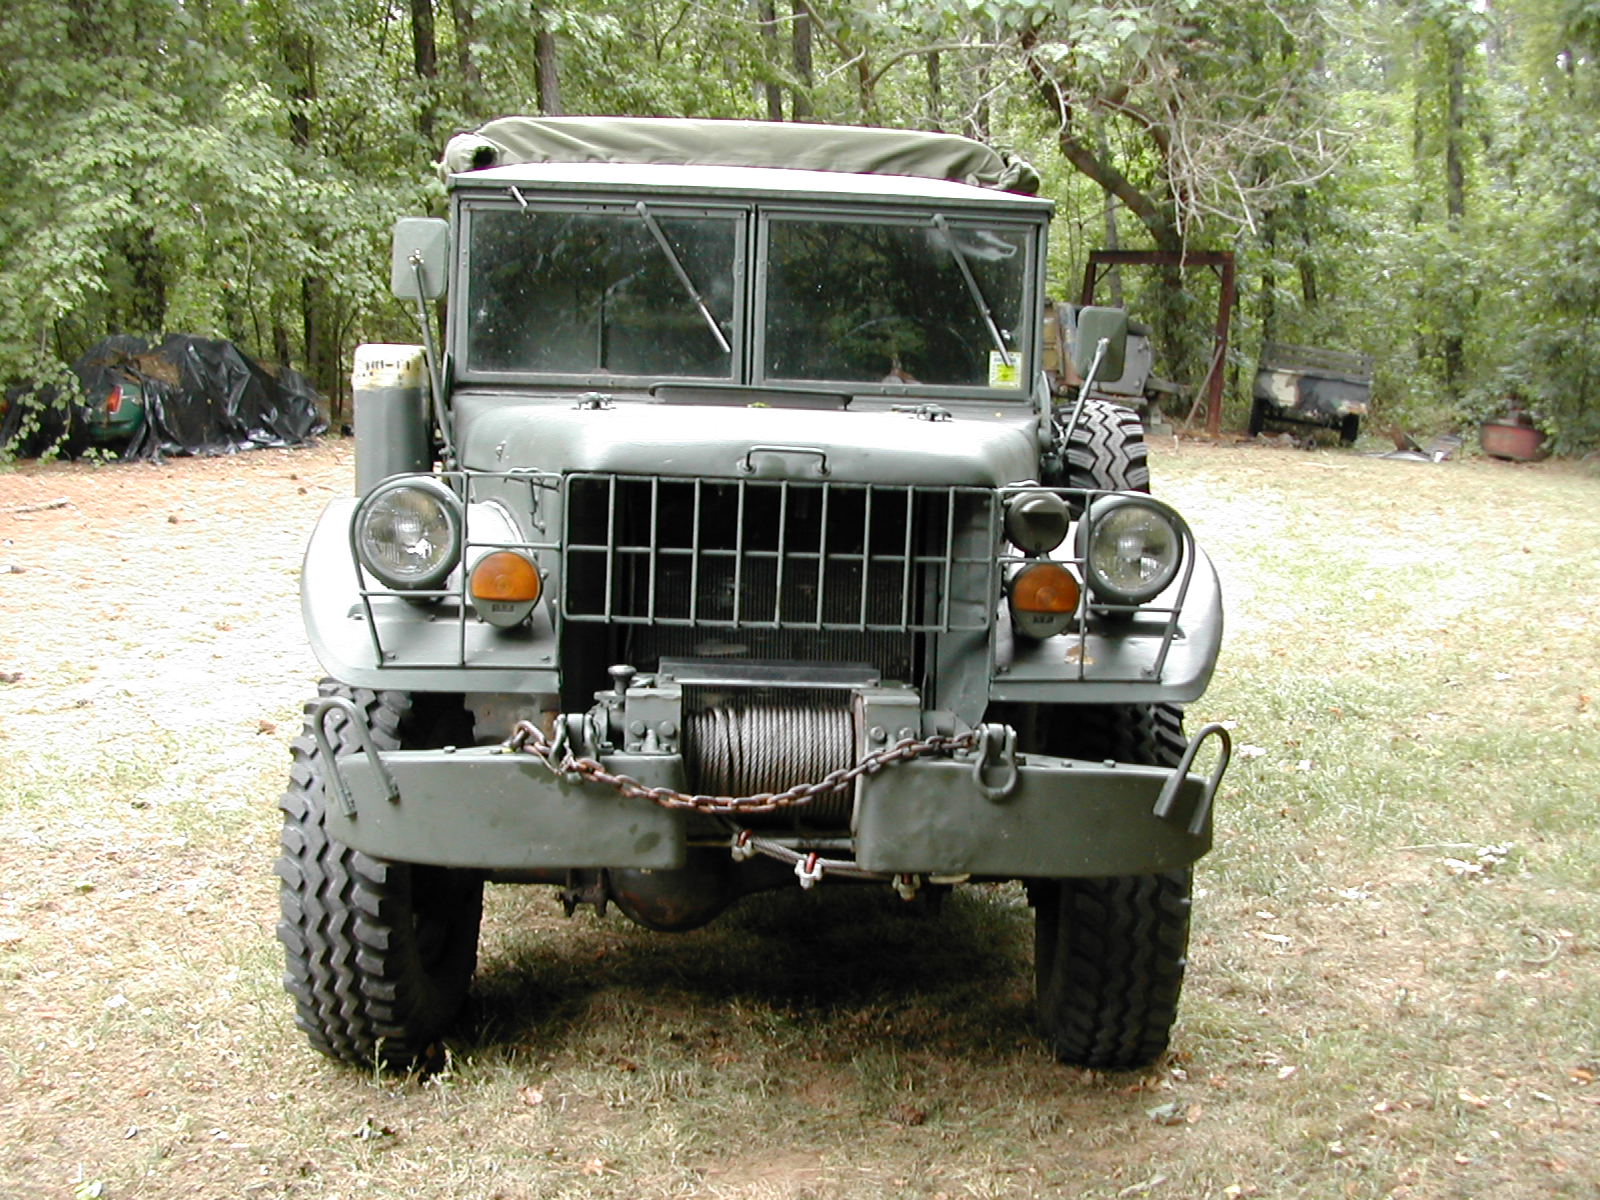 Z
Z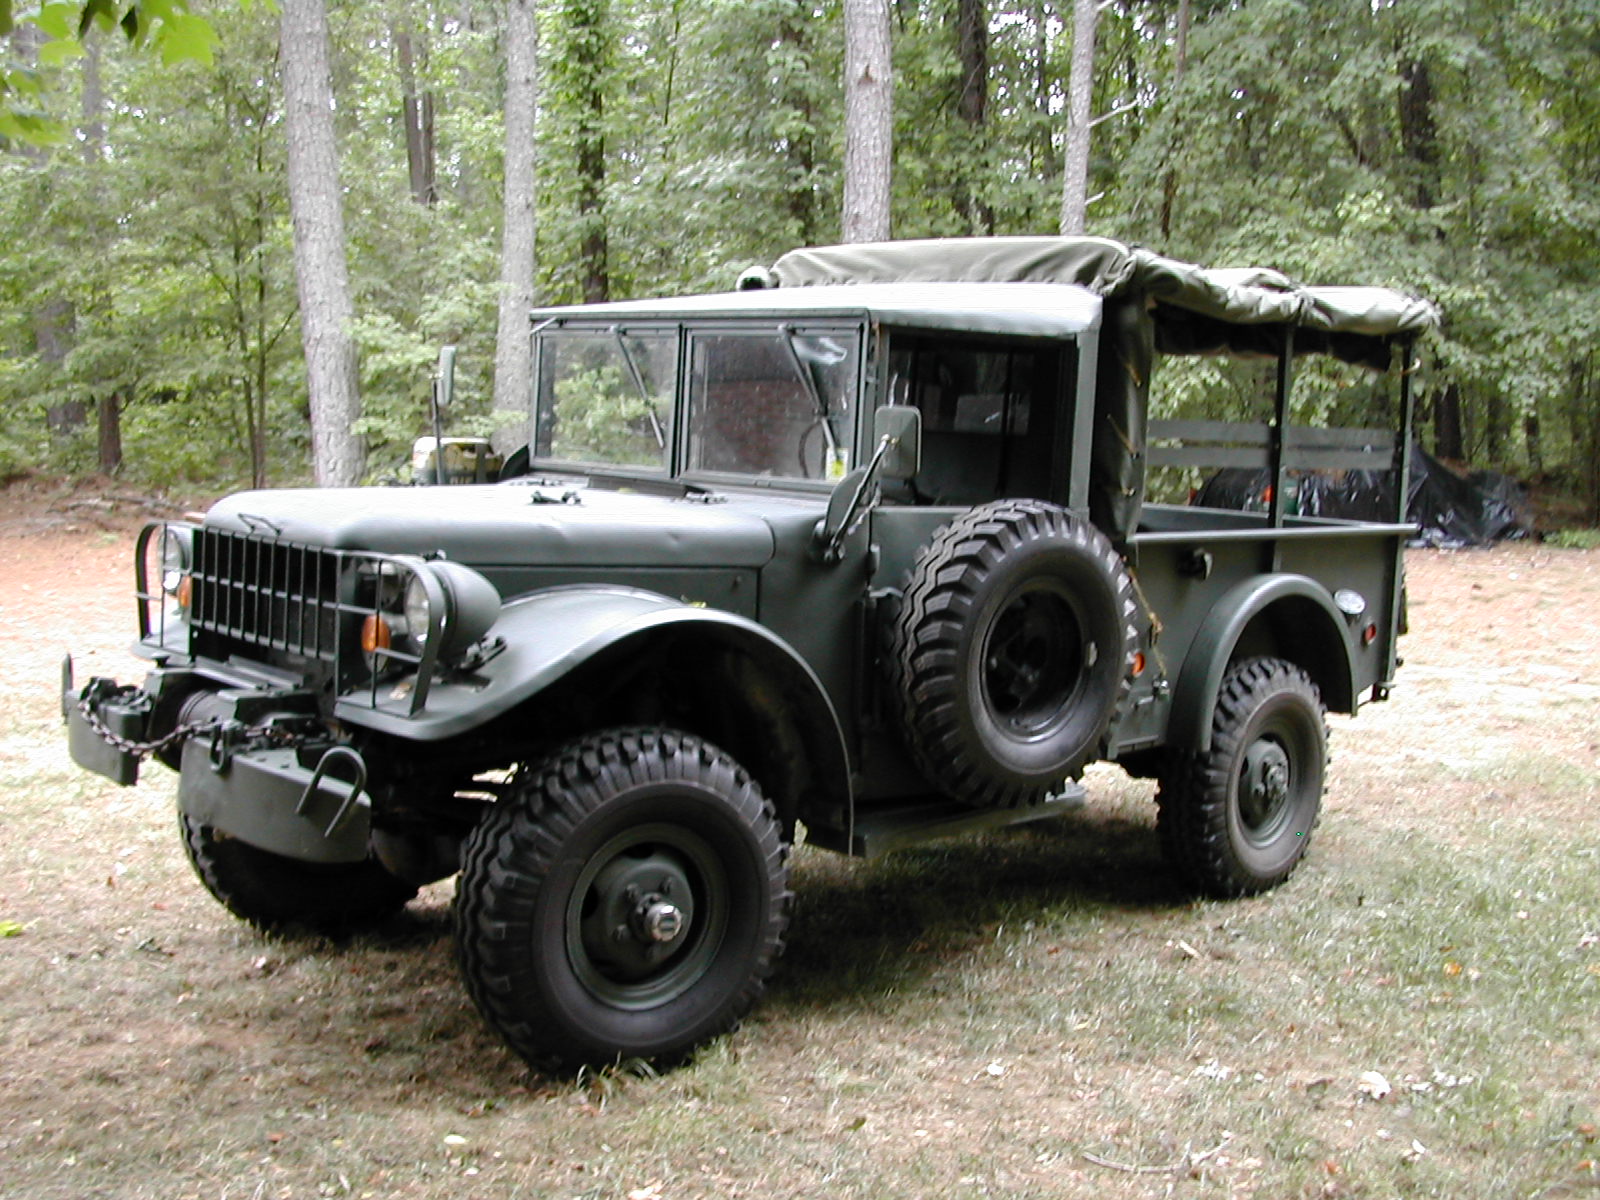 AA
AA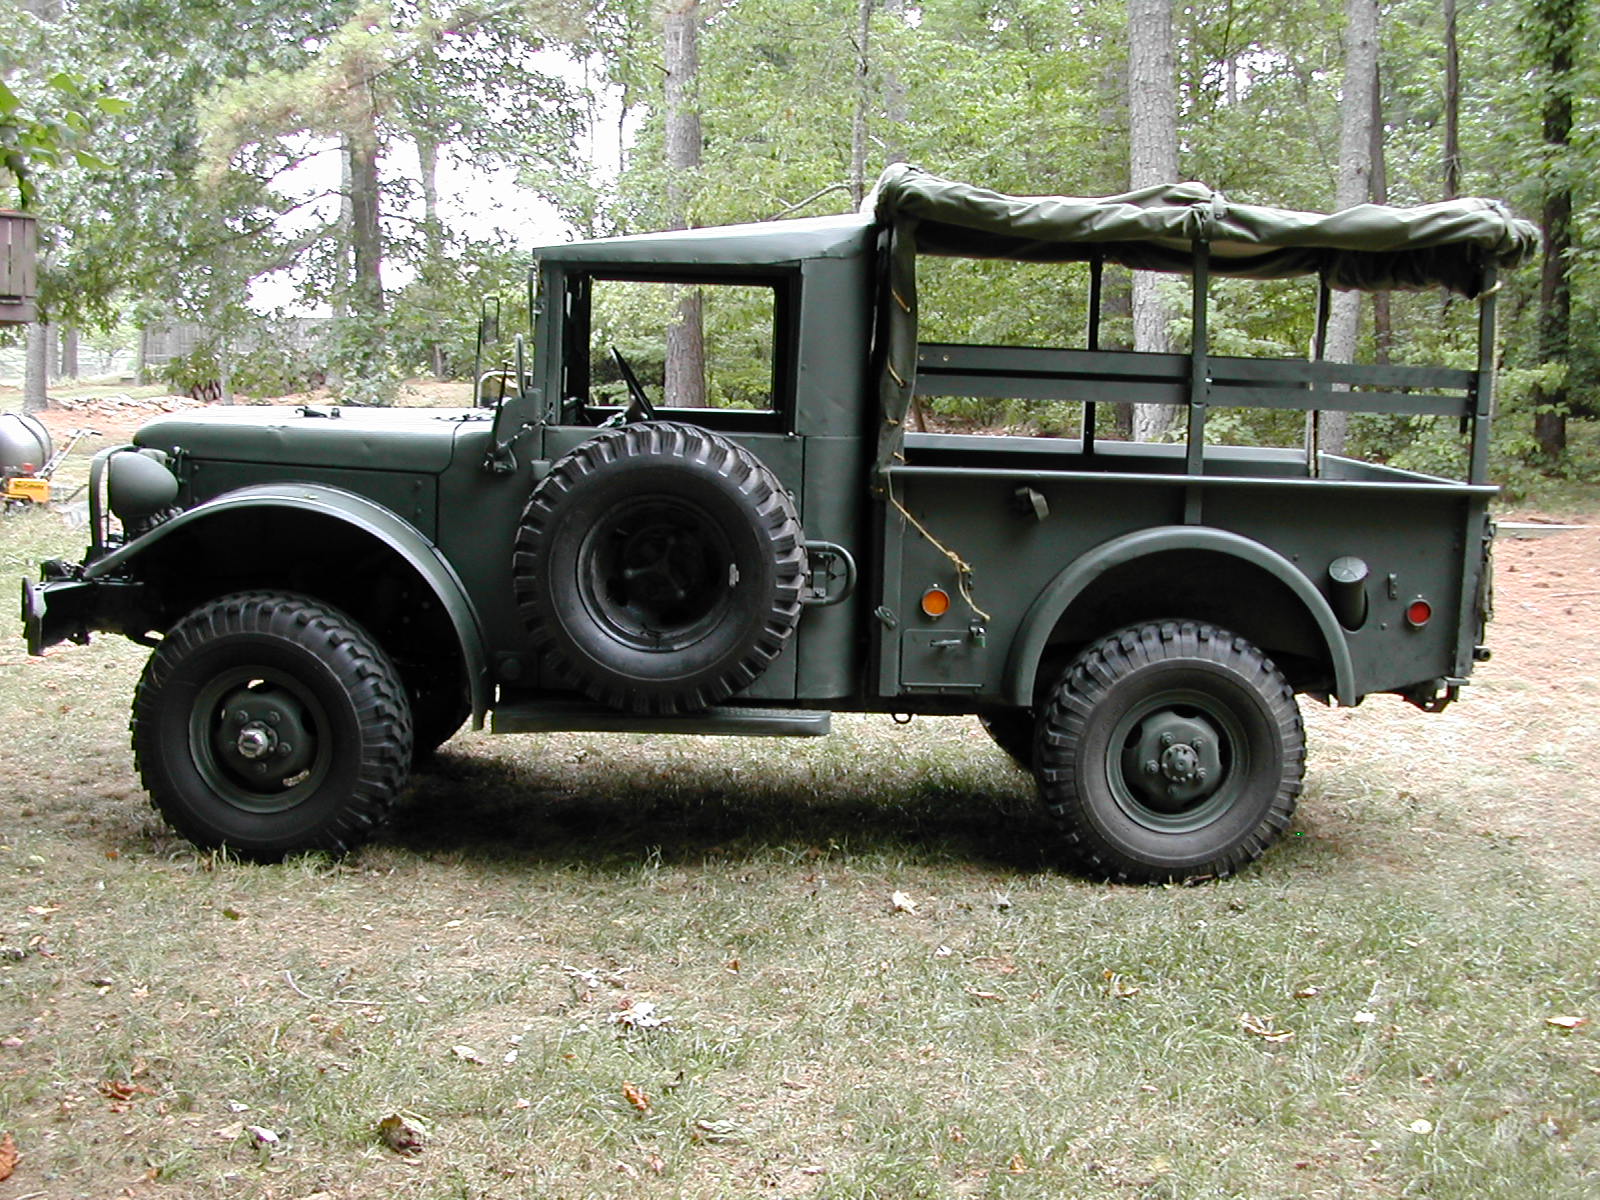 B
B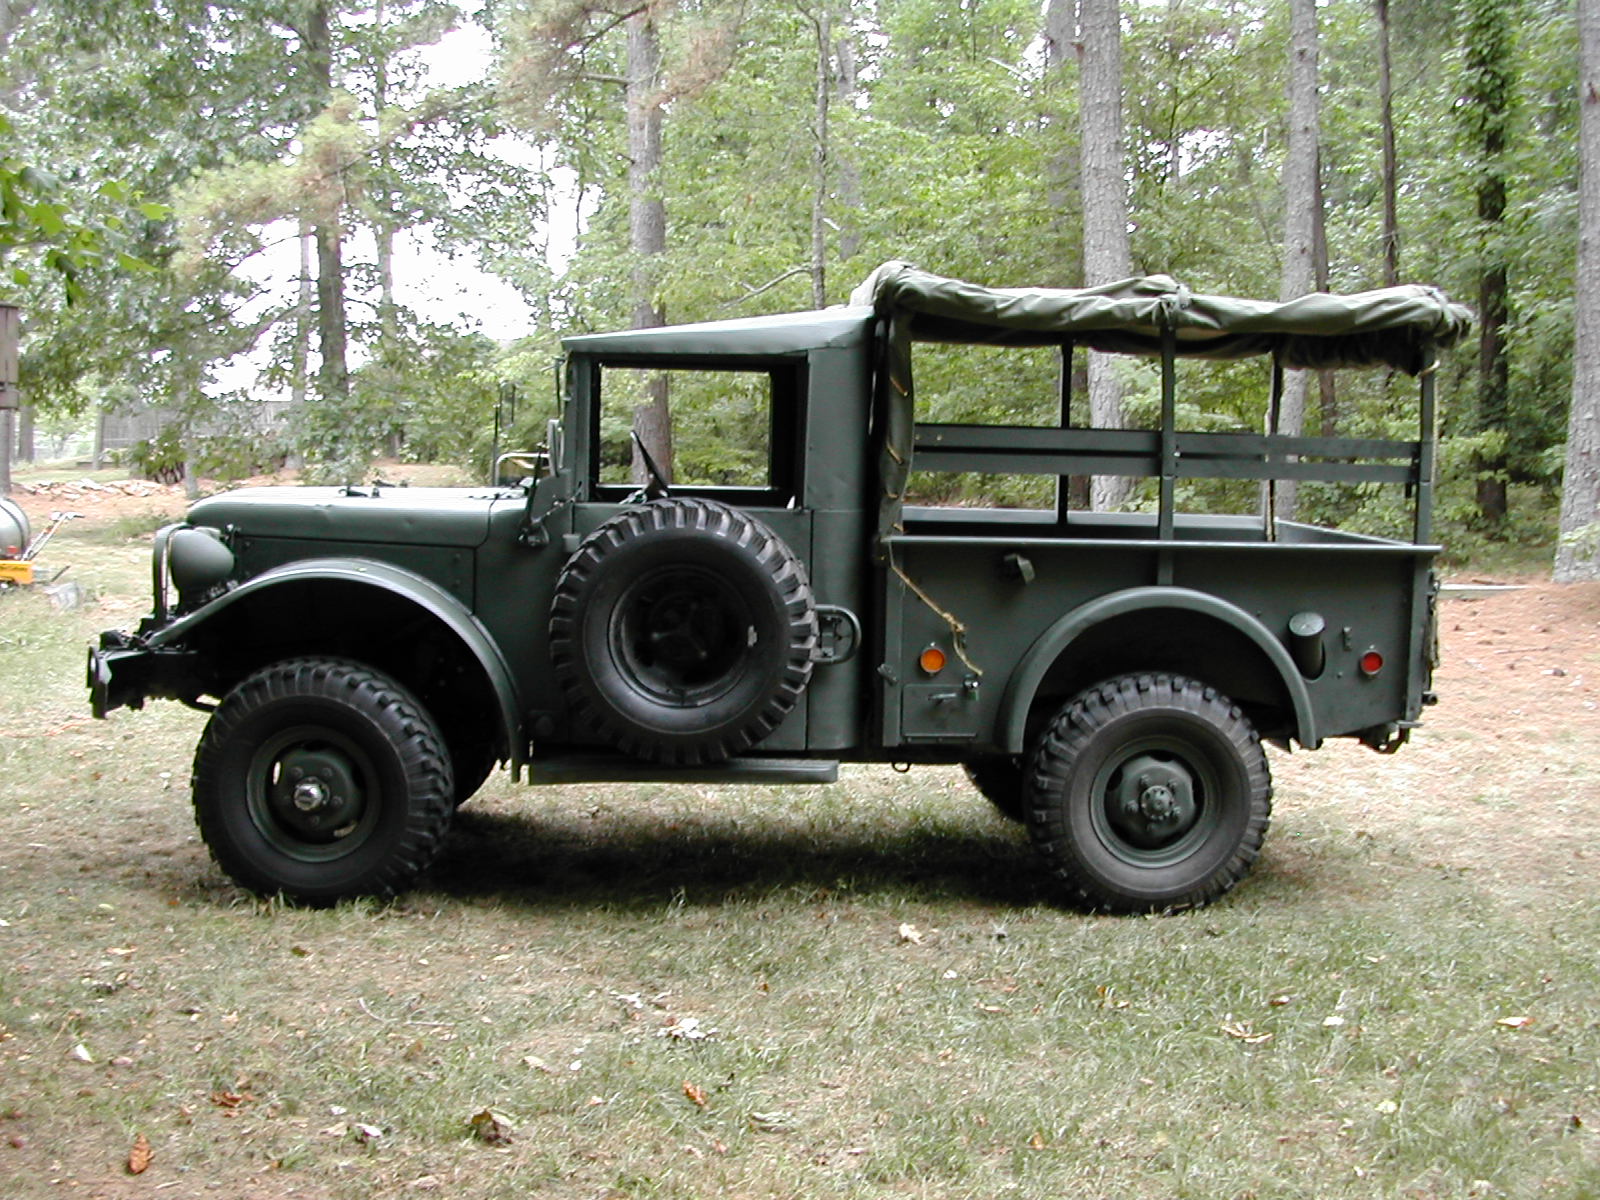 CC
CC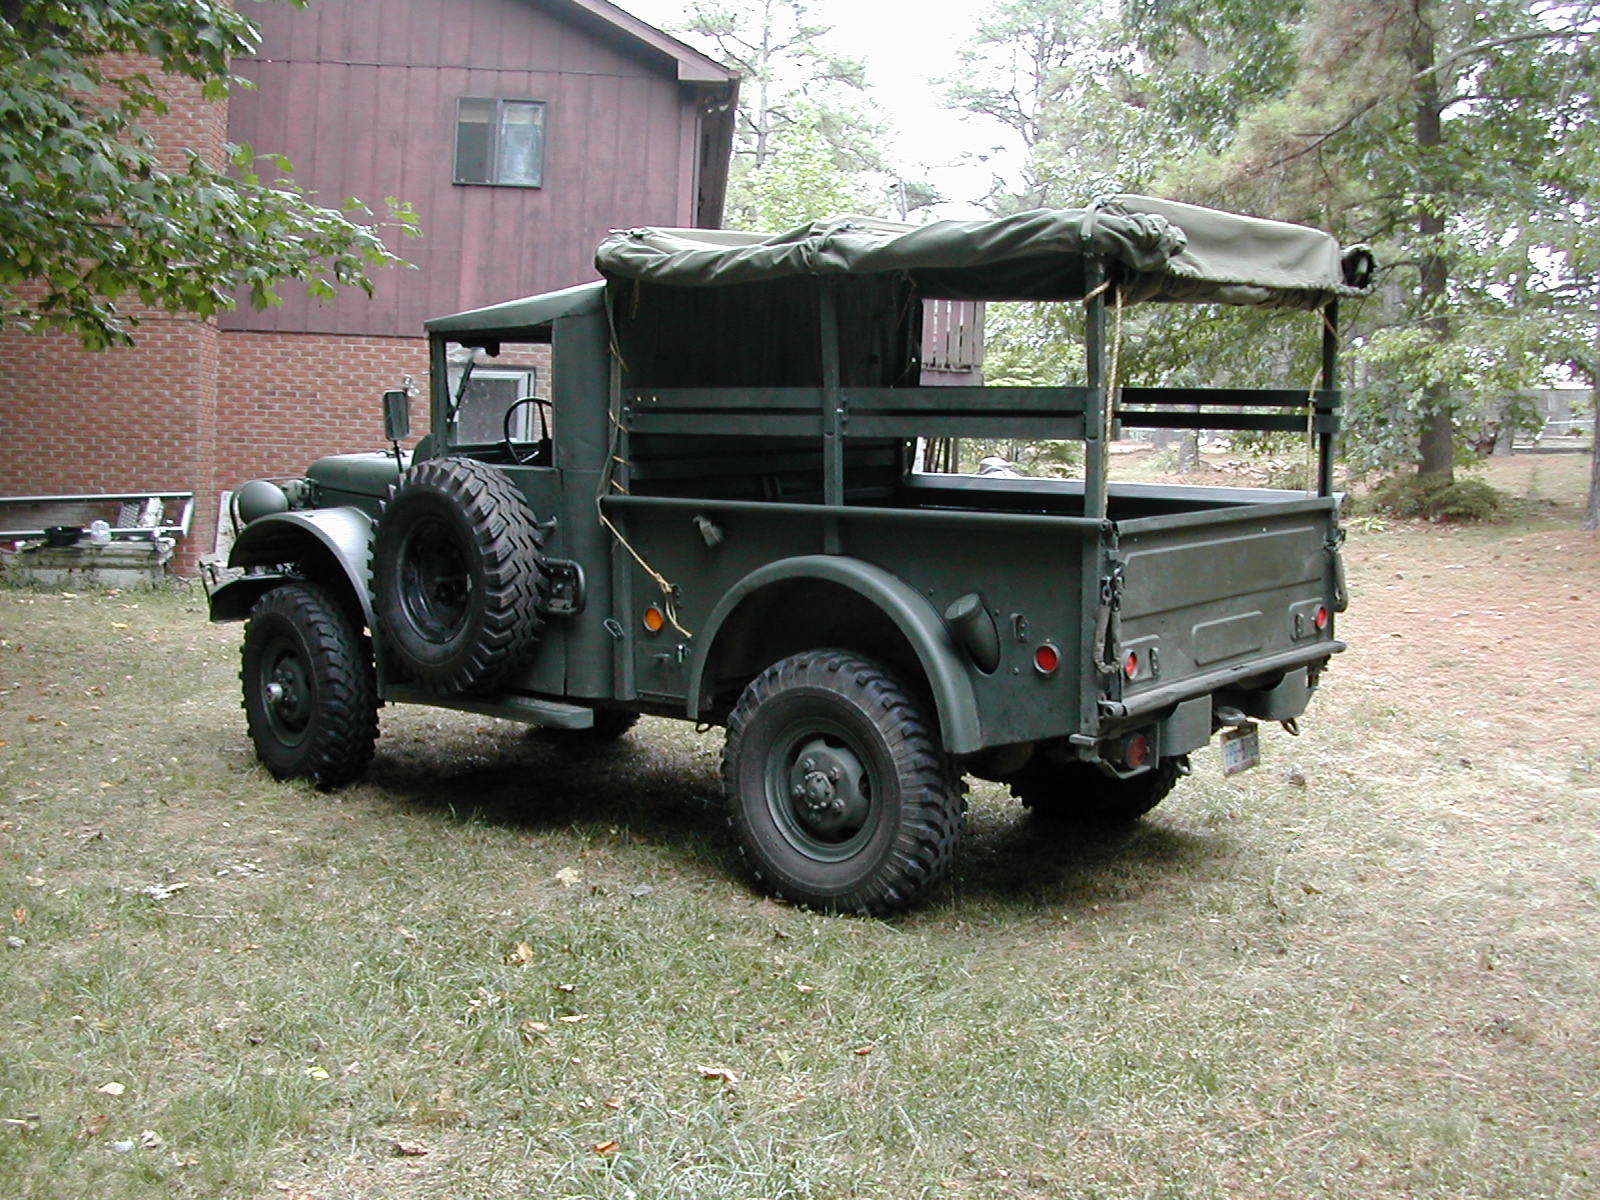 DD
DD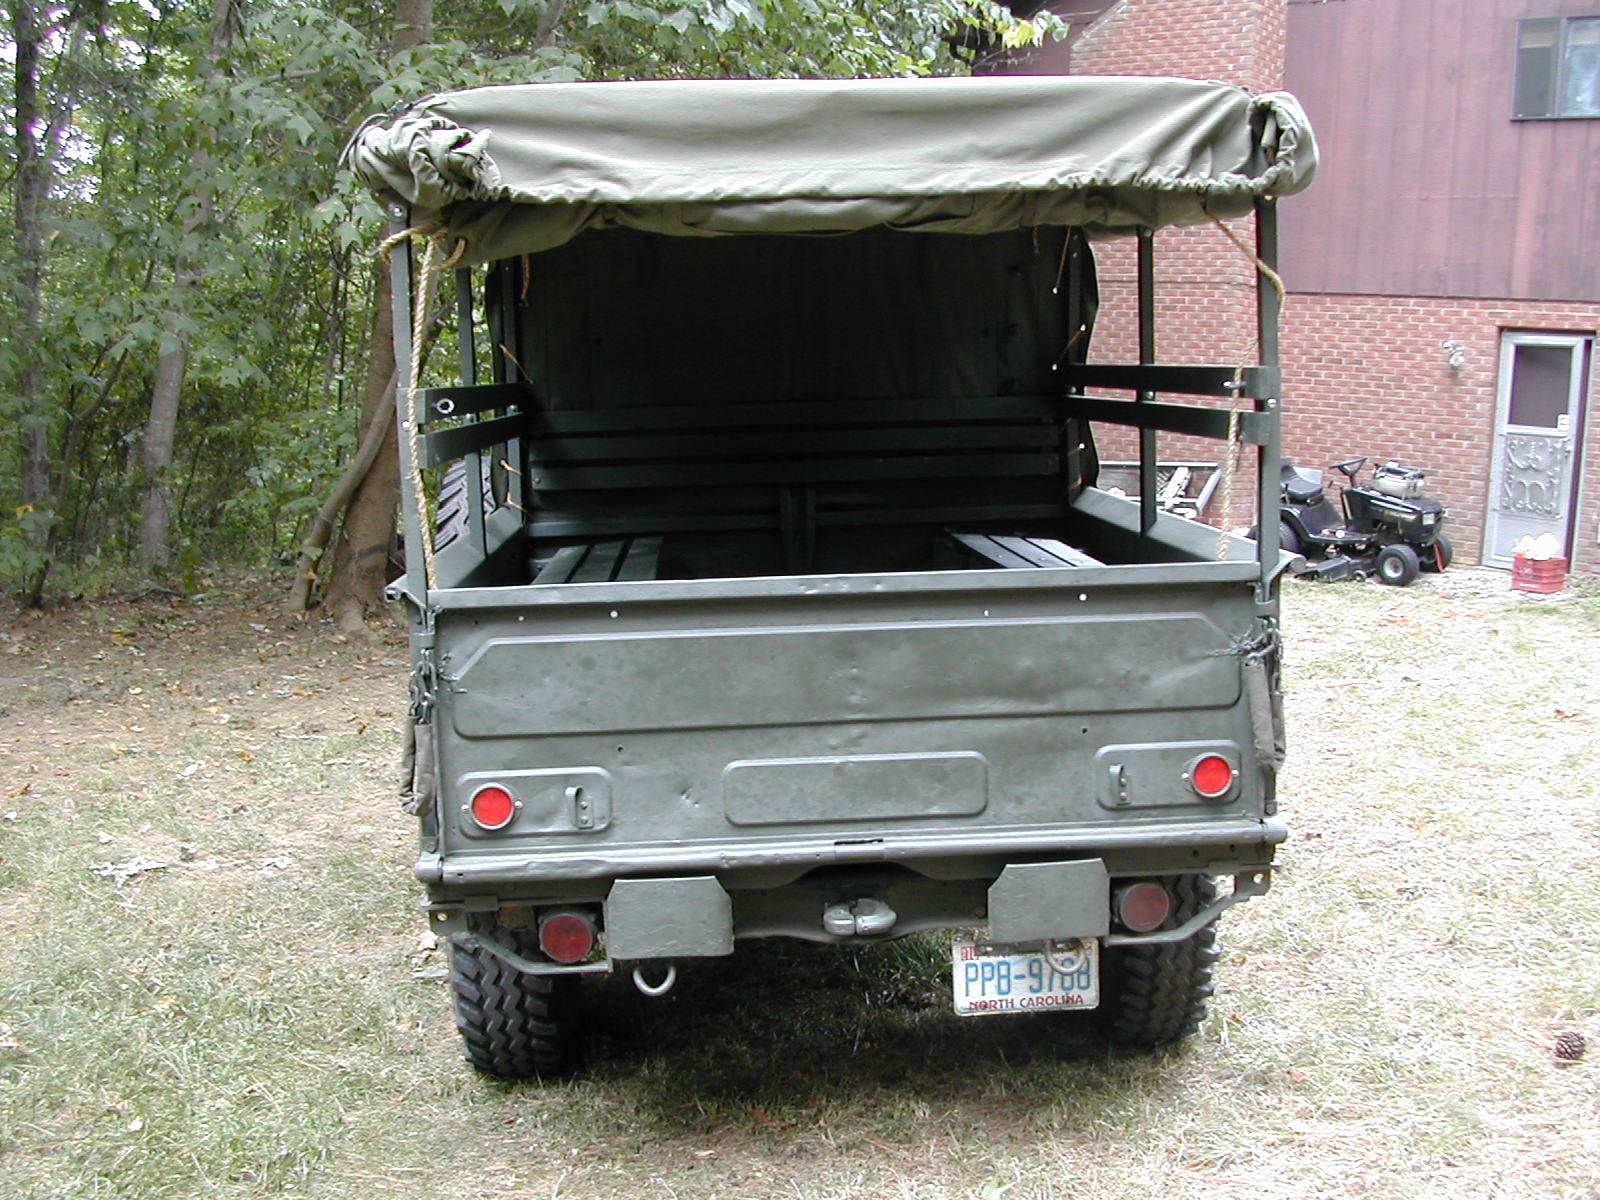 EE
EE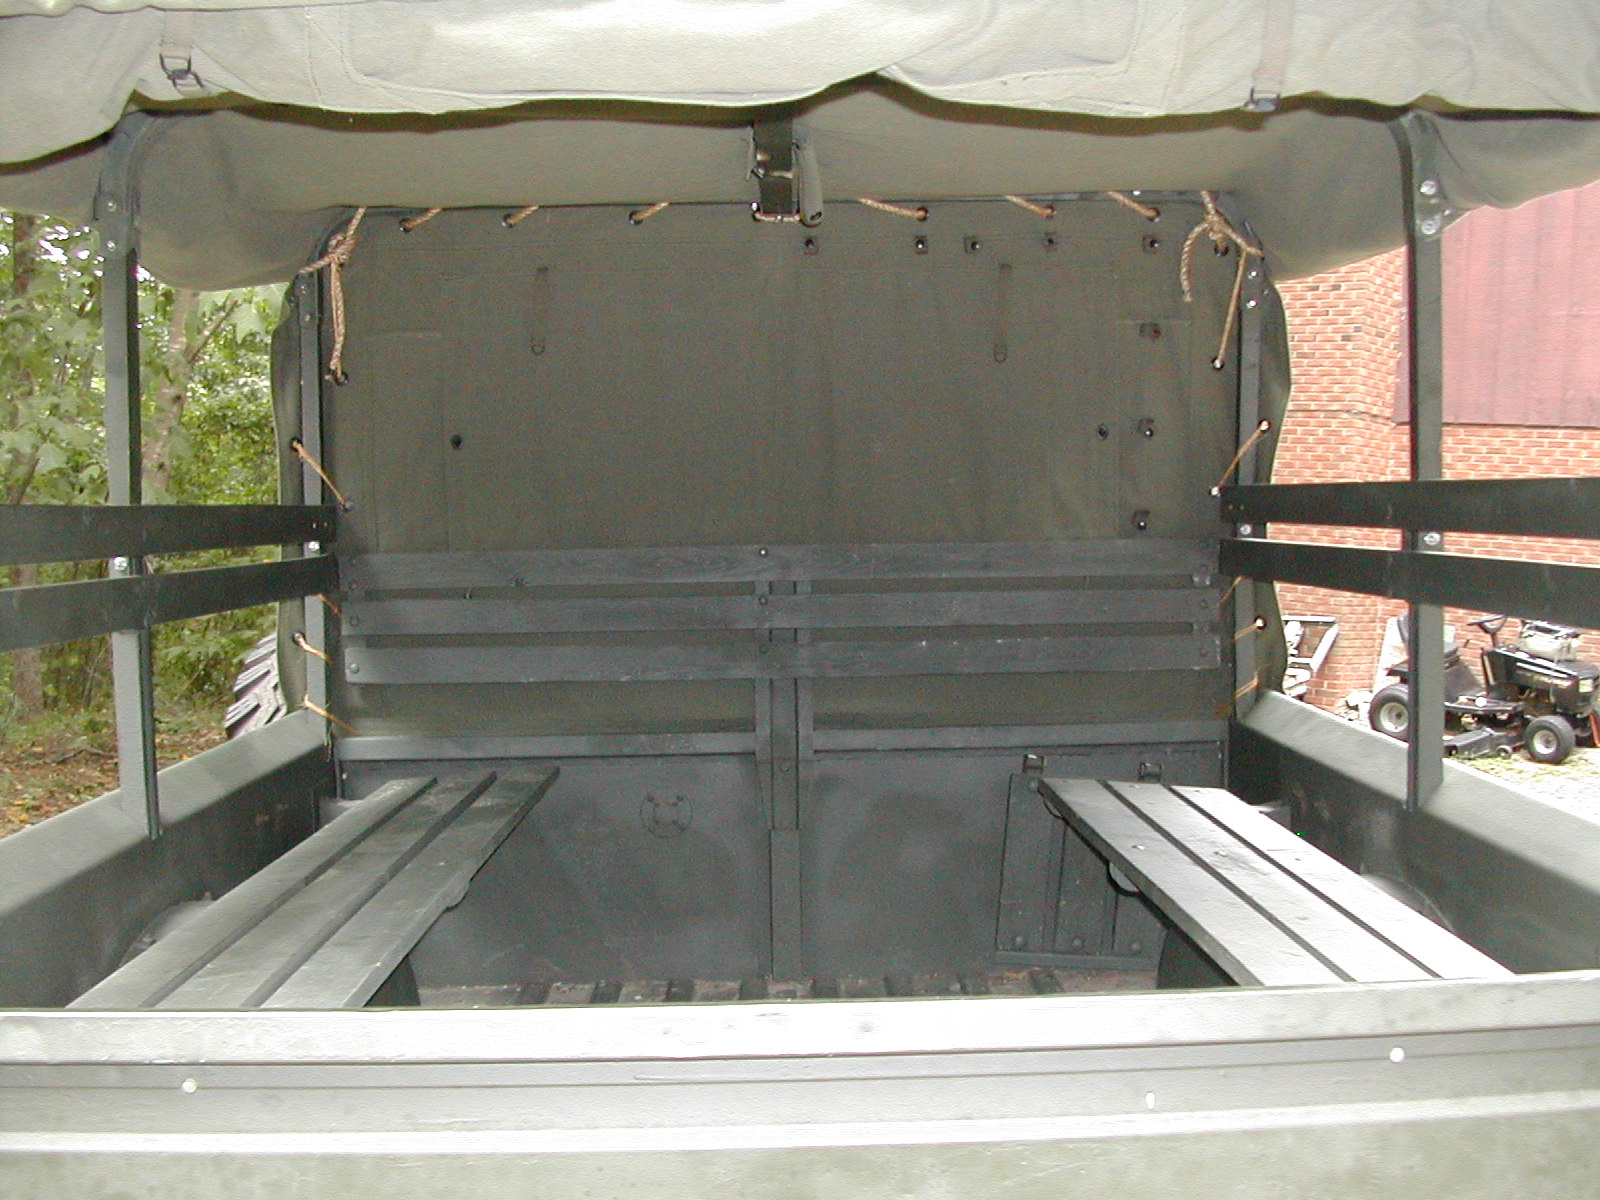 FF
FF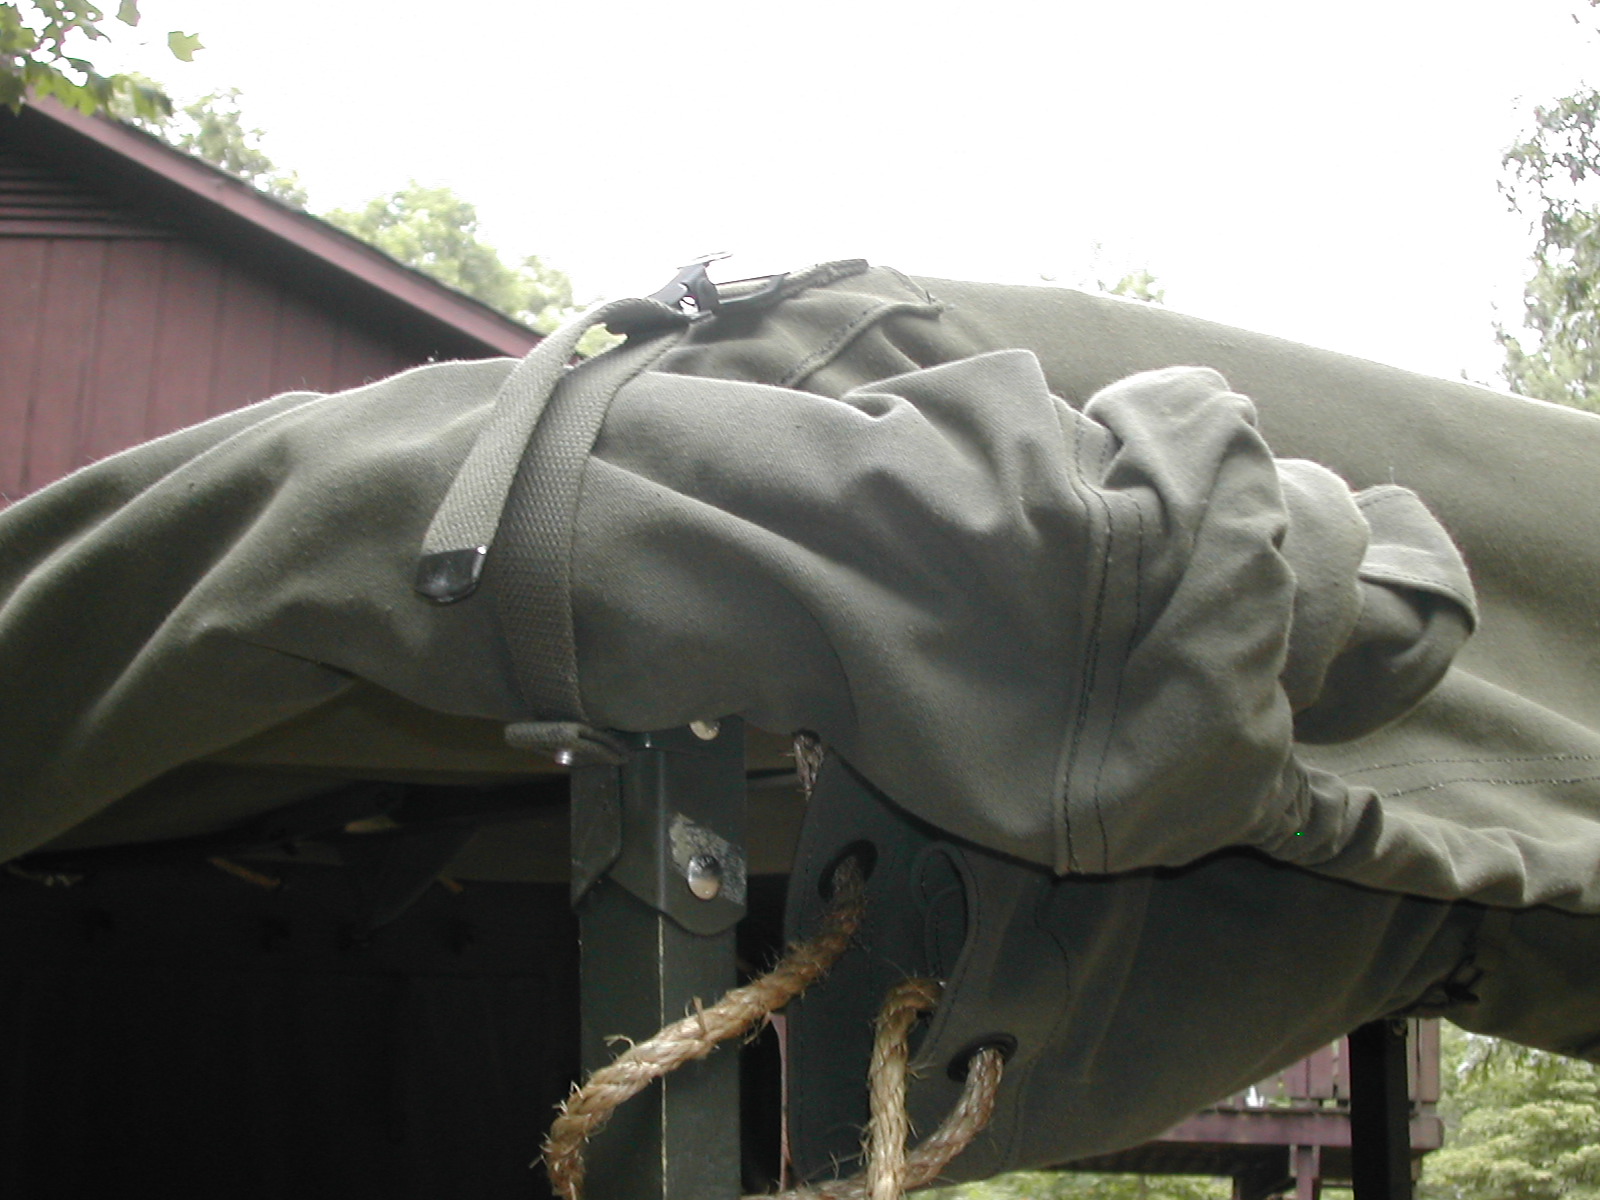 GG
GG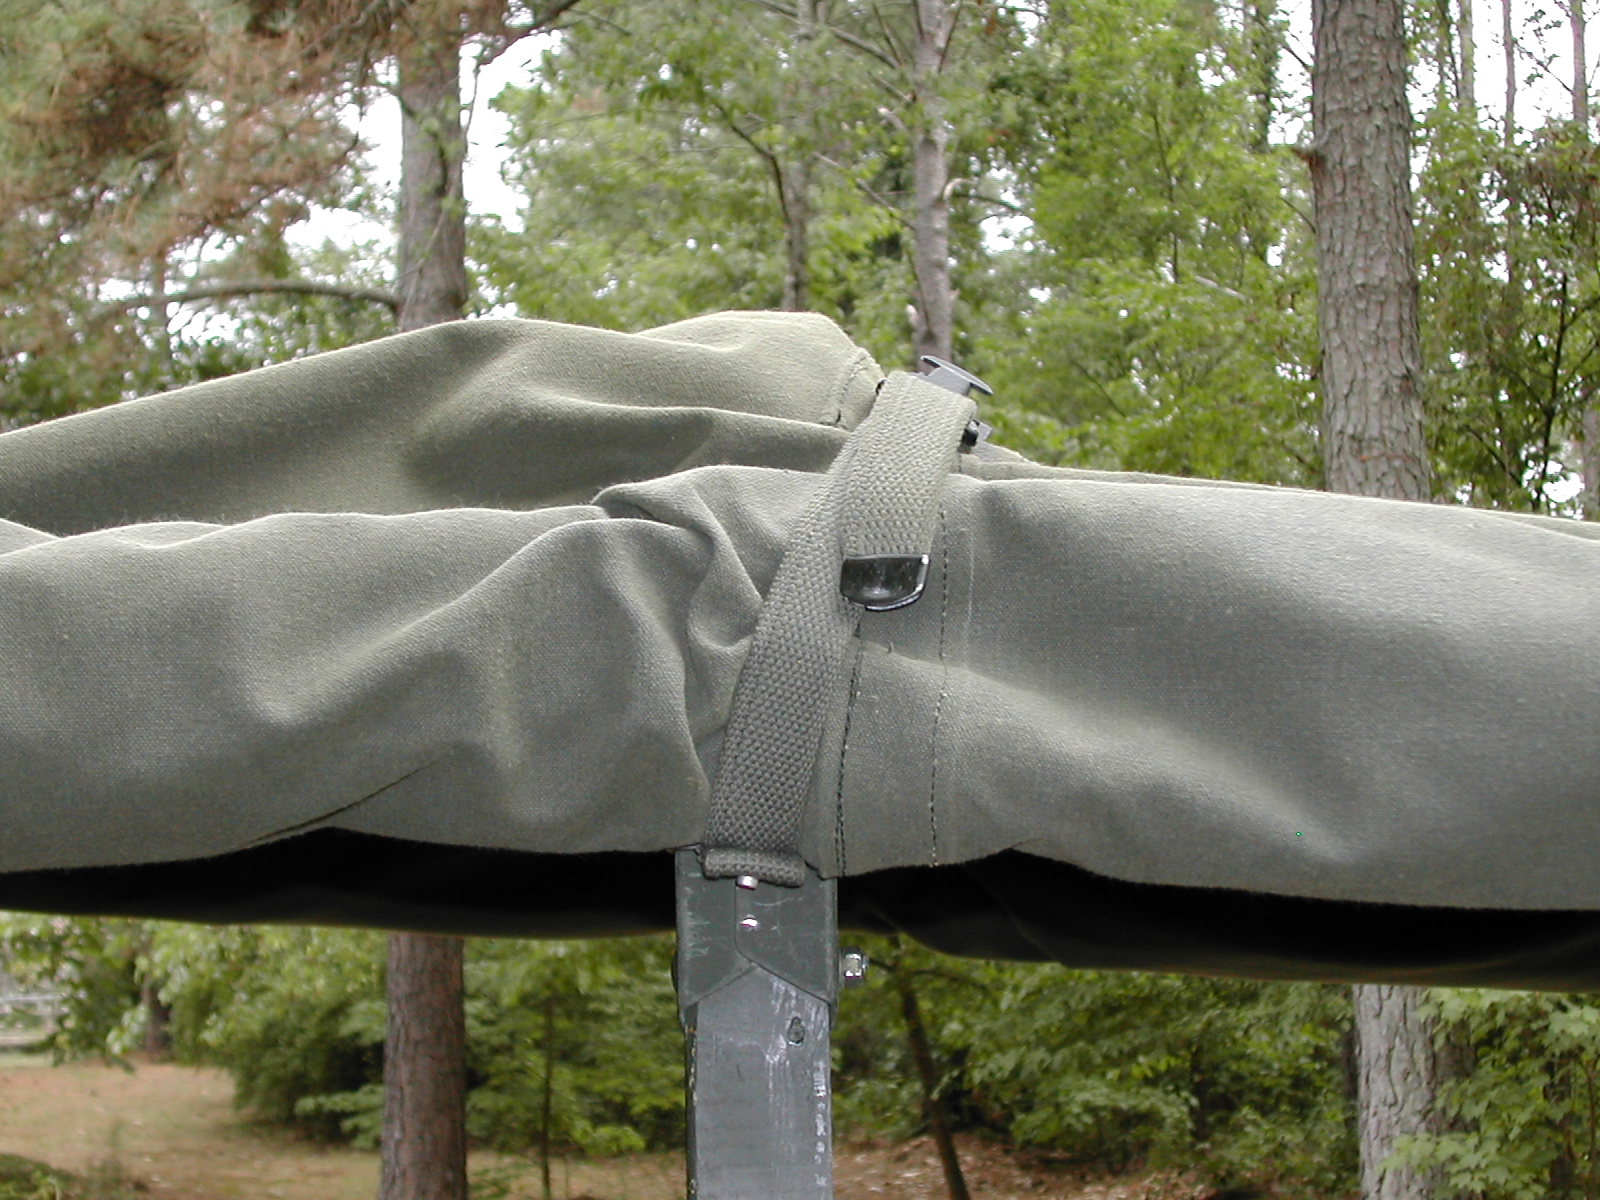 HH
HH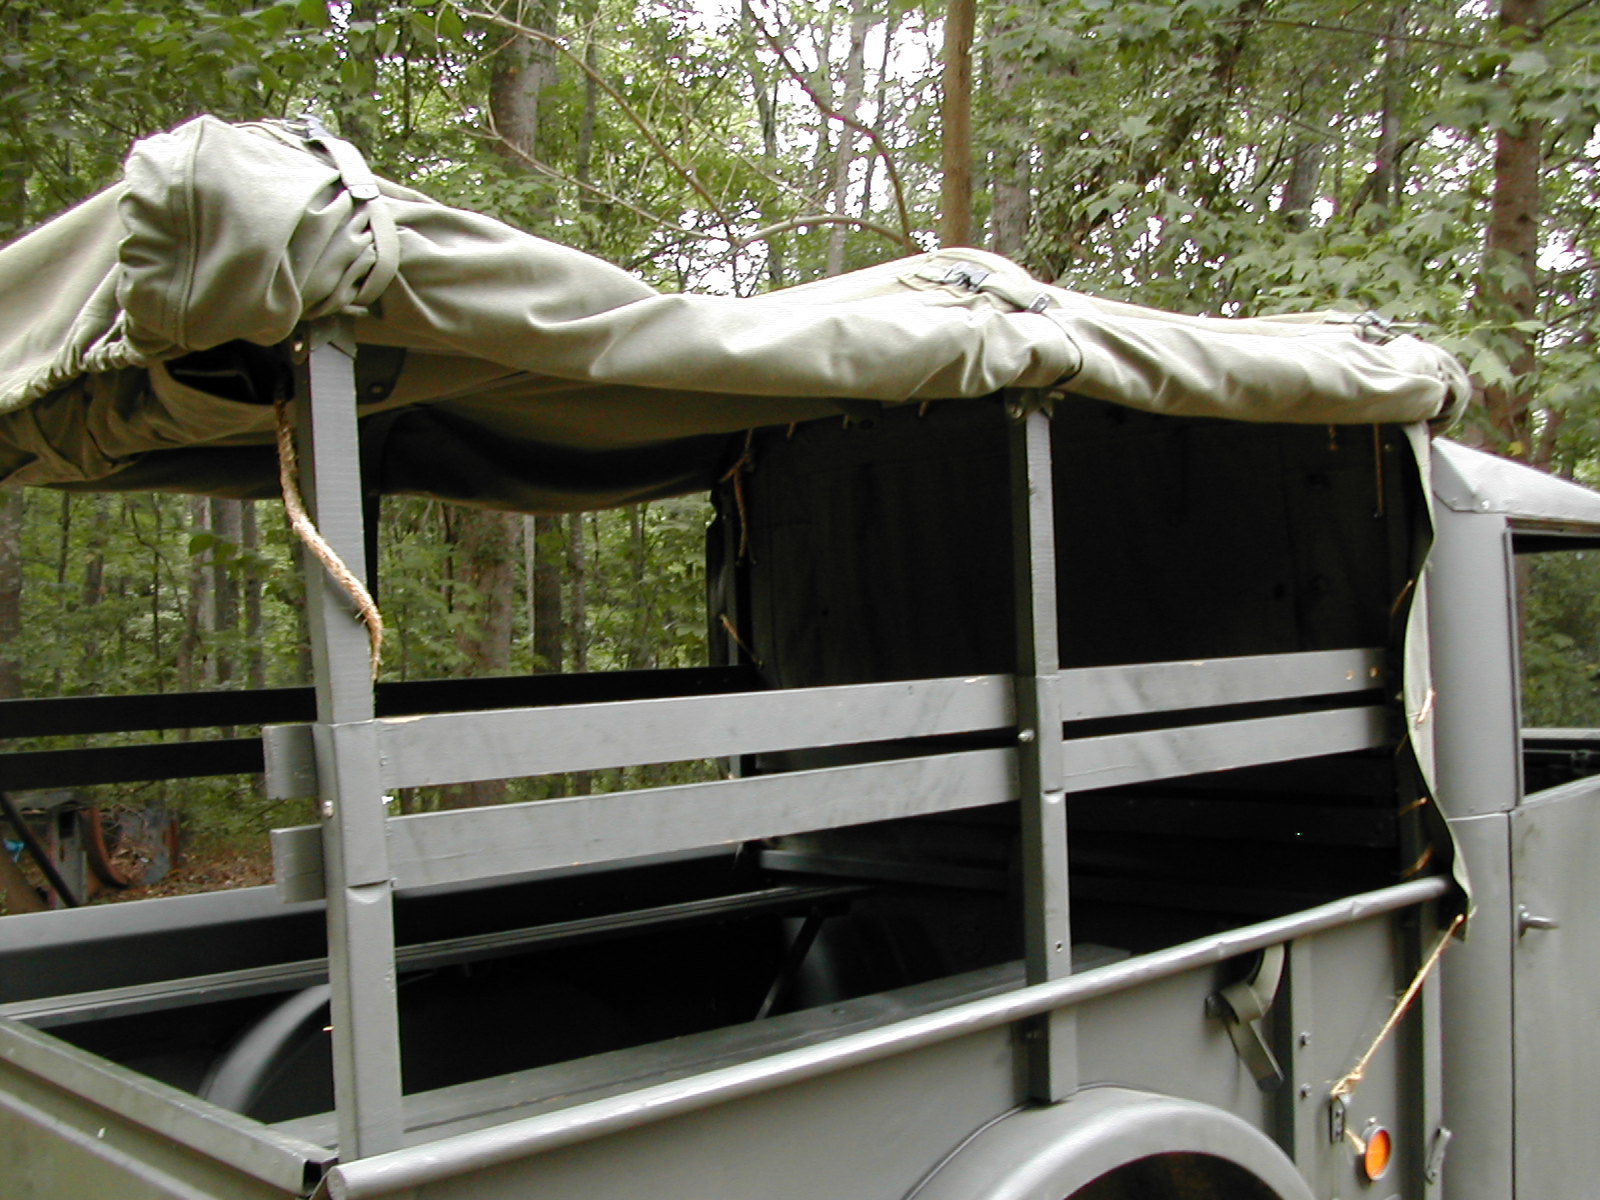 II
II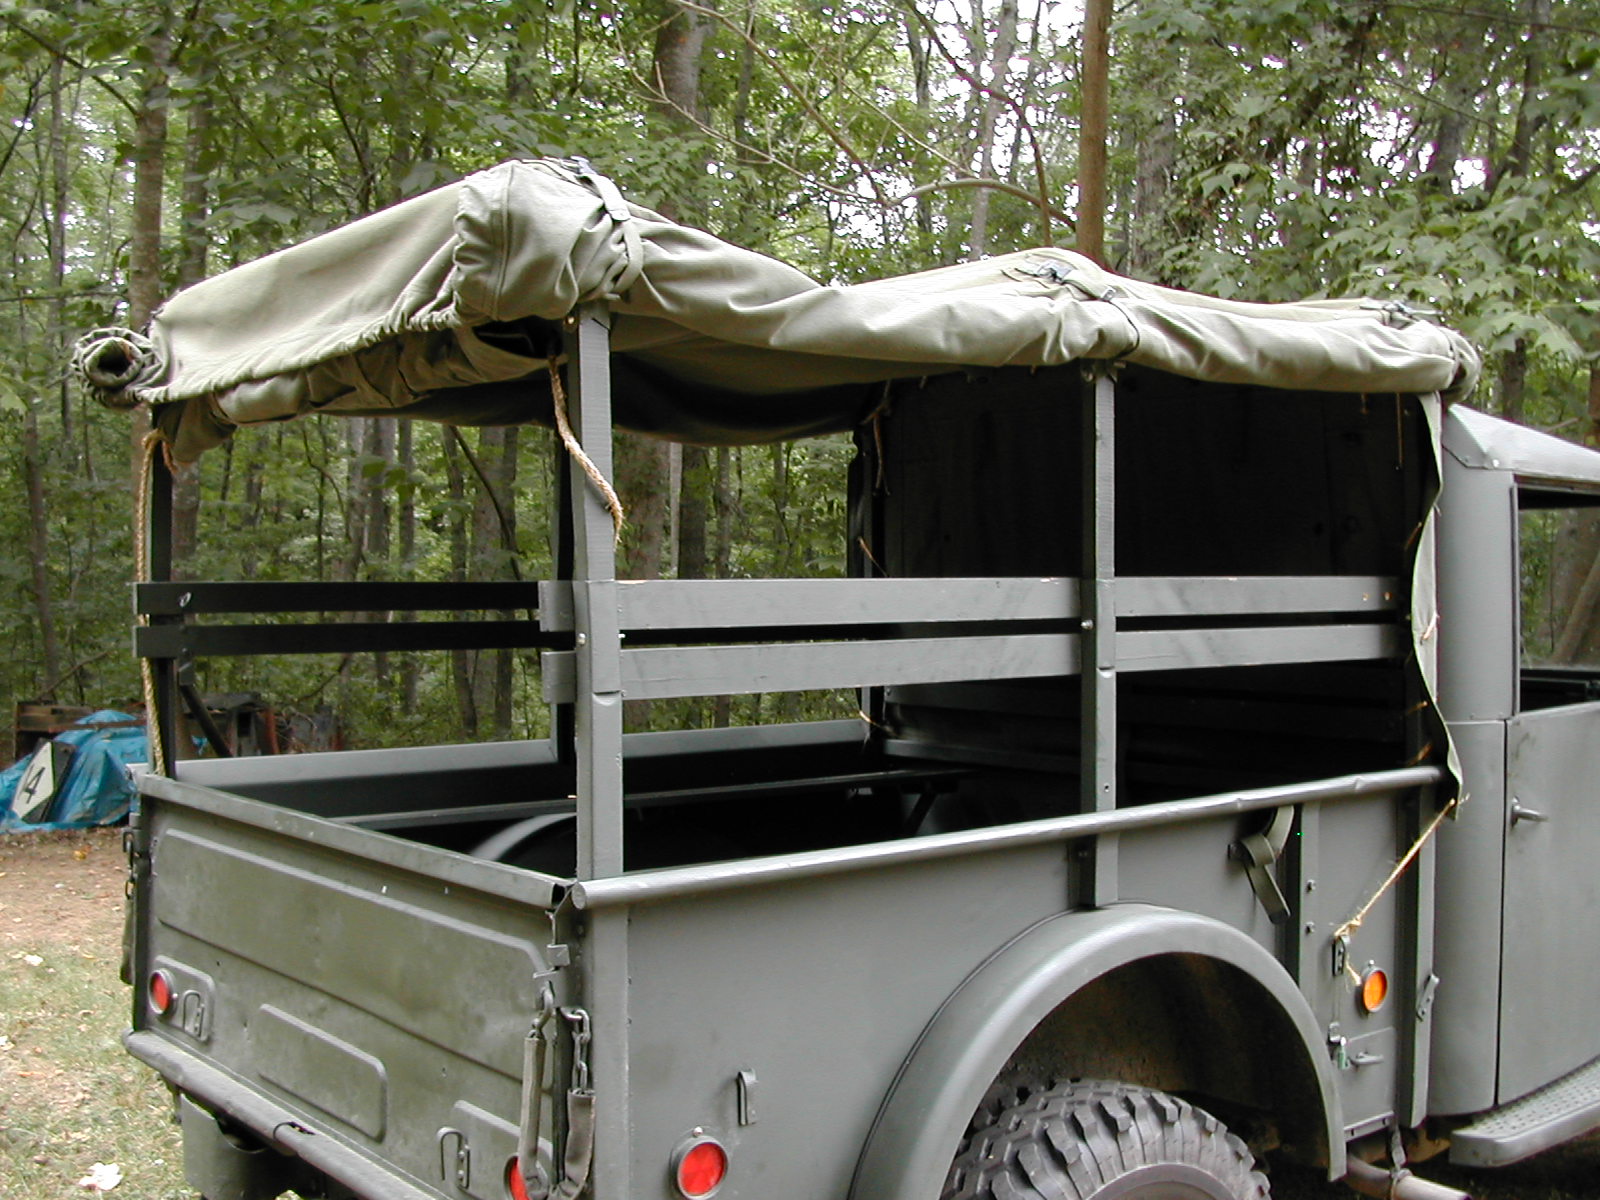 JJ
JJ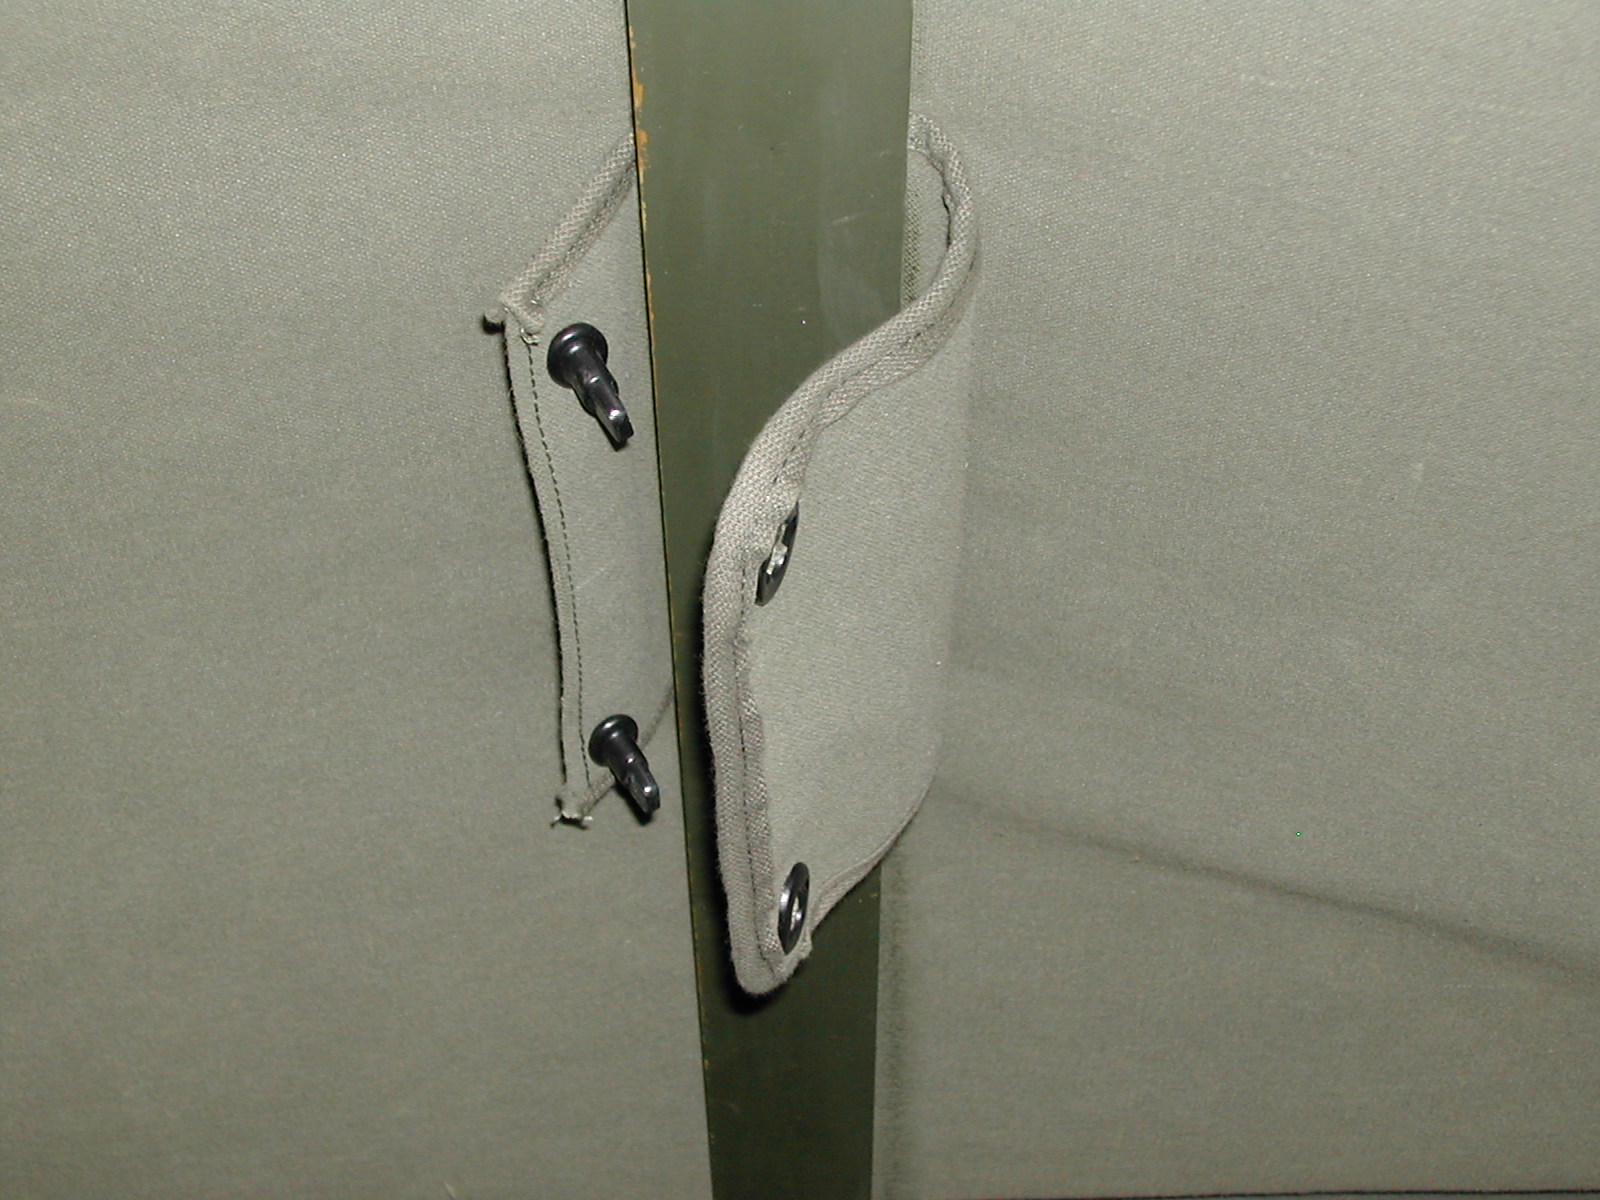 KK
KK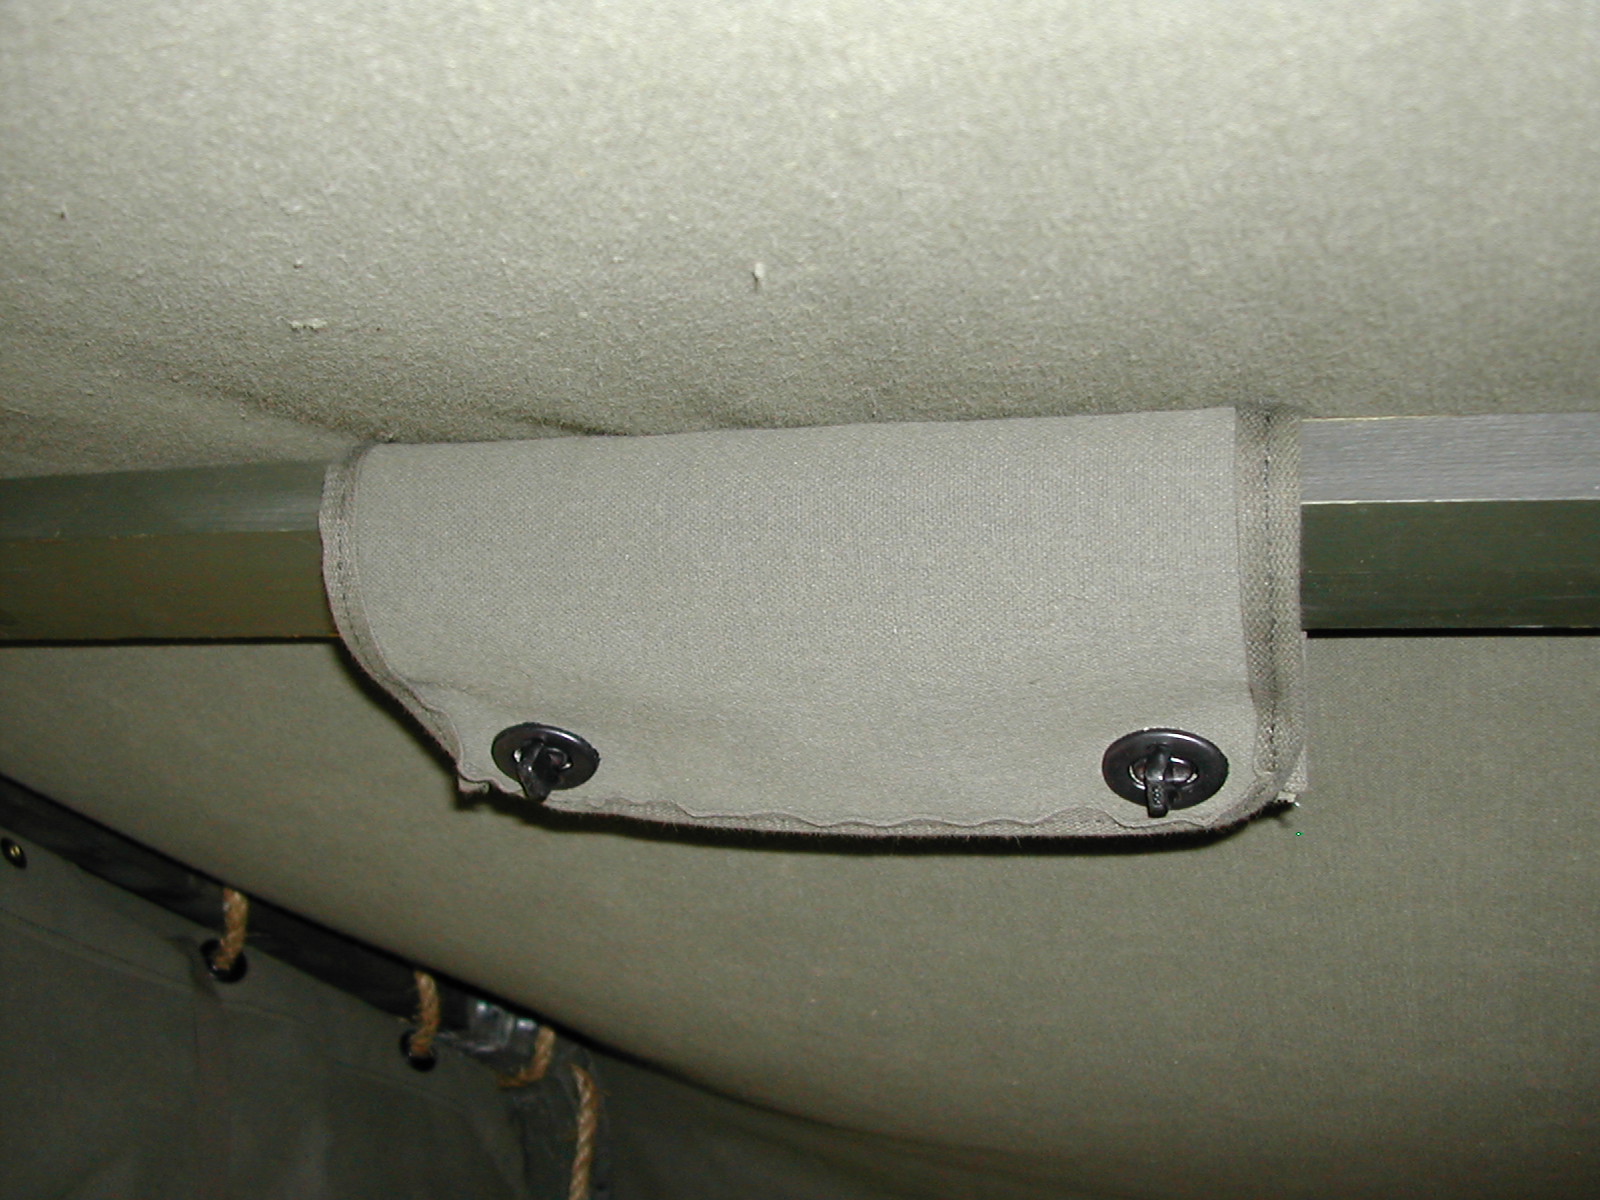 LL
LL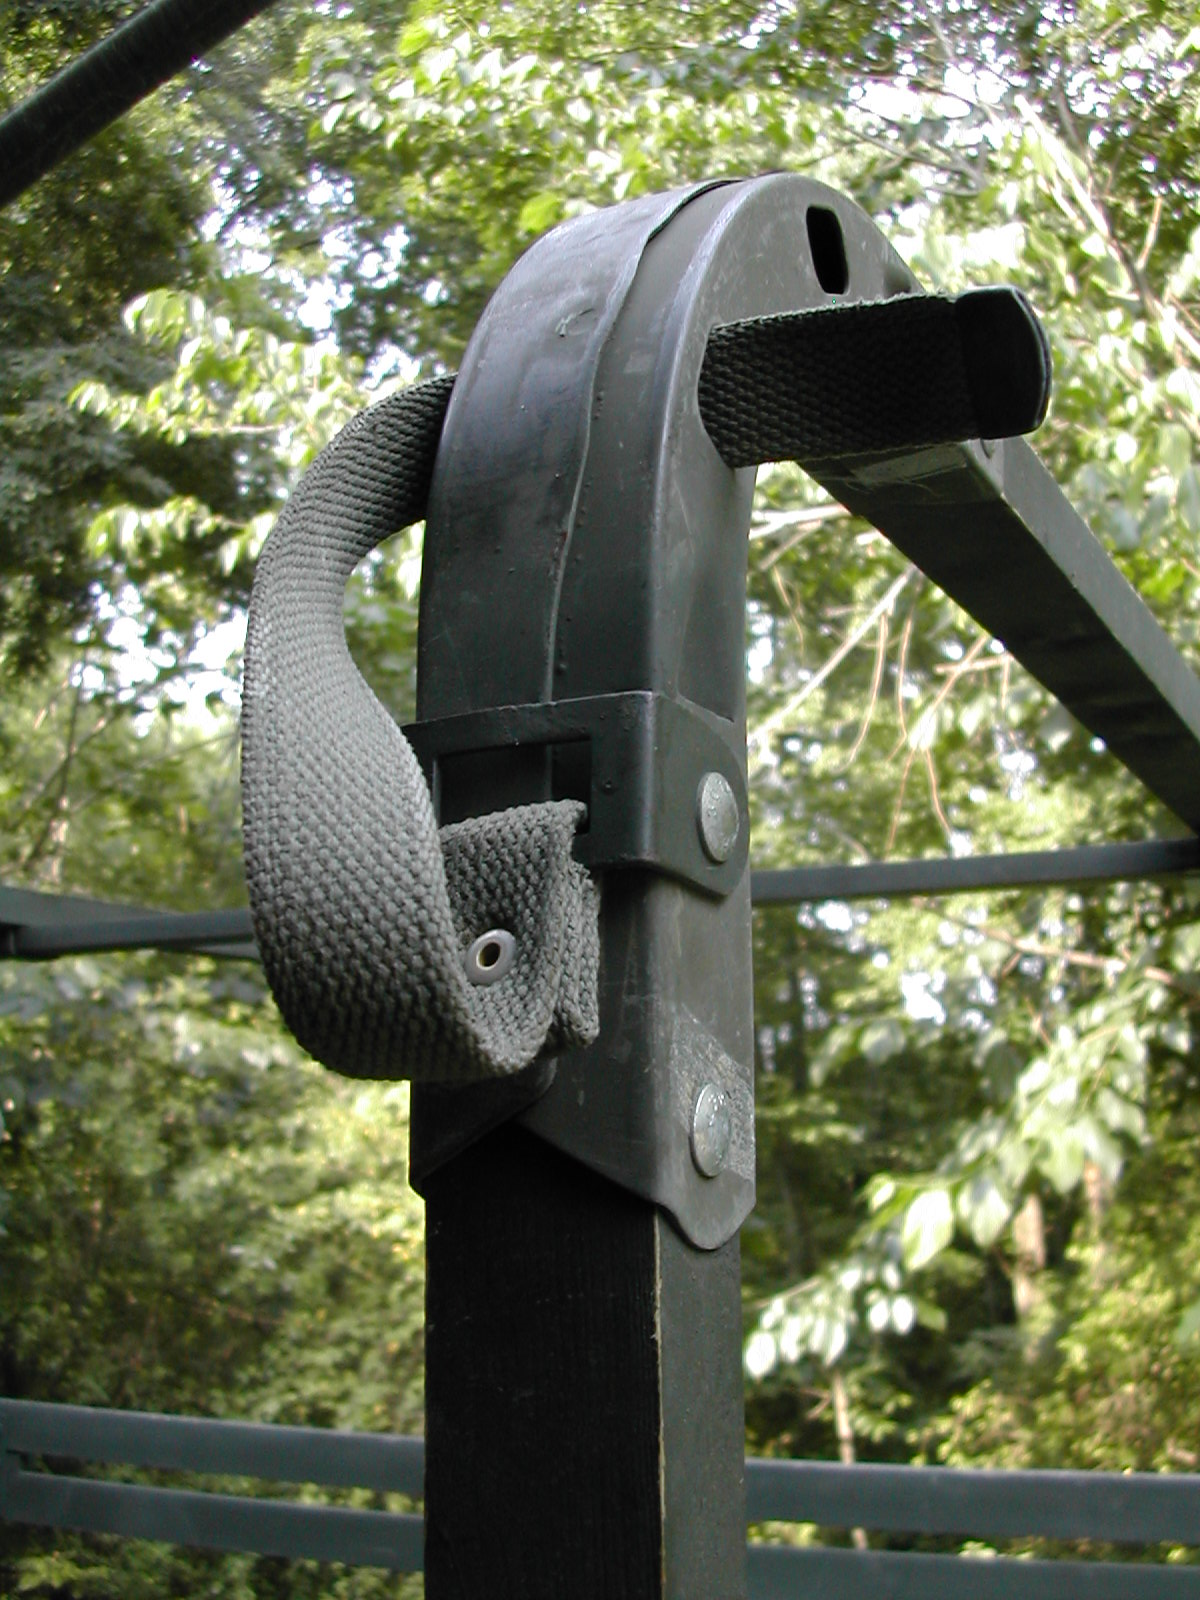 MM
MM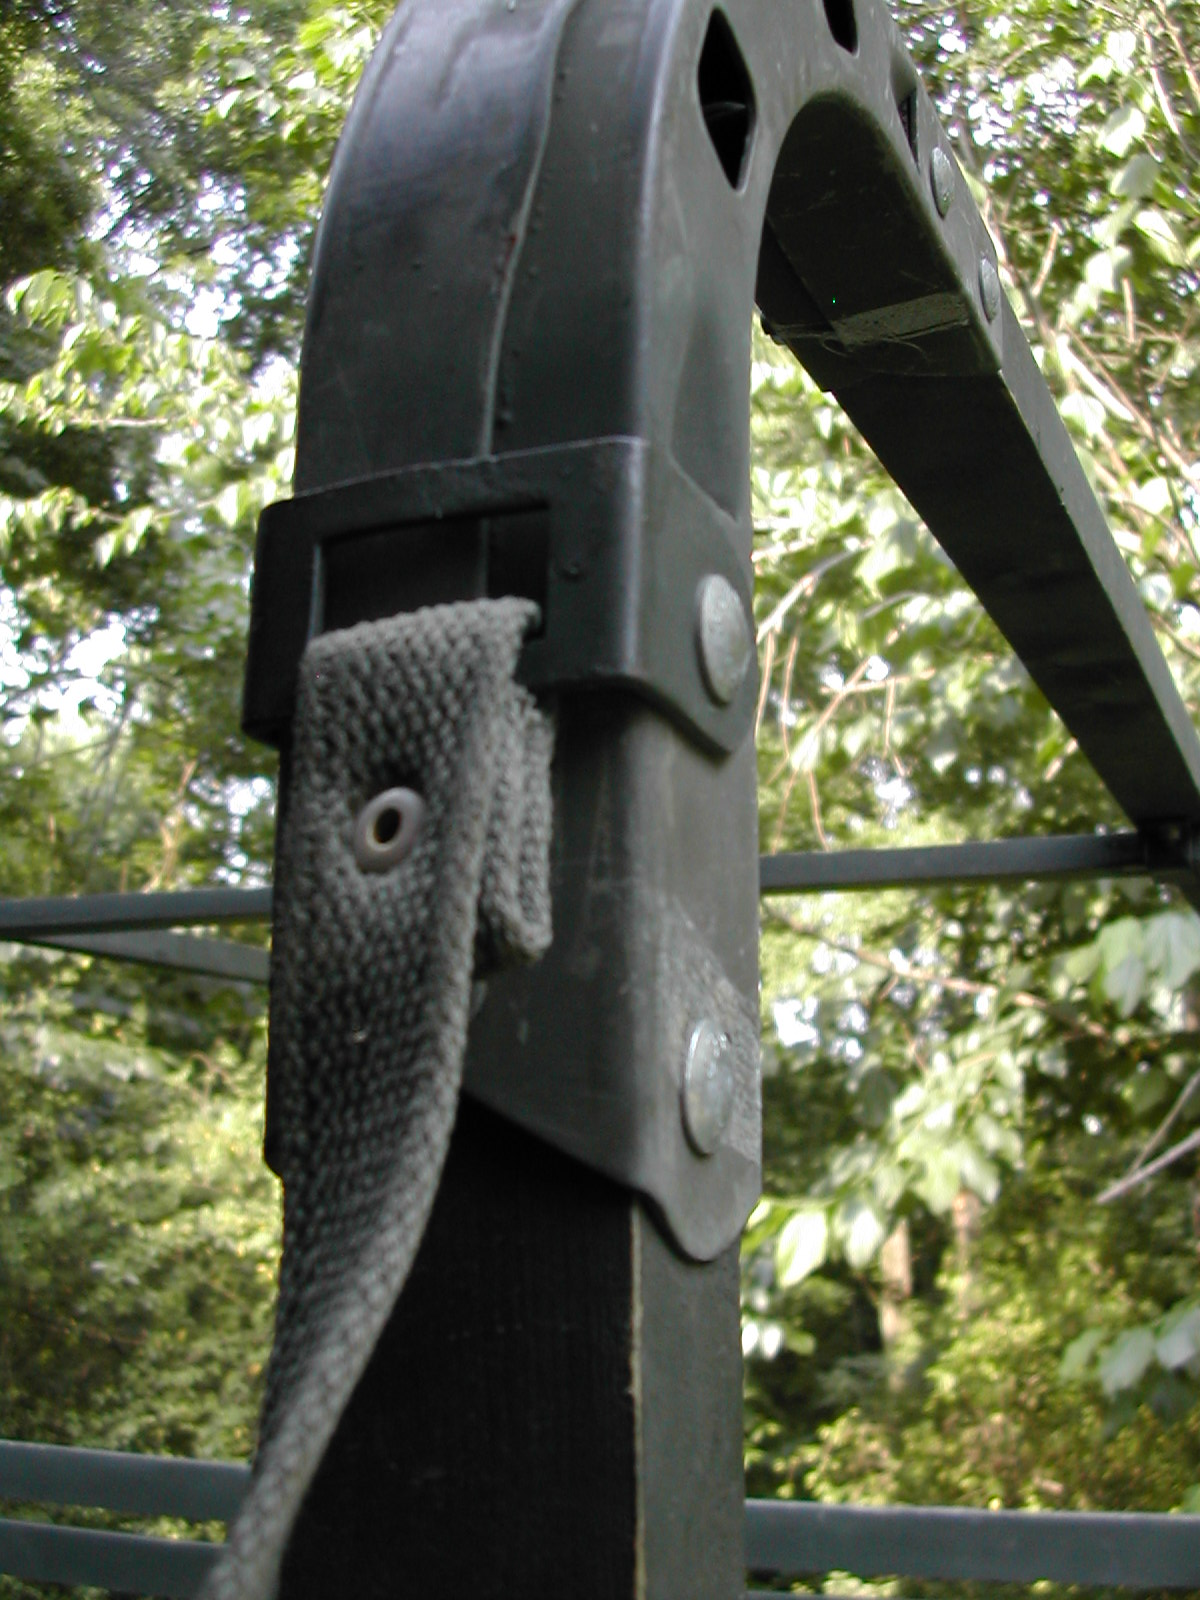 NN
NN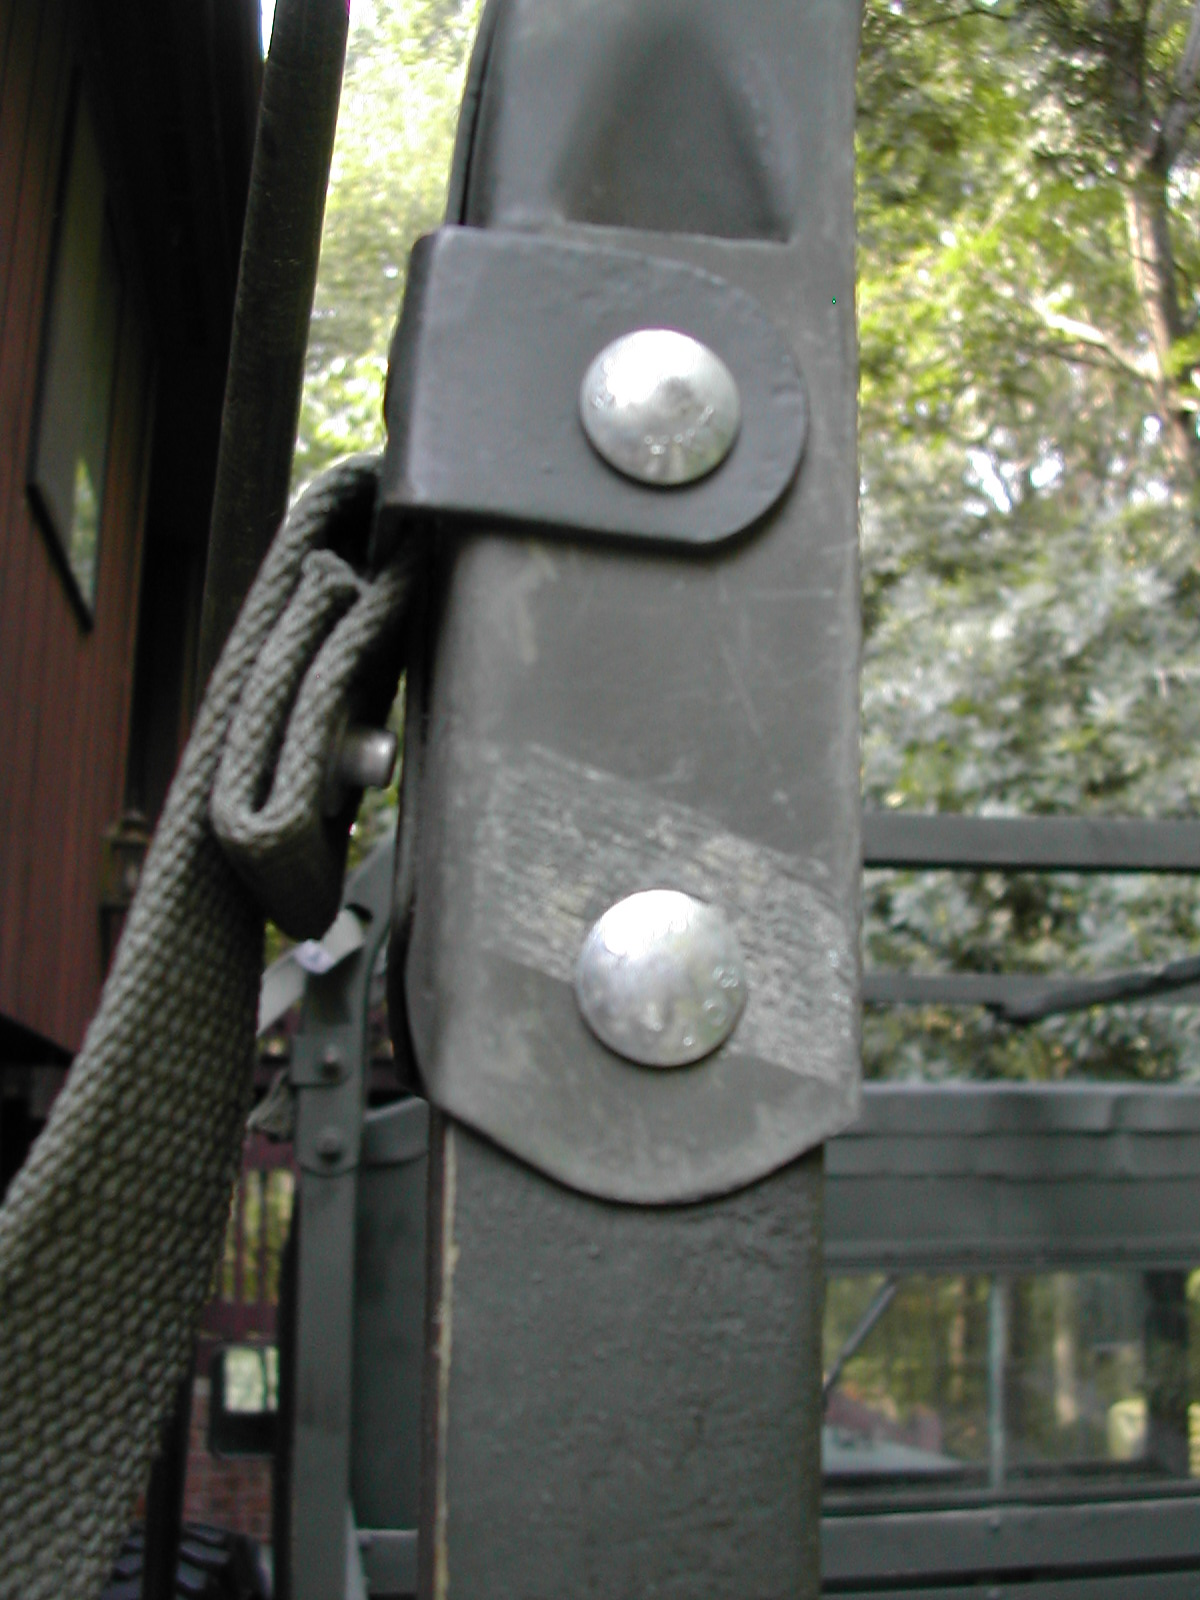 OO
OO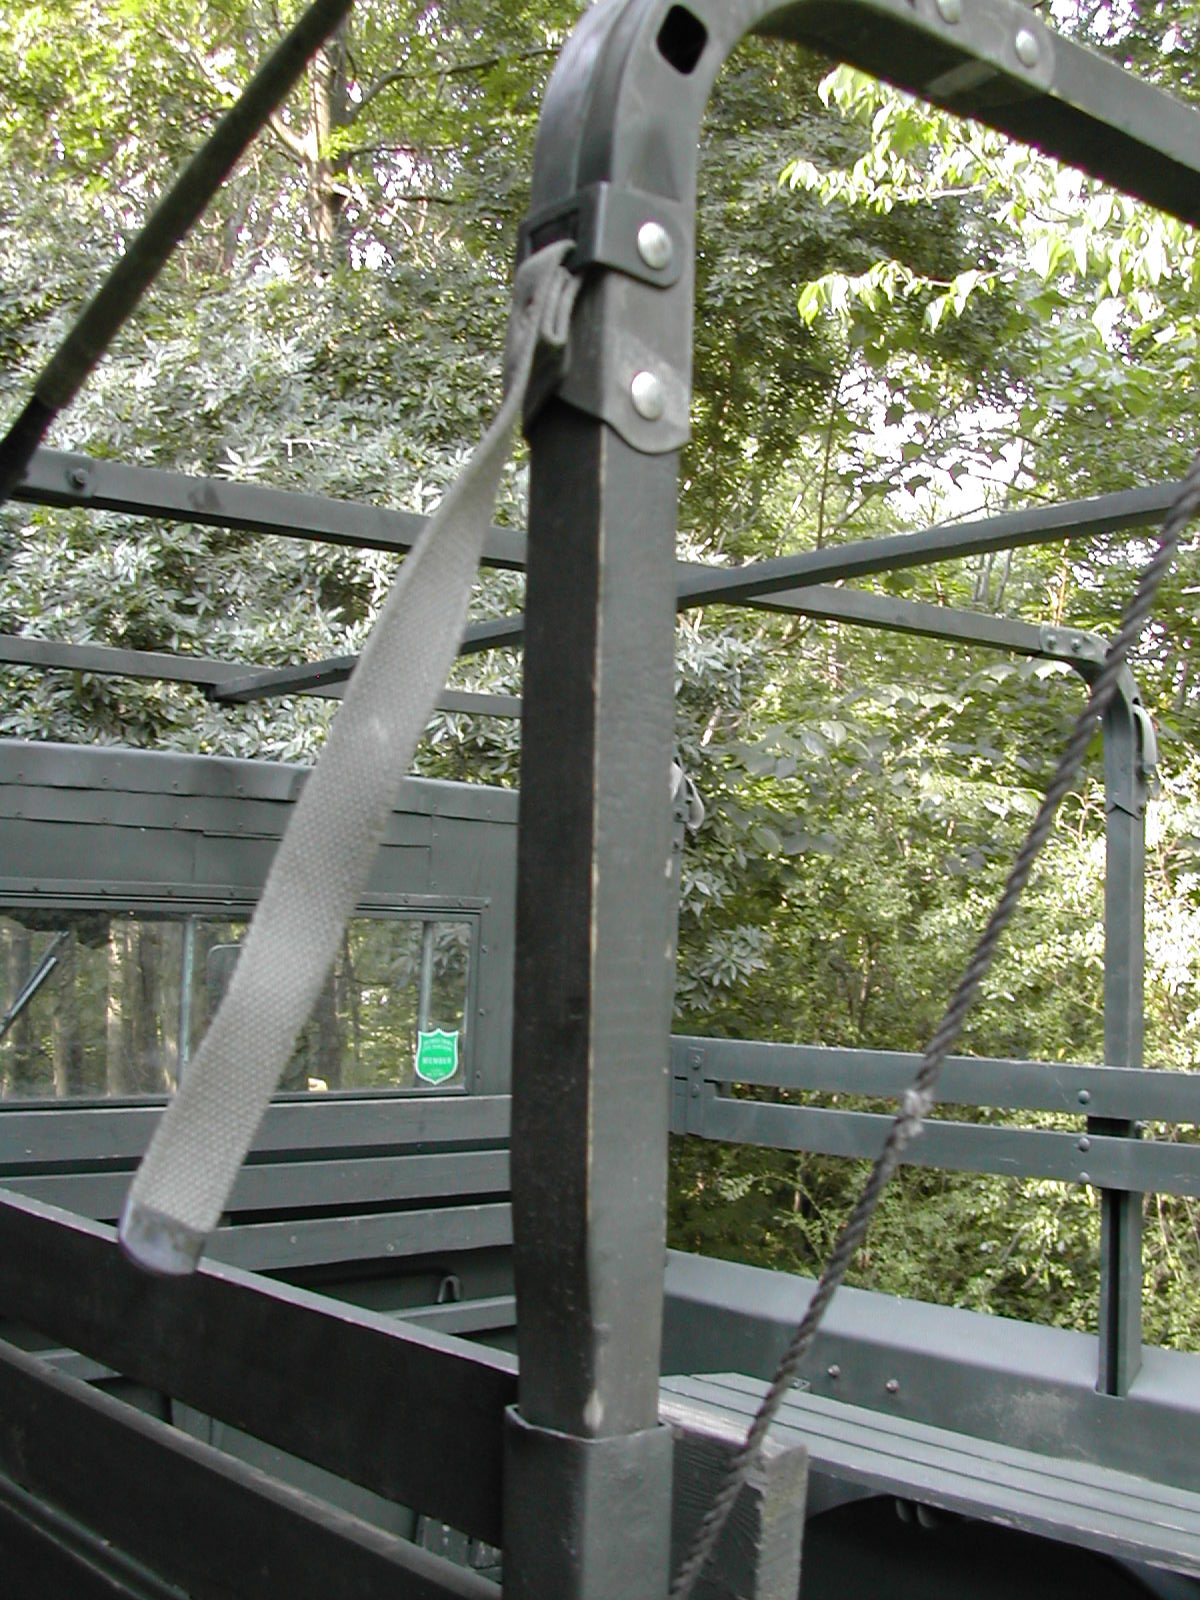 PP
PP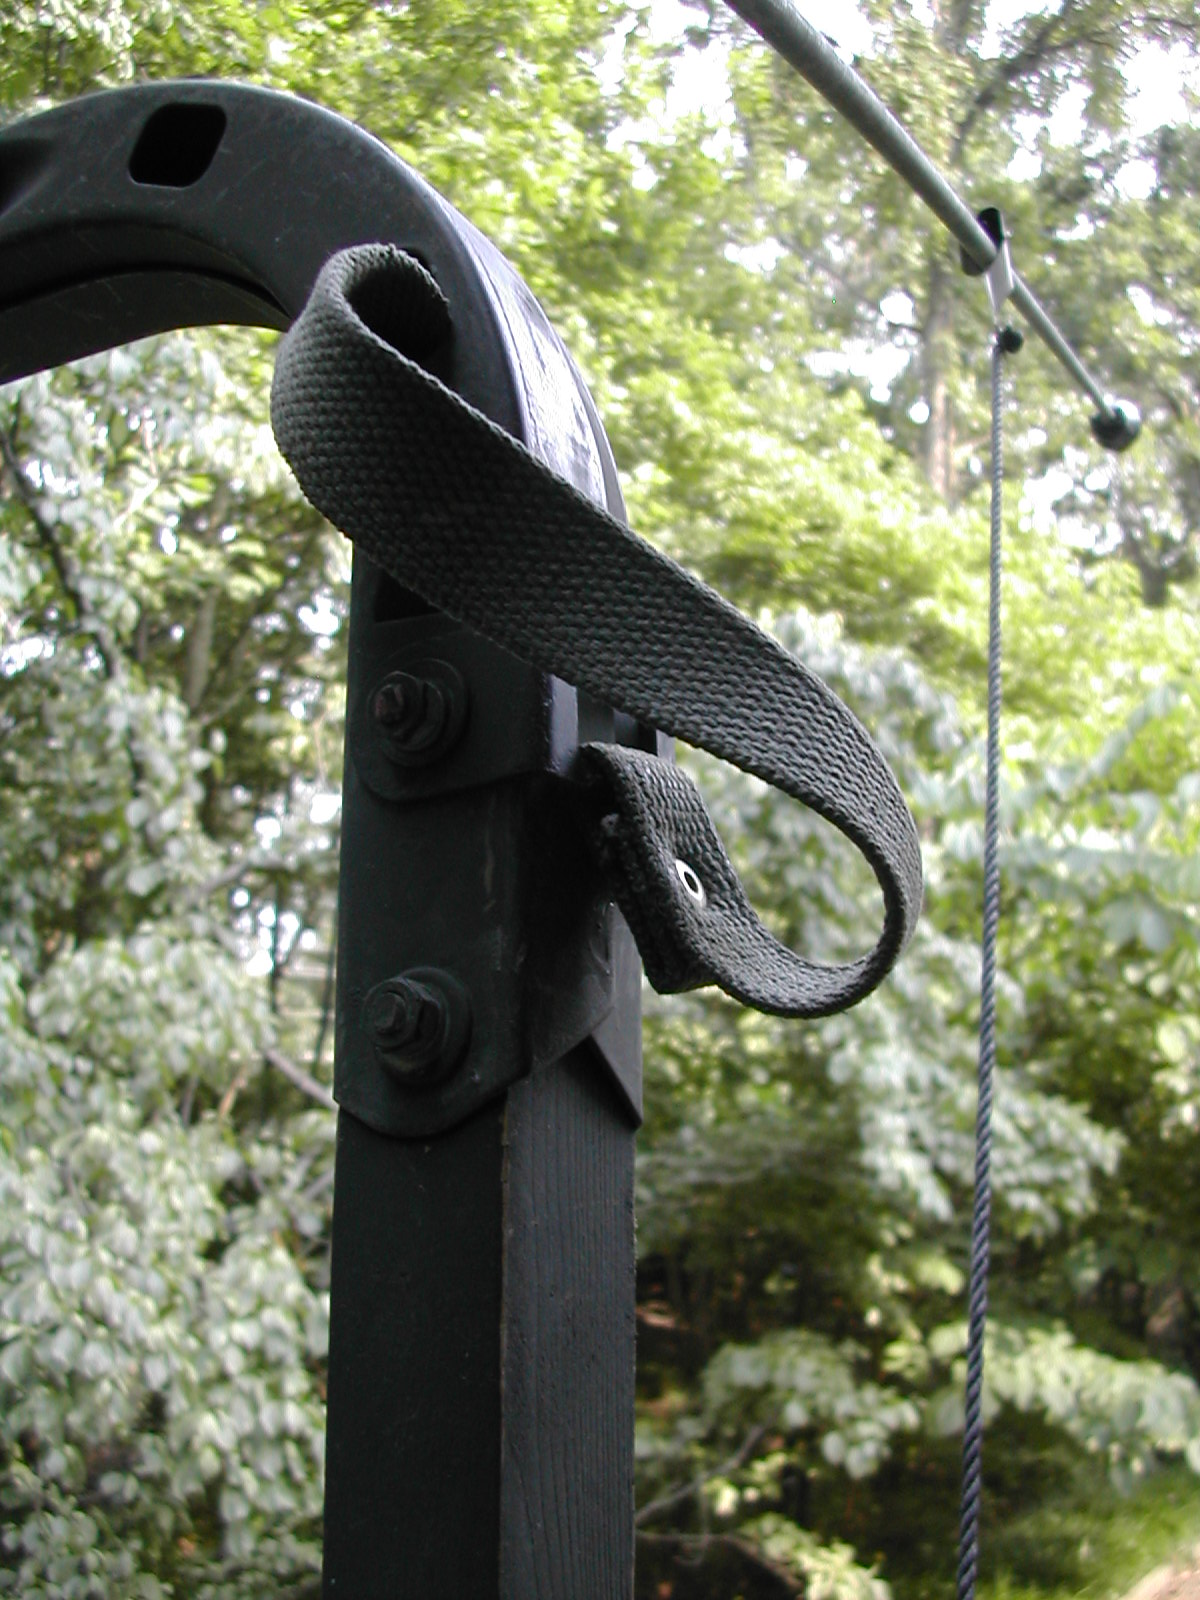 QQ
QQ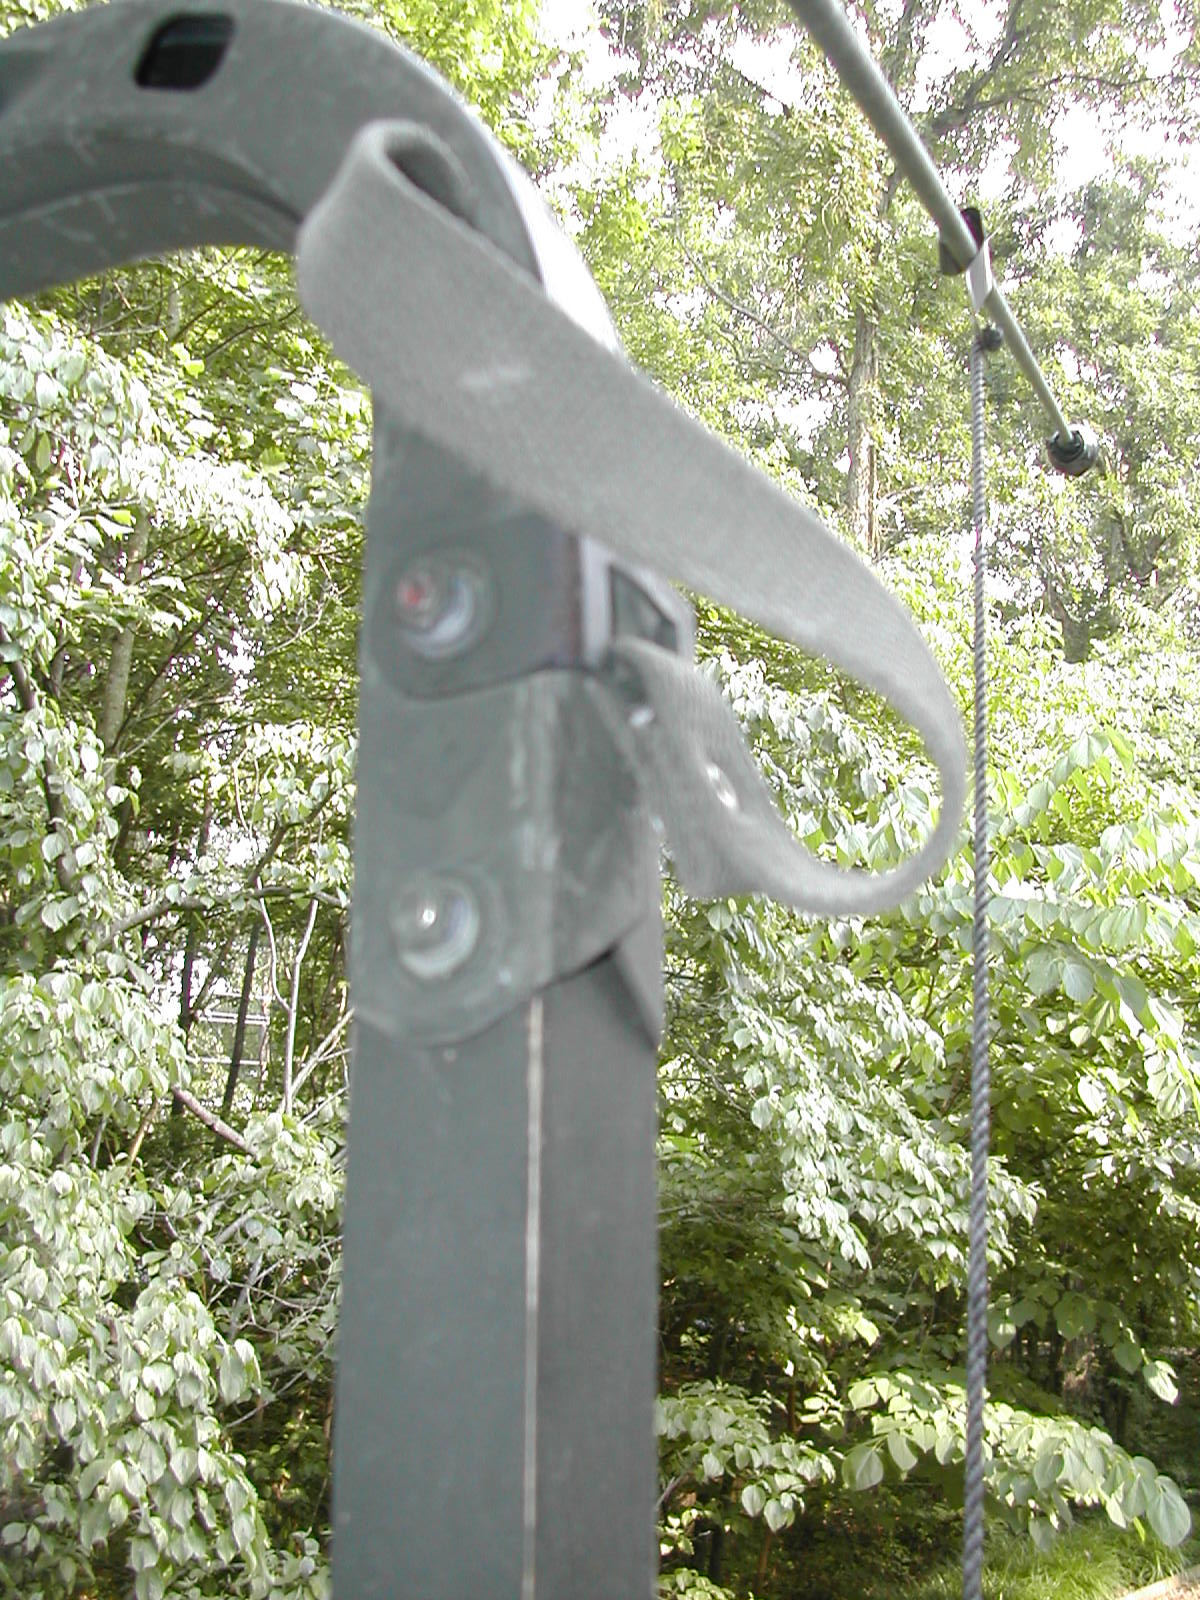 RR
RR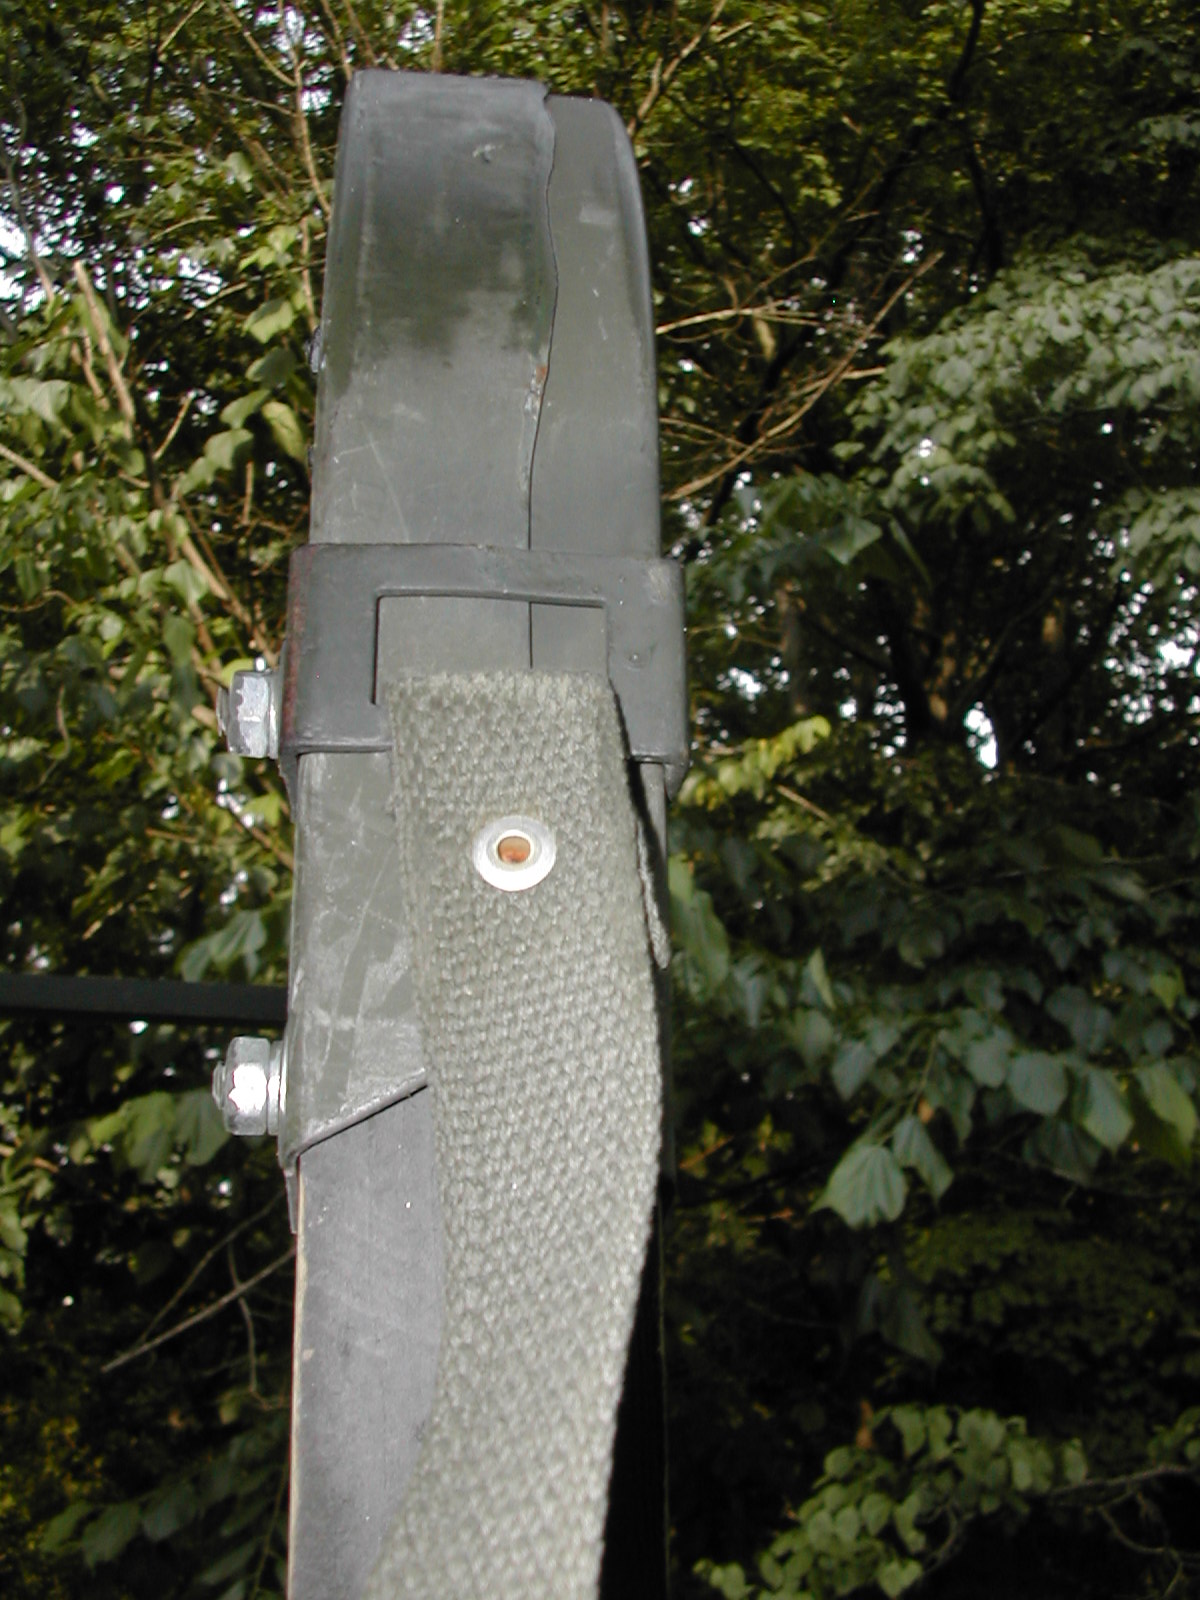 SS
SS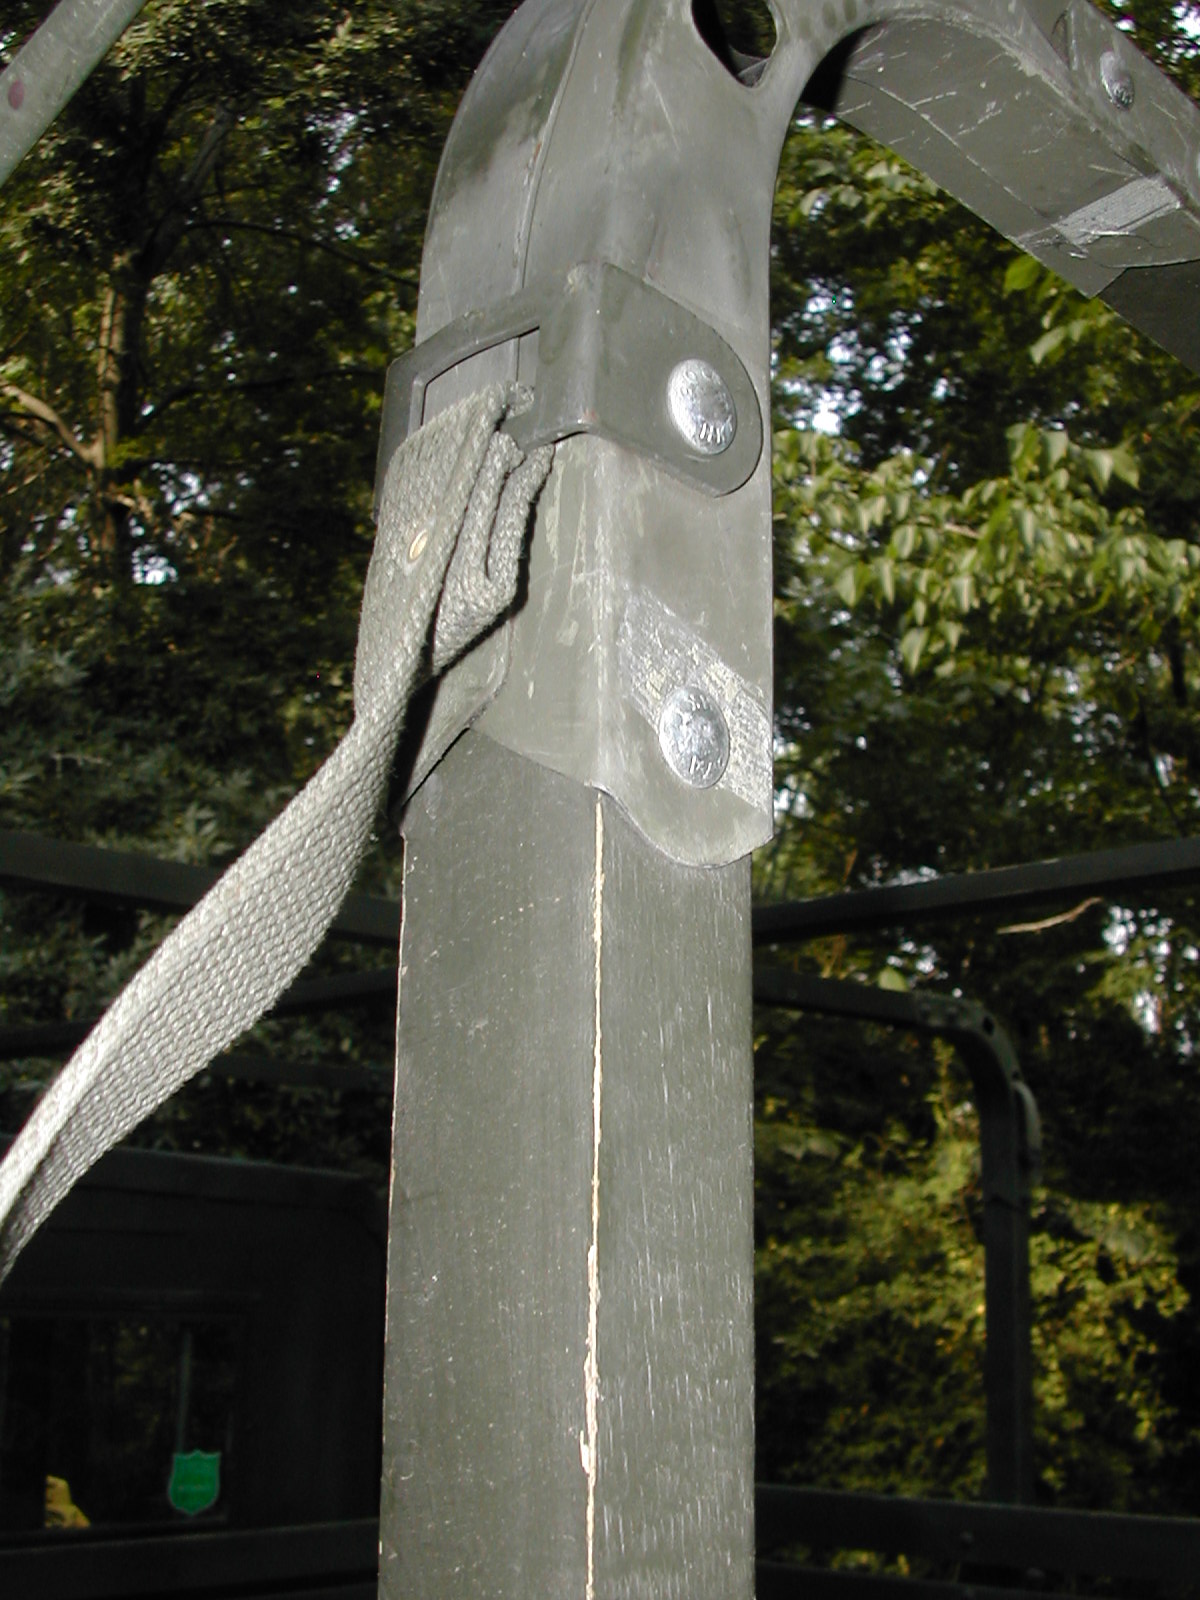 TT
TT UU
UU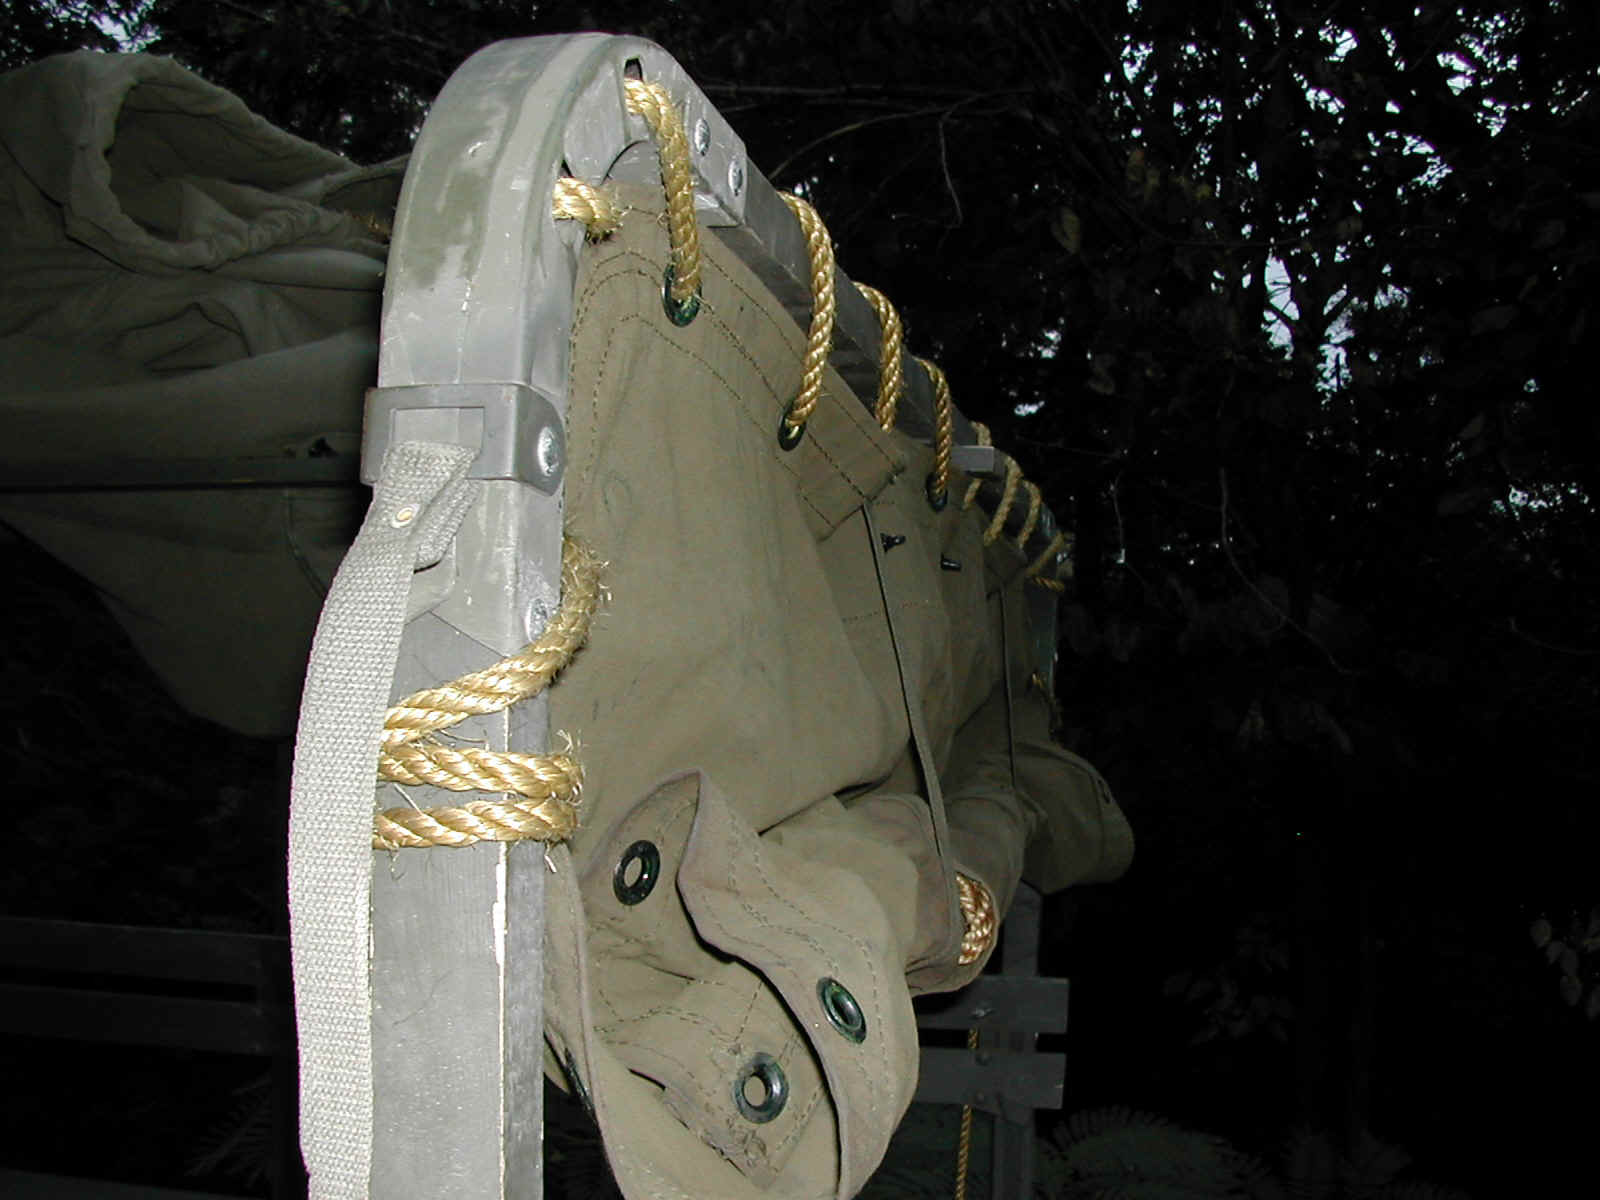 VV
VV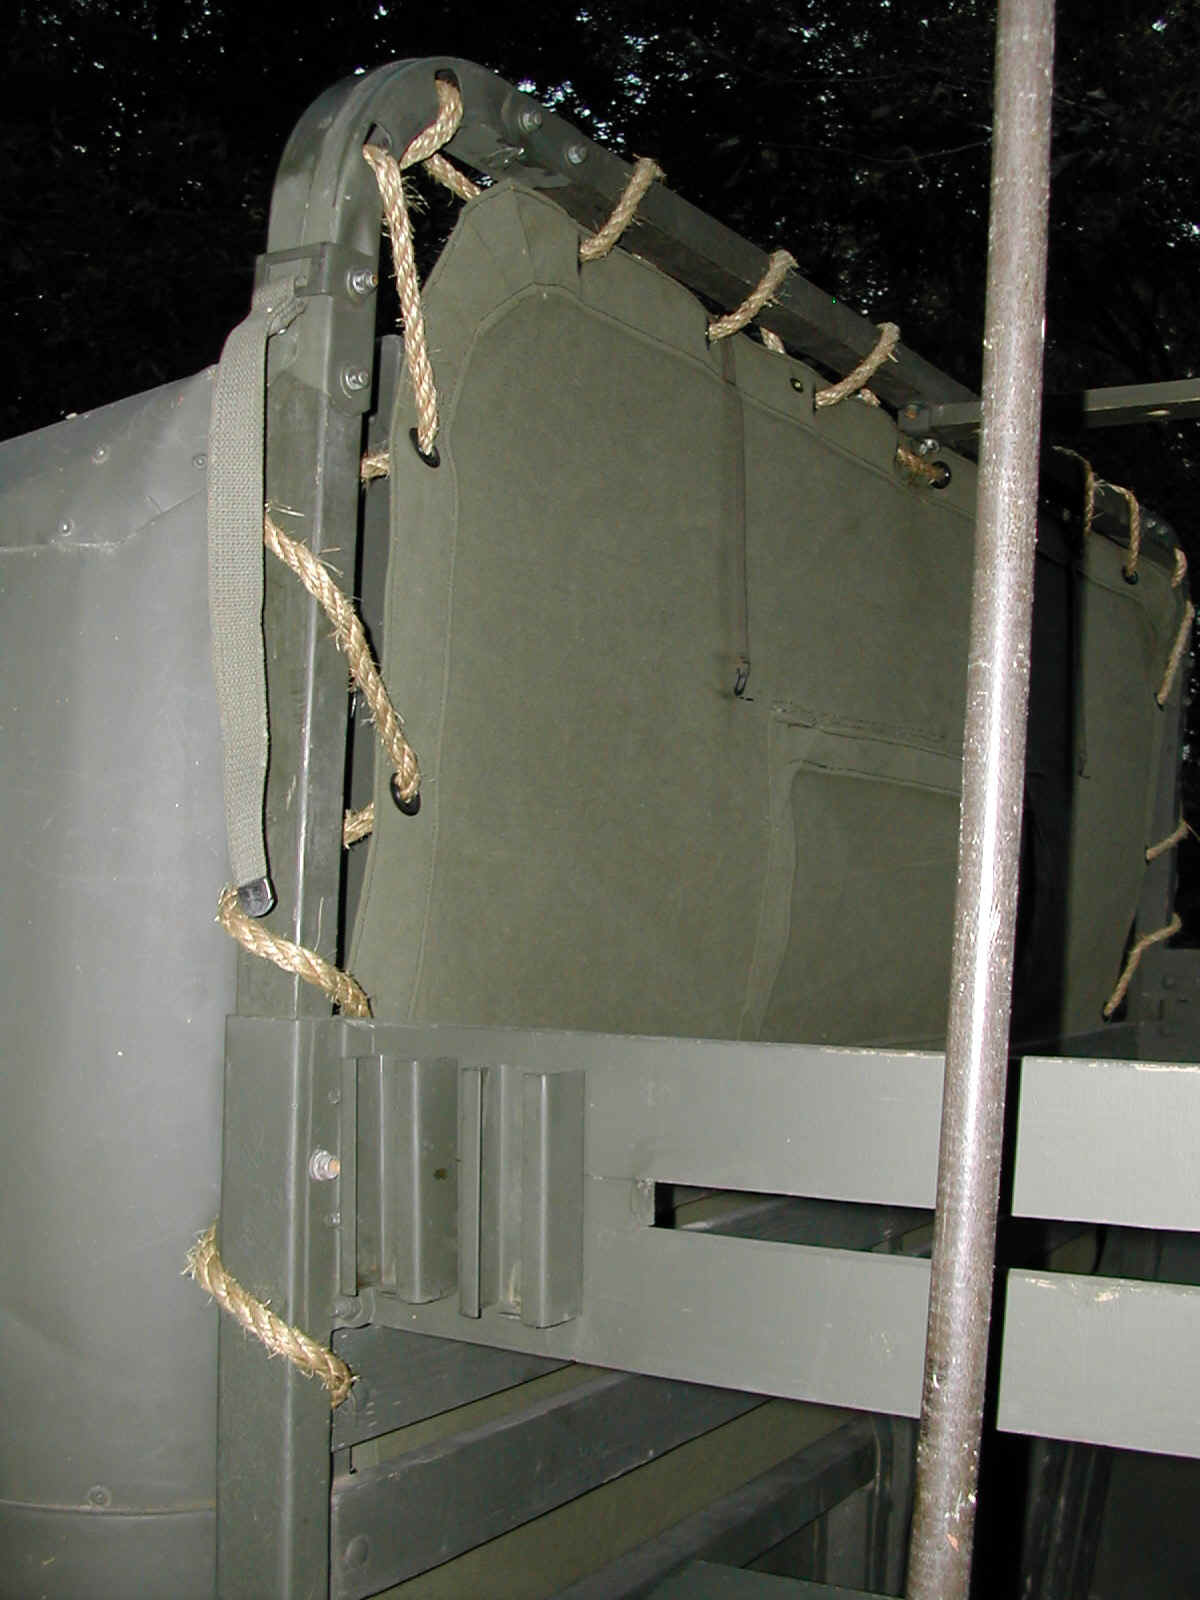 WW
WW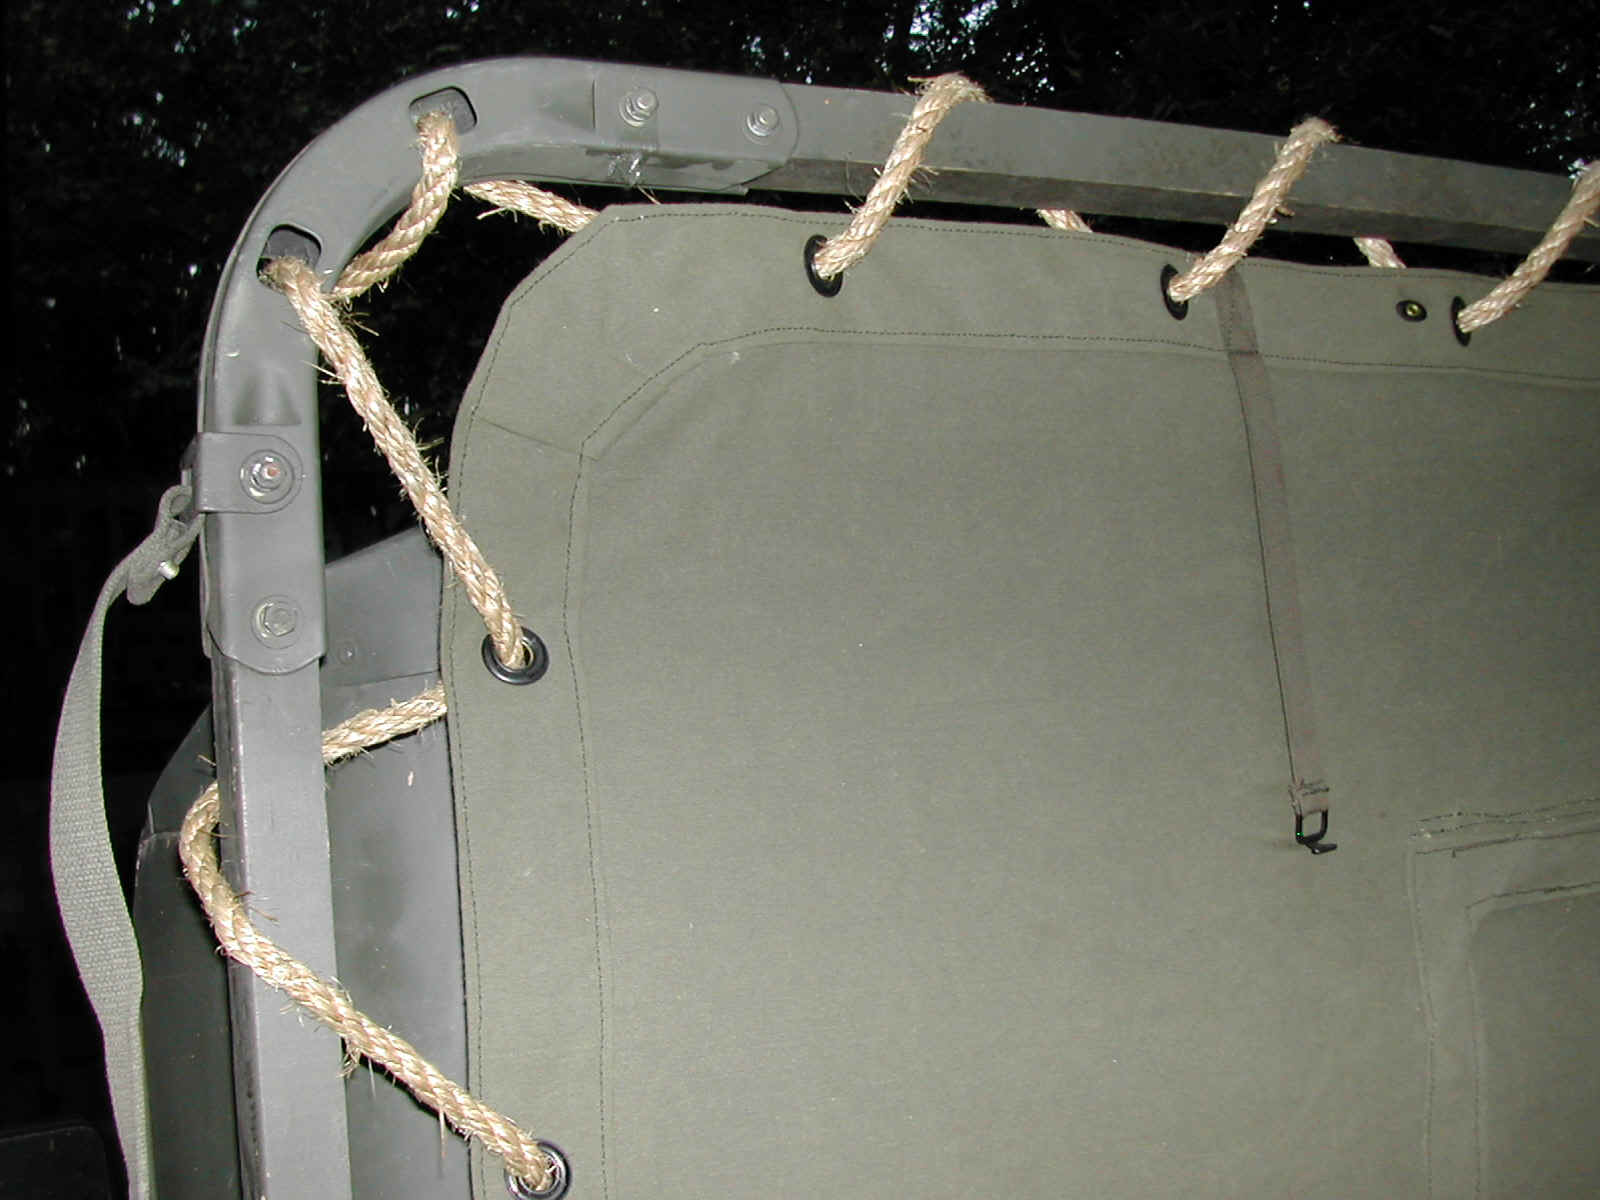 XX
XX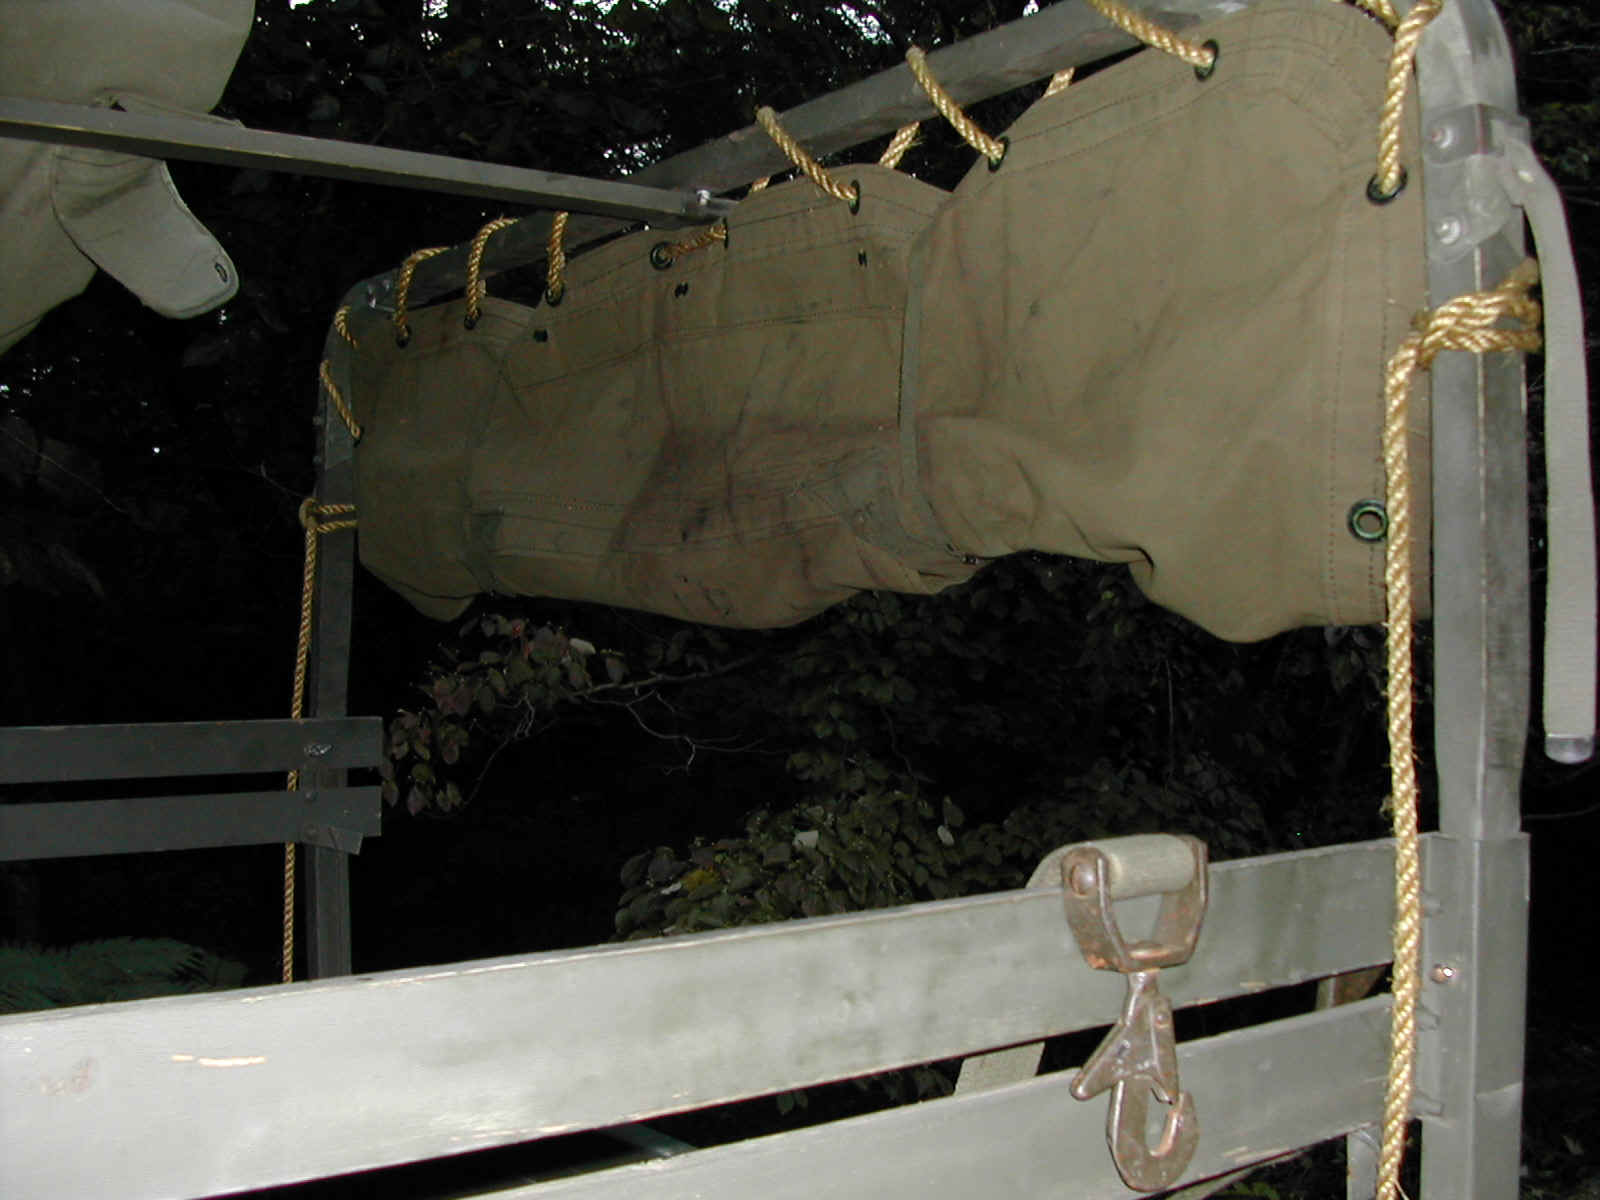 YY
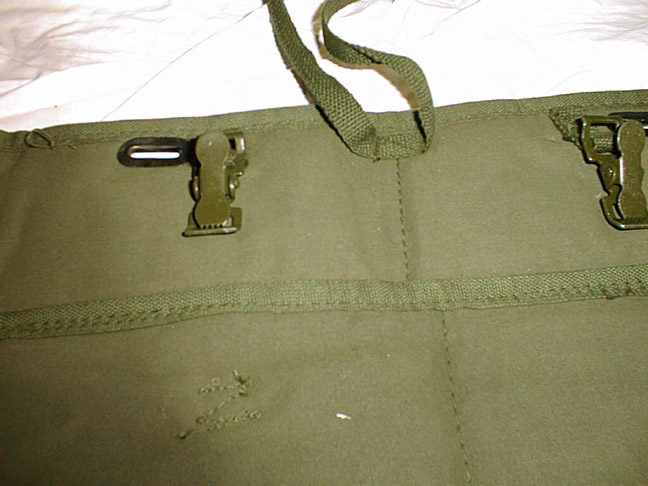
YYCanvas
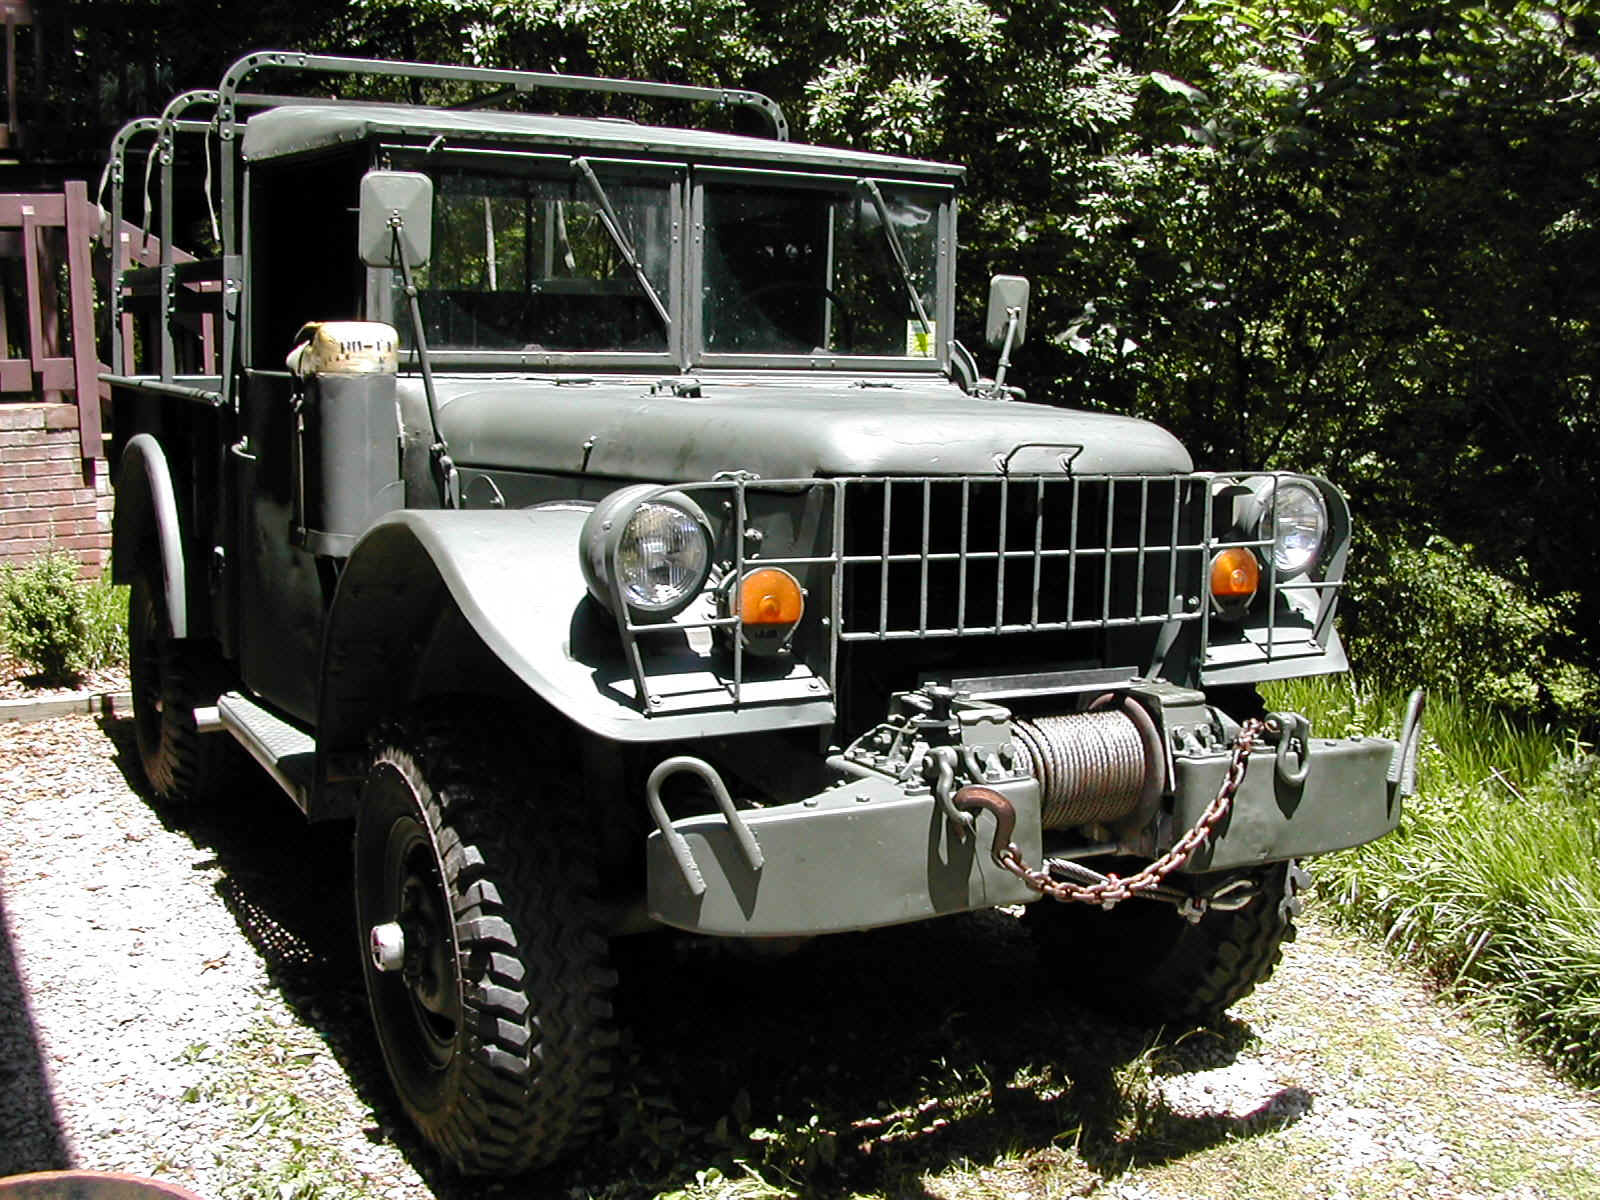
These are a few shots of the bed canvas that I purchased from New Life Resource Management. The canvas is 383 green in order to have a closer match to the truck's USMC Forest Green paint. I am really happy with the quality of the top and the other pieces that I ordered along with it: bow storage straps, pioneer tool straps, first aid kit strap, bed cover roll up straps (with rivets that I attached to my old bow corner clips), and an in cab storage pouch.
I had Judith add a couple of extra flaps to the inside of the bed cover in order to reduce flapping of the canvas when going down the road at speed. The two flaps secure the top to the ridge pole halfway between the center bow and the front and rear bows and do an excellent job of keeping the canvas in place at 65mph. I was charged an additional $25 in December 2001 to have them installed.
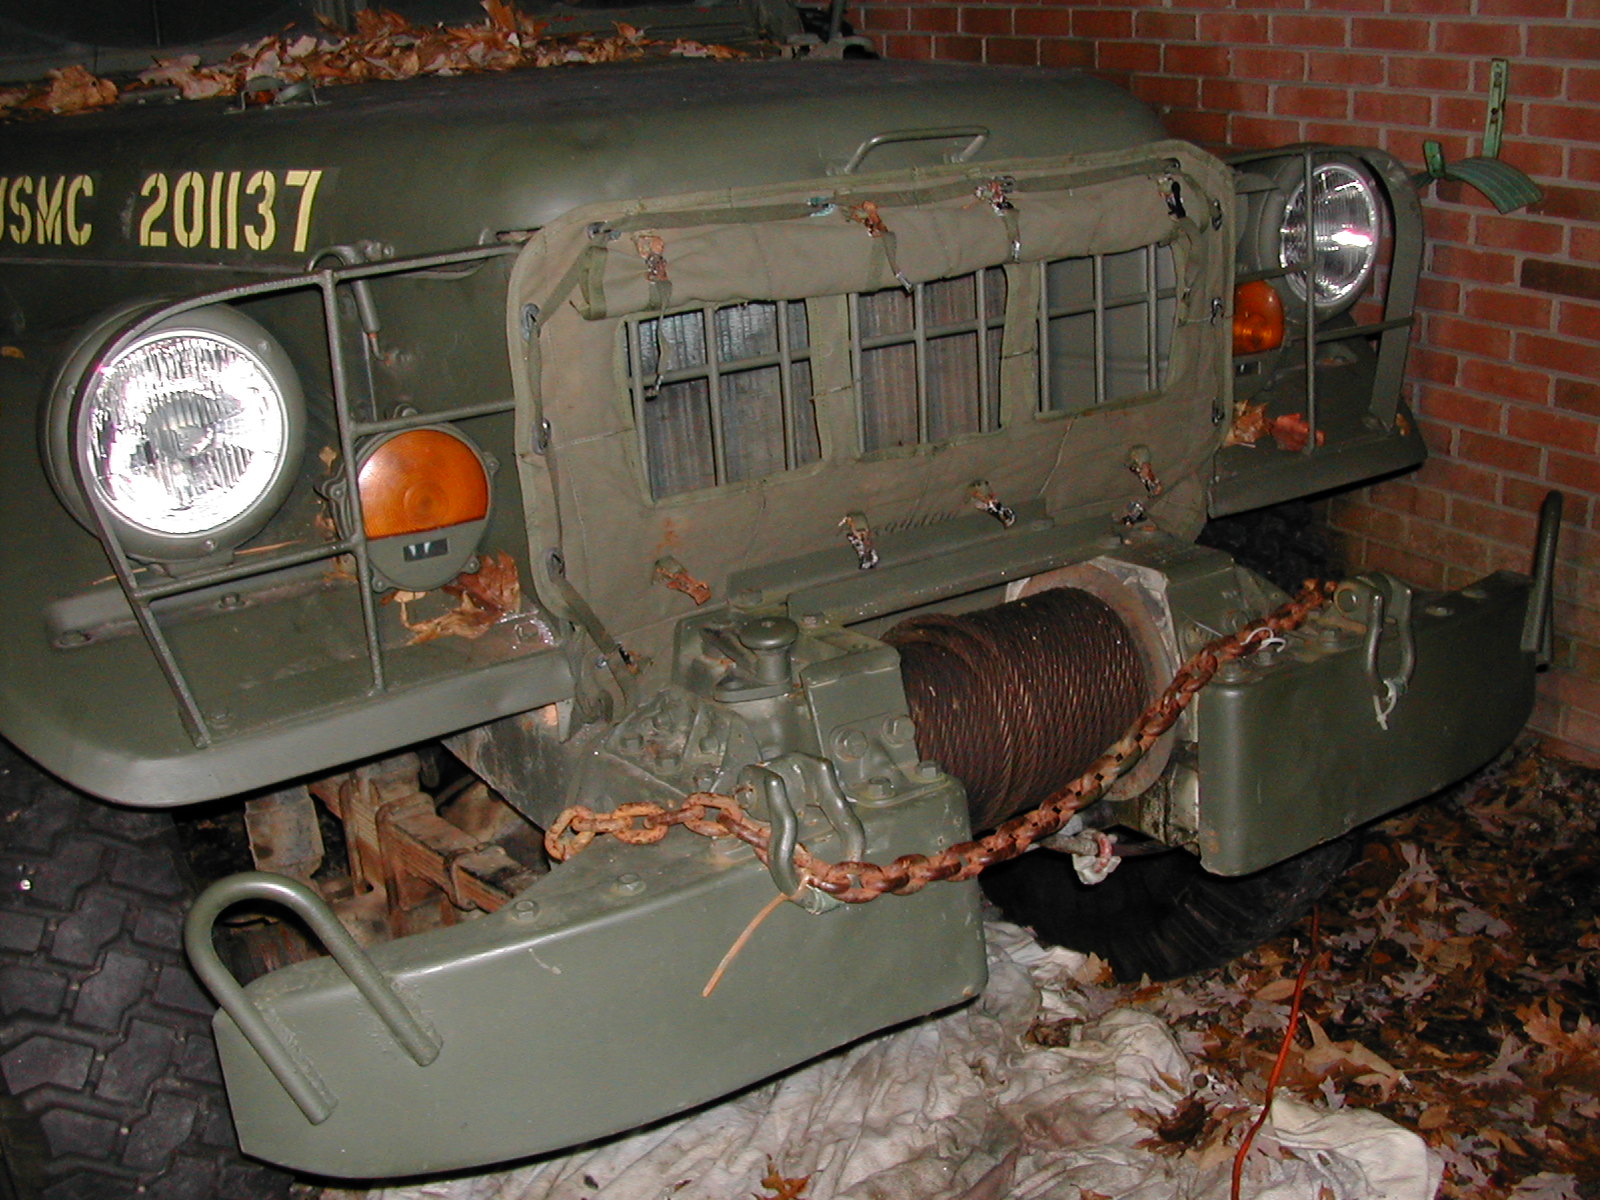
You can also see that I replaced the winch with a new one and installed a fresh wire rope with new clips at the same time that I put the canvas on. The old winch had cracks in both sides of the case and large pieces missing from where the previous owner had used a bolt instead of a shear pin in the drive shaft and had overloaded the assembly. The cable also had been badly damaged through years of heavy use.
| A |
B |
C |
D |
| E |
F |
G |
H |
| I |
J |
K |
L |
| M |
N |
O |
P |
| Q |
R |
S |
T |
| U |
V |
W |
X |
| Y |
Z |
AA |
BB |
| CC |
DD |
EE |
FF |
| GG |
HH |
II |
JJ |
| KK |
LL |
||
| MM |
NN |
OO |
PP |
| QQ |
RR |
SS |
TT |
| UU |
VV |
WW |
XX |
| YY |
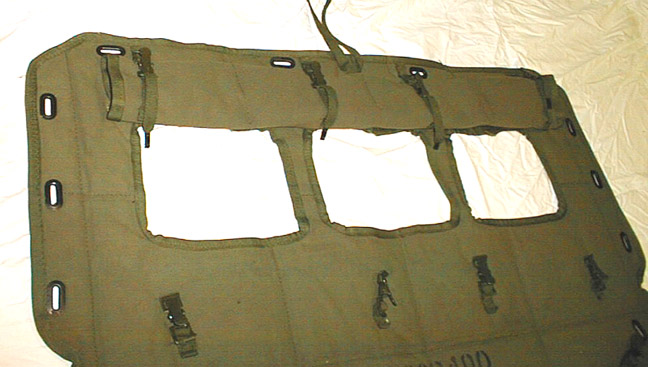
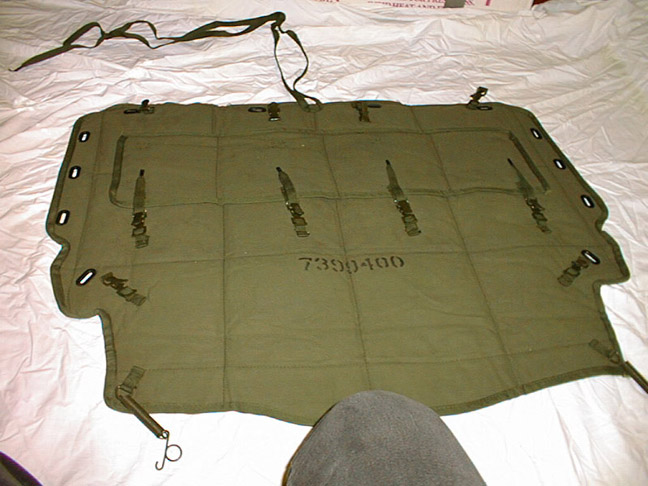
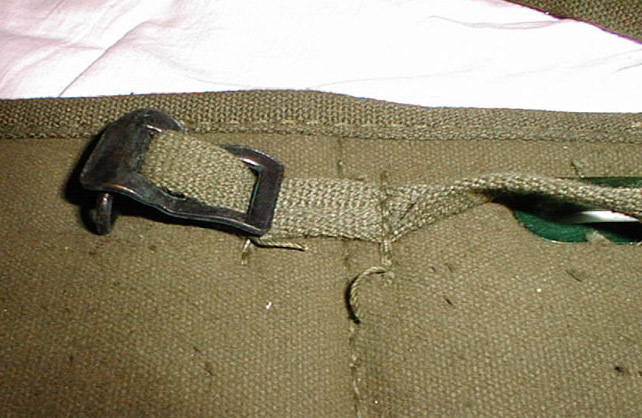
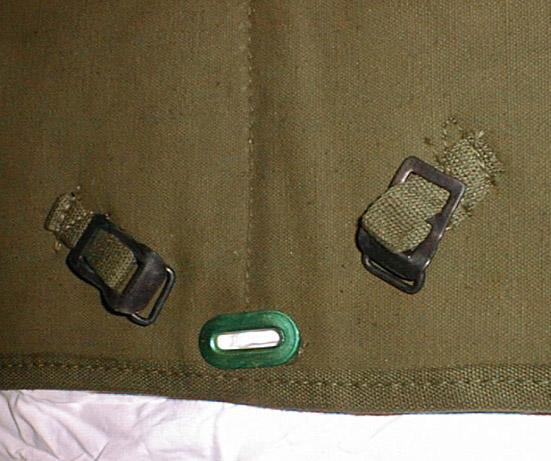
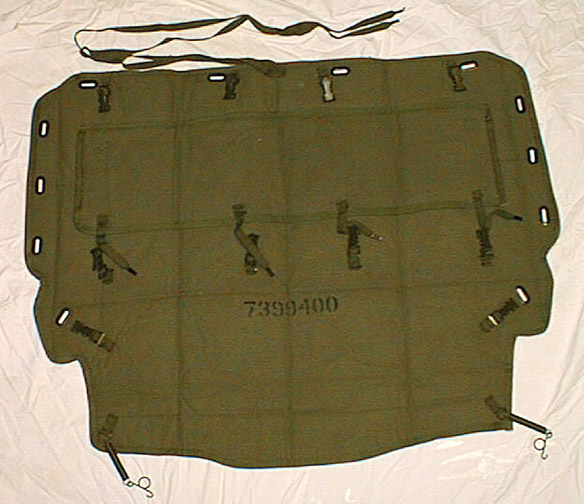
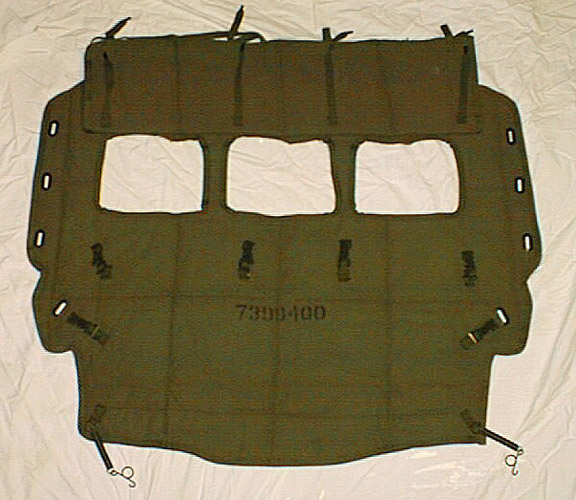
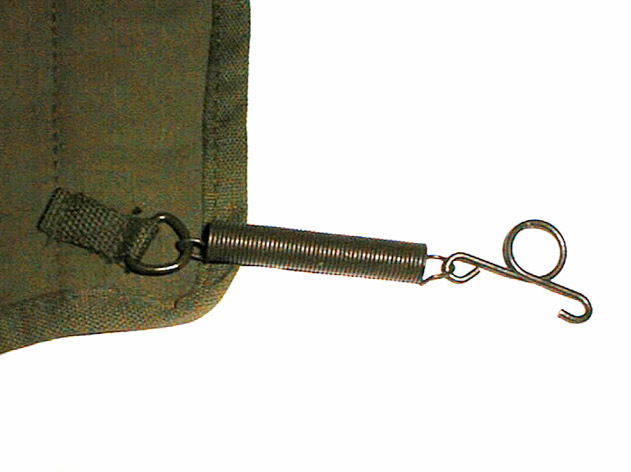
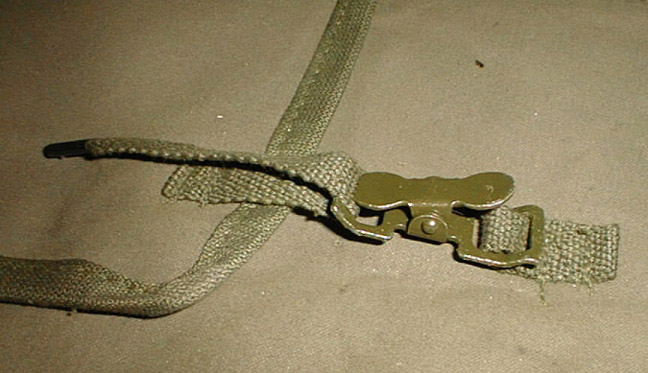
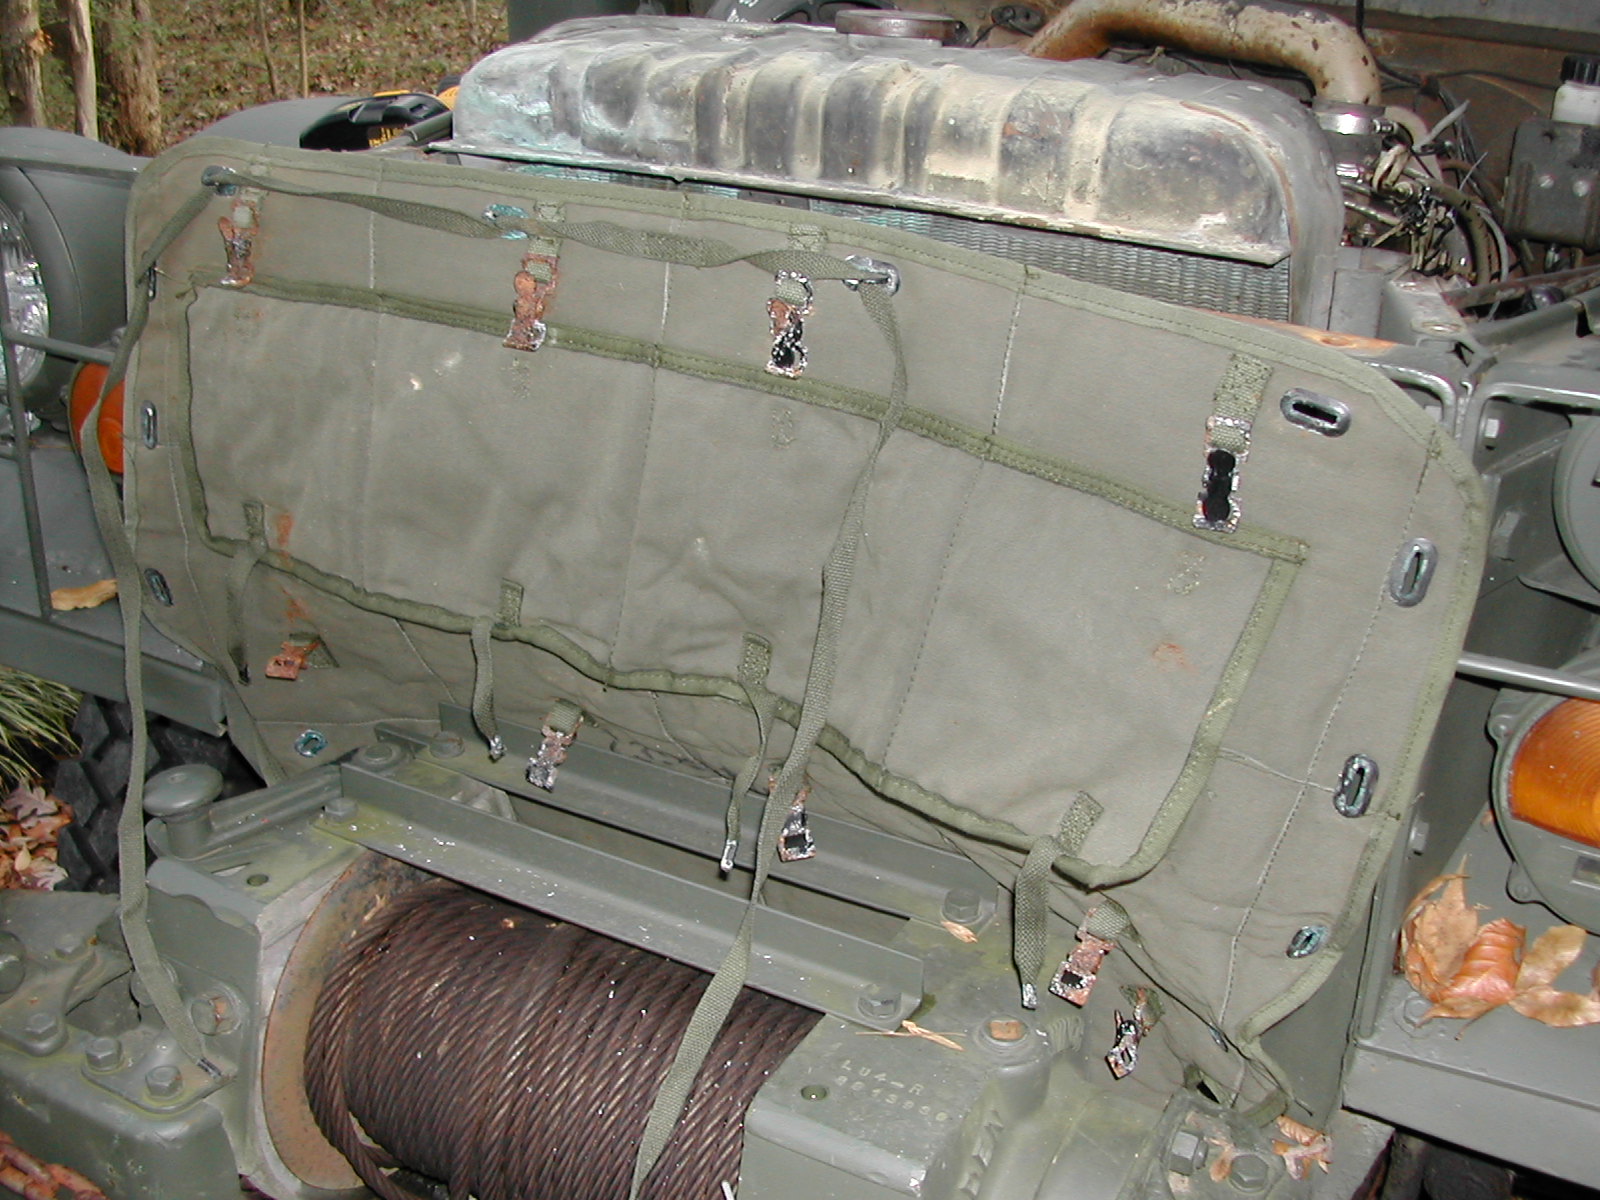
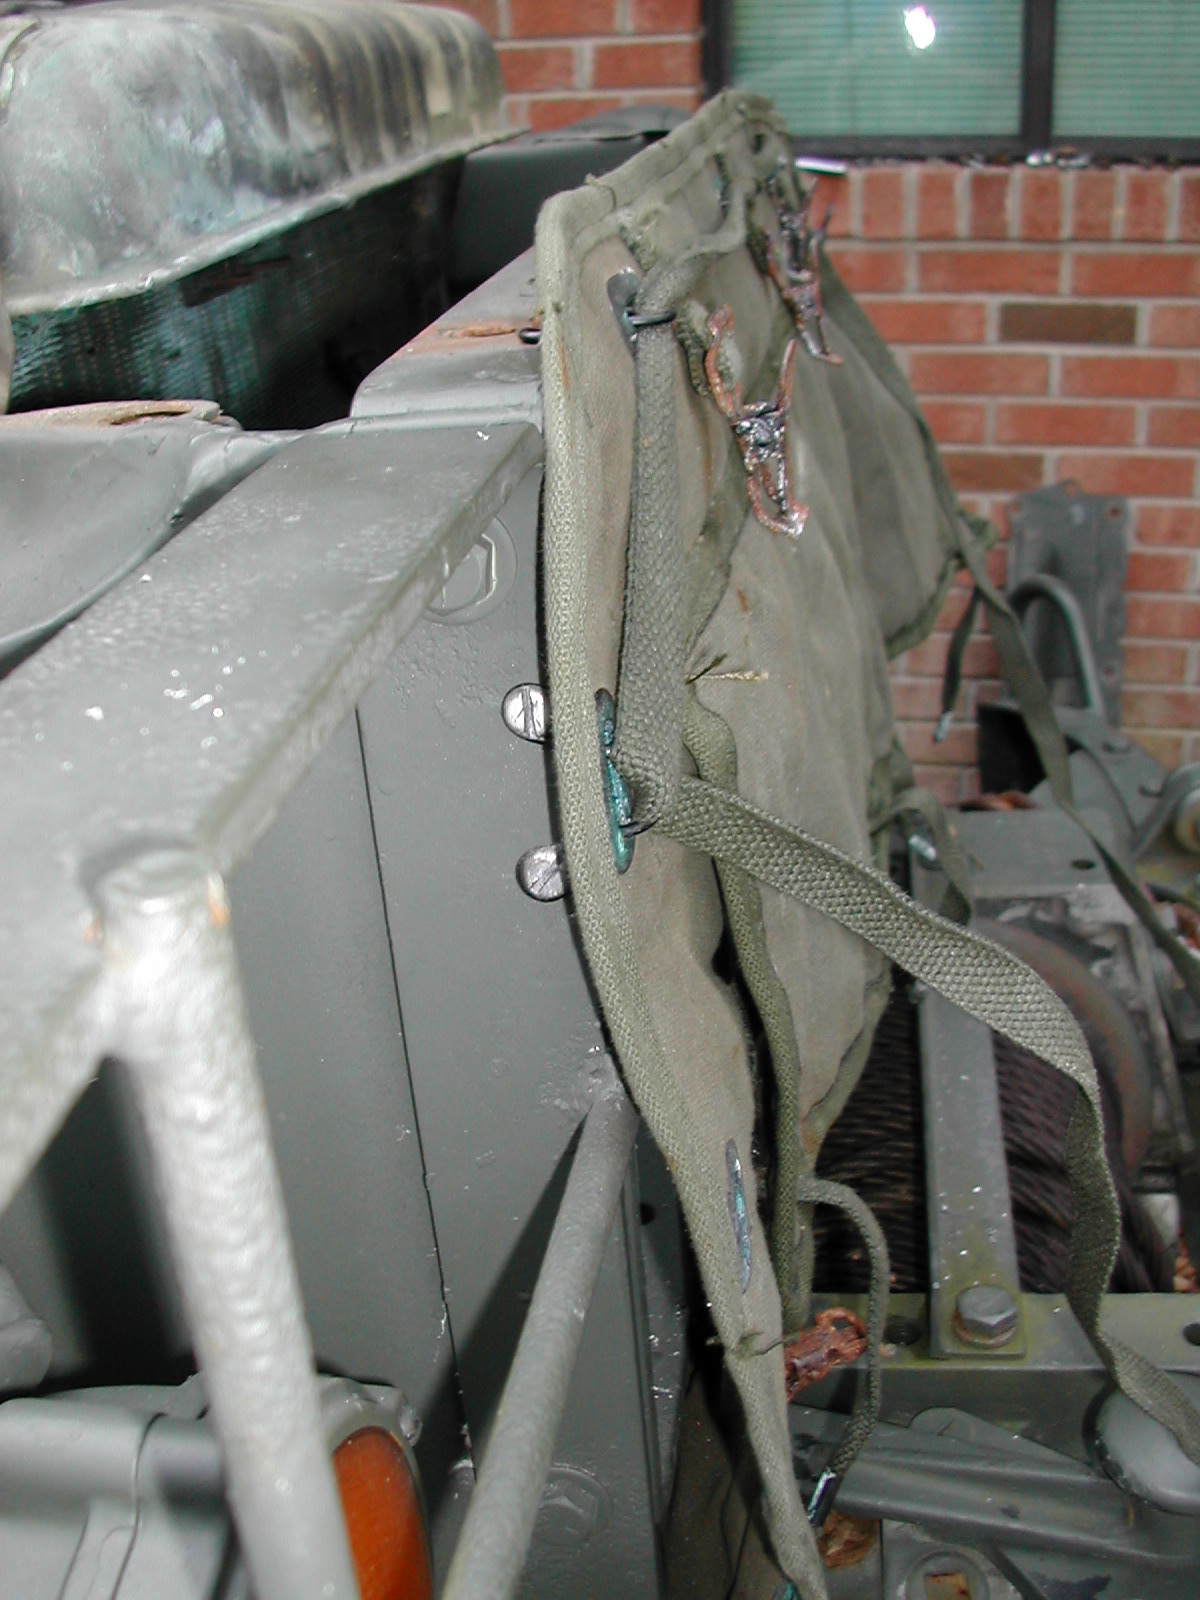
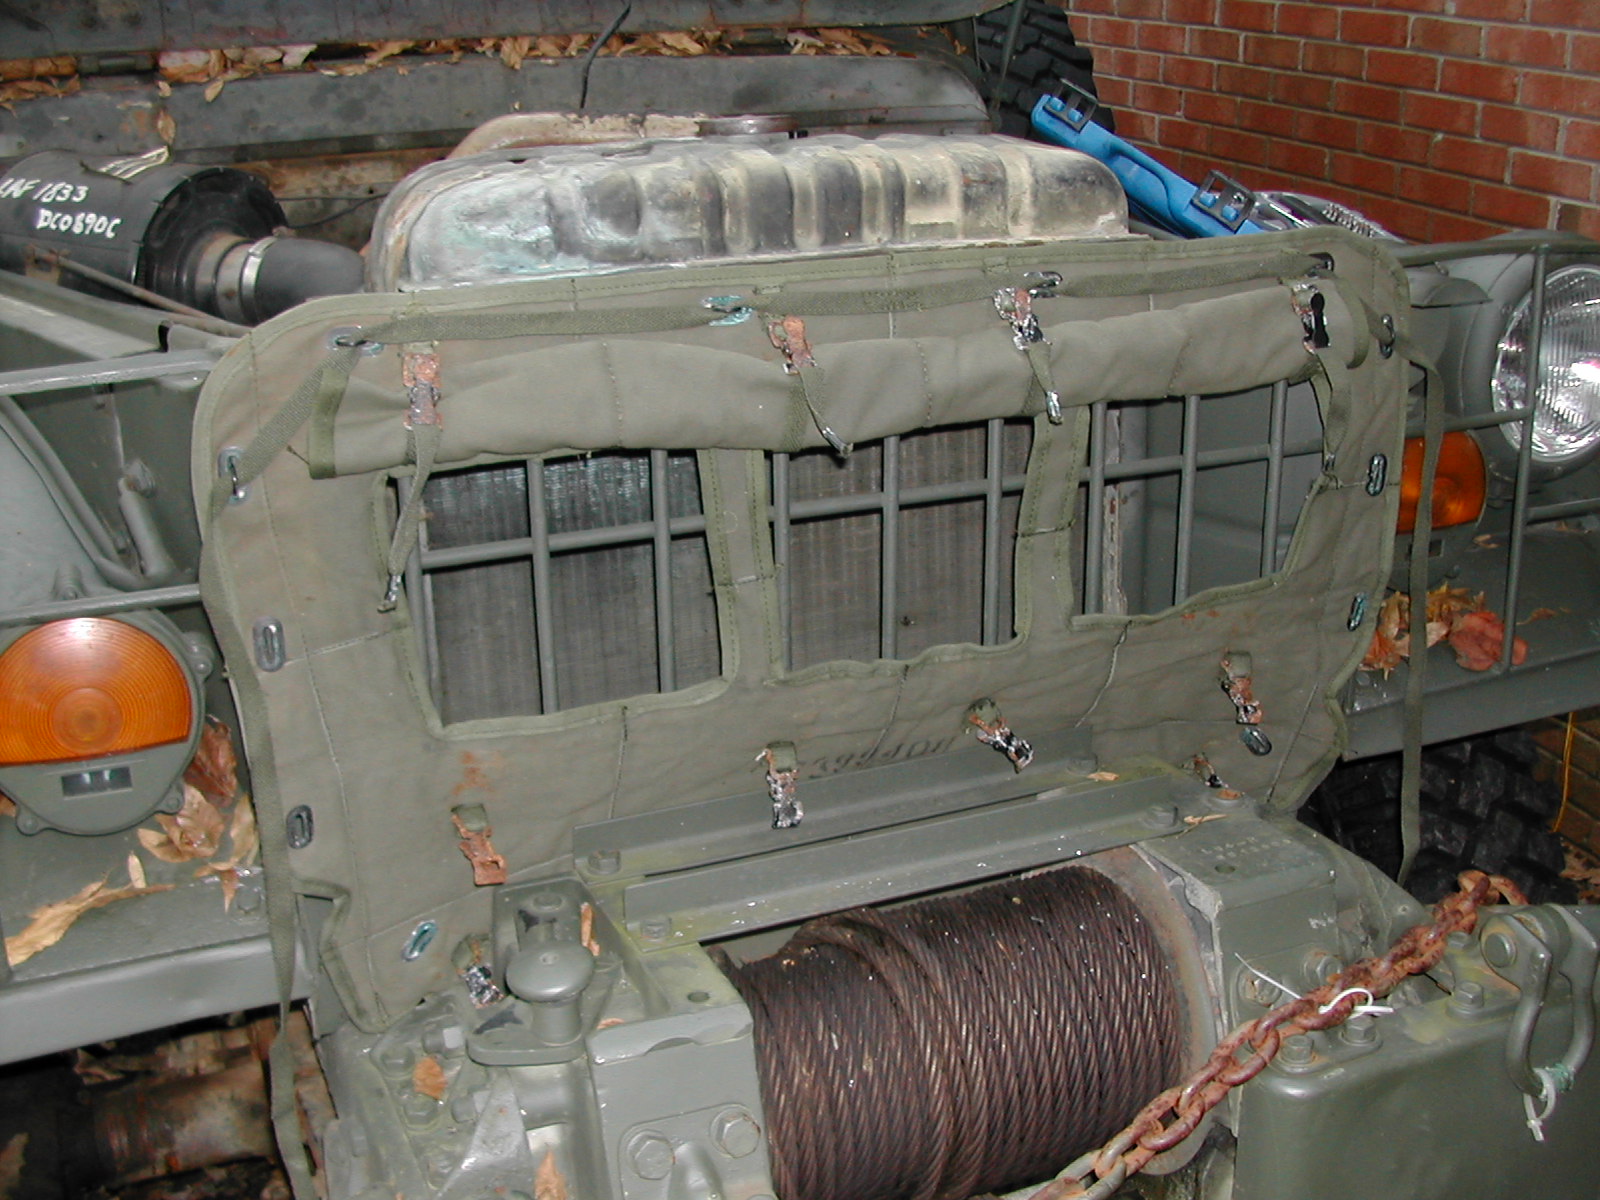
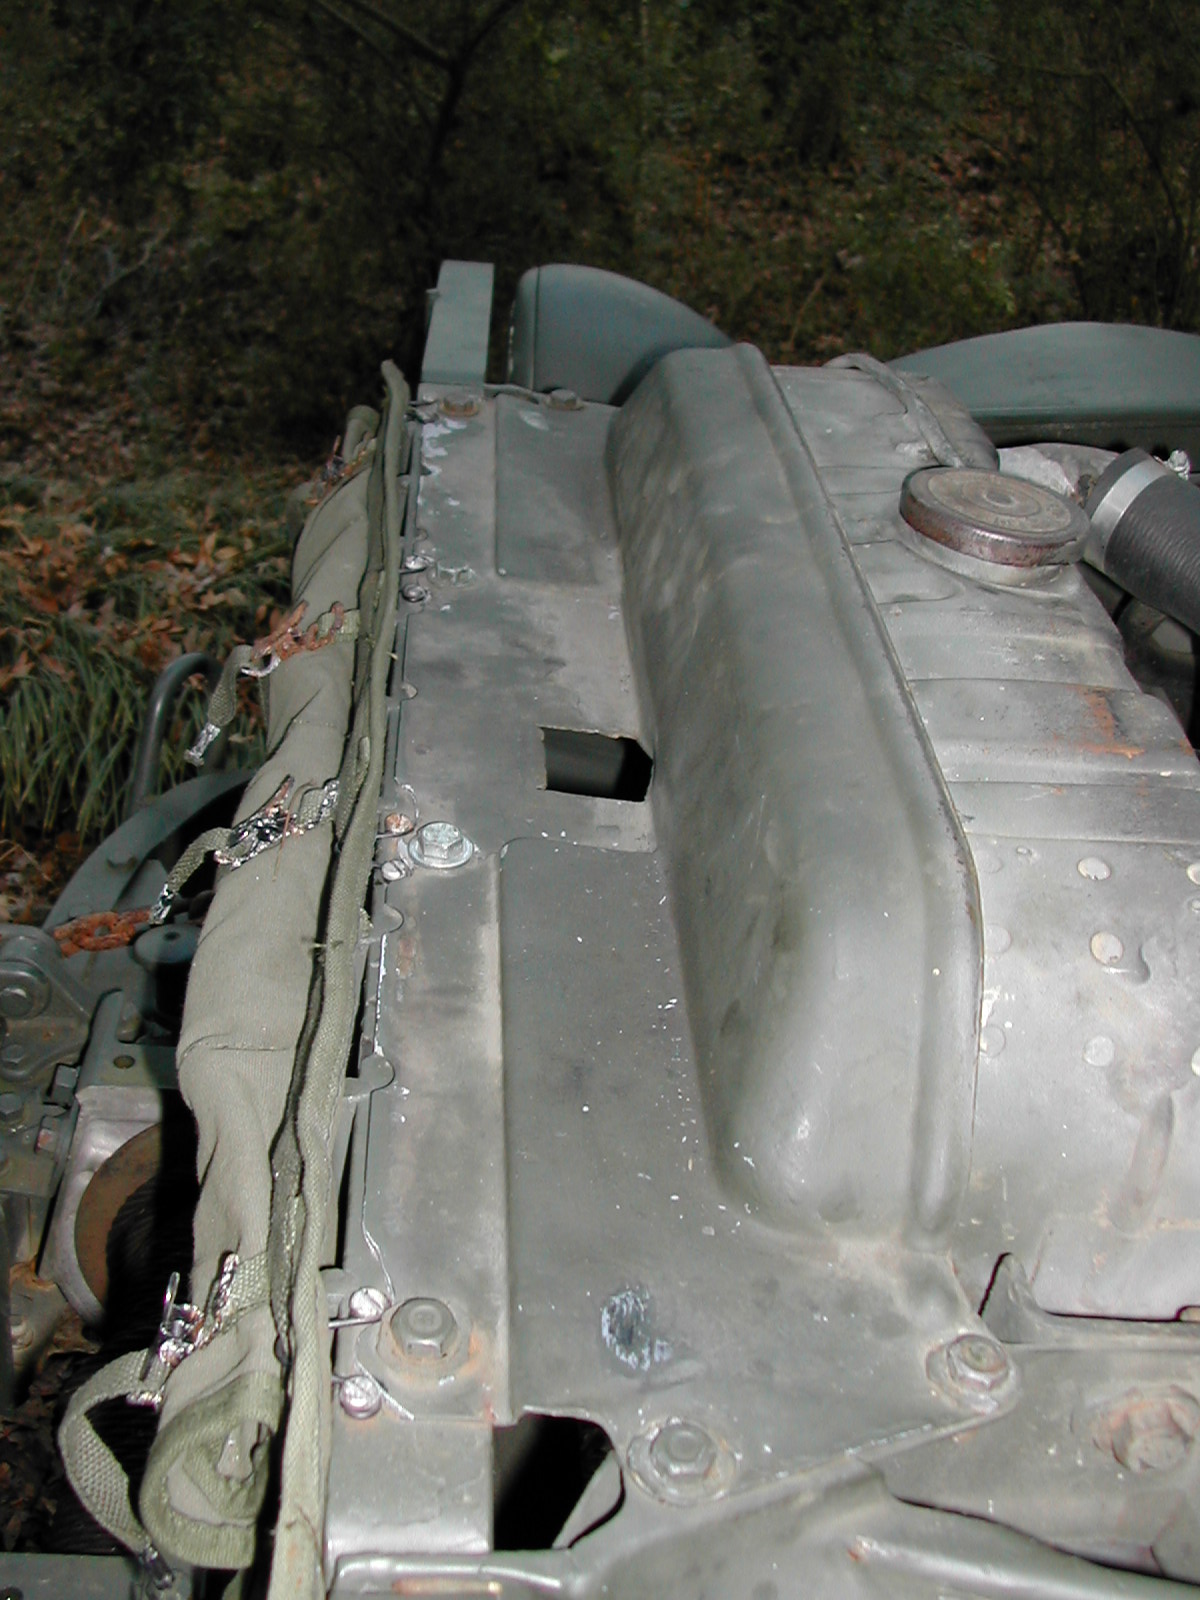
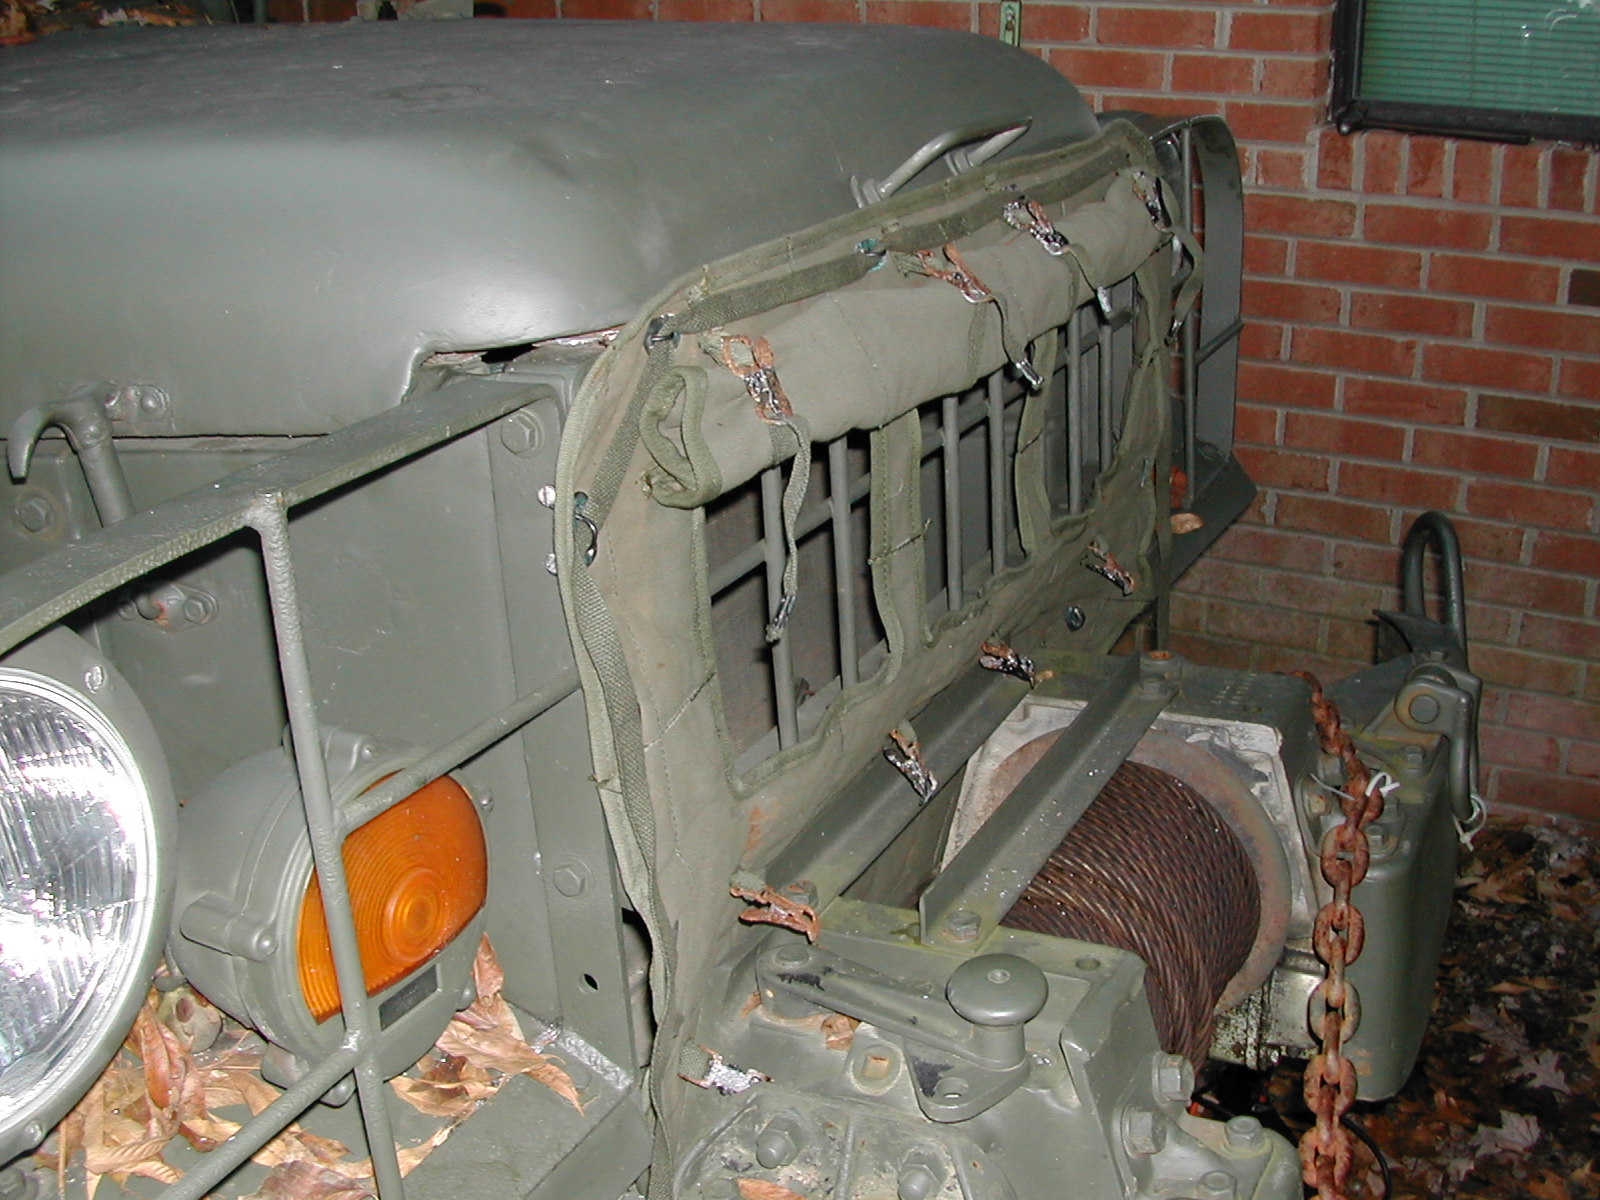
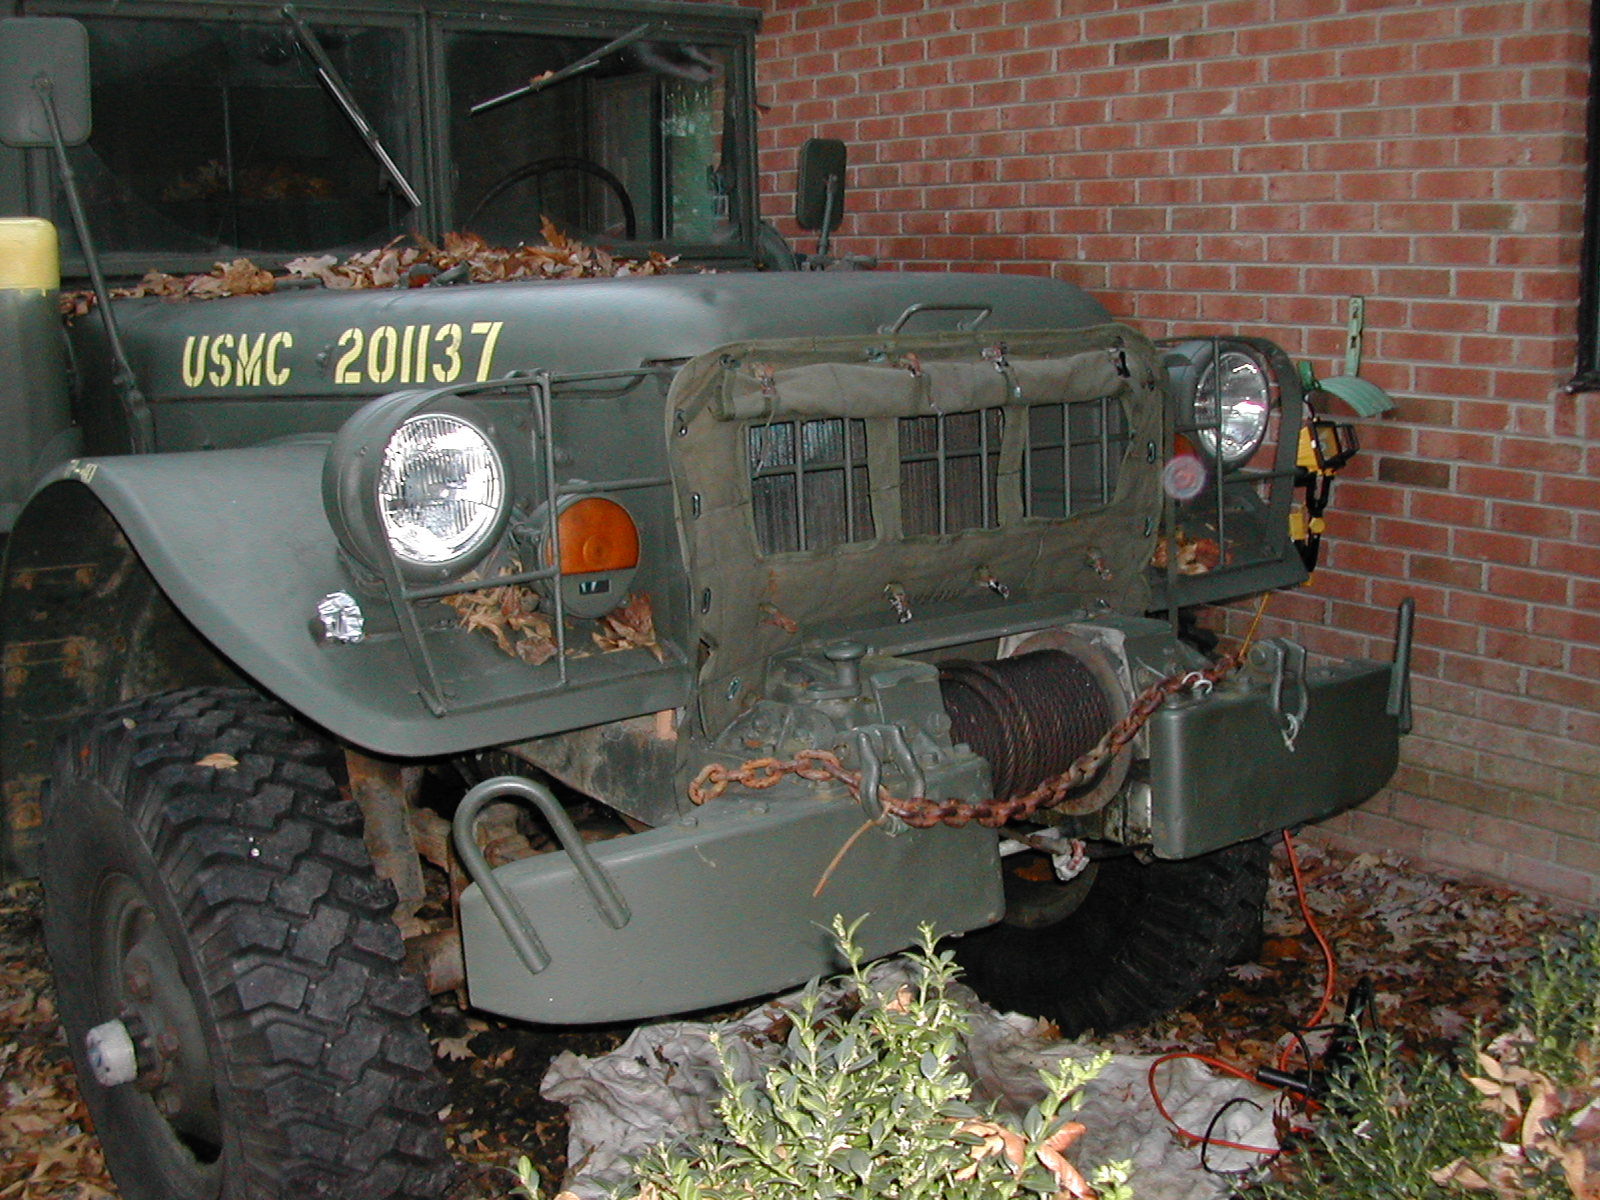
Below are a few shots of a winterfront for the M37 sent to me by Bruce, a participant of the BigElectric M37 forum. They are of Scott's NOS canvas grill cover included in the Stewart Warner arctic winterization kit where it served to cover the radiator in order to reduce cooling.
Several members of the forum inquired about having reproduction units made by one of the hobby's canvas suppliers. When I contacted one of them about the possibility, I was informed that the difficulty in finding some hardware items such as the spring clips, the expense of procuring and working with others such as the oval grommets, and the reluctance on the part of M37 owners to drill the necessary holes in their trucks to mount the winterfronts meant that they projected too low a demand to gear up for fabrication. They did suggest that that could make a "military style" winterfront, but that nothing really worked as well as the original fasteners.
If you have questions about any of these photos, send Bruce an email. If you have any questions about the winterfront, give Scott an email.
 1 1 |
 2 2 |
 3 3 |
 4 4 |
 5 5 |
 6 6 |
 7 7 |
 8 8 |
 9 9 |
 10 10 |
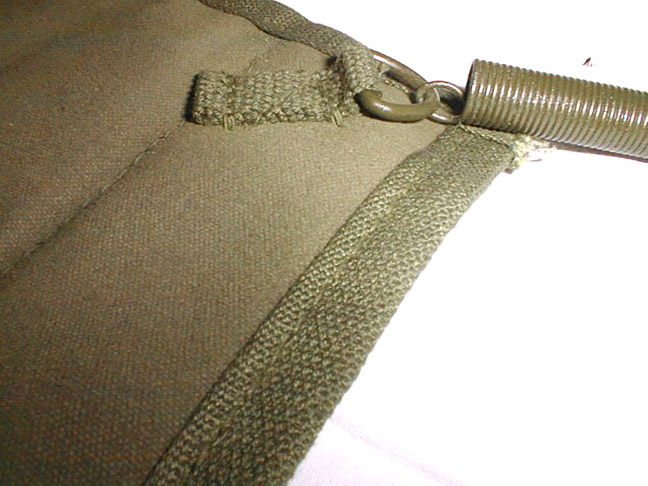
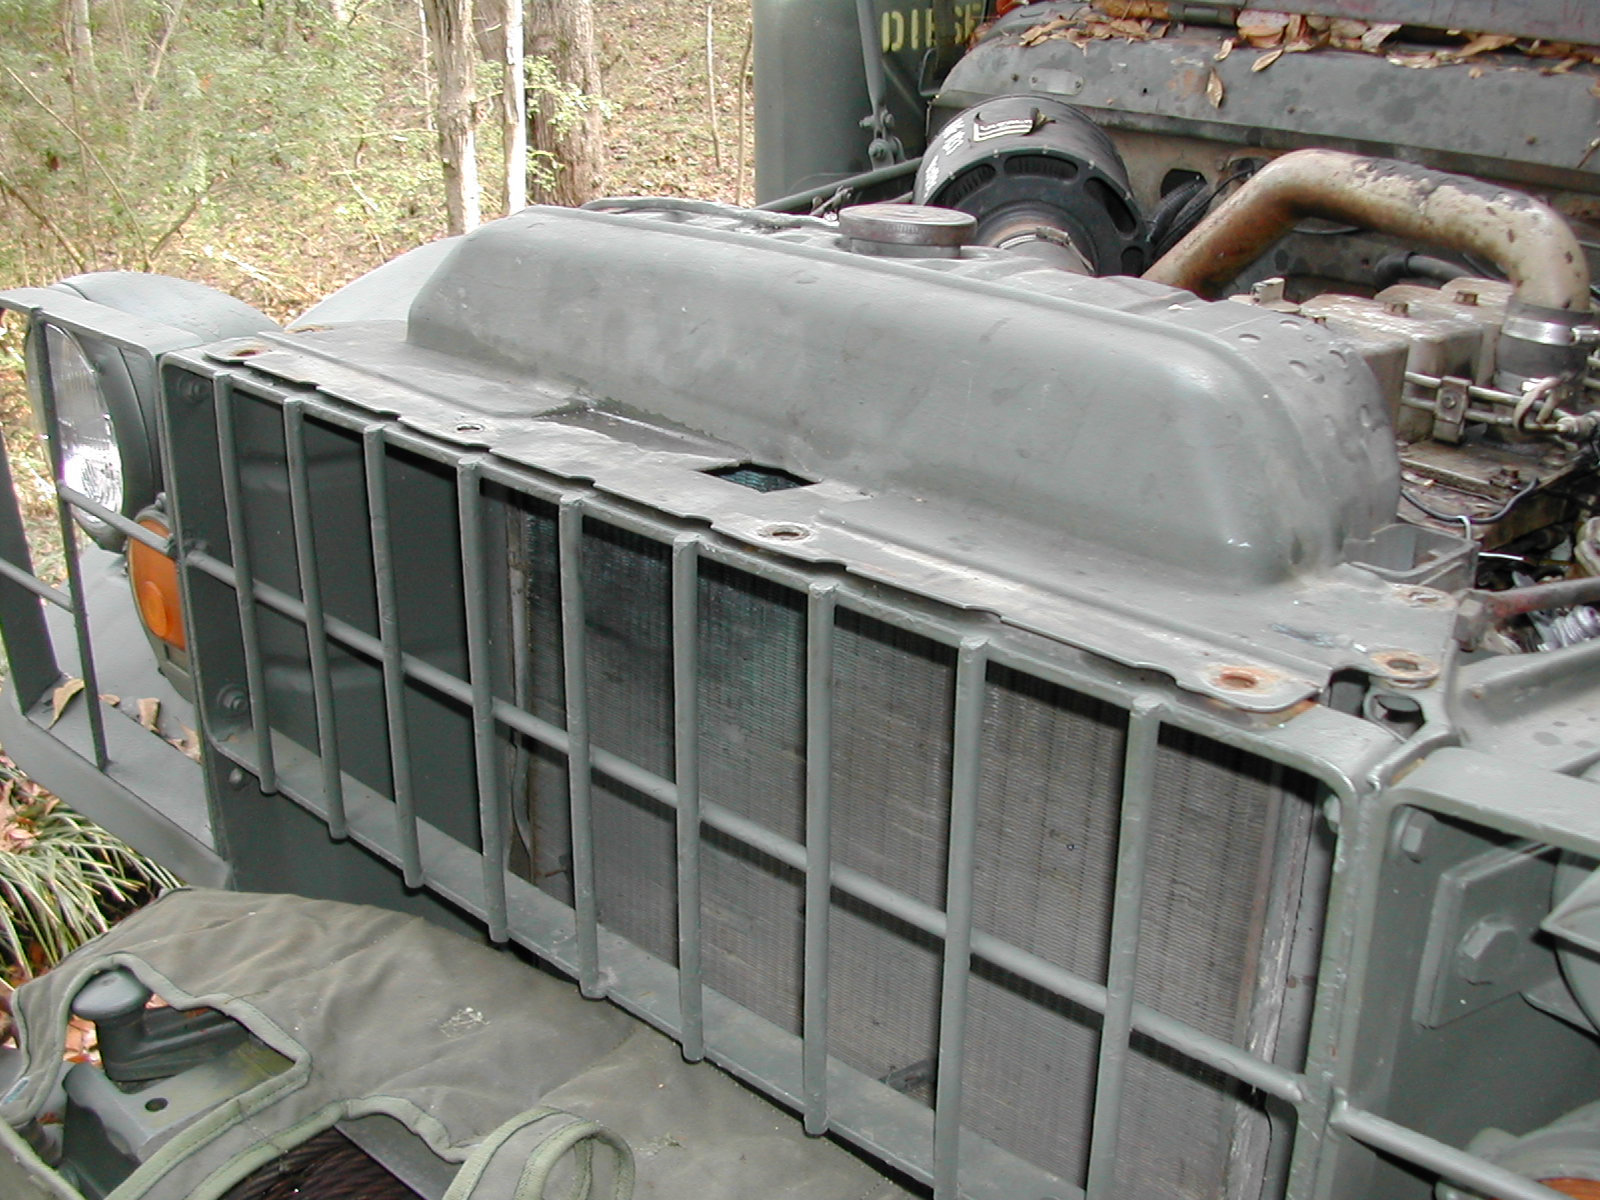
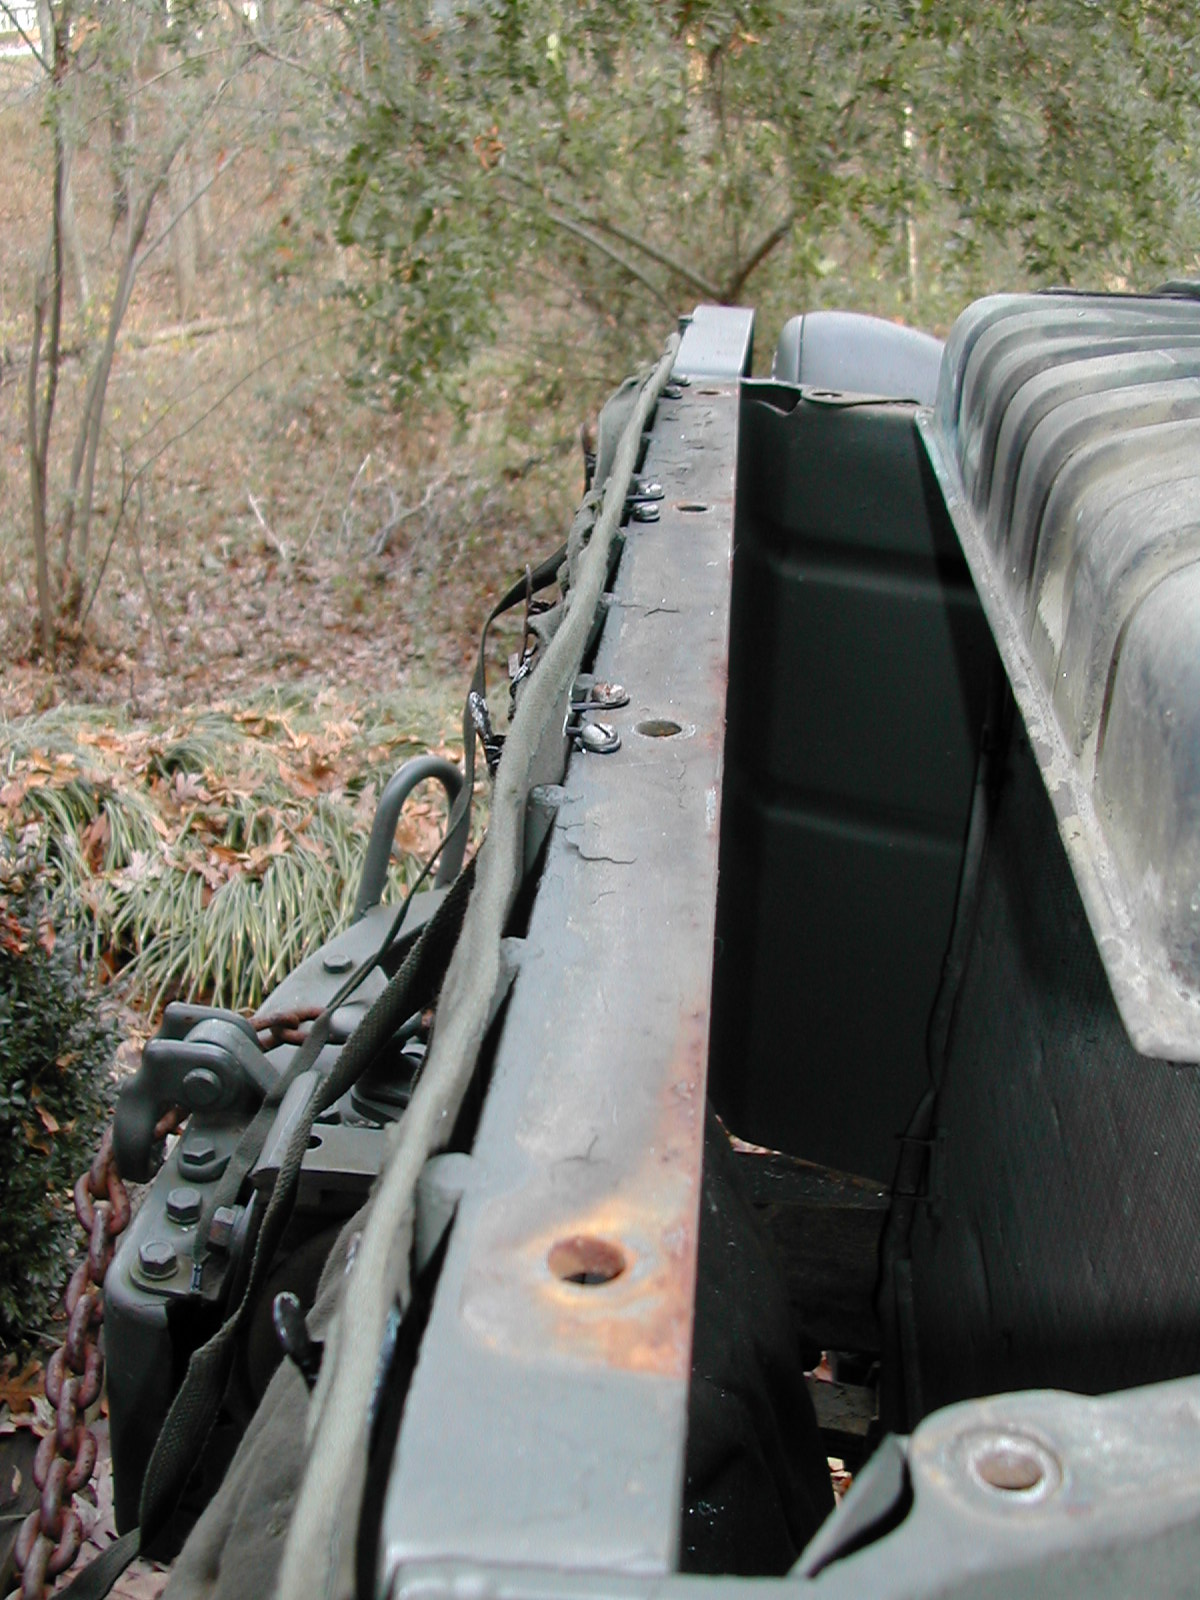
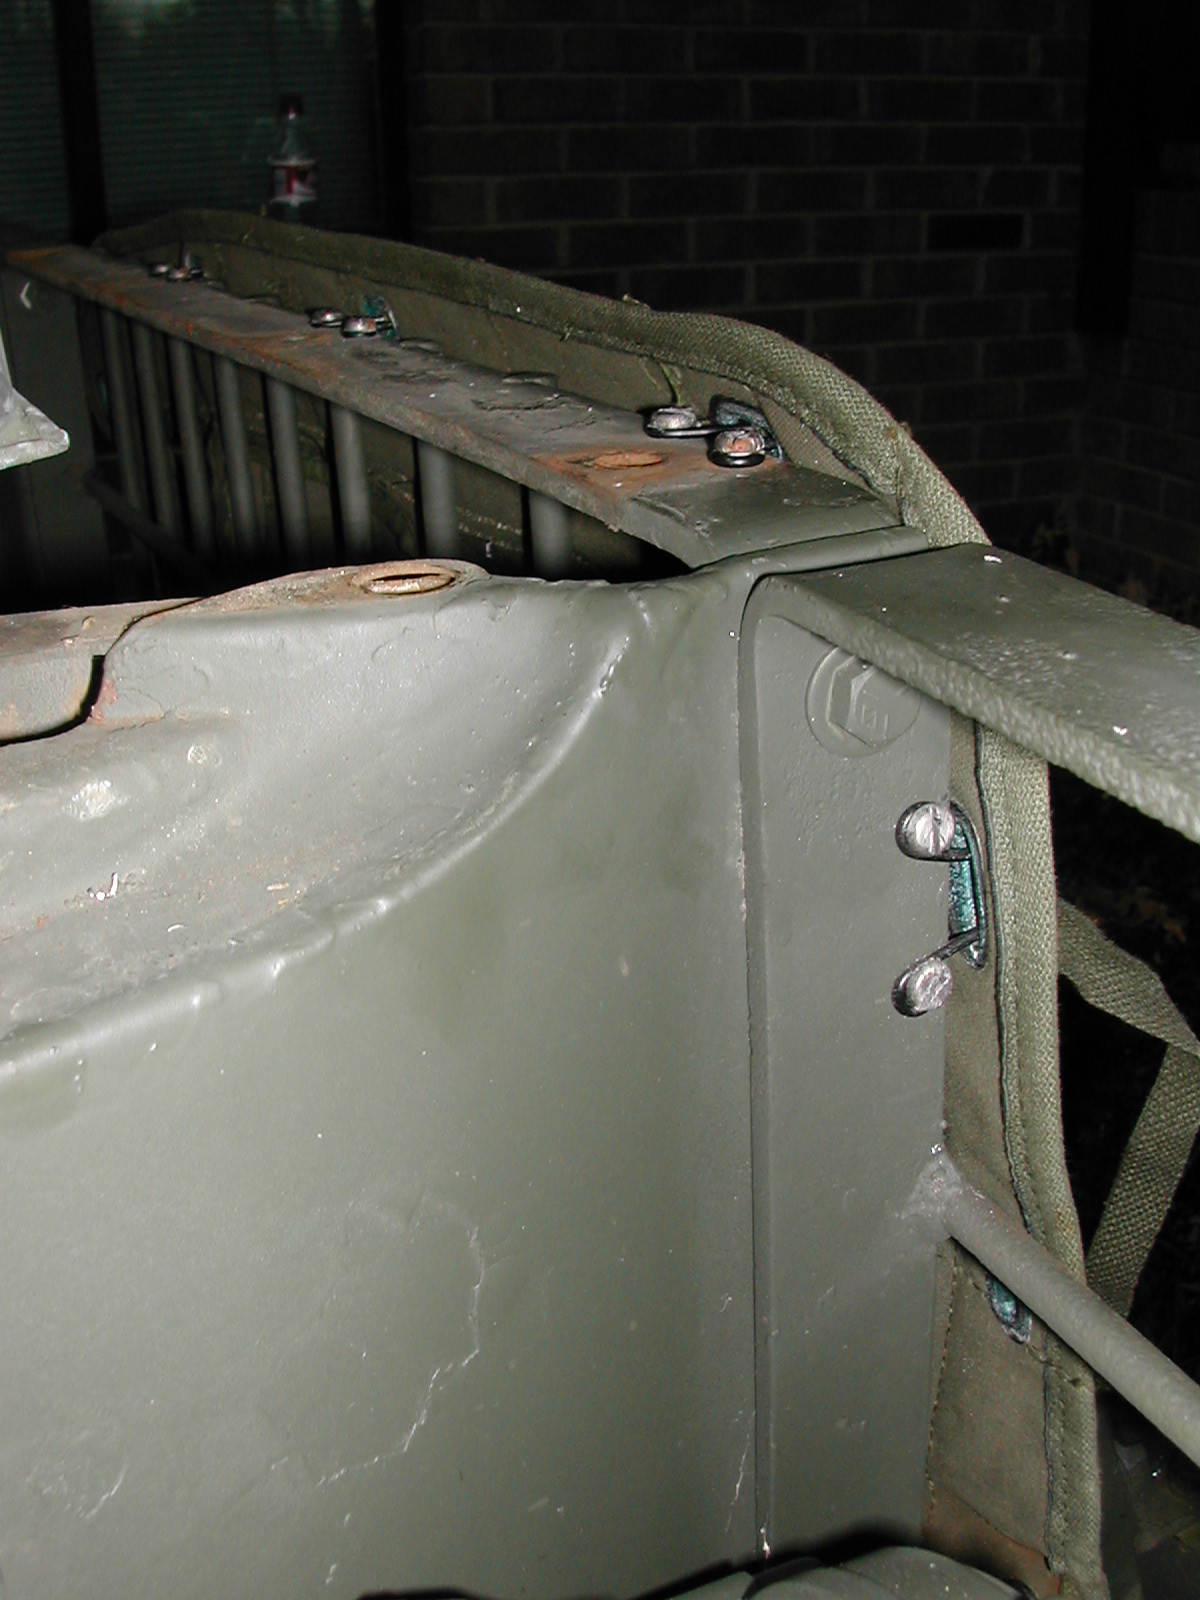
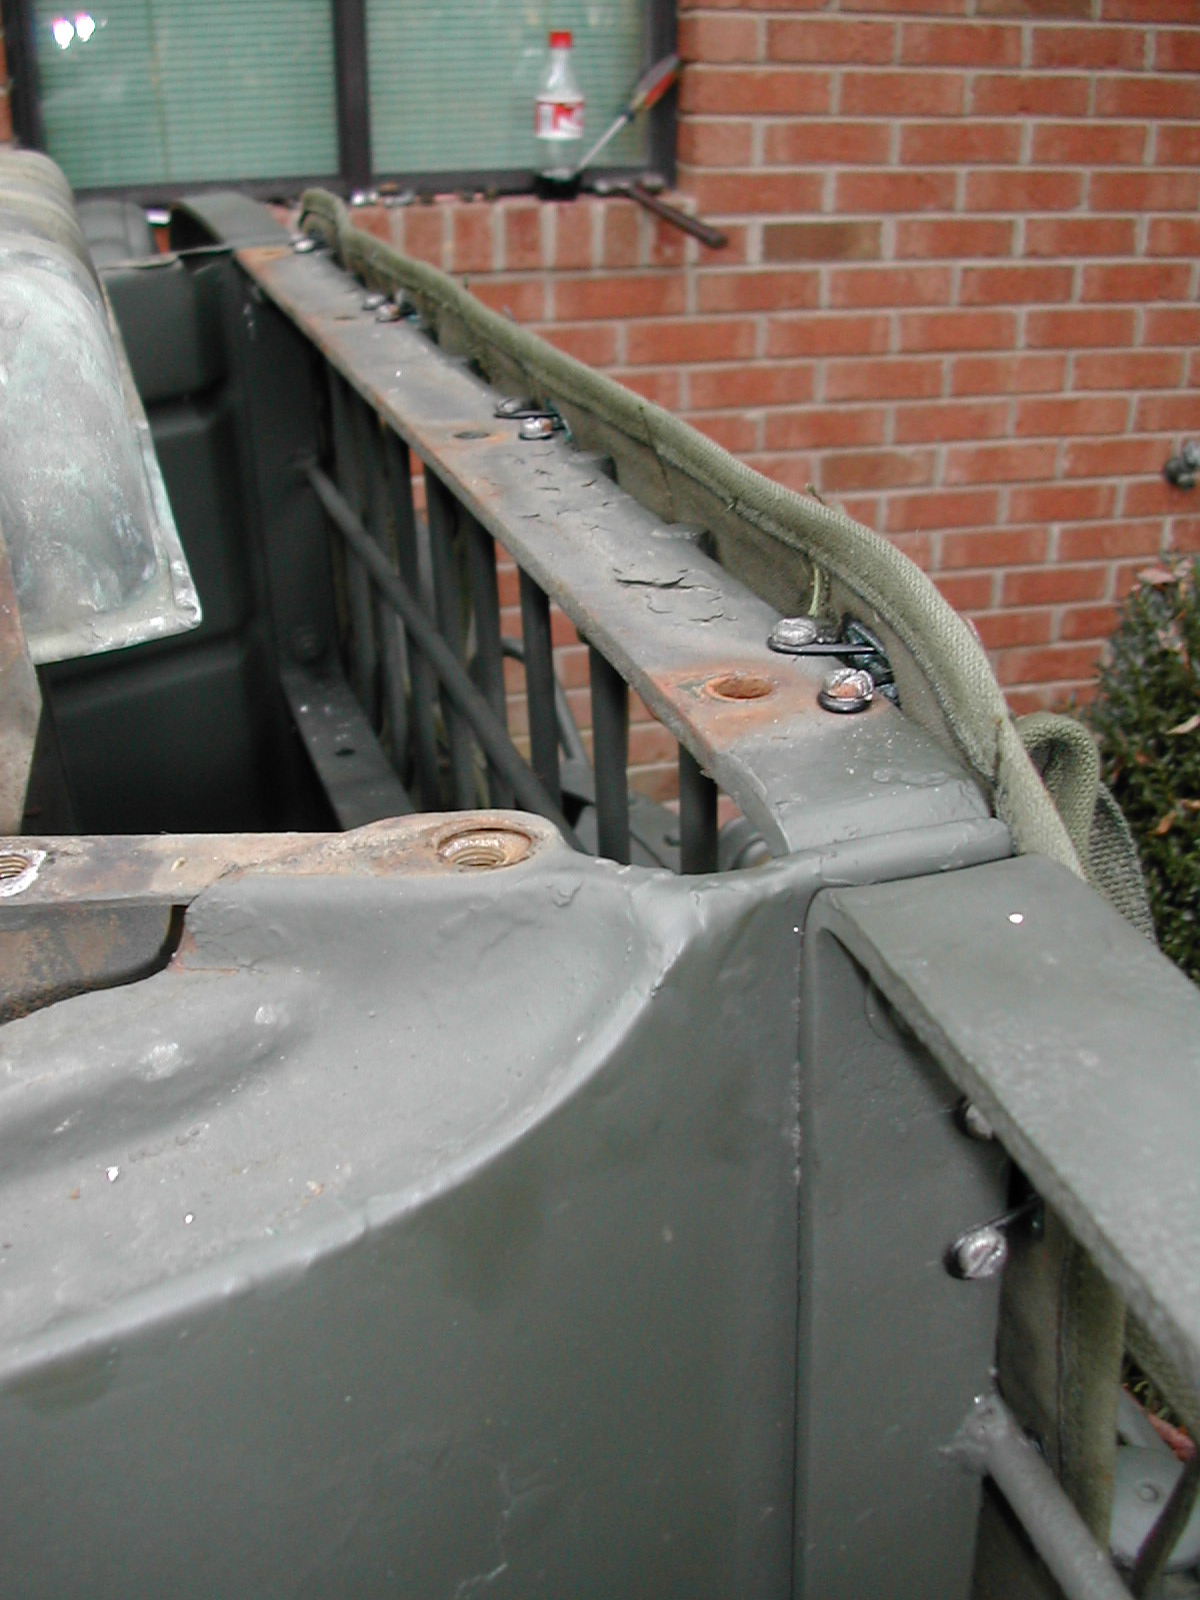
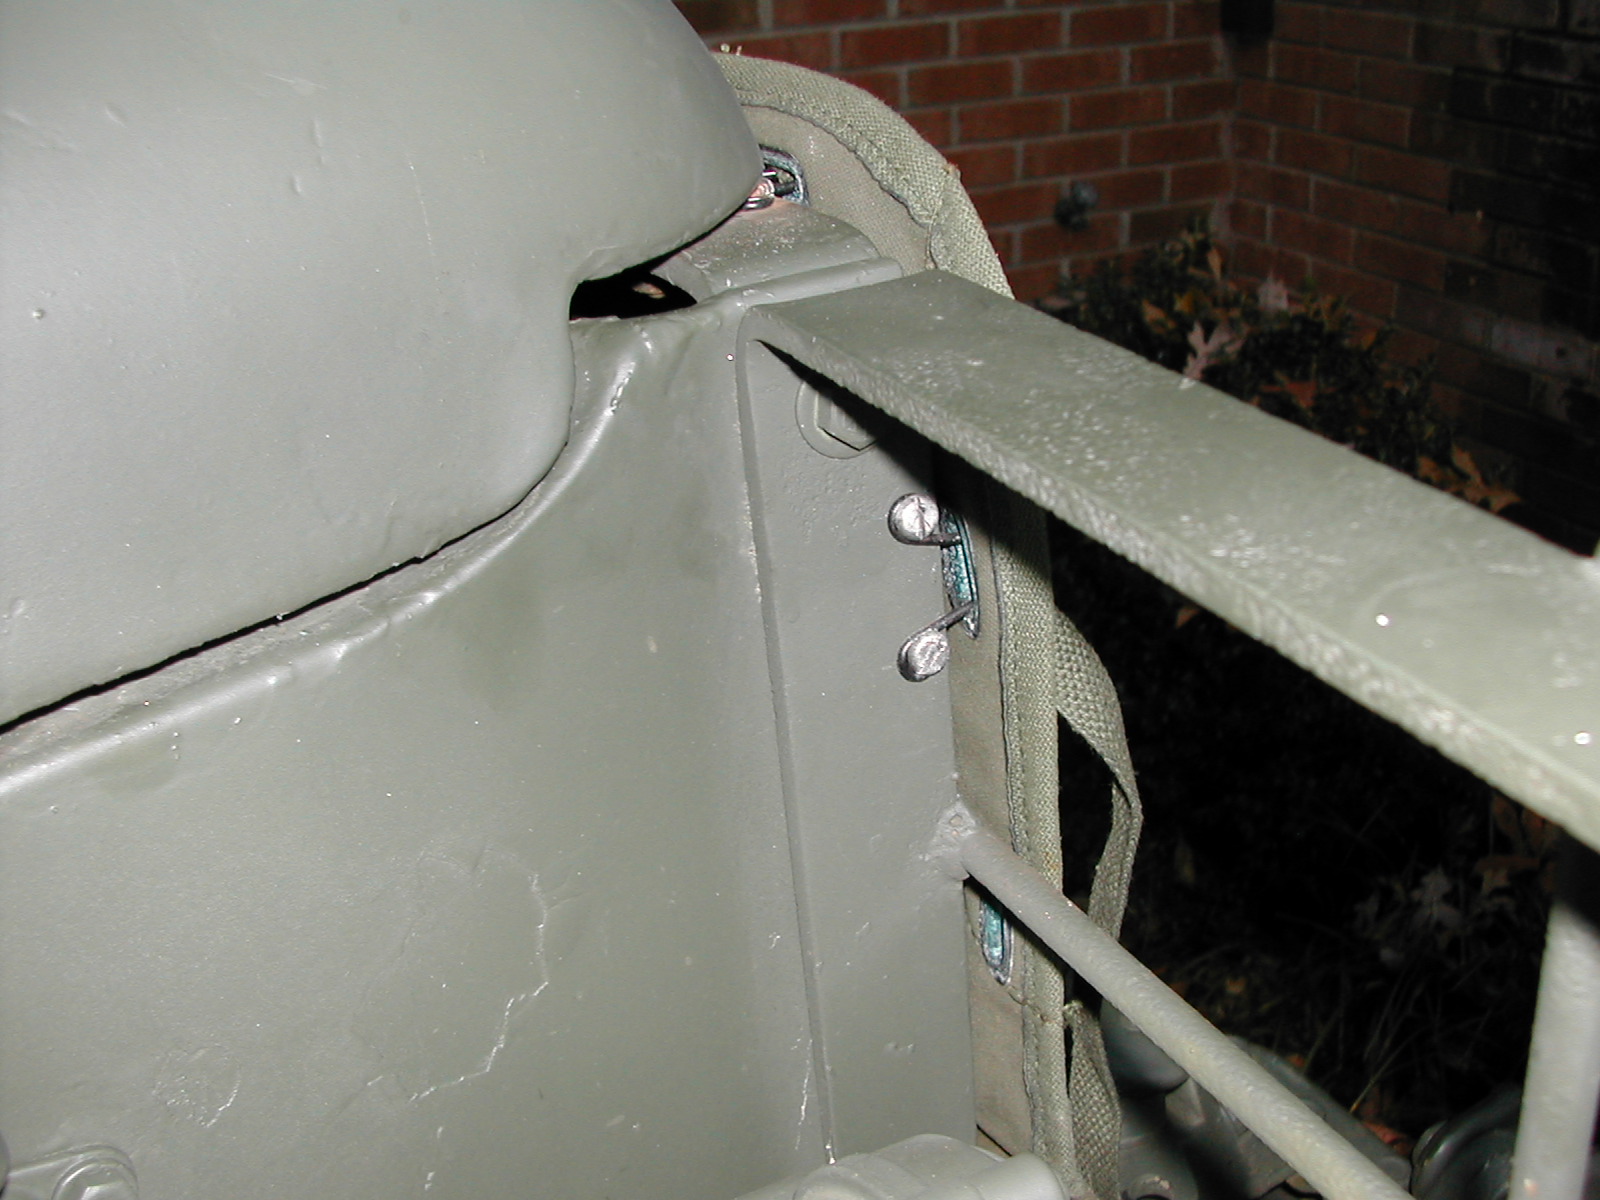
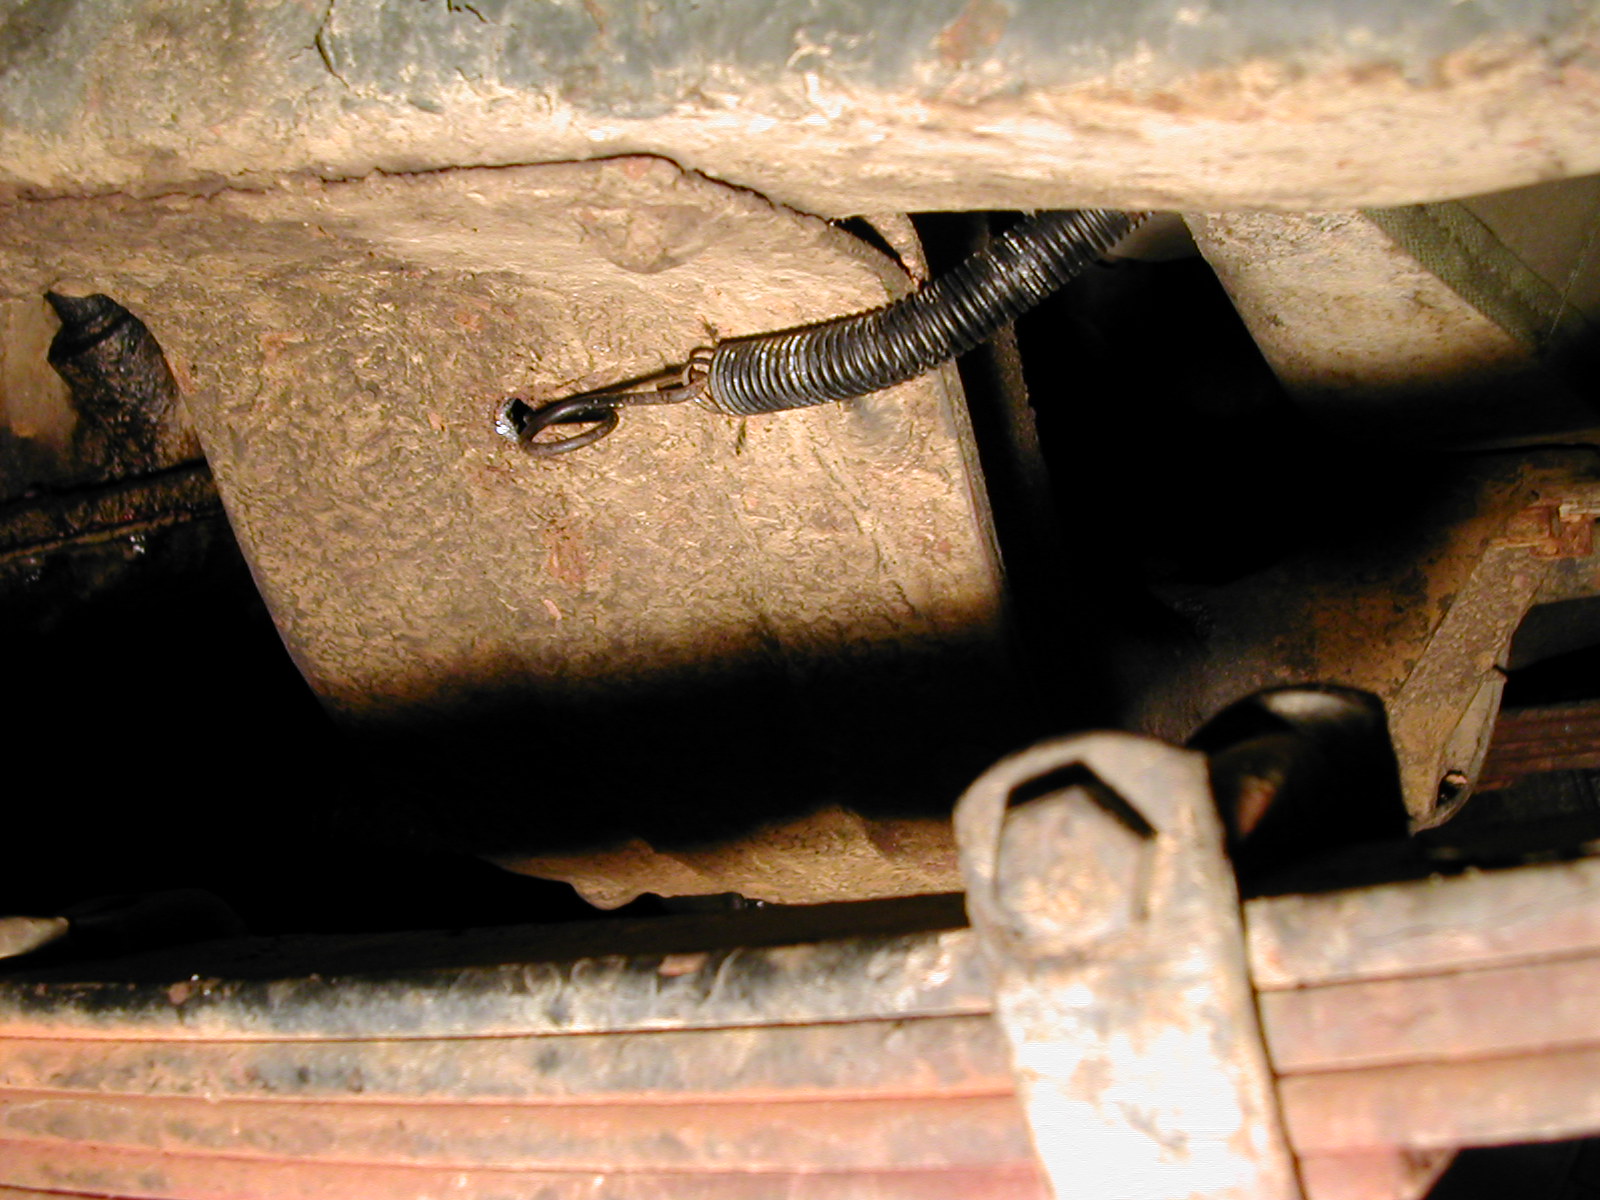
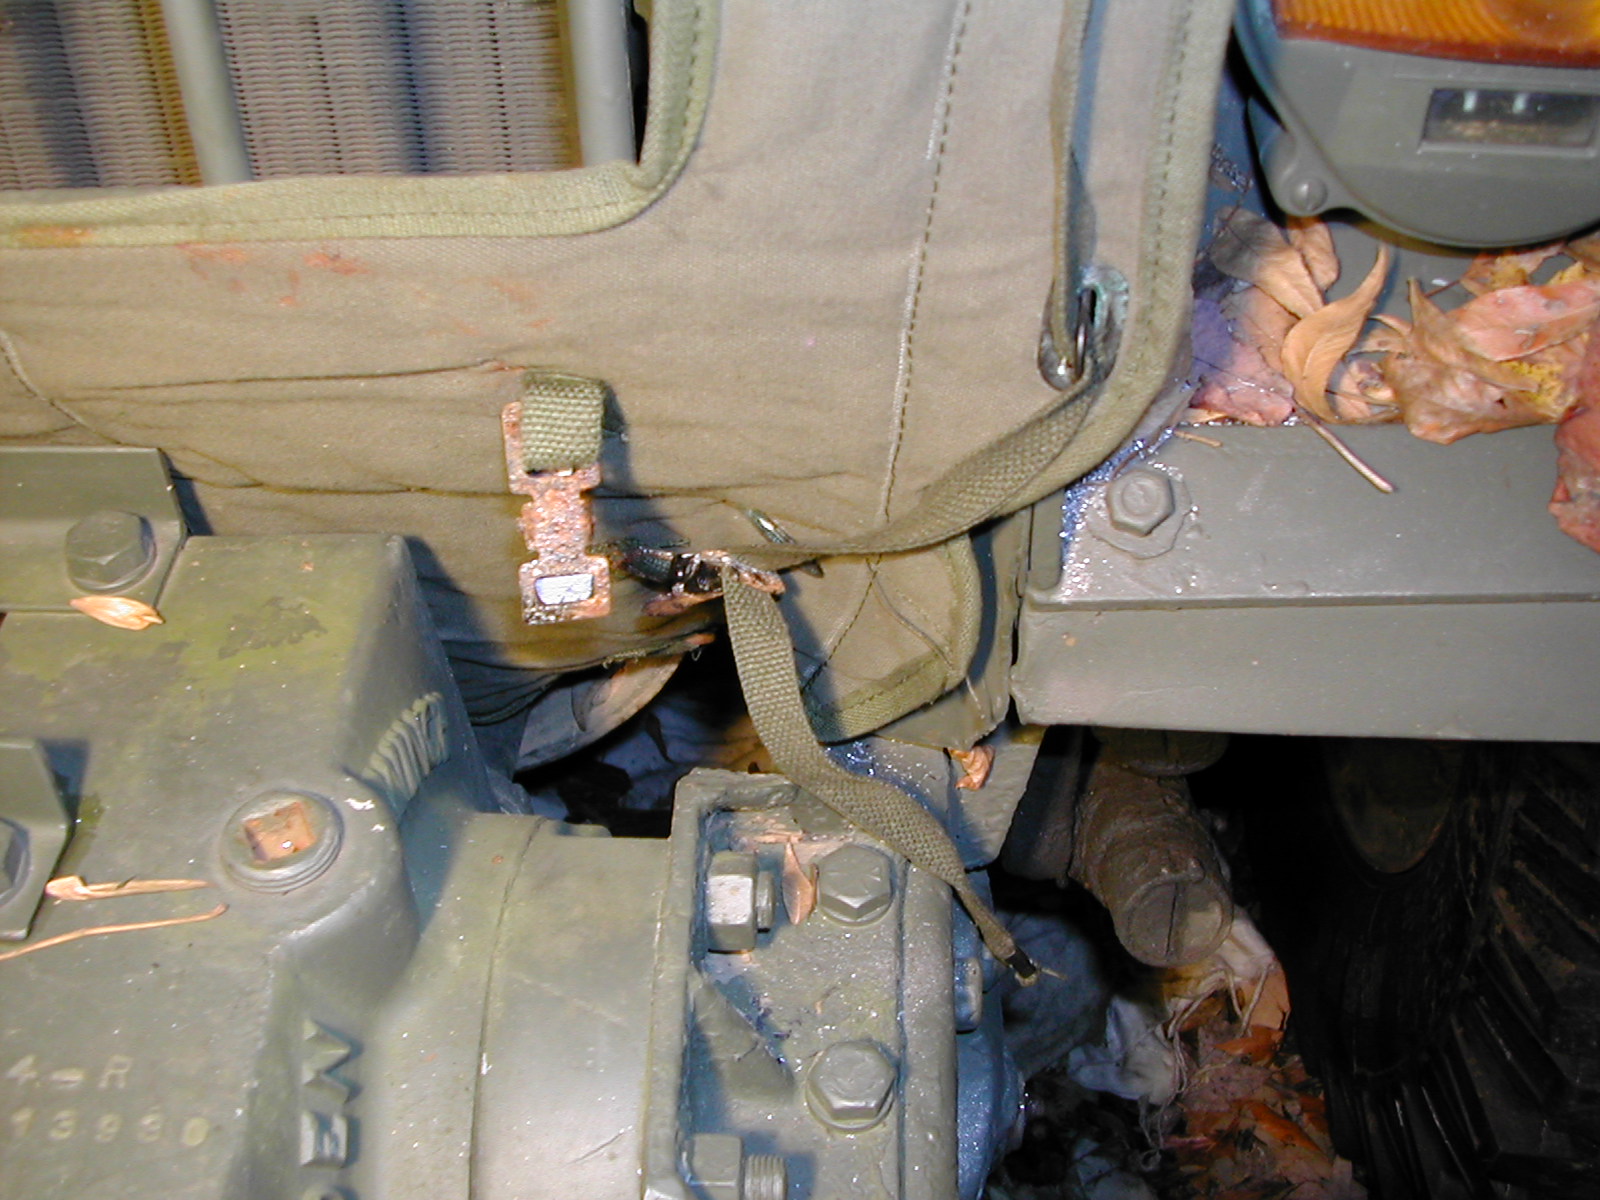
So, I managed to get a winterfront for my truck off Ebay one day and got it mounted in time for the winter. Since then, I've found that it really helps the little Cummins warm up faster so that I can get some heat on the winter commute to work. It also helps keep the engine purring along at an efficient temperature while running down the highway in the spring and fall when the stock radiator is just a bit too efficient for the engine to run at optimum temperature. Installation was pretty easy. I took off the upper radiator shroud that runs along the top of the grill so that I could tuck the clips under it (they are the u-shaped wire bits that the oval grommets of the cover slide over, they are the same as the ones used on the 2.5 and five ton trucks...), held the cover up so that it was centered on the grill so that I could align the spots where I needed the clips, held a clip in place and drilled a pilot hole for the self tapping screws used to mount it. I then moved around the grill, lacing the cover into place, holding a clip in position, drilling and affixing the clip, then moving on to the next one. Last bit was to drill a pair of holes in the lower front crossmember so that the spring clips on the bottom of the cover could be attached (not sure where they are supposed to go, but it worked for me...) and to replace the shroud. Hopefully, the photos below (w1-w15) do a better job of explaining it then the text above... When the daytime temperature doesn't get over seventy degrees (F), I'll mount the cover and run with it in the "open" configuration with the flap rolled up, when it gets down around freezing and lower, I'll drop the flap down. It all depends really on what the engine coolant gauge says... I want the engine to be running with the thermostat open...
 w1 w1 |
 w2 w2 |
 w3 w3 |
 w4 w4 |
 w5 w5 |
 w6 w6 |
 w7 w7 |
 w8 w8 |
 w9 w9 |
 w10 w10 |
 w11 w11 |
 w12 w12 |
 w13
w13 |
 w14 w14 |
 w15 w15 |
Send me email if you have questions about this page.