 1
1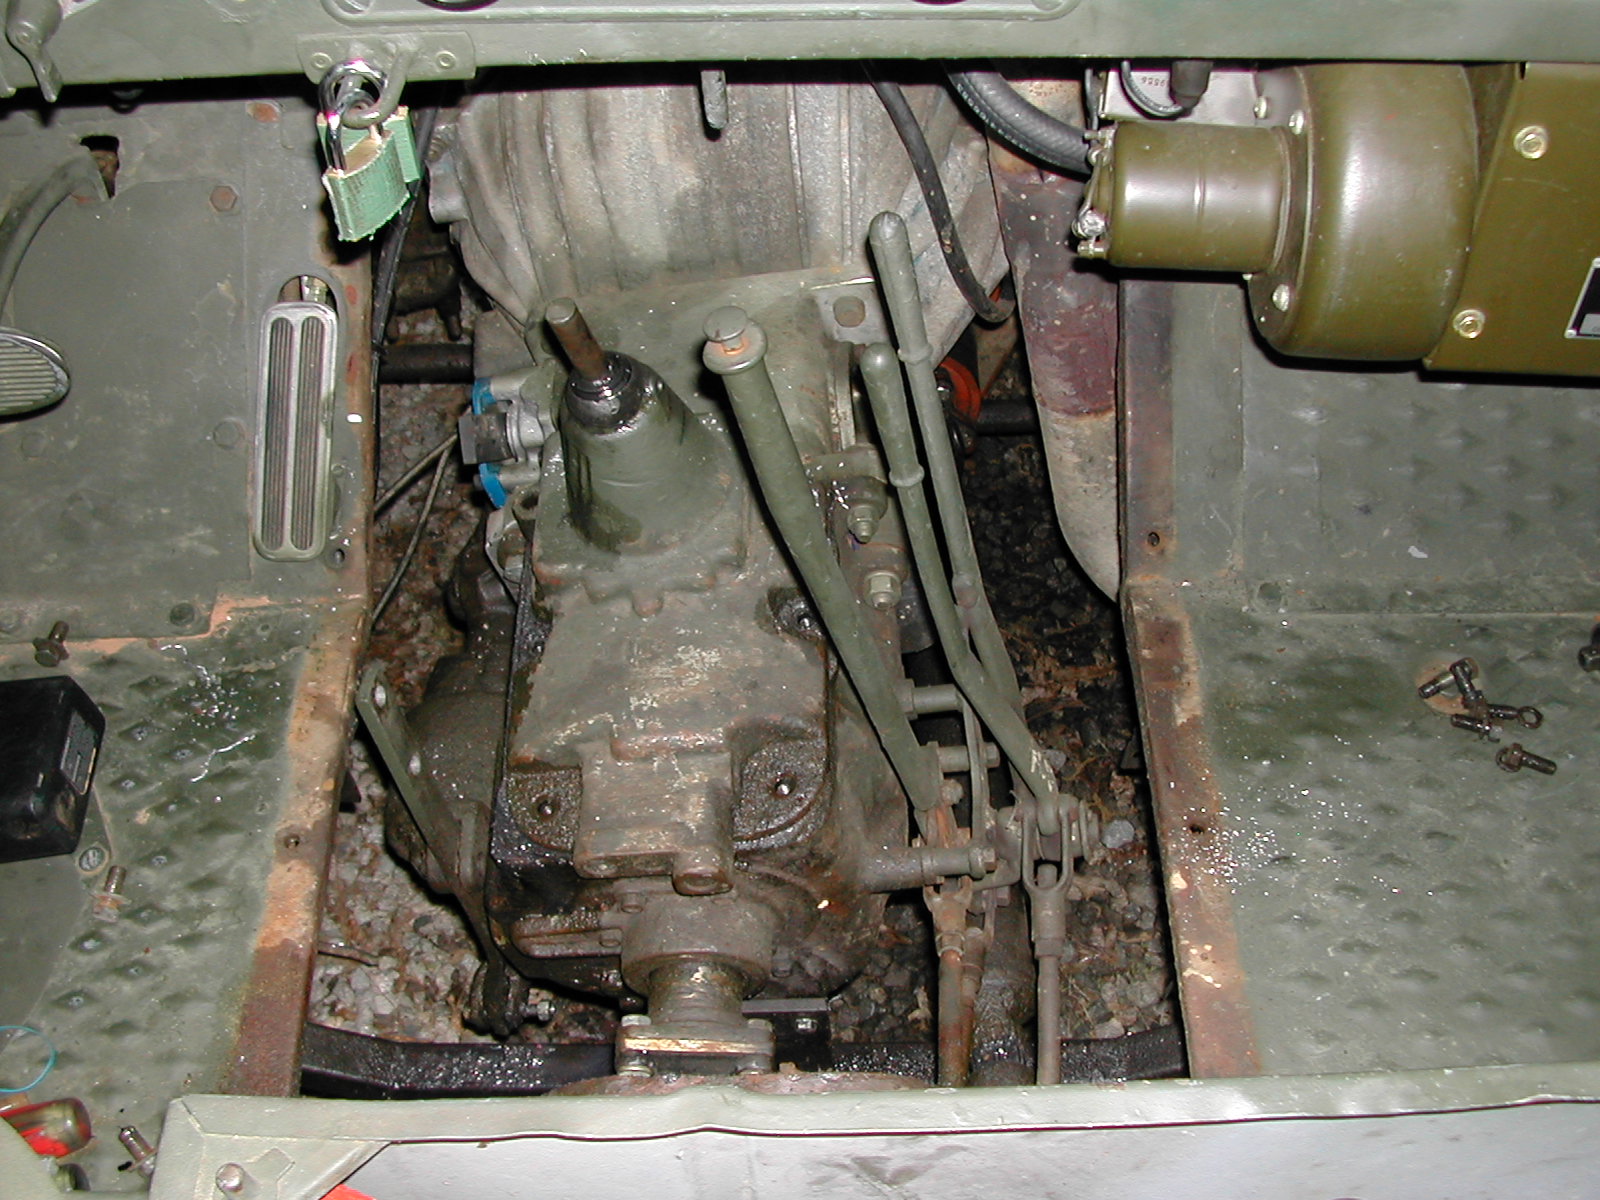 2
2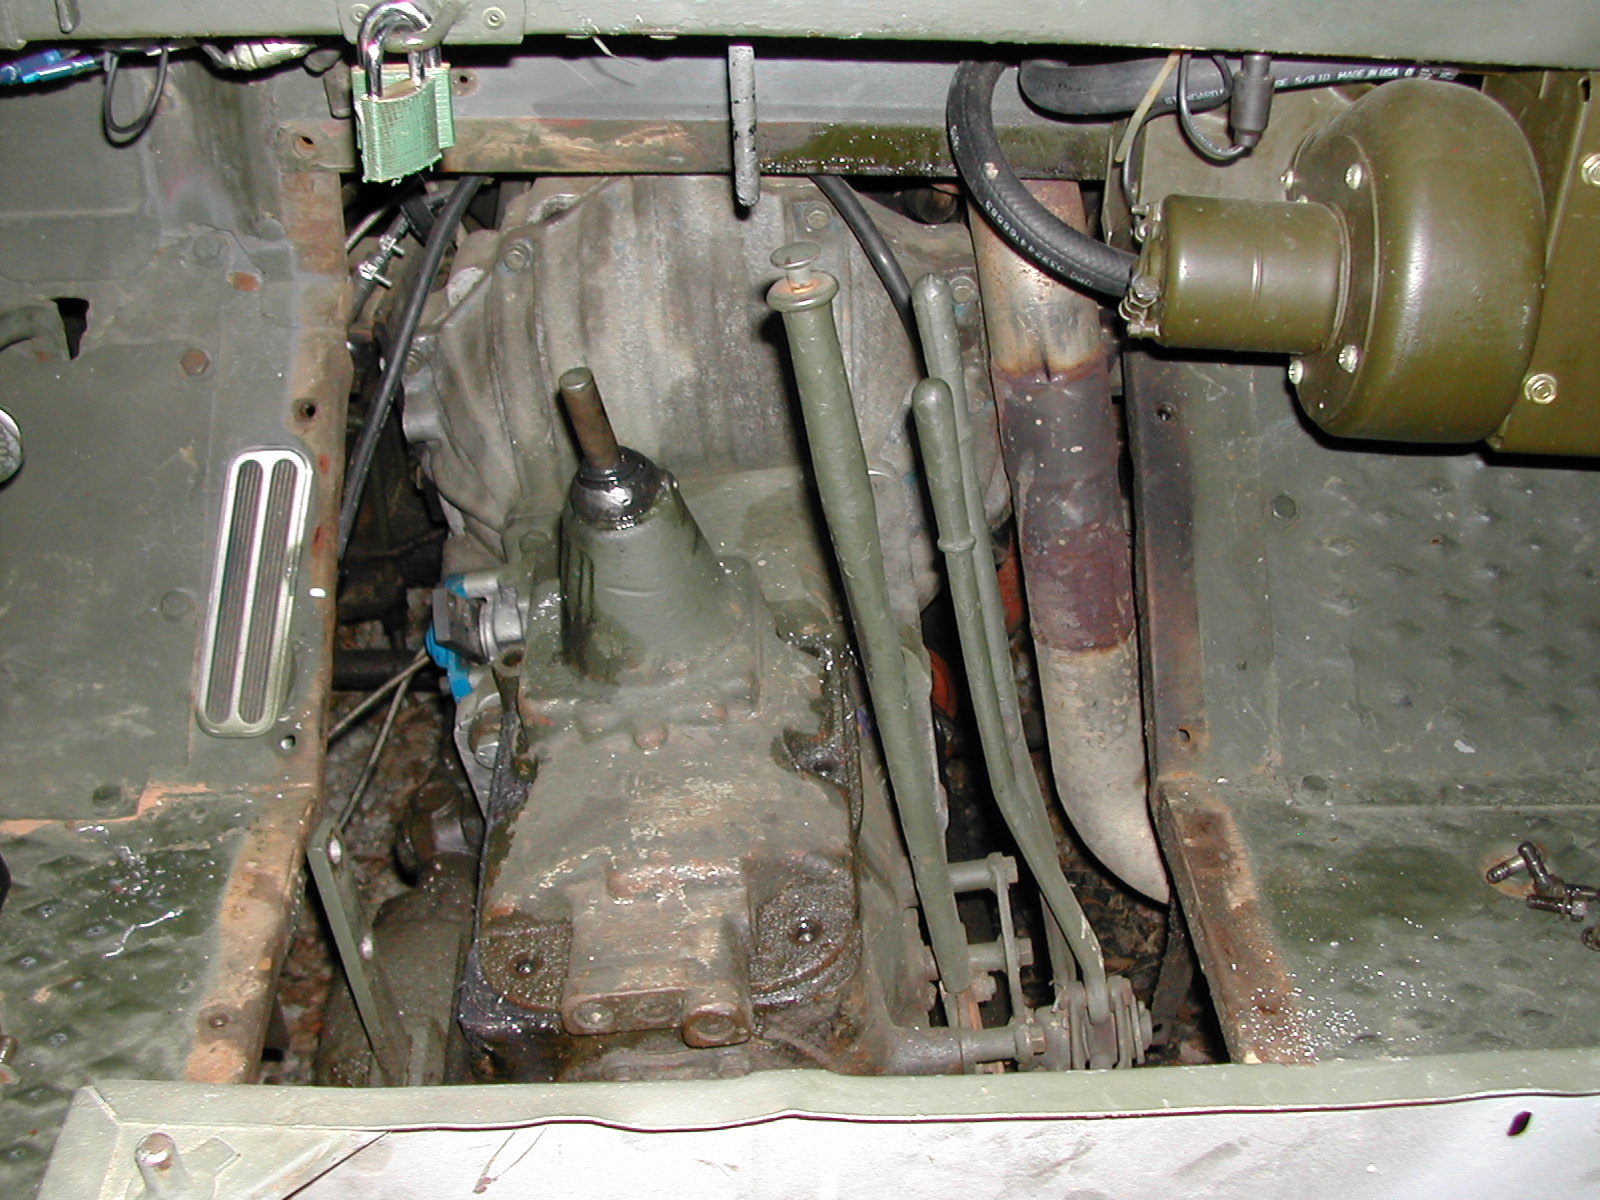 3
3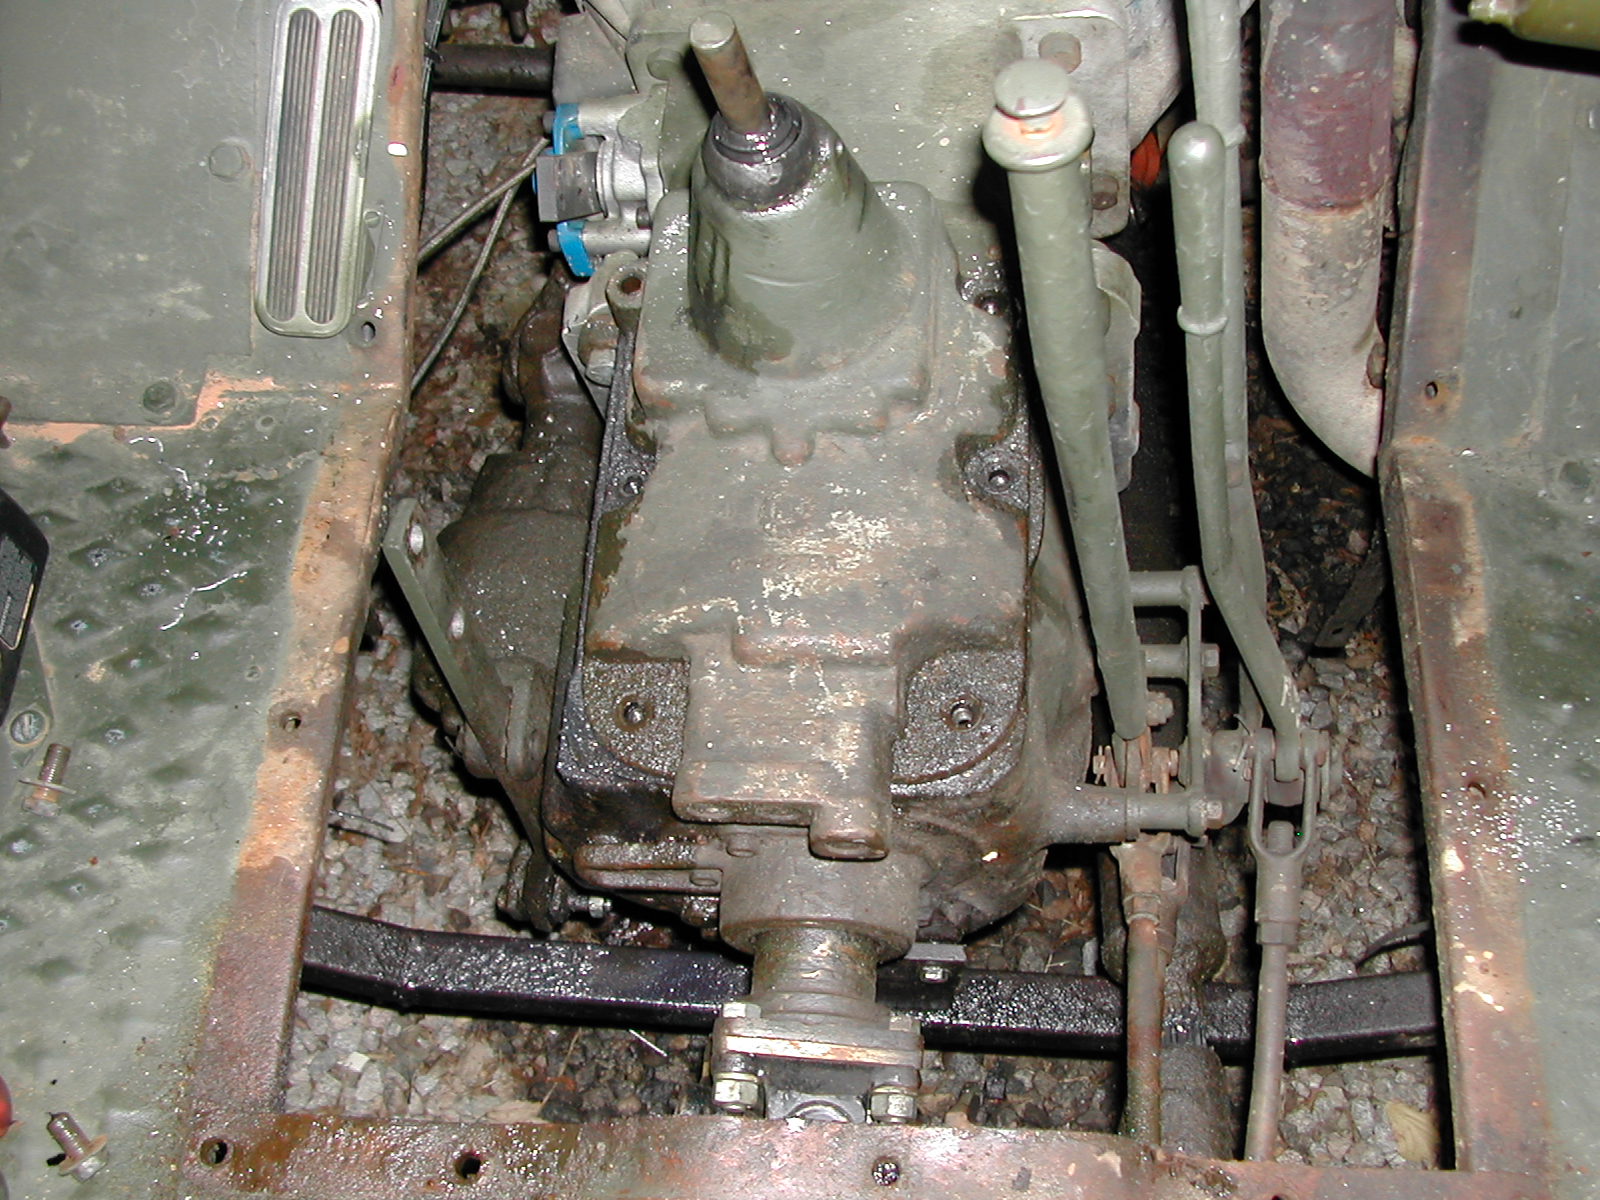 4
4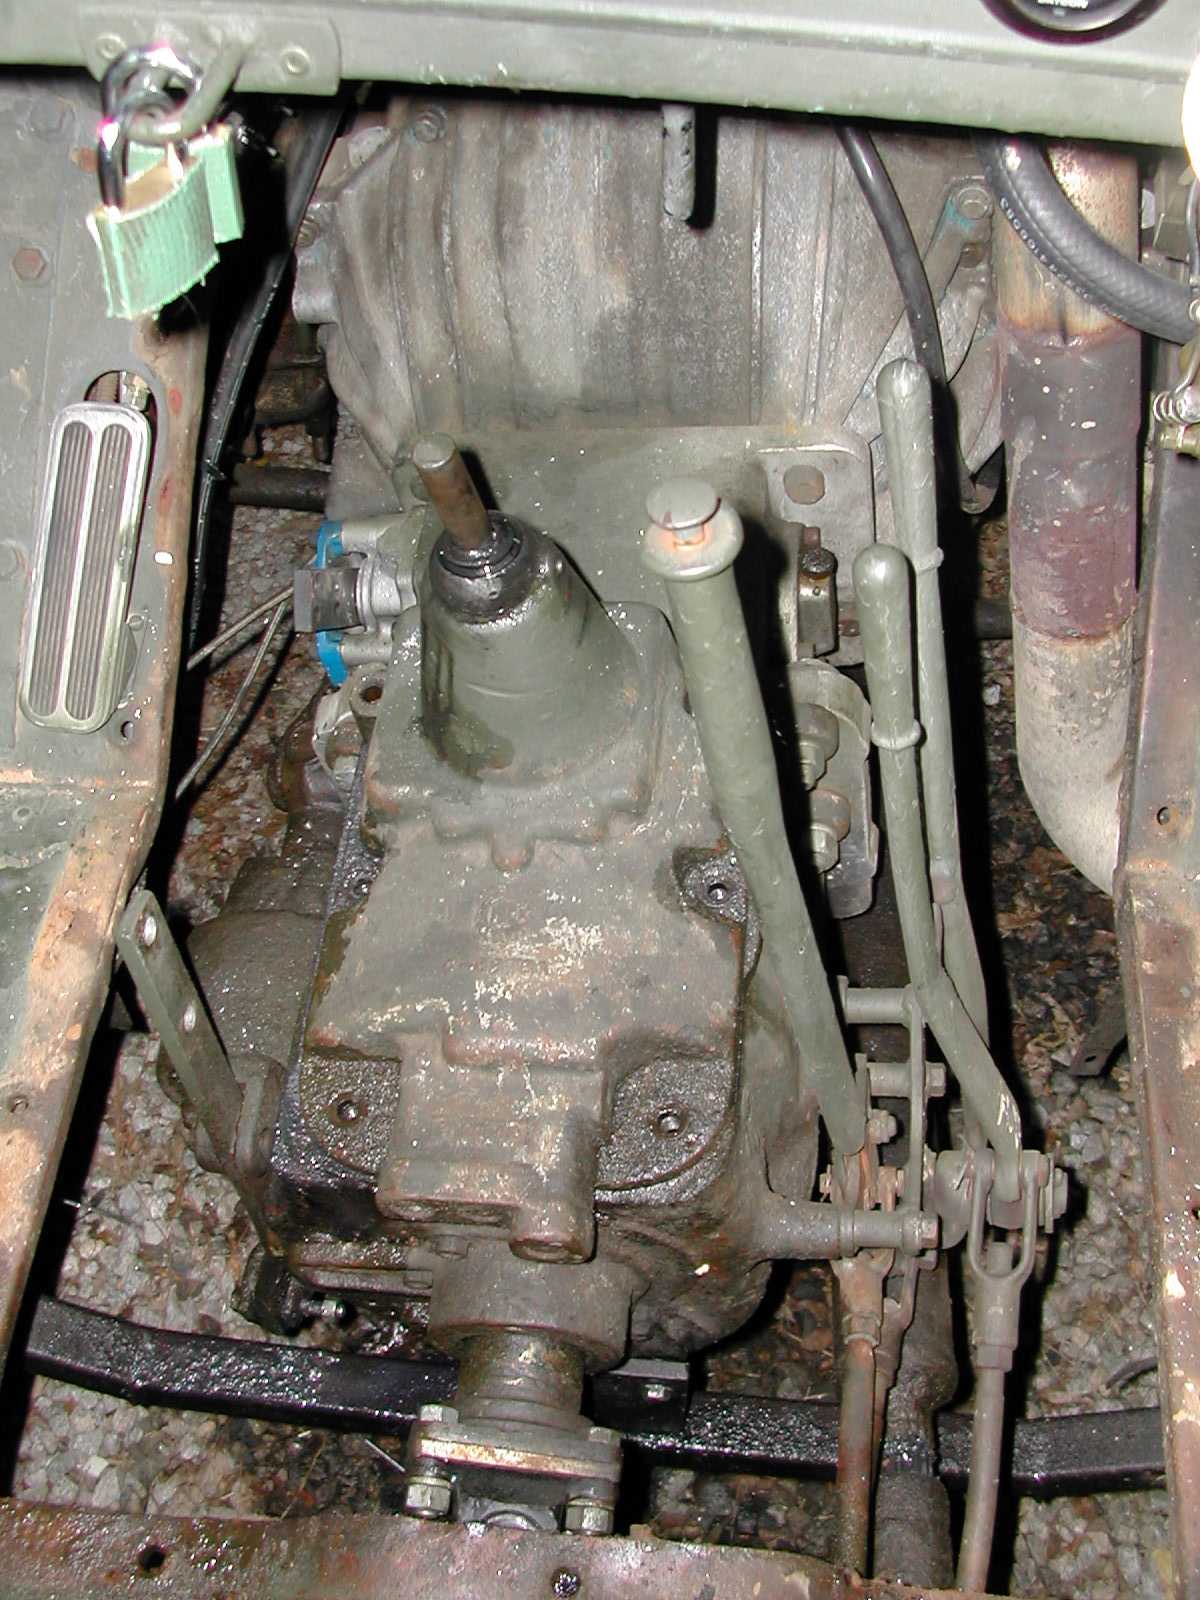 5
5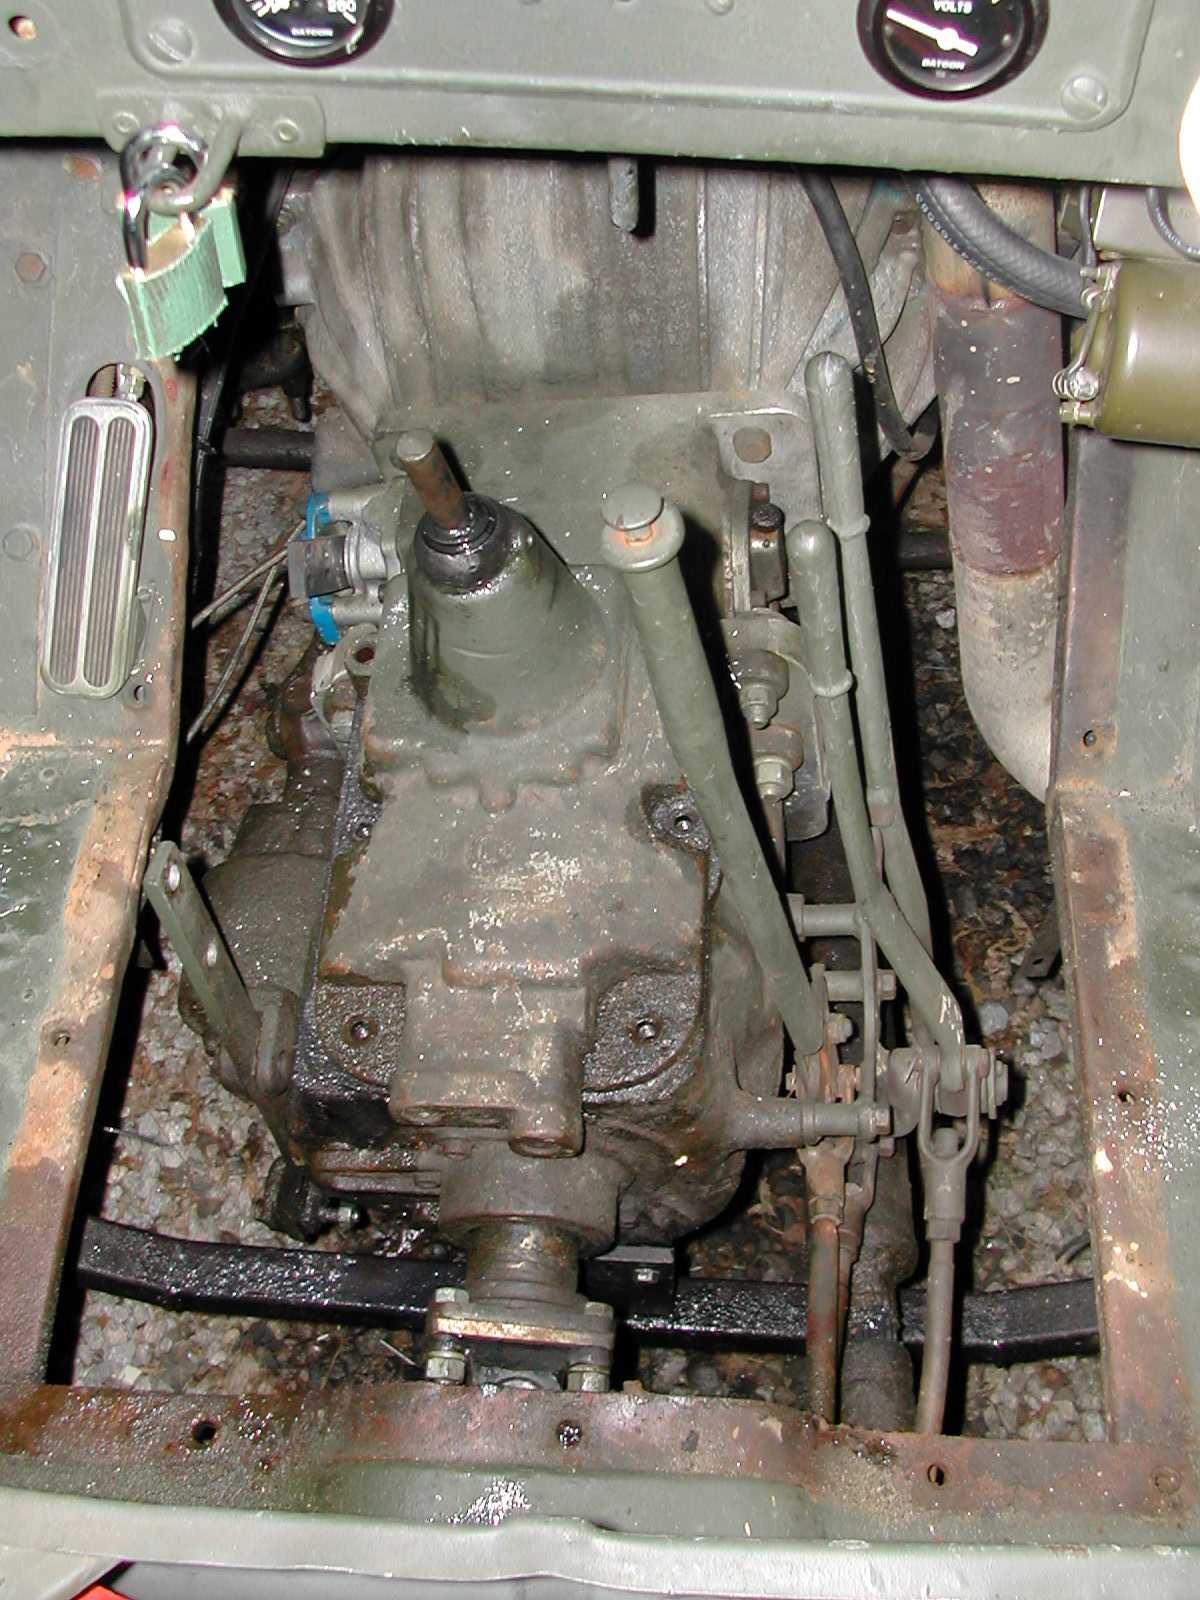
 7
7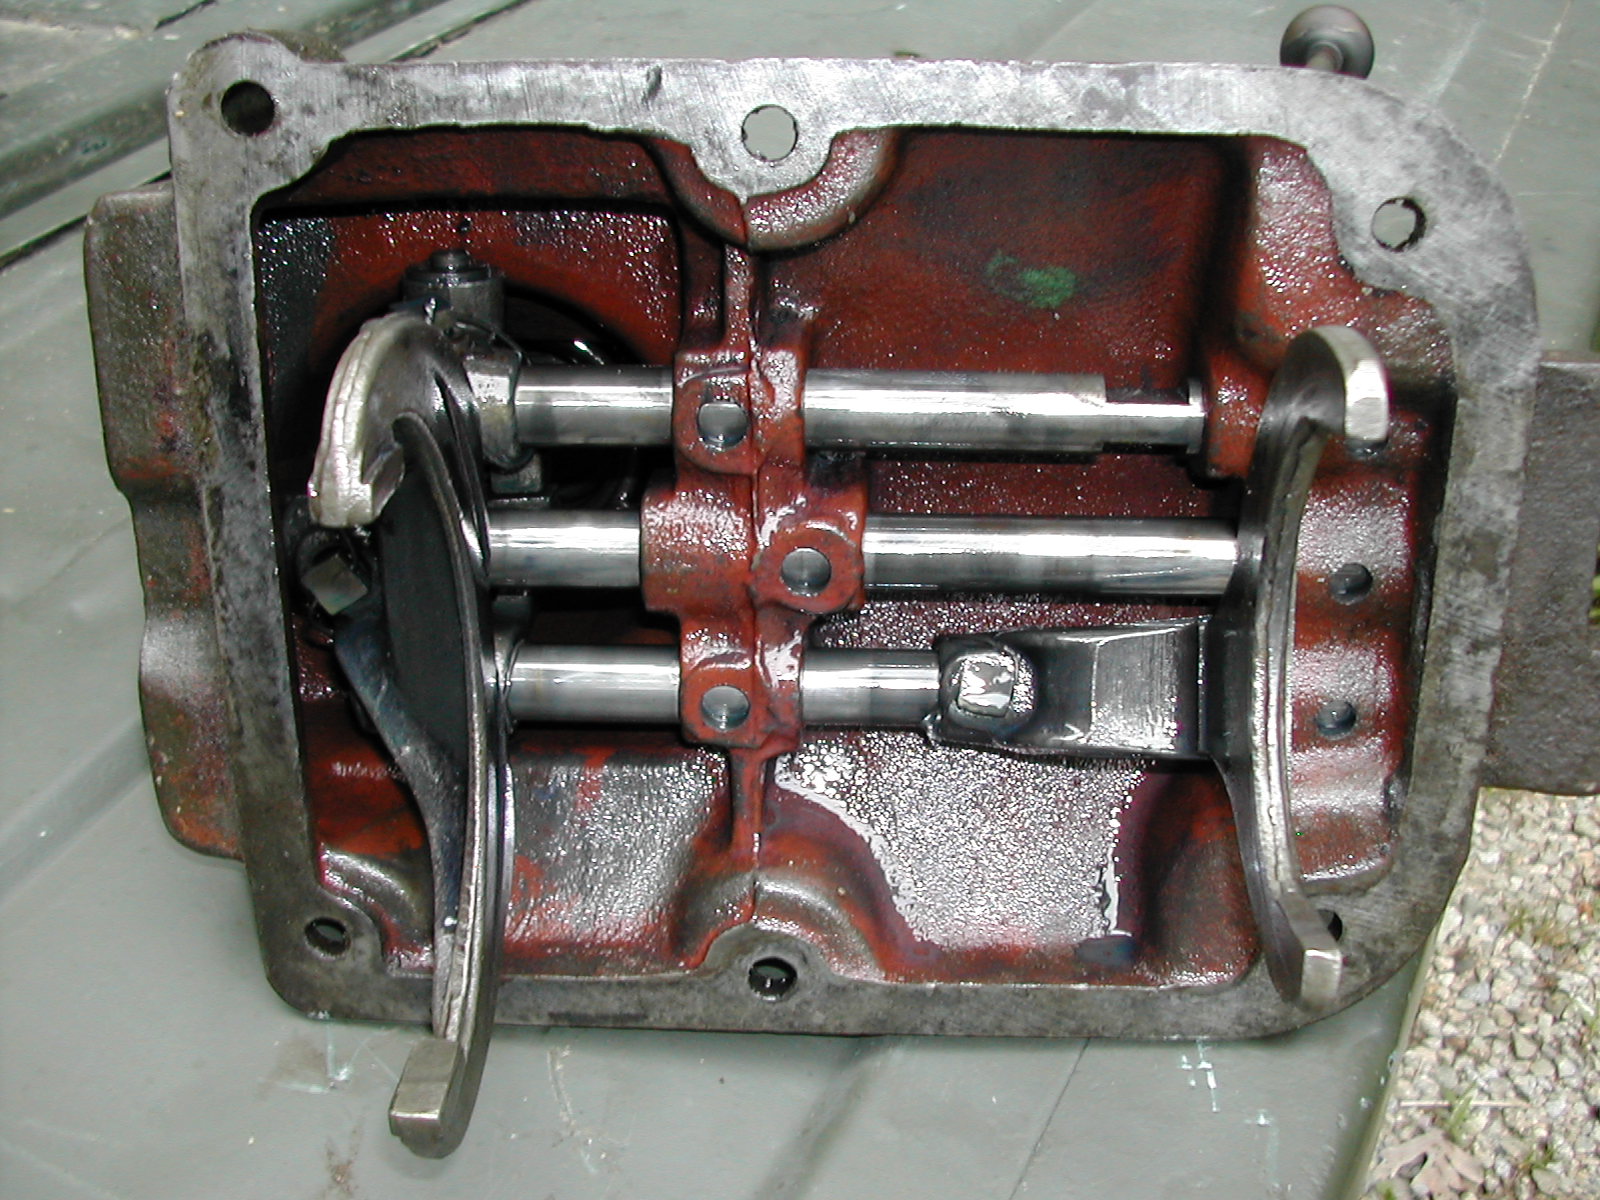 8
8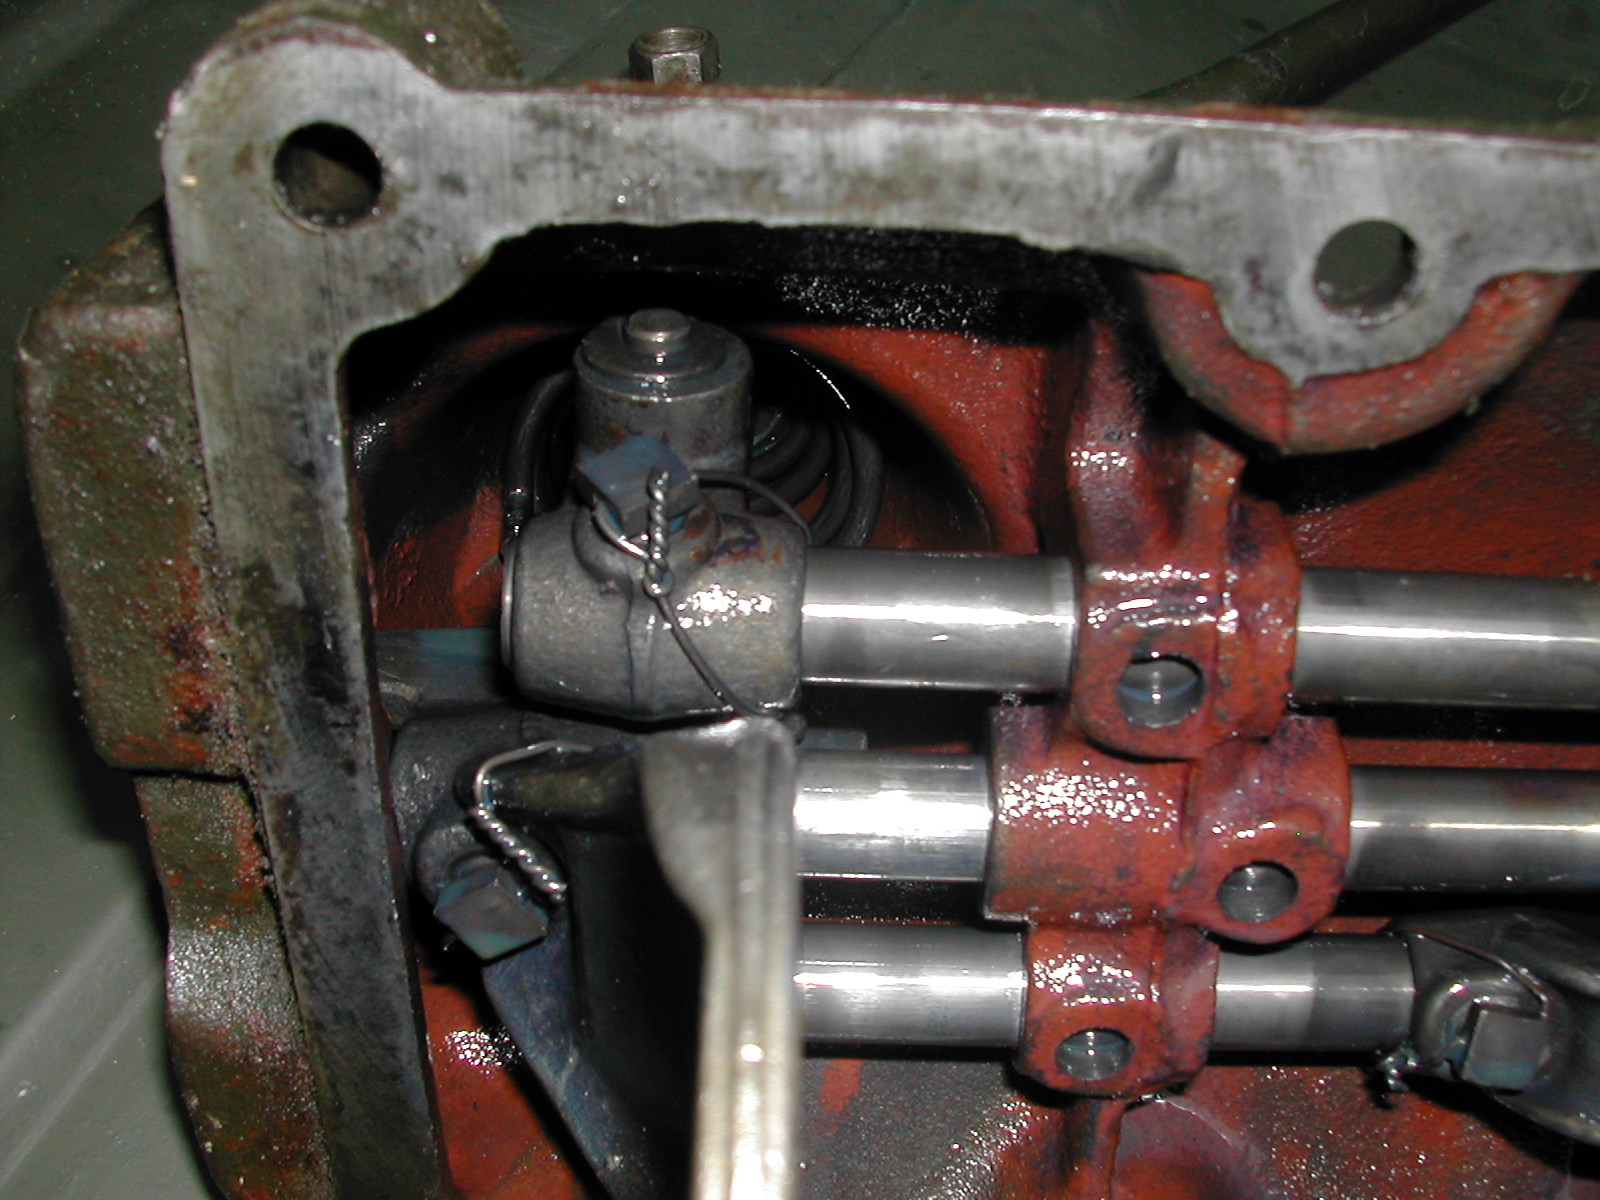 9
9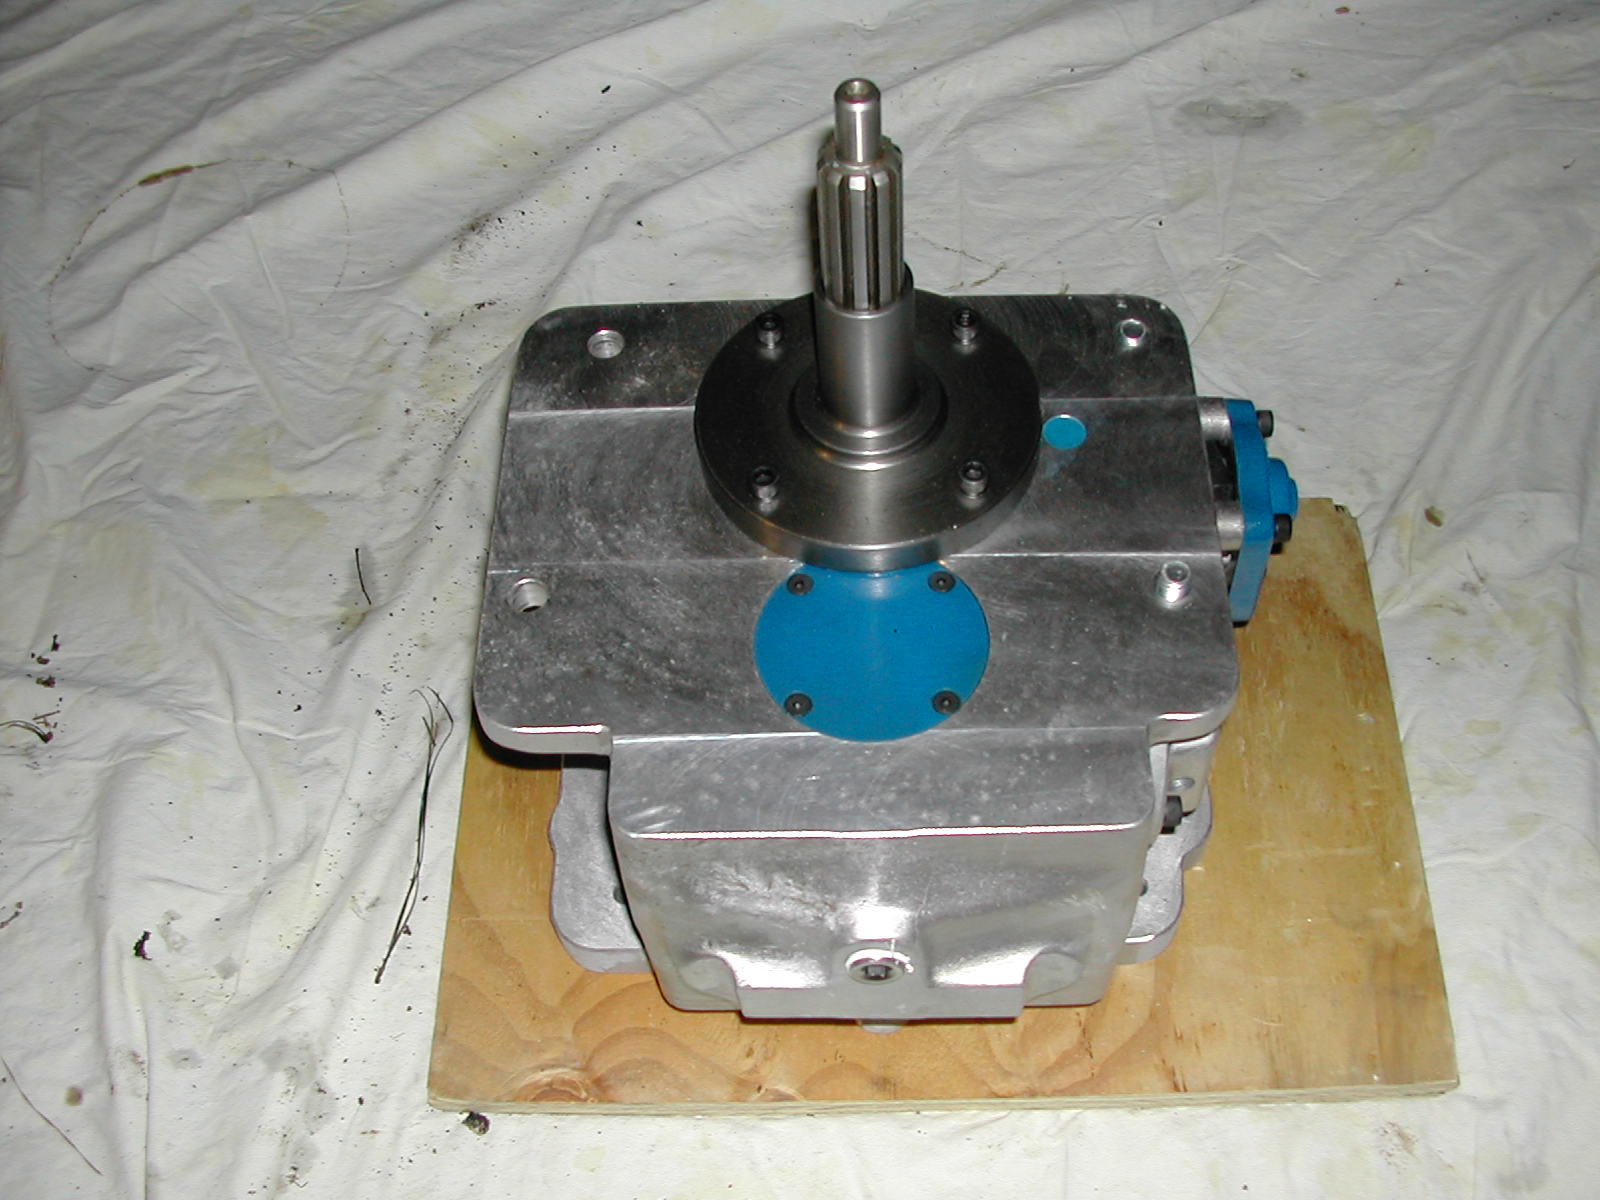 10
10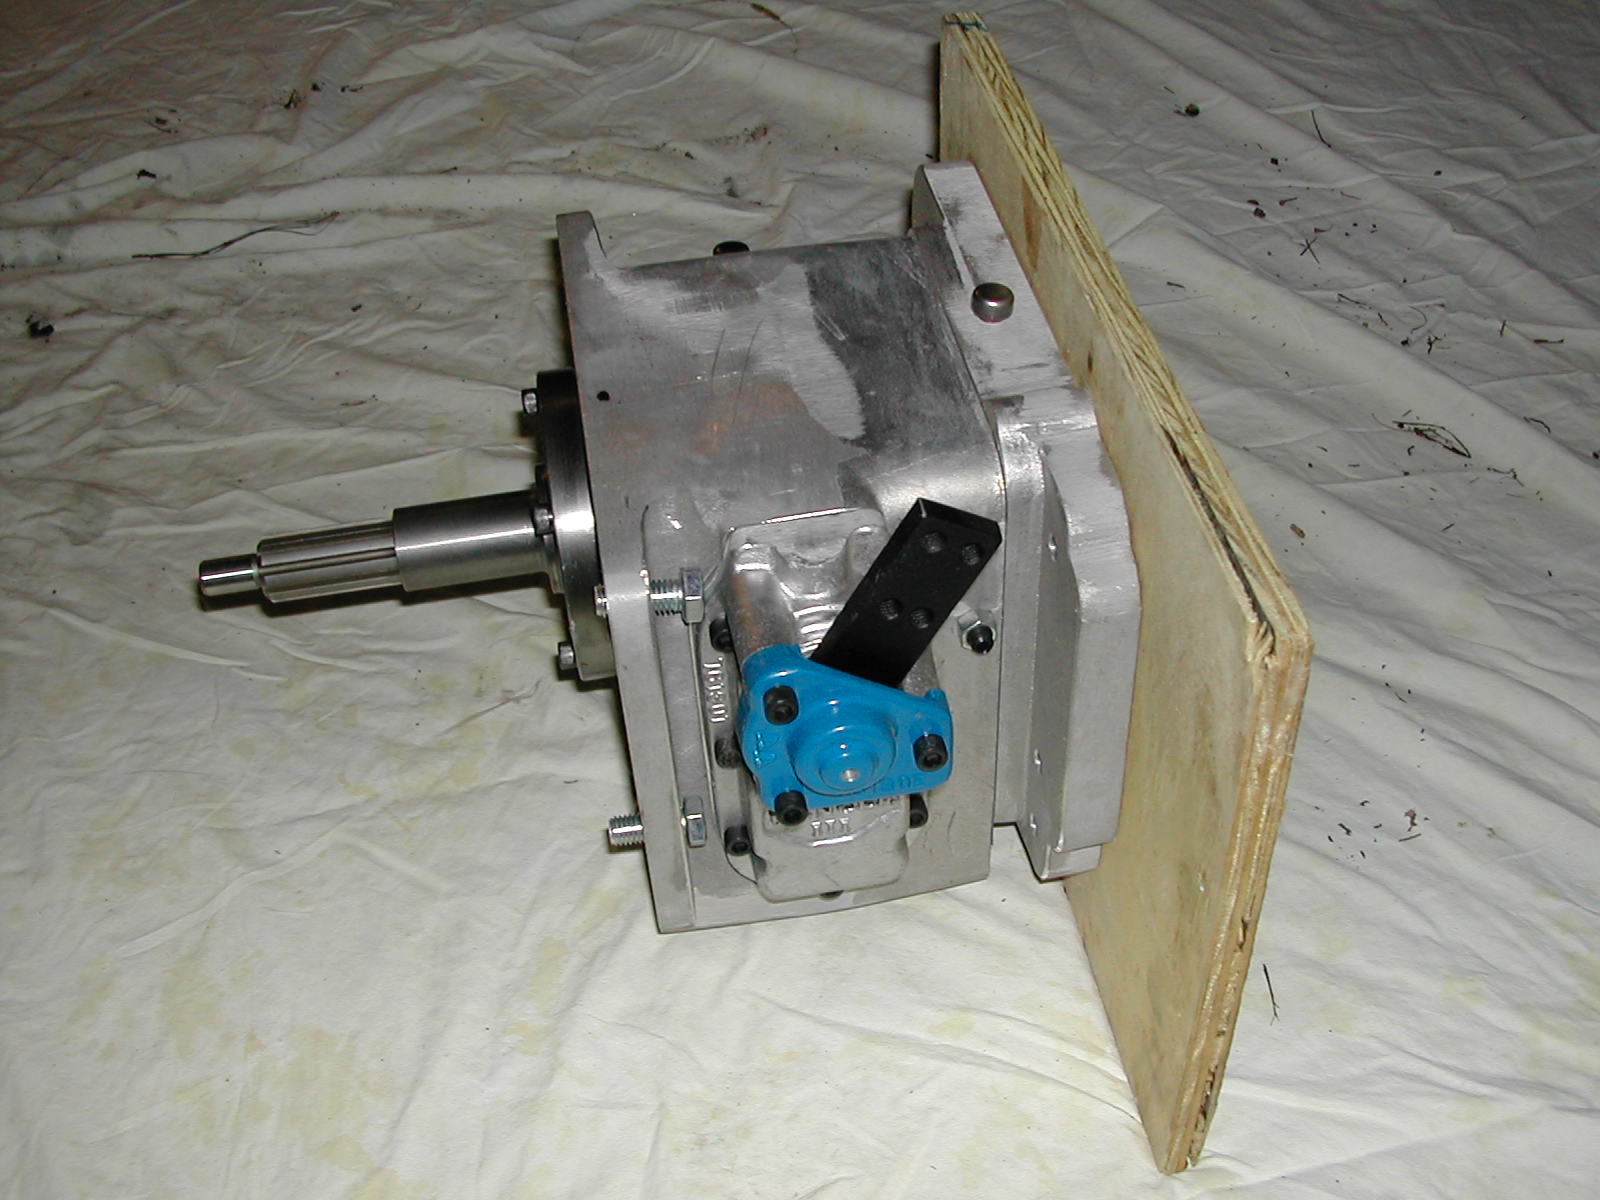 11
11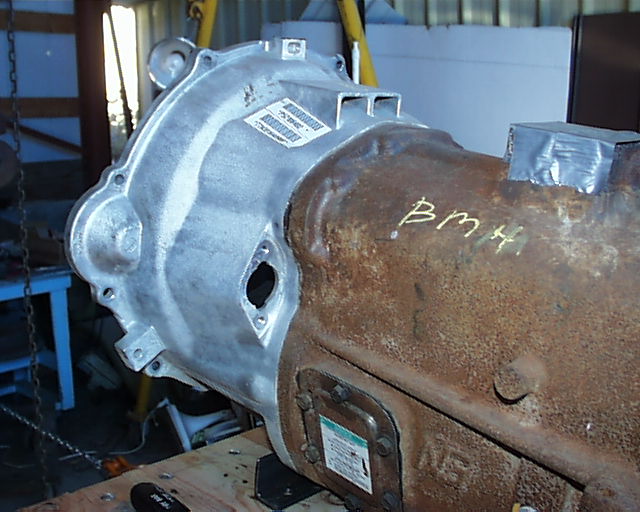 12
12 13
13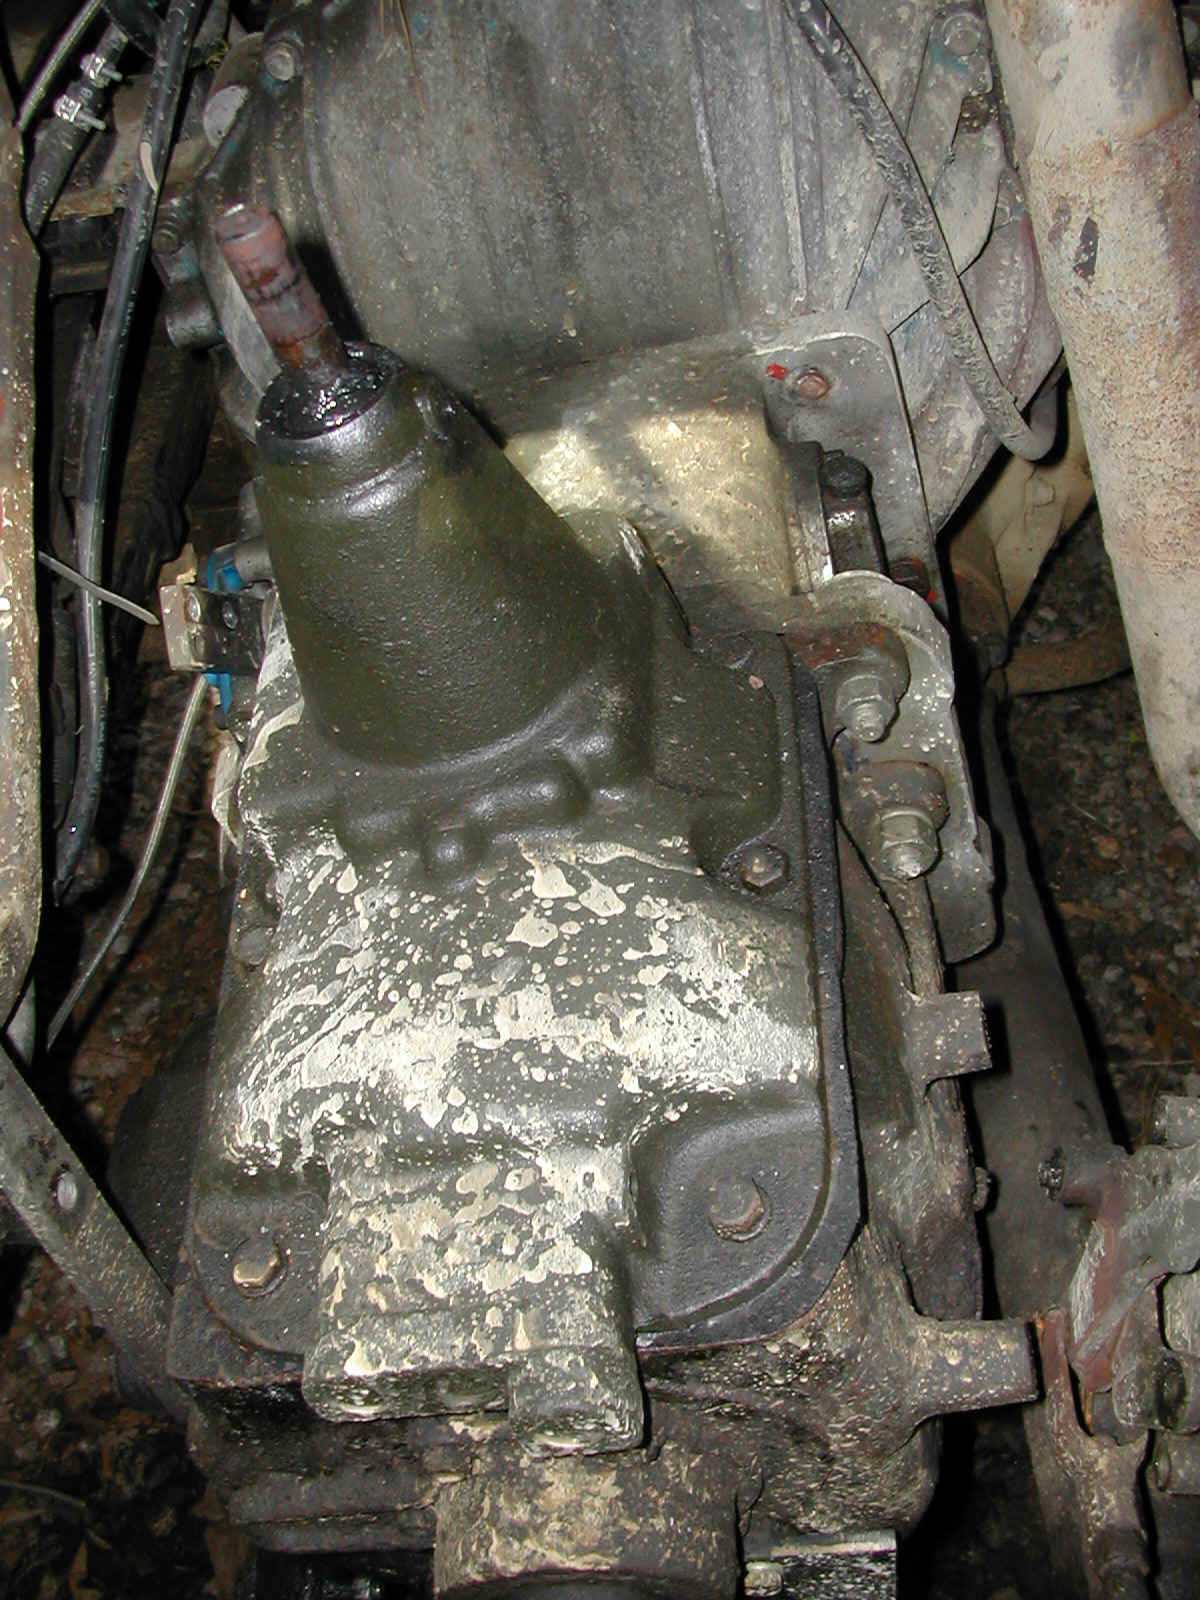 14
14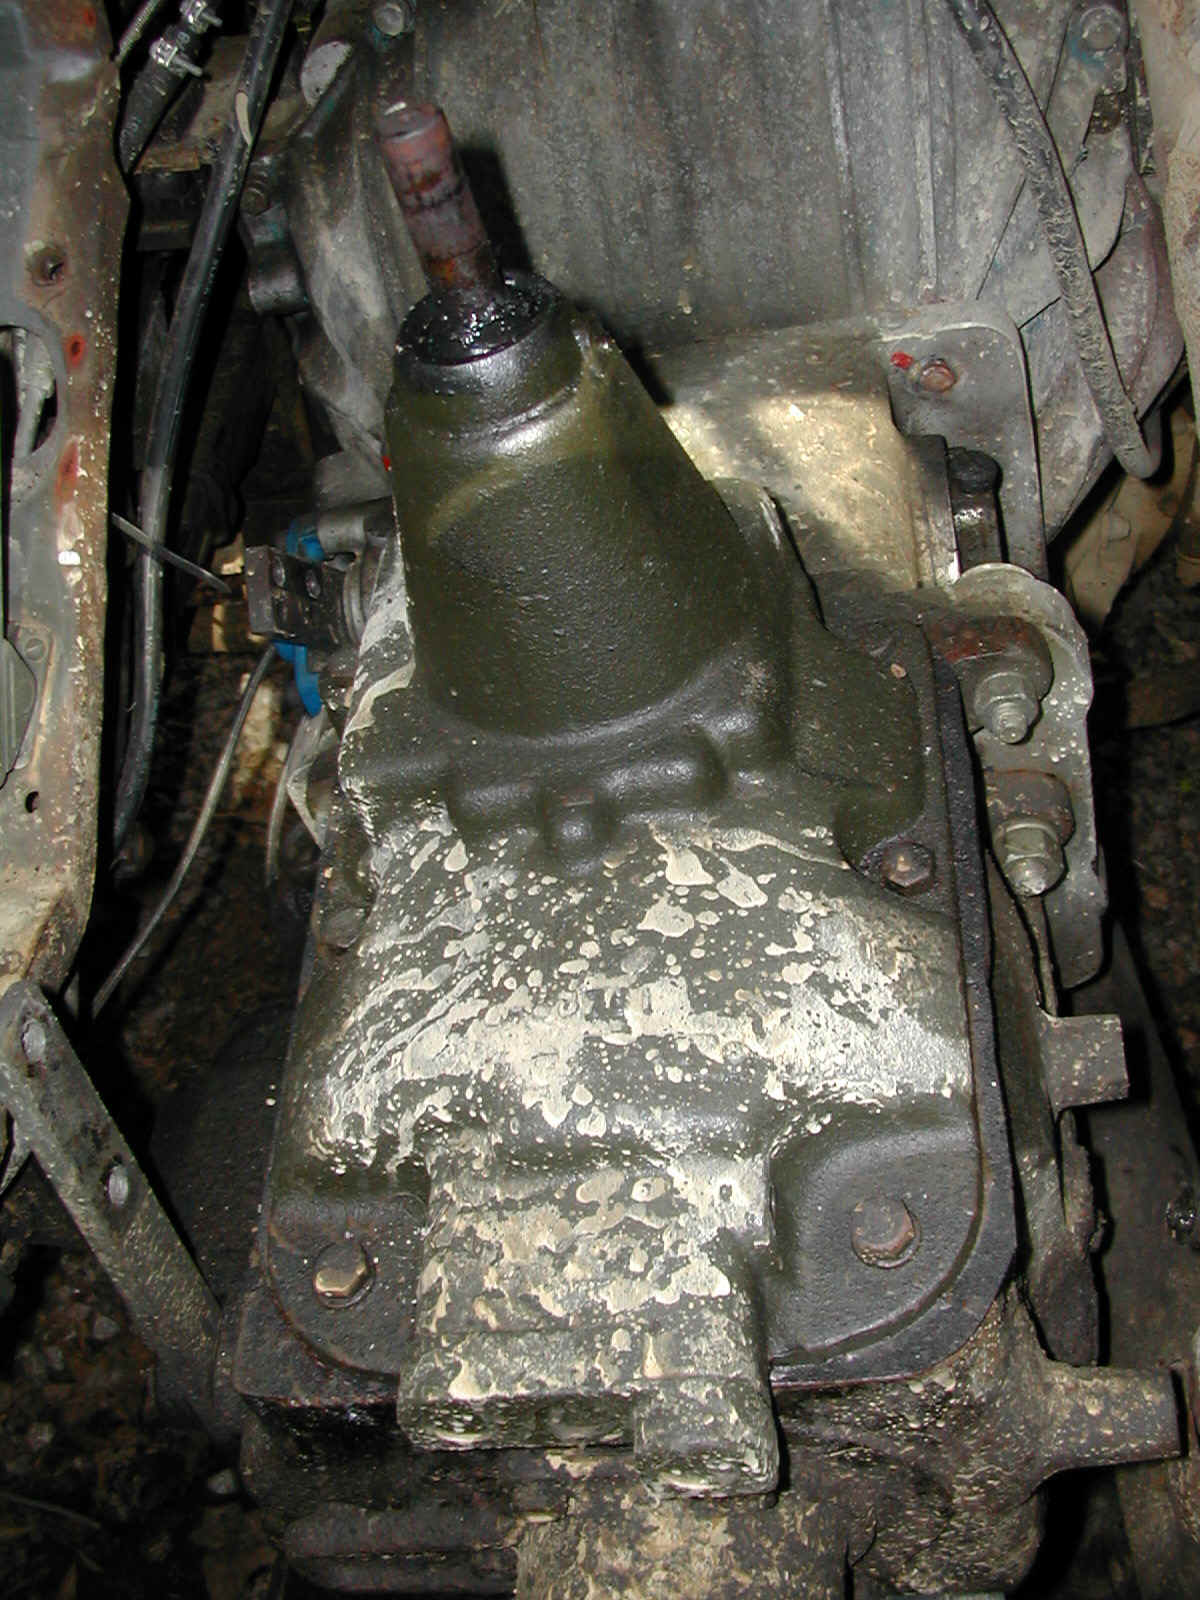 15
15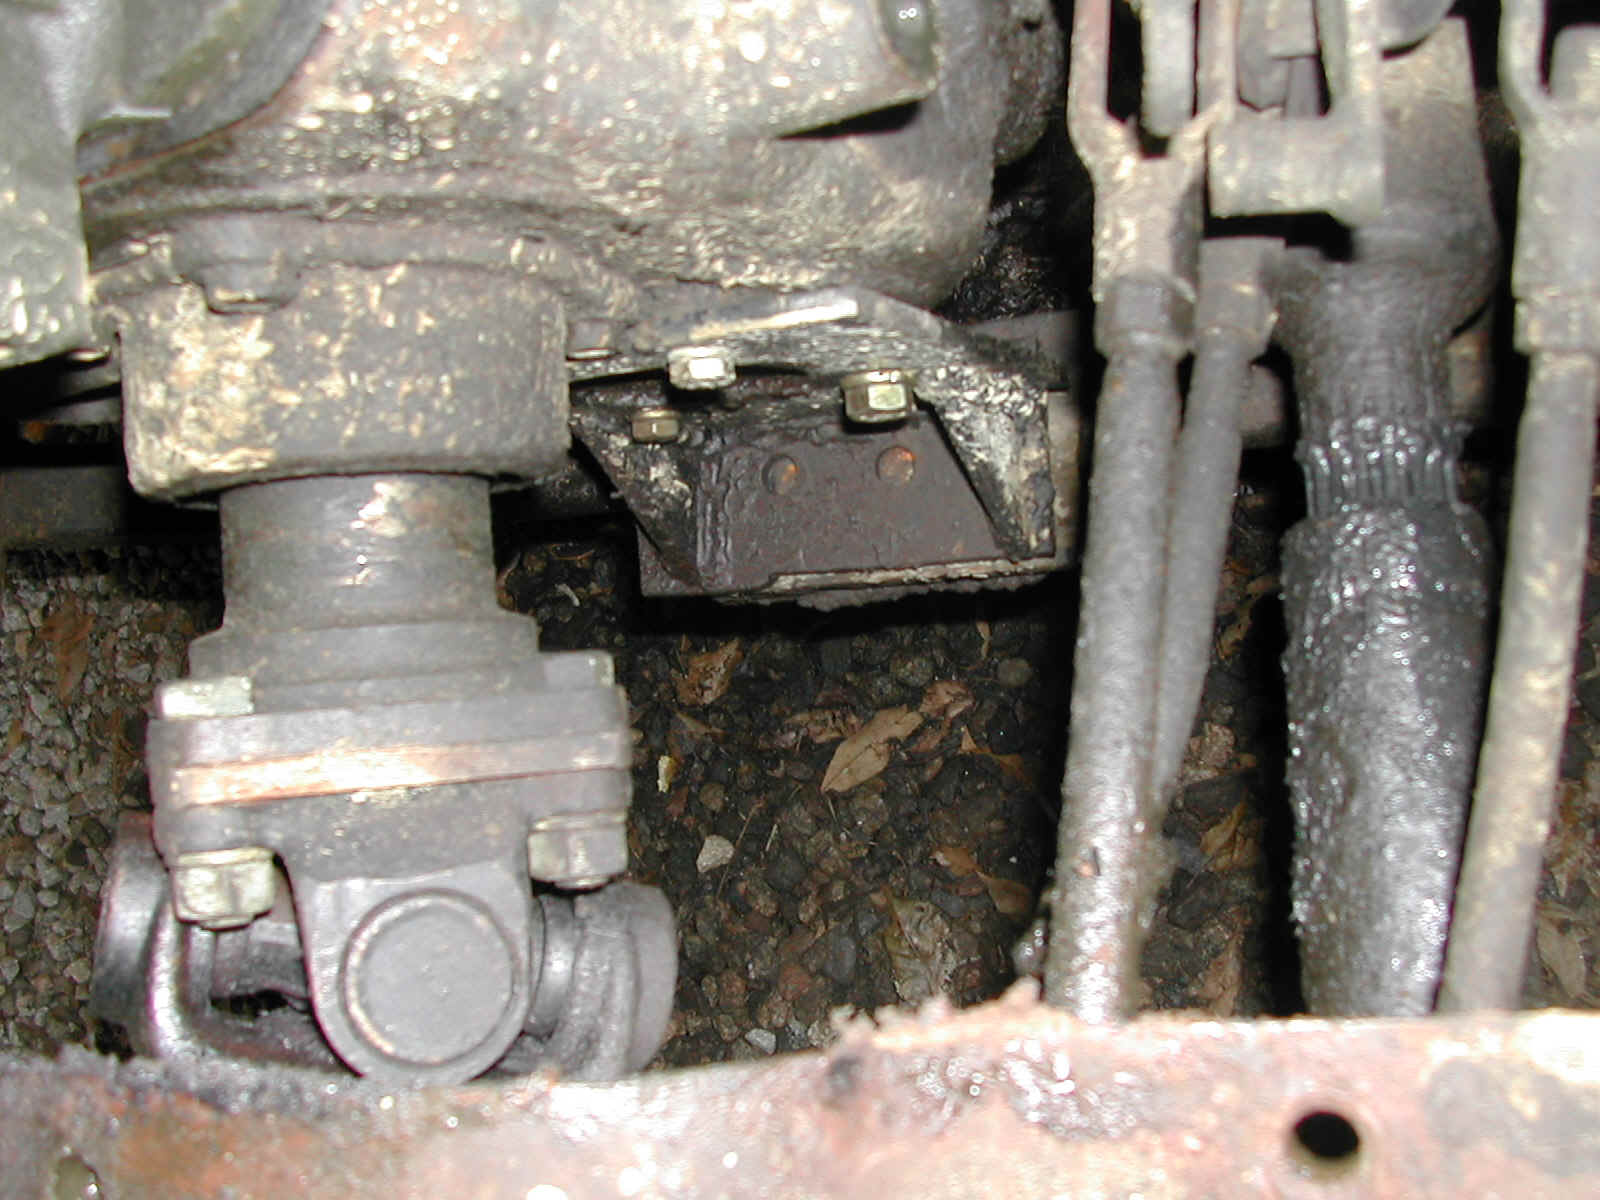 16
16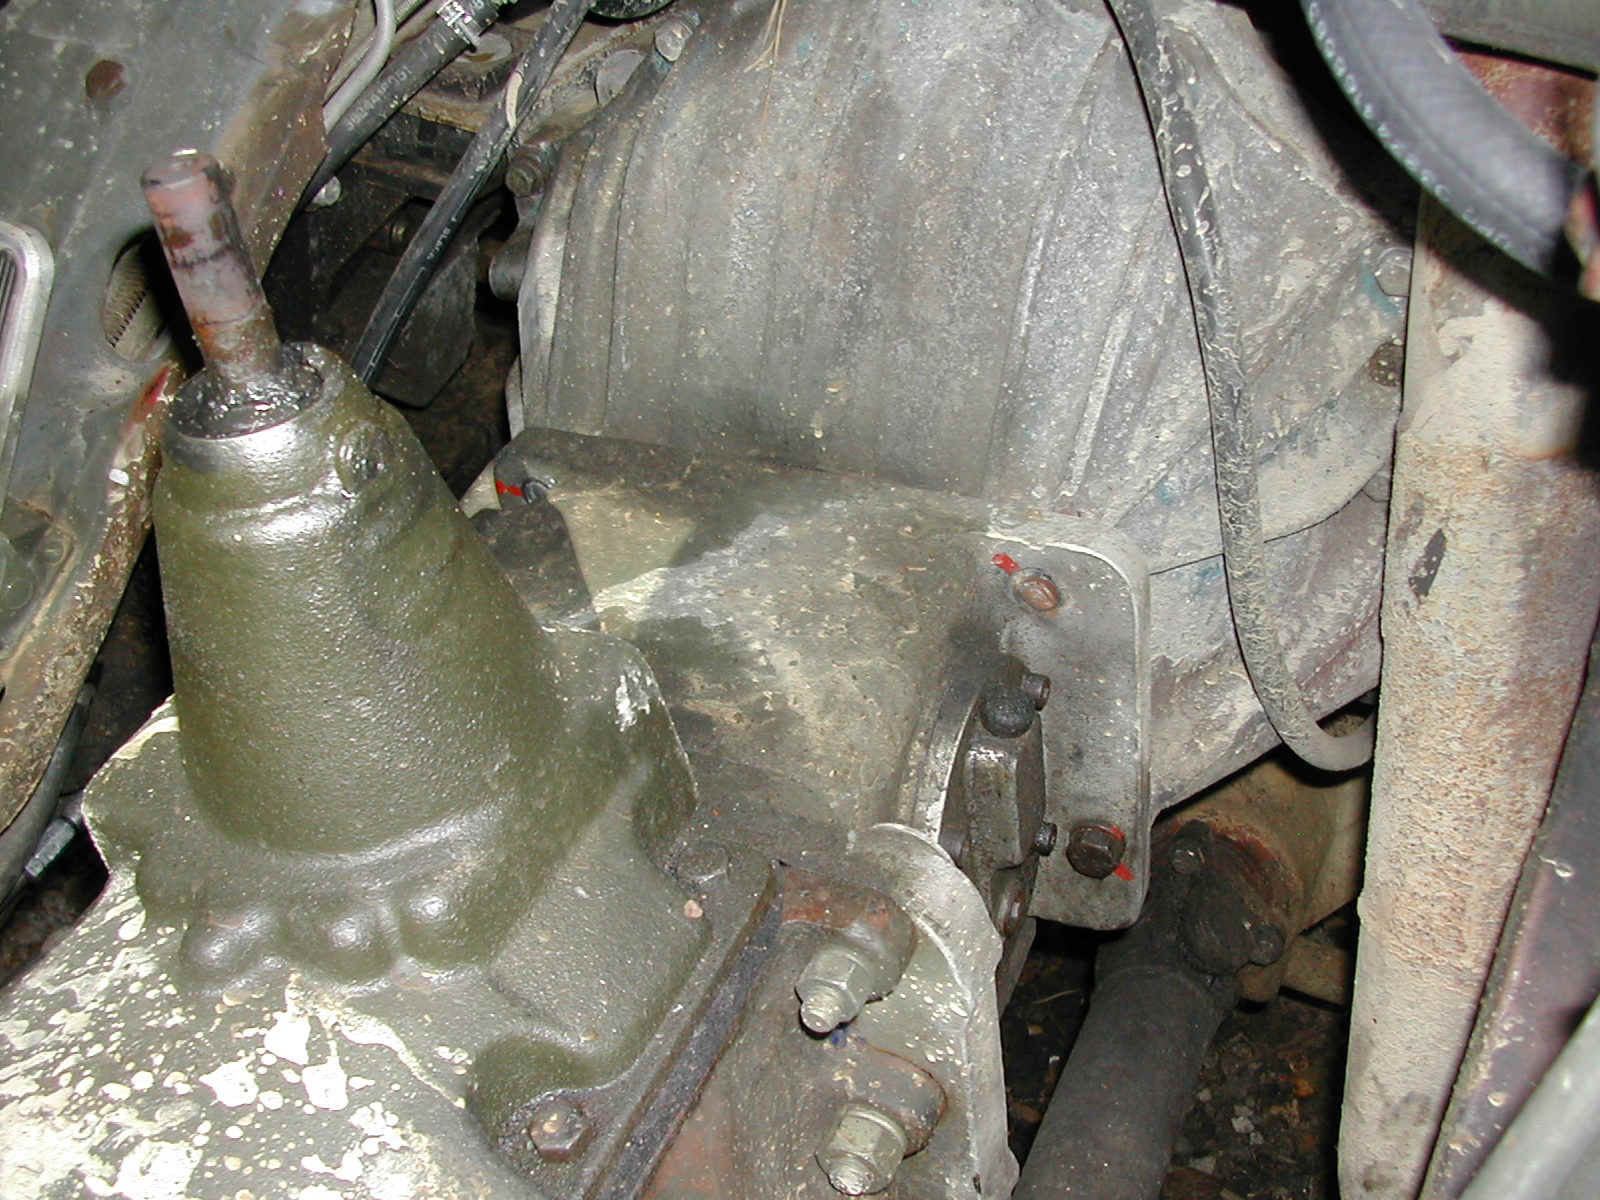 17
17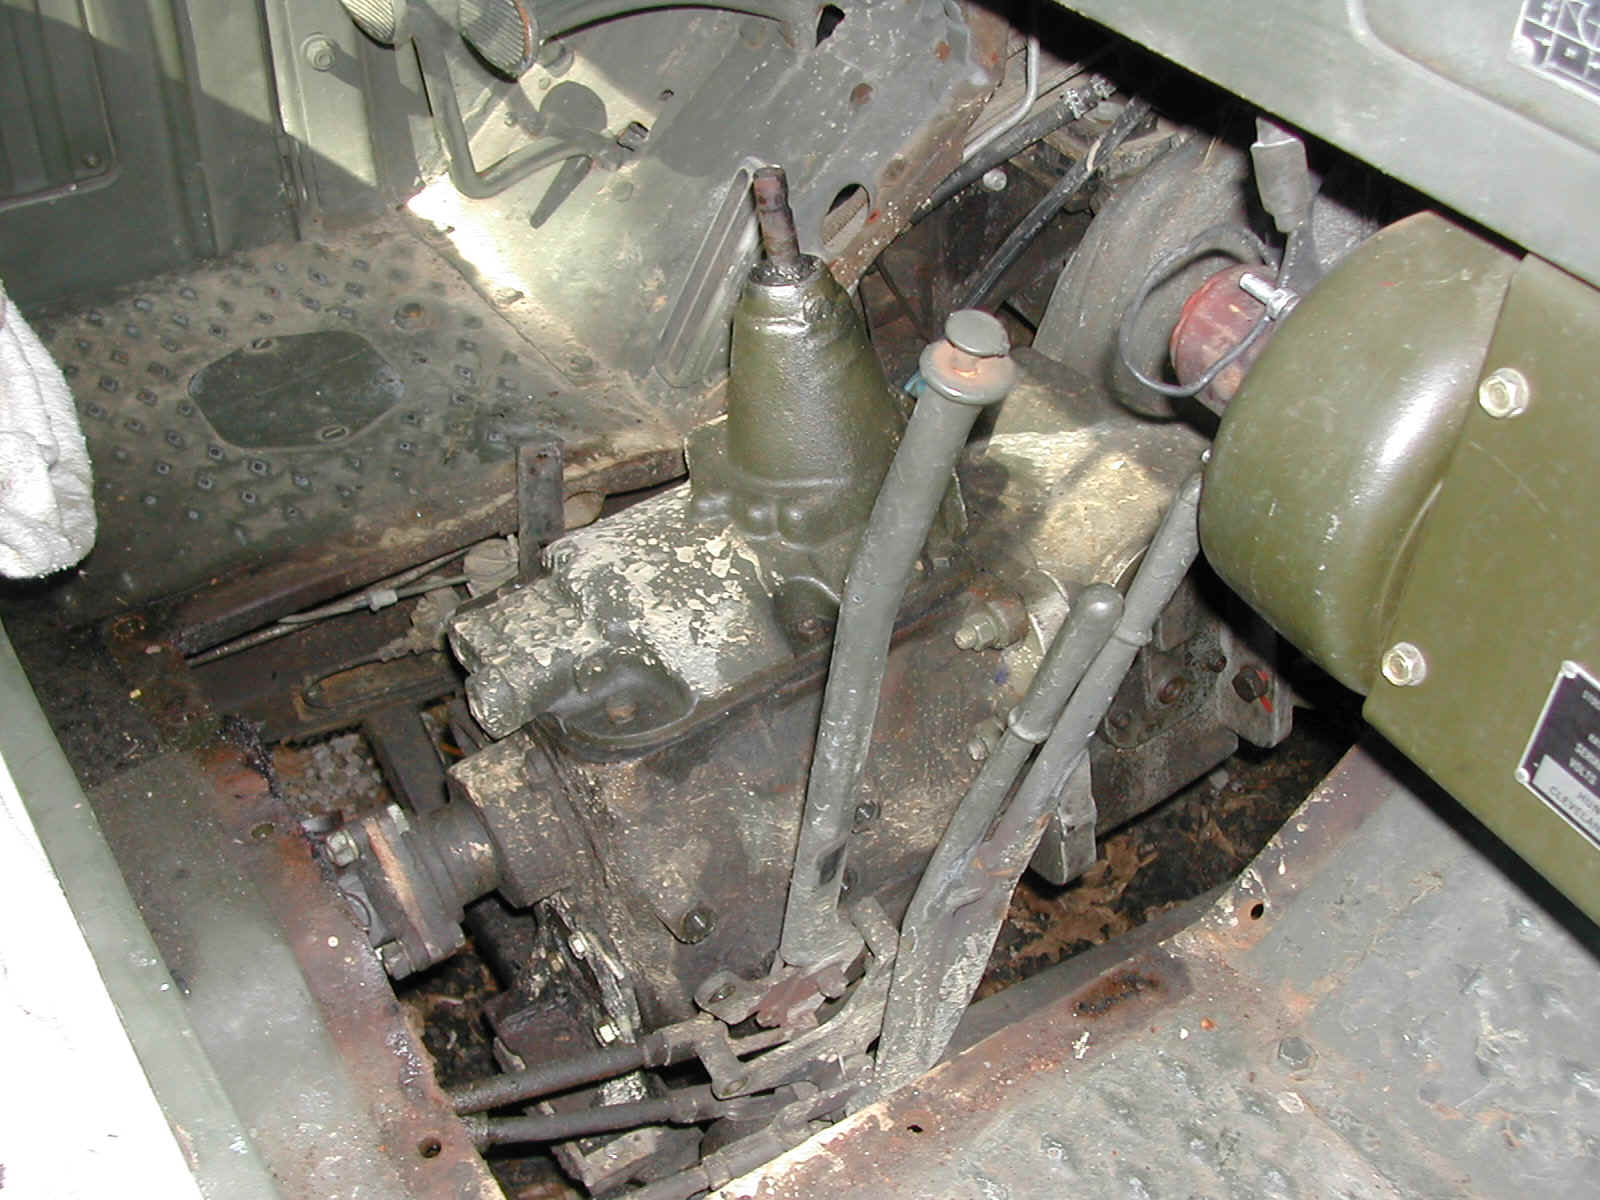 18
18 19
19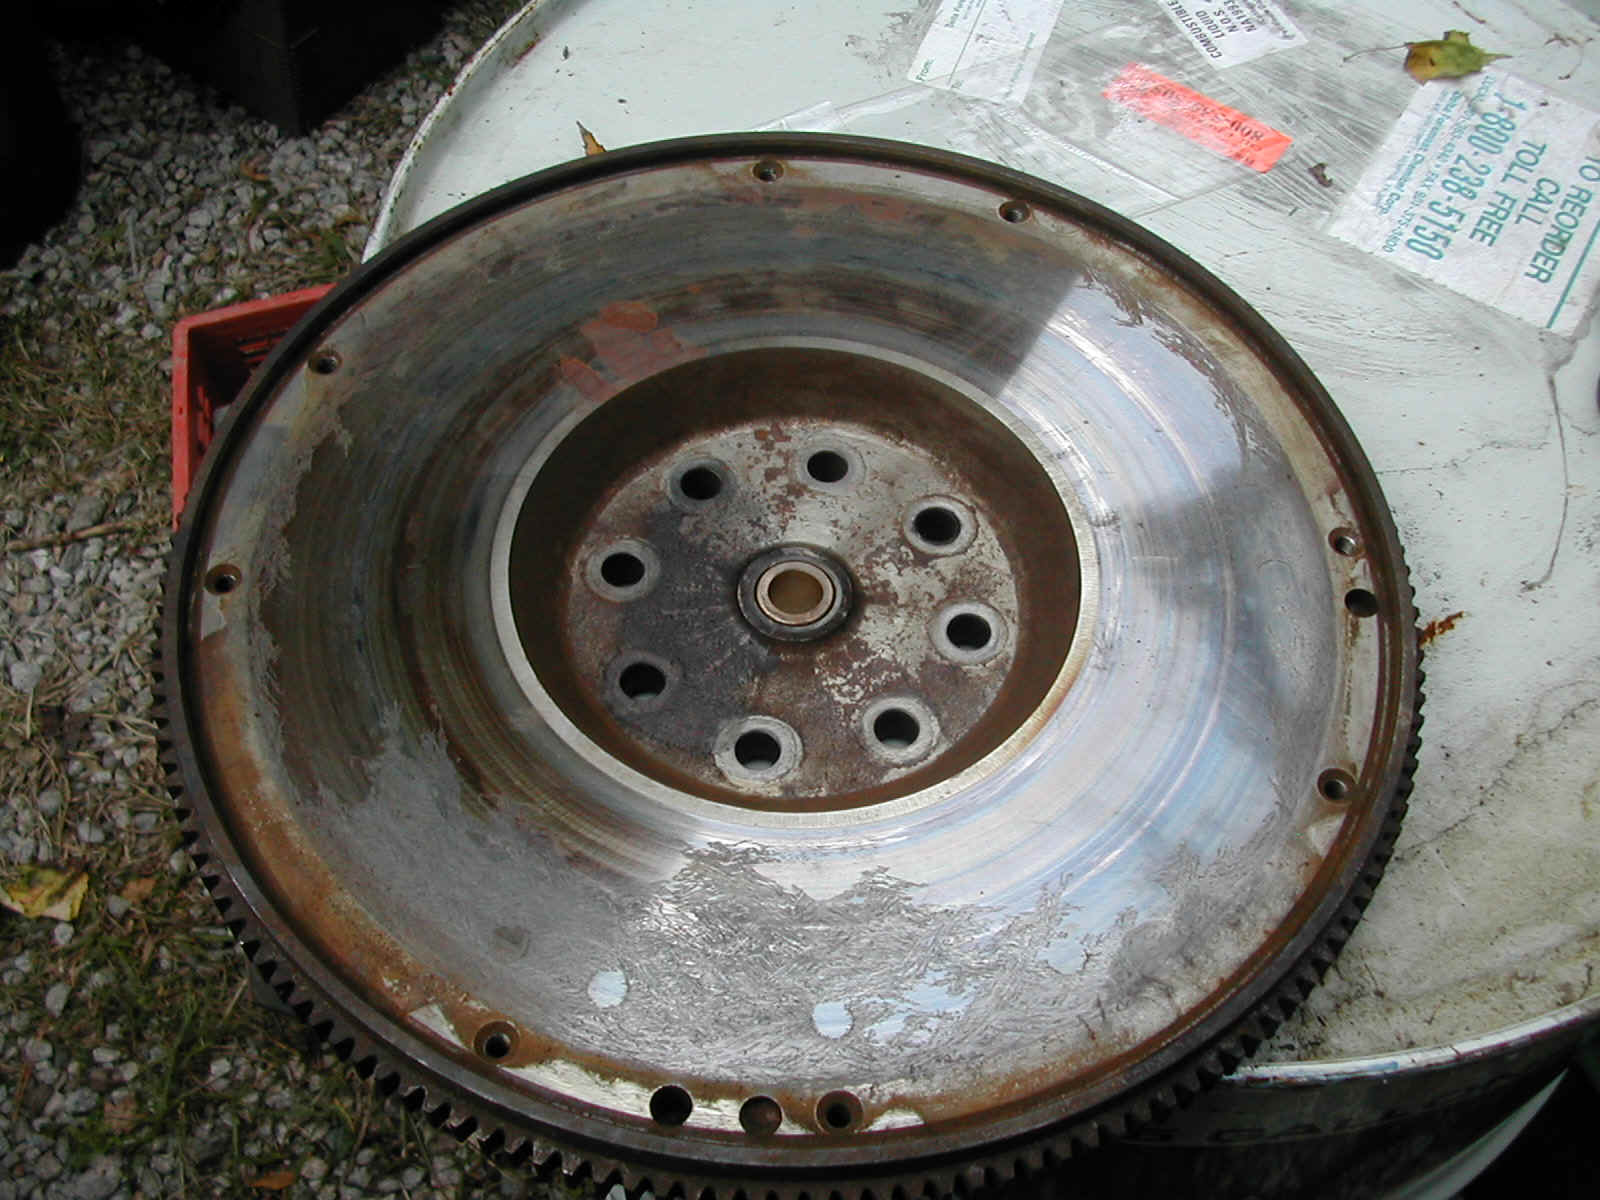 20
20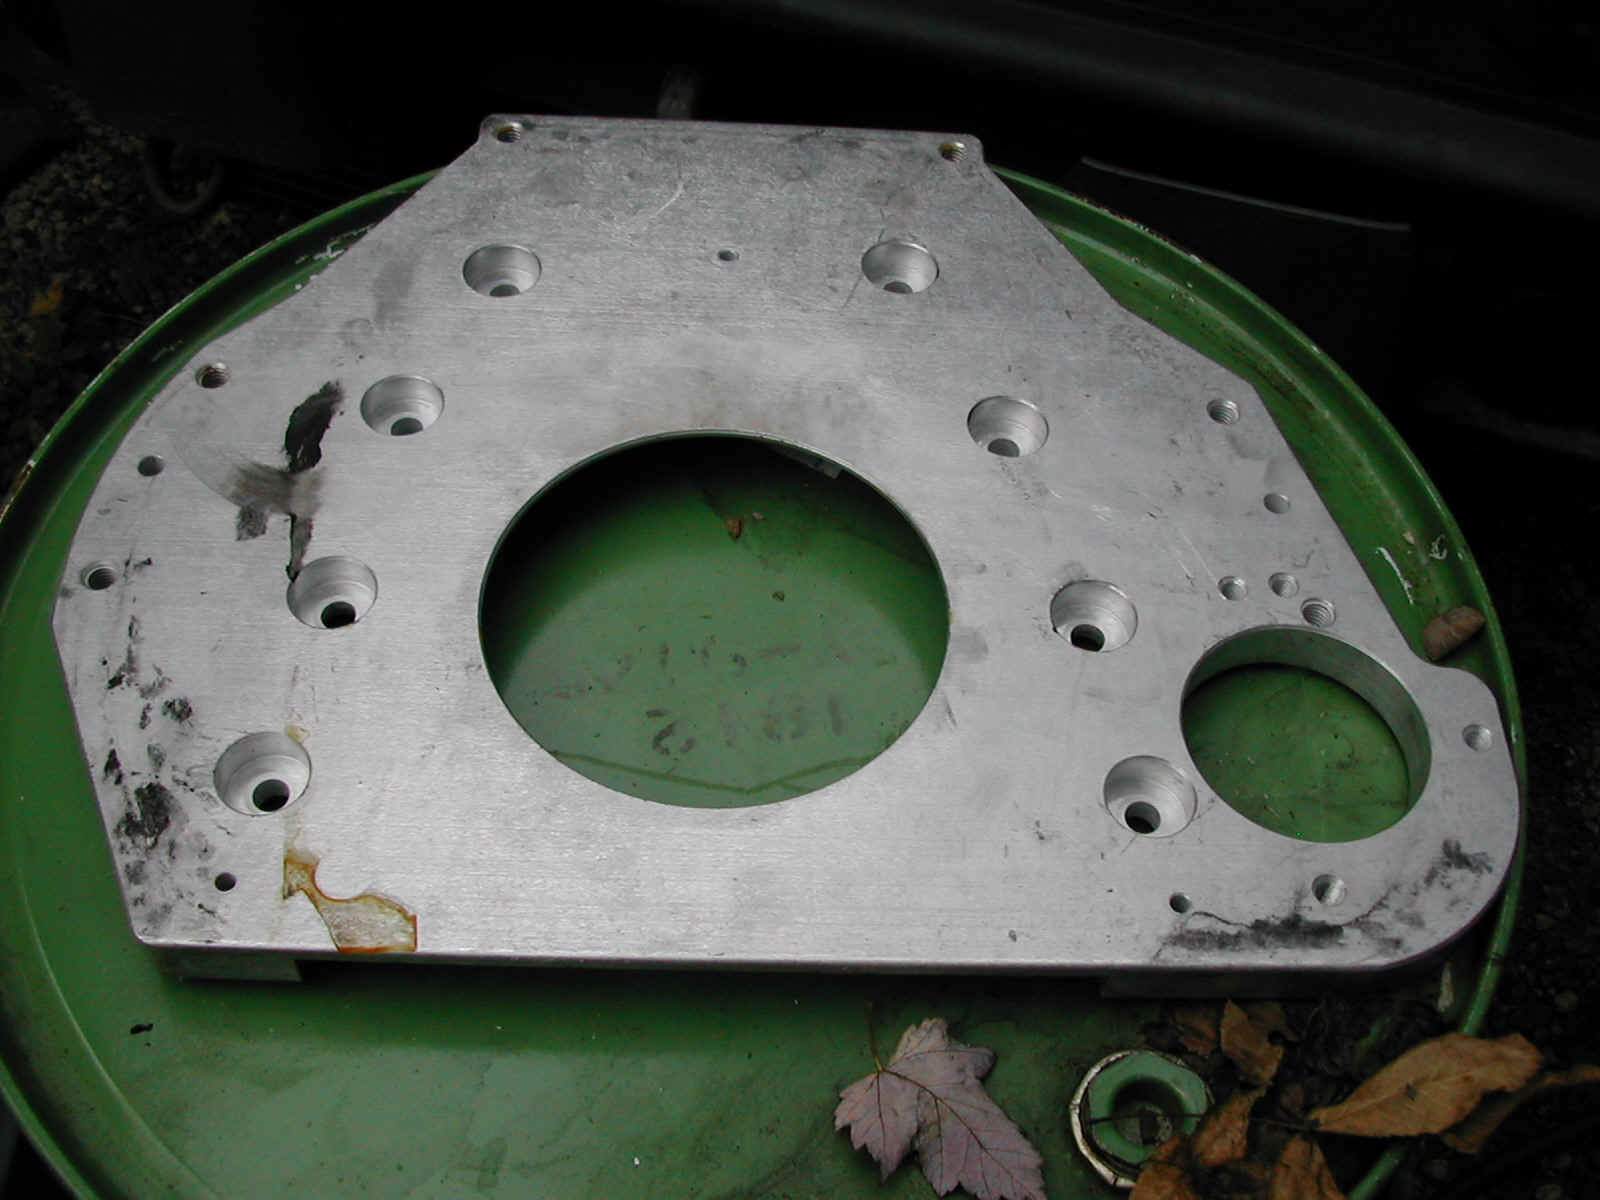 21
21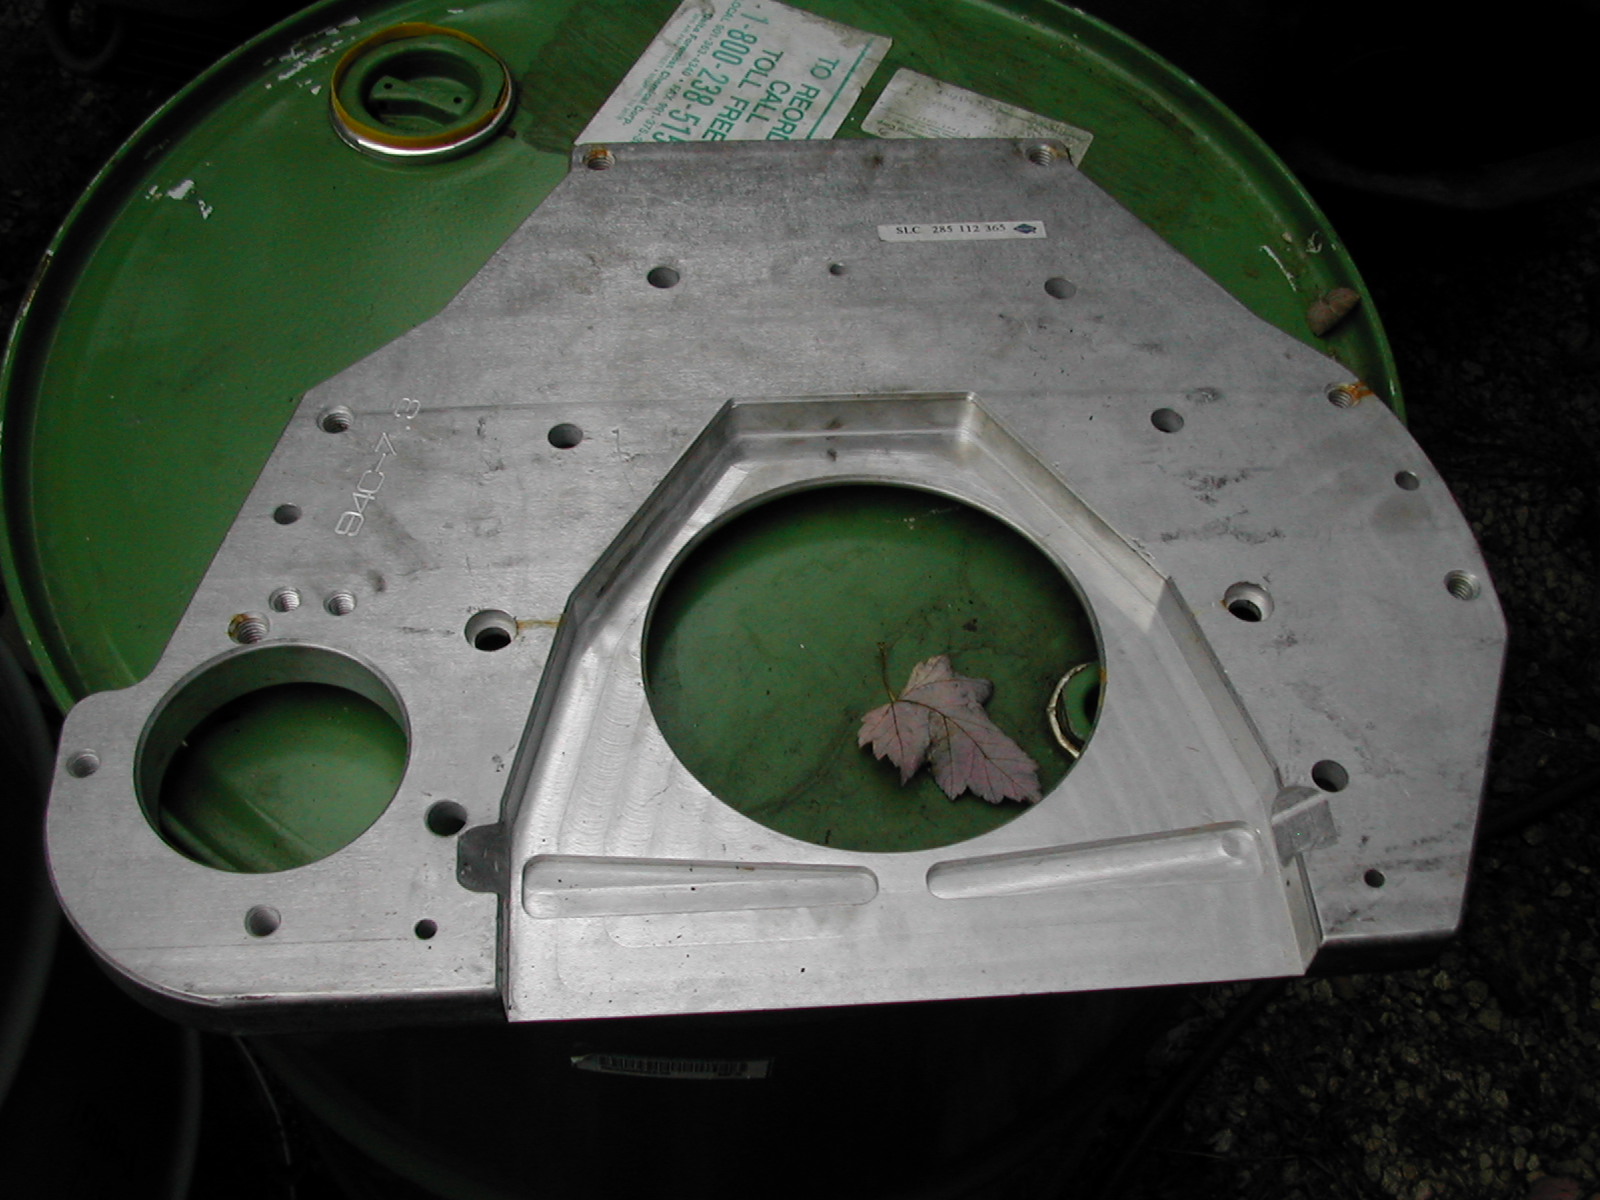 22
22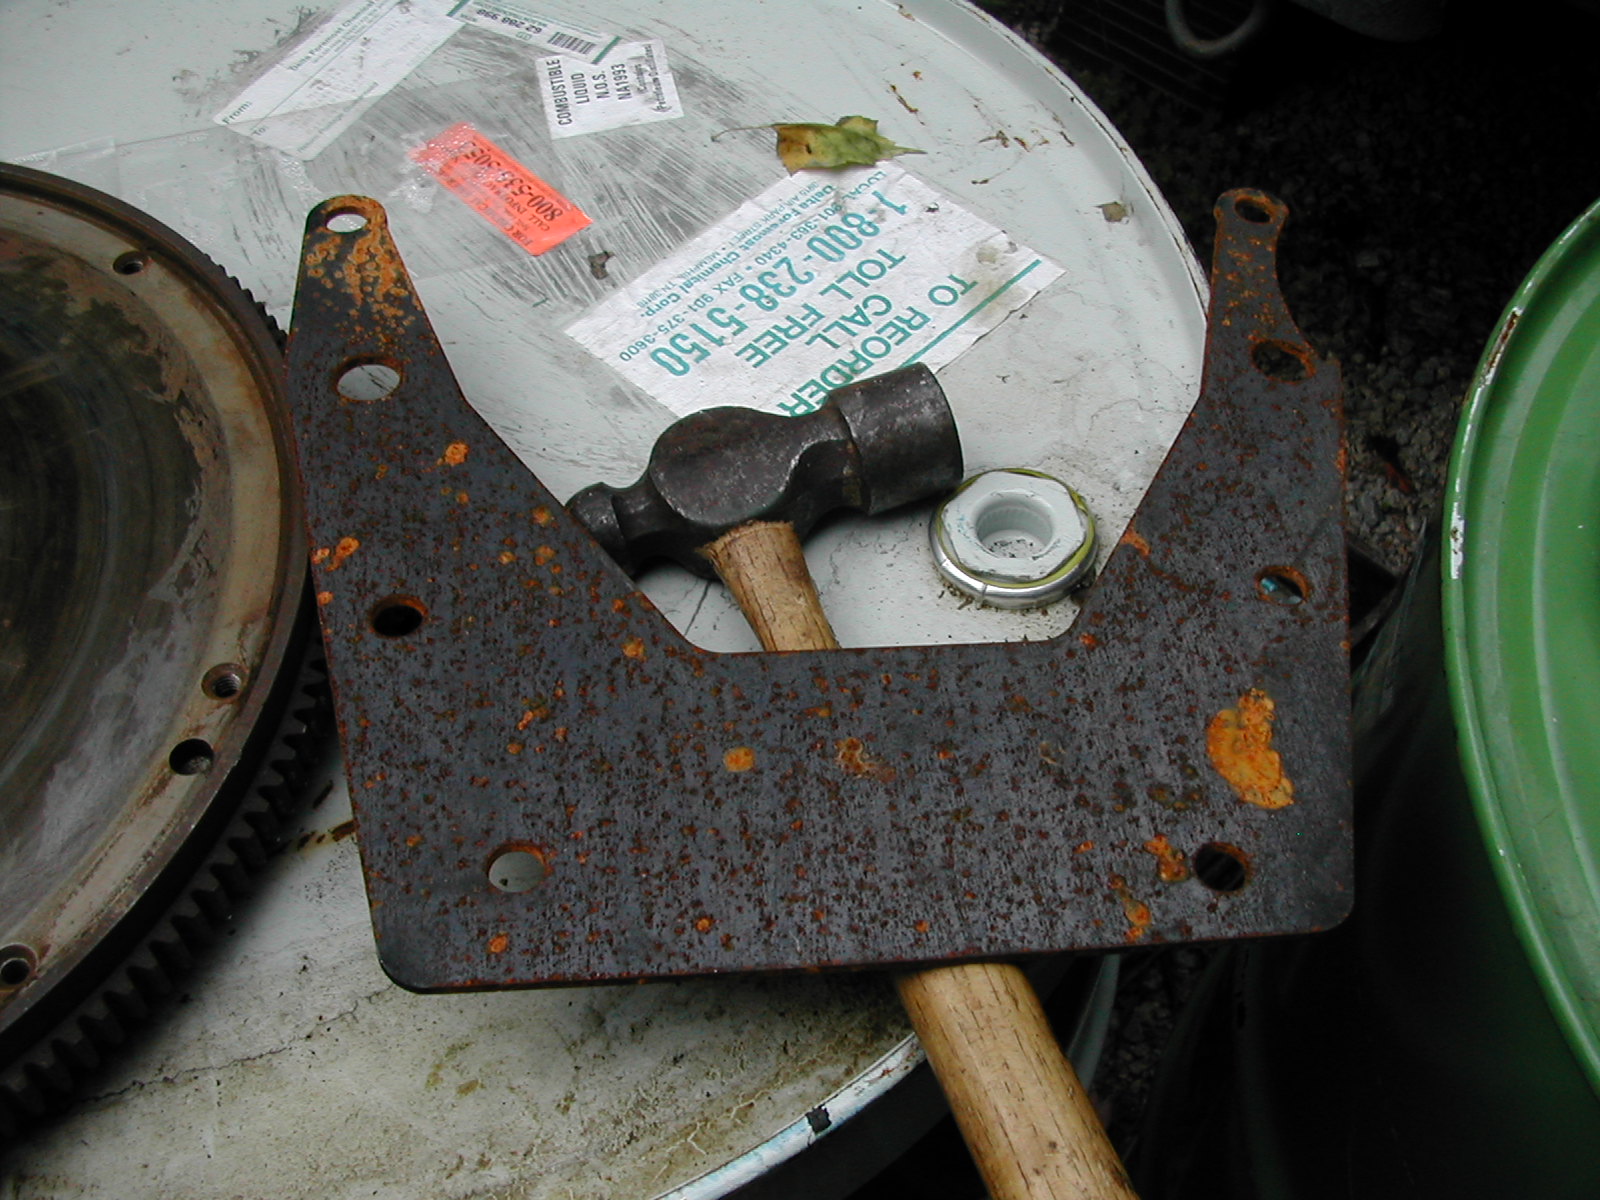 23
23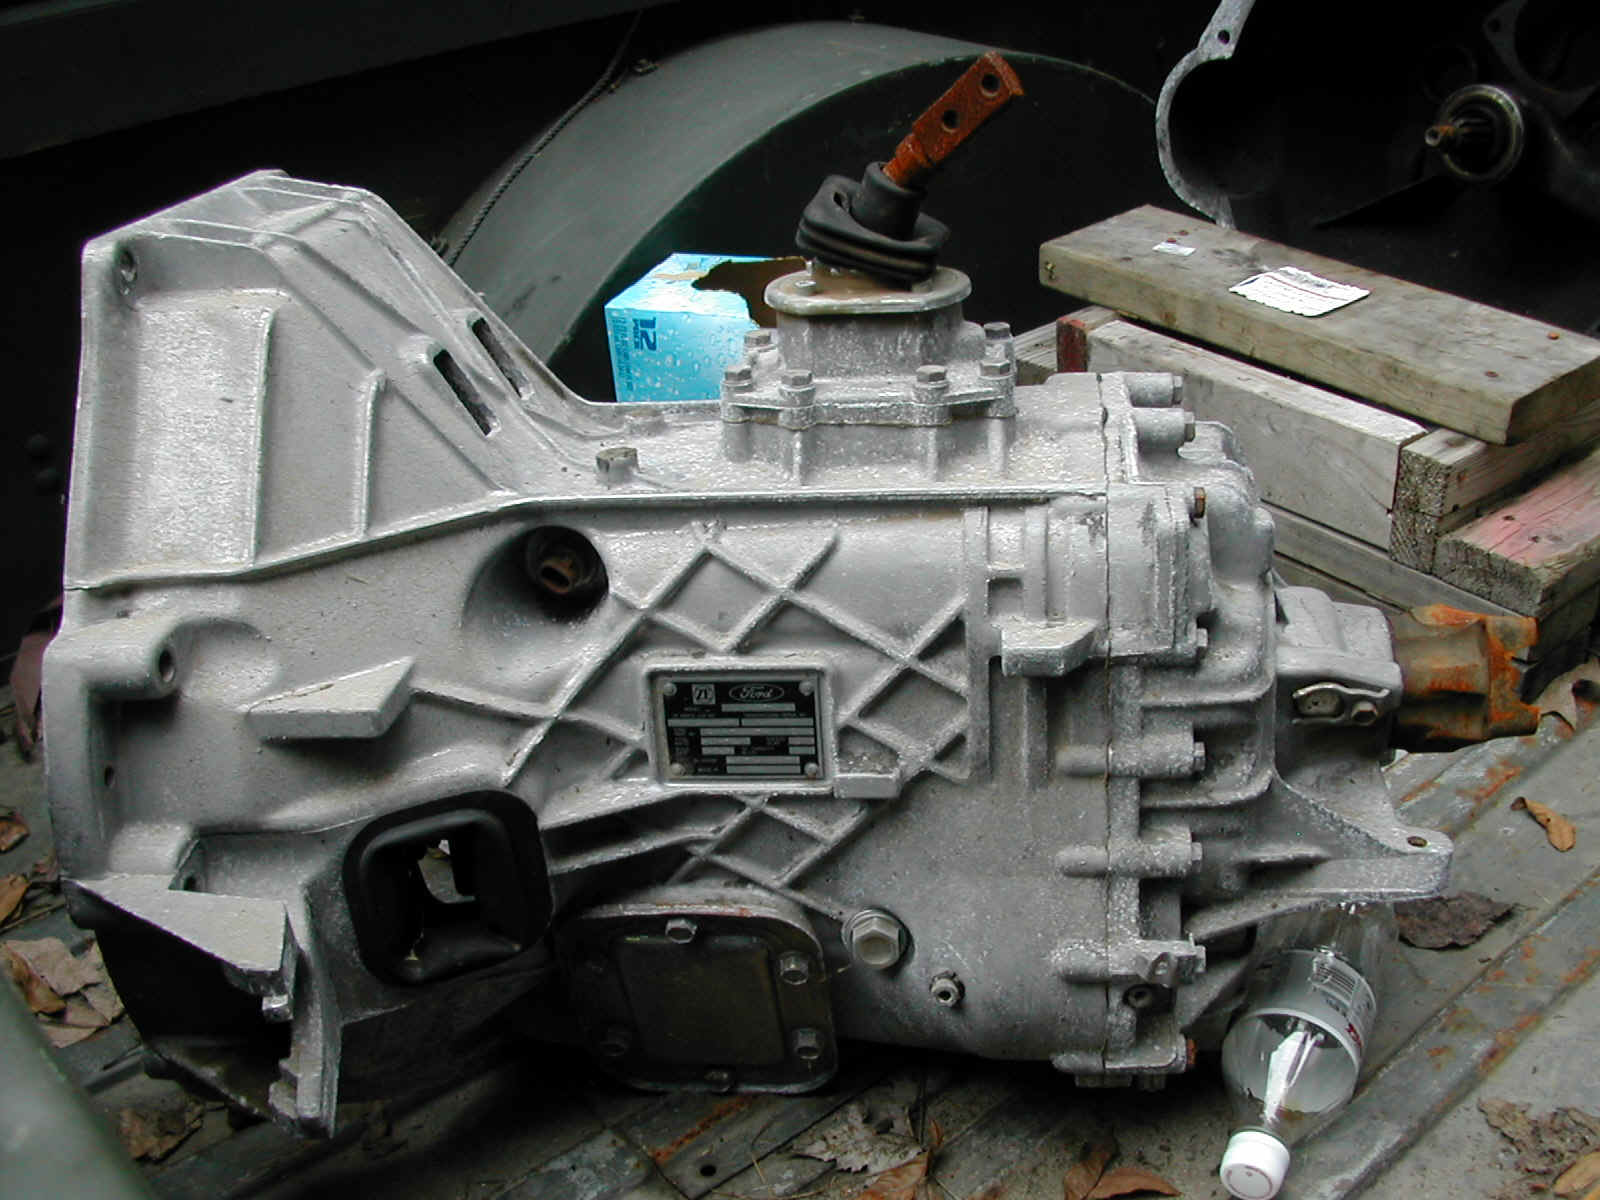 24
24 25
25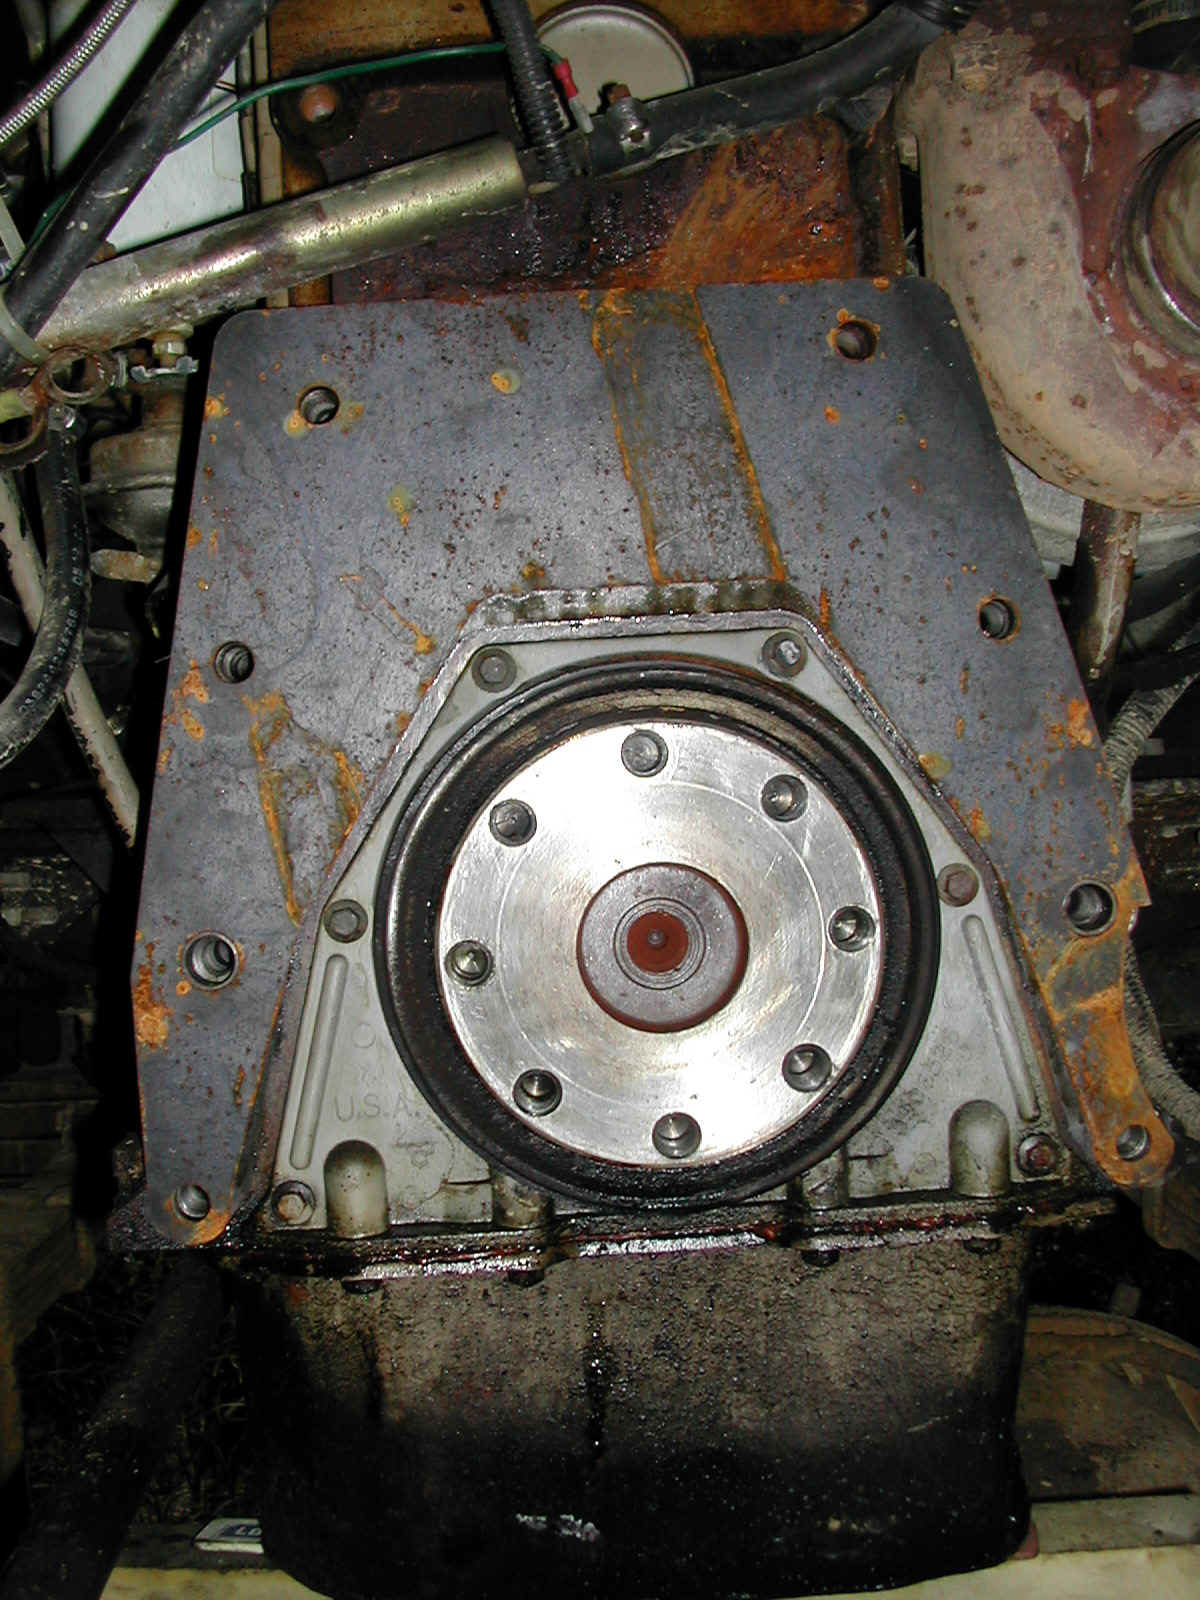 26
26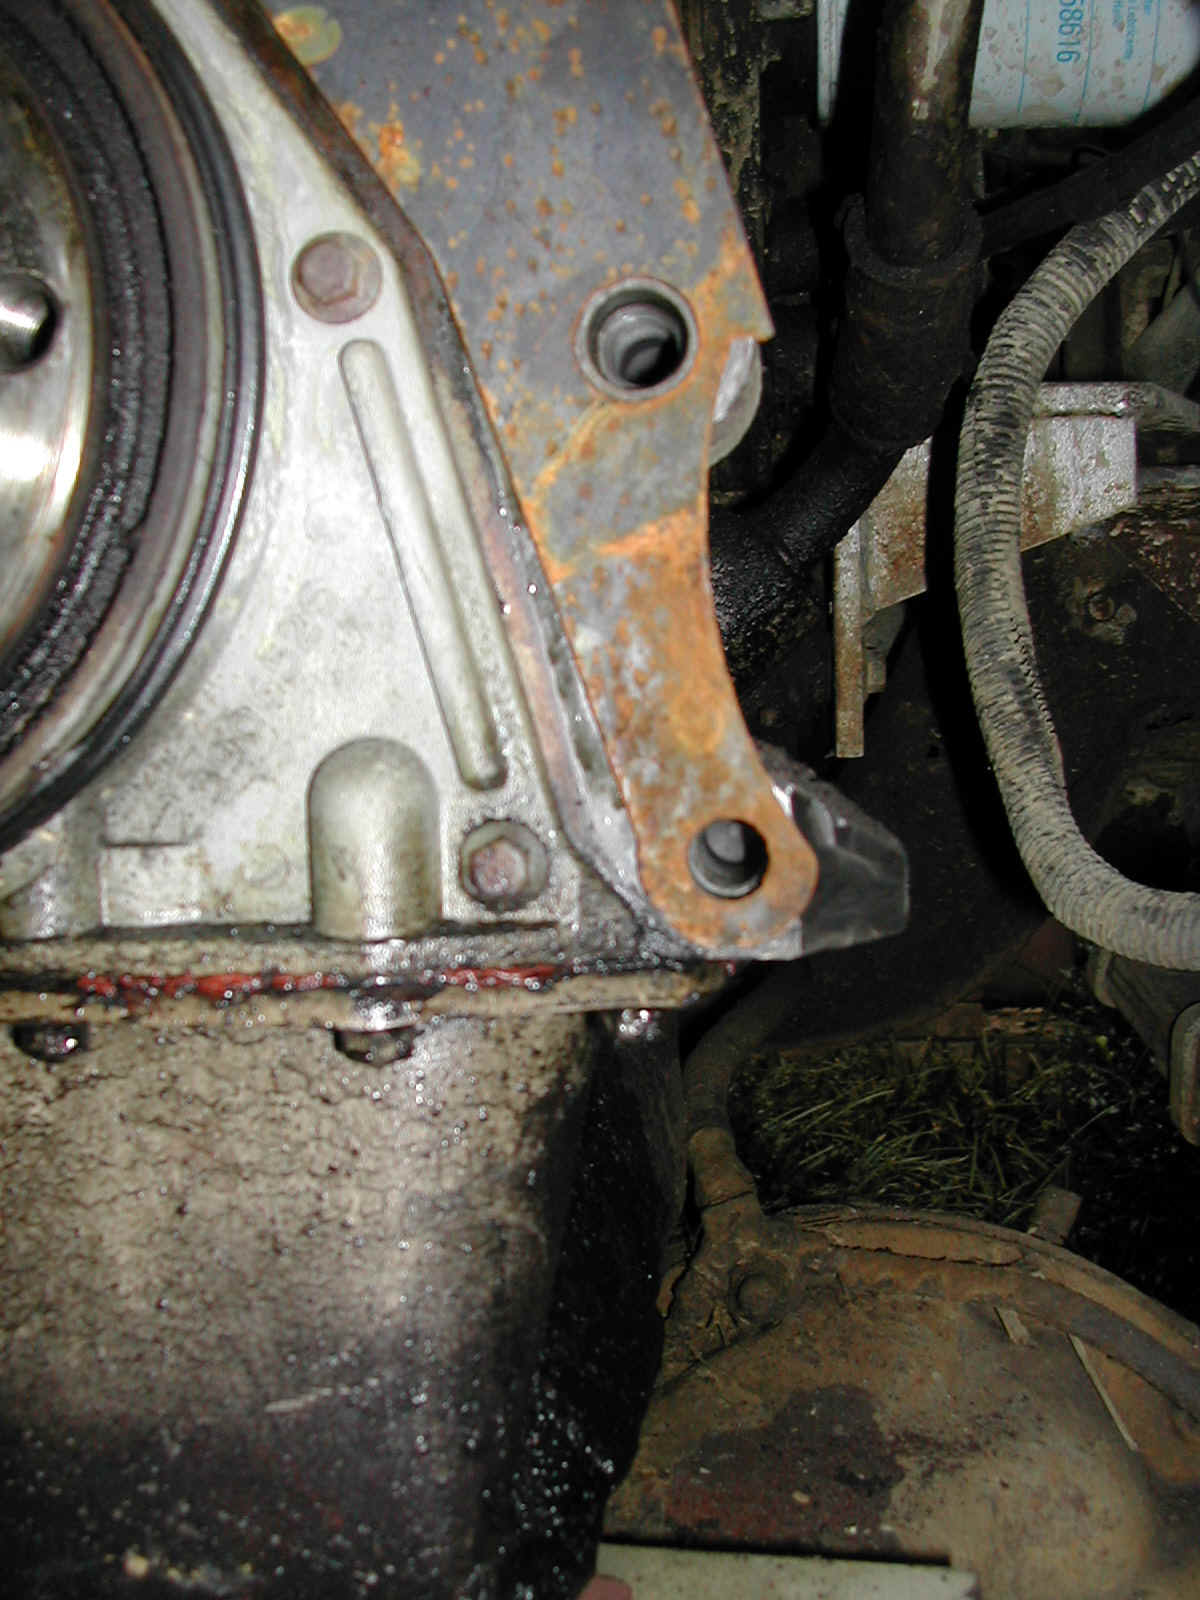 27
27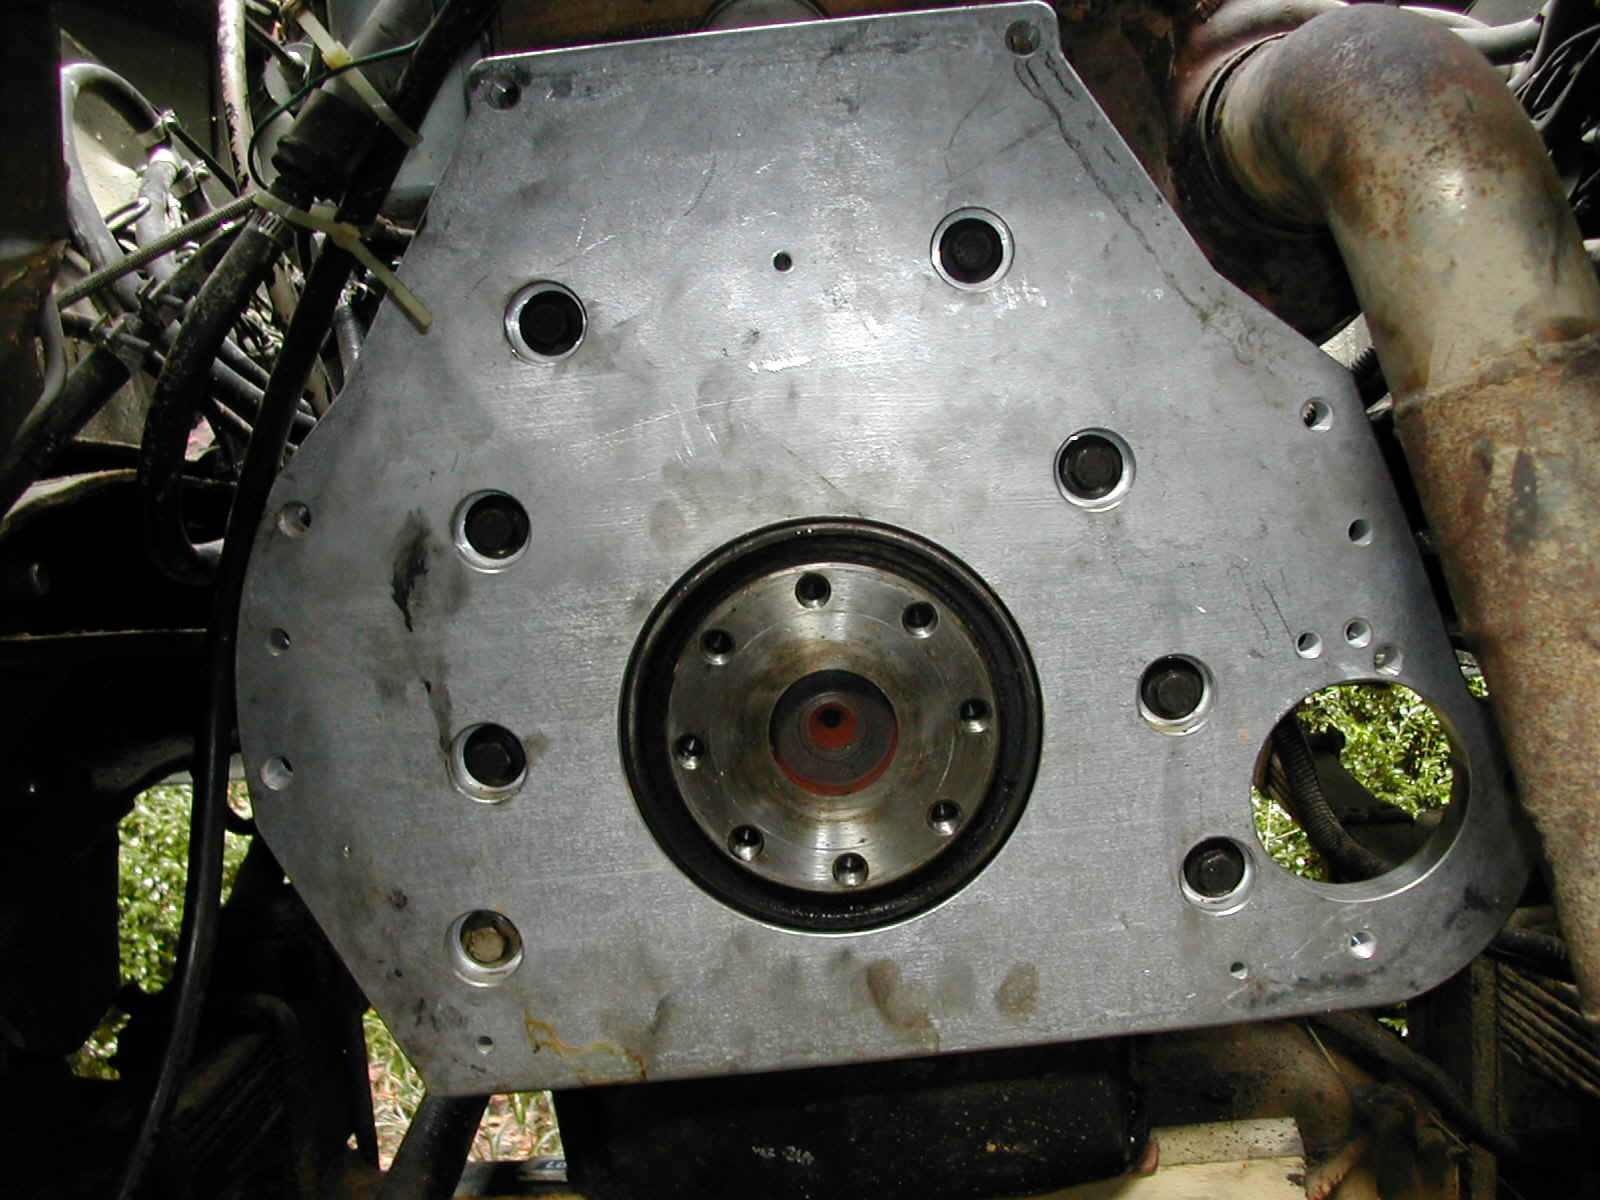 28
28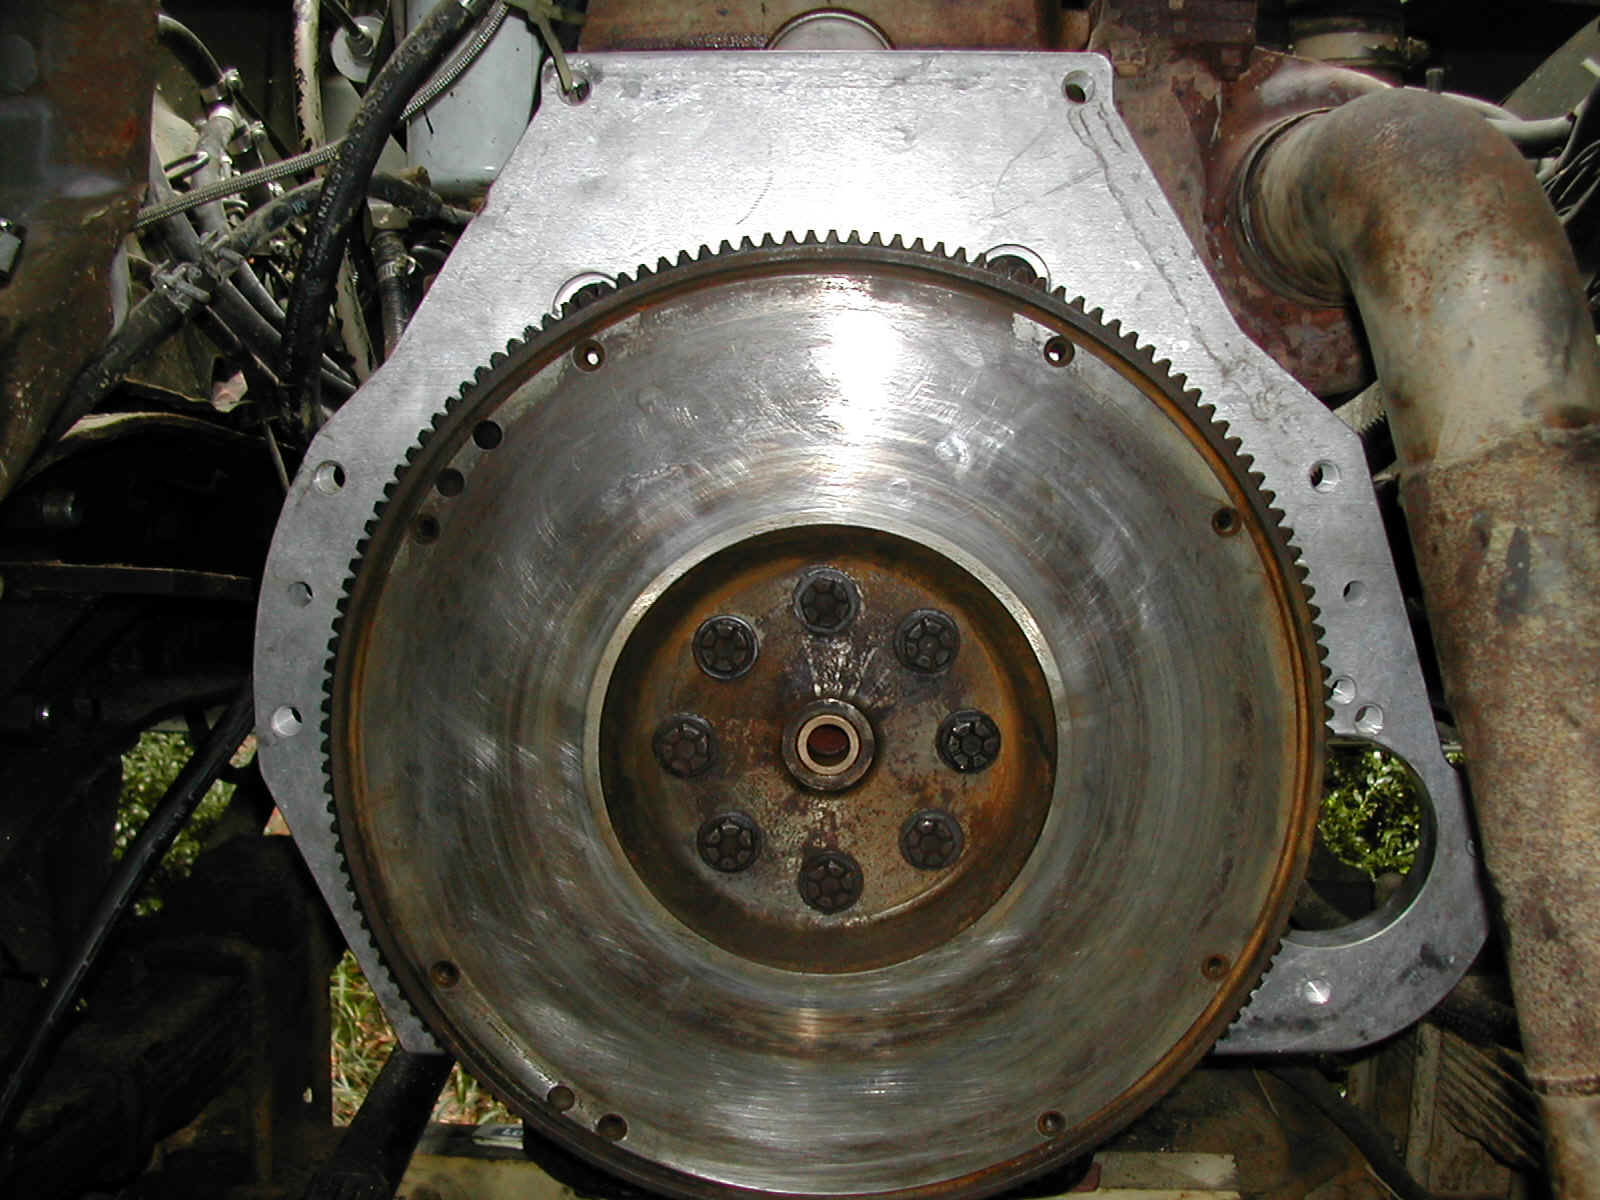 29
29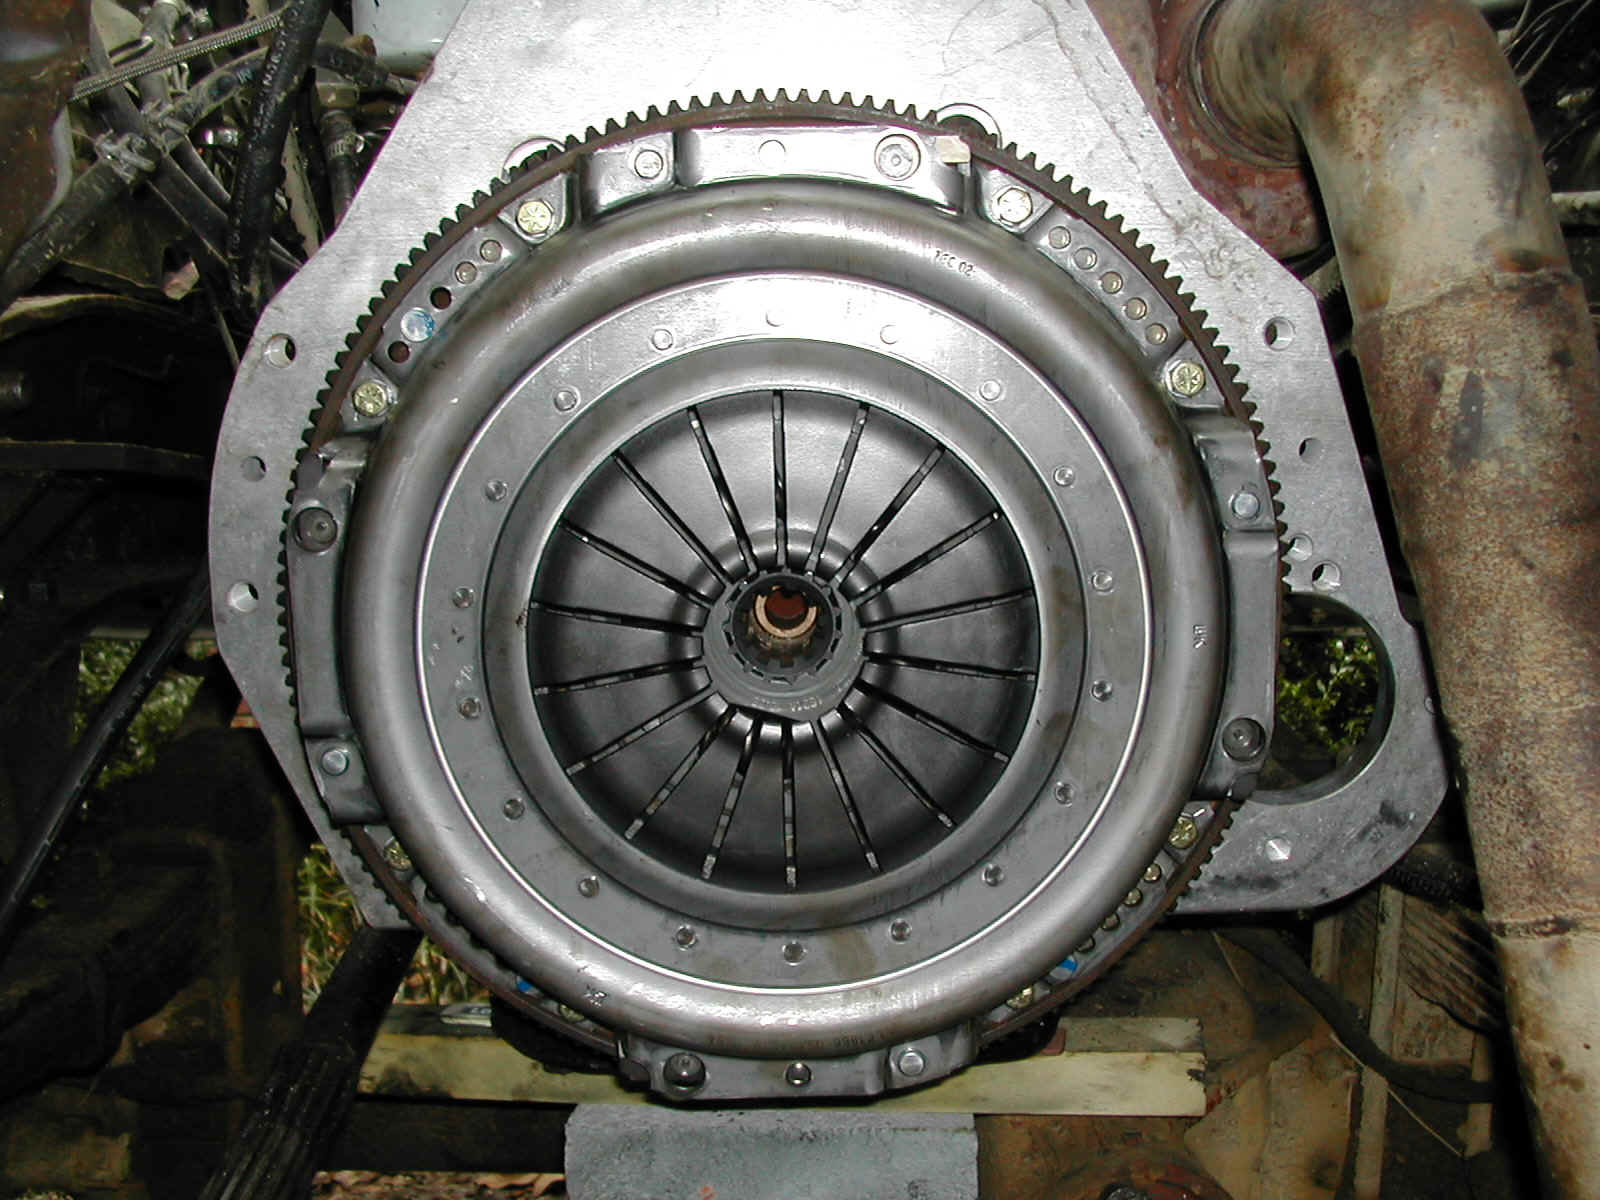 30
30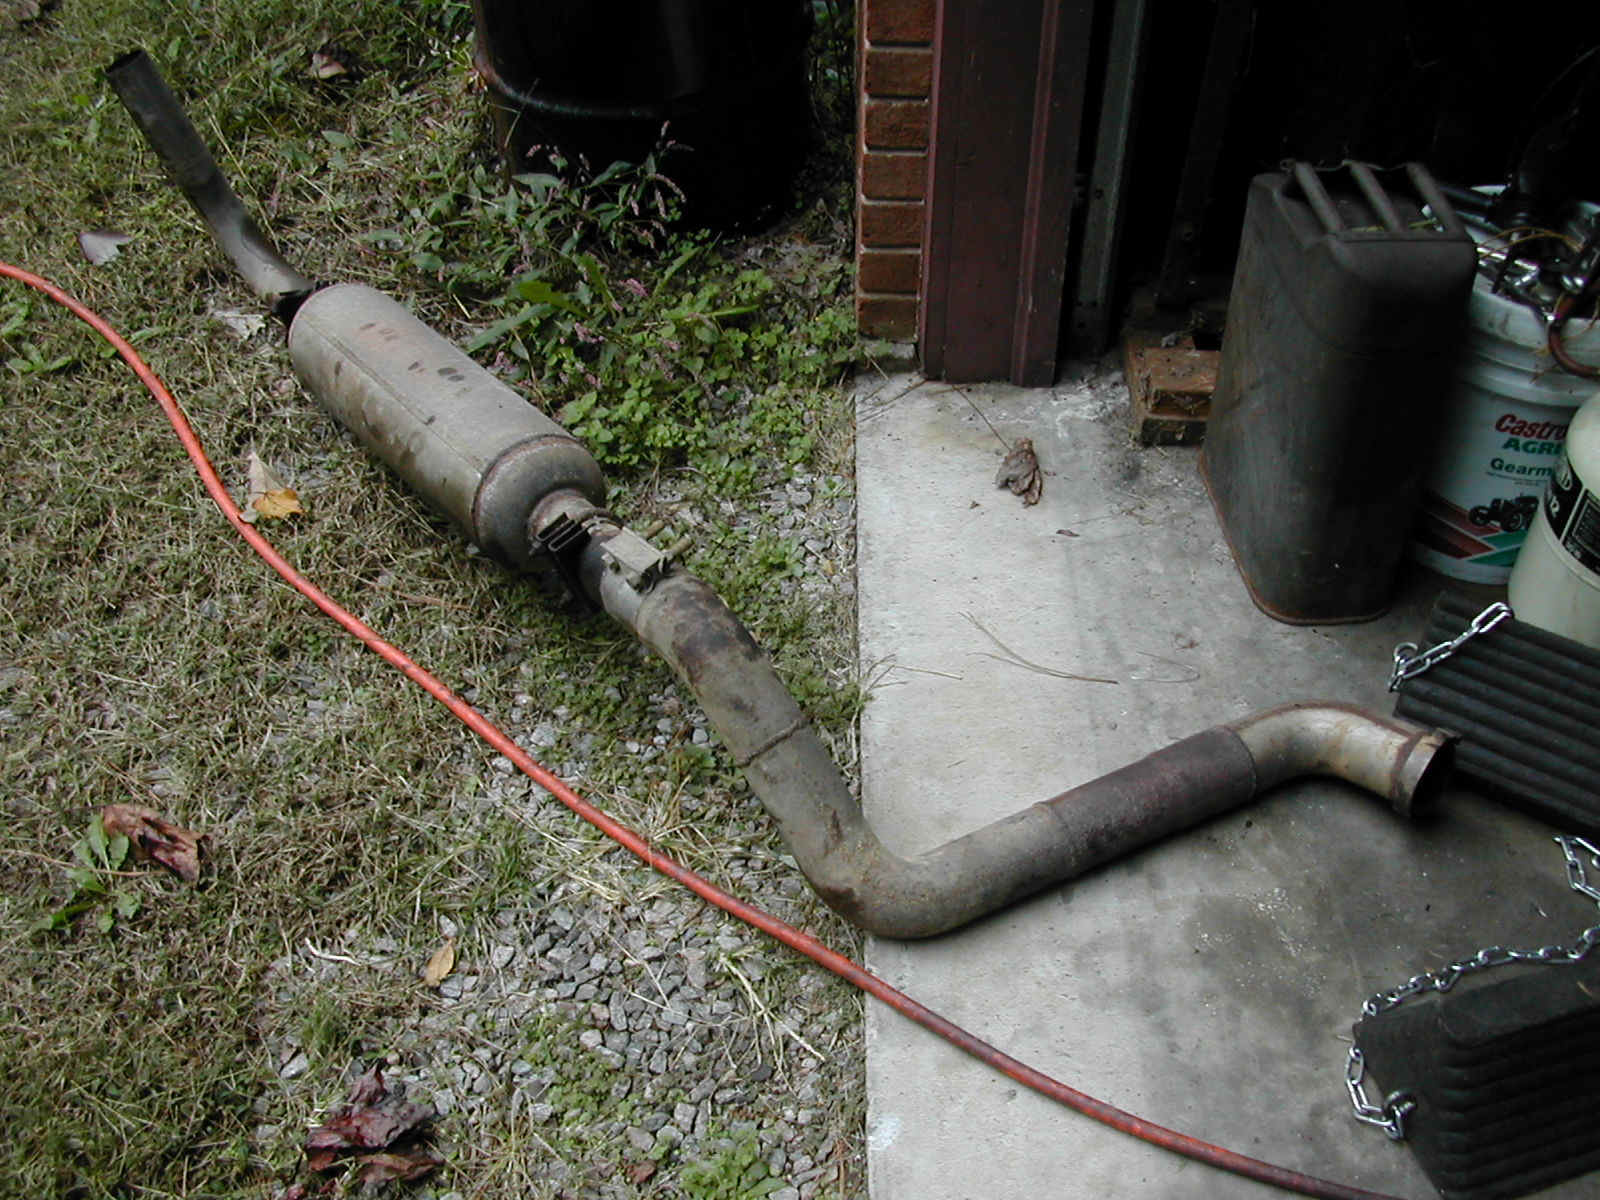 31
31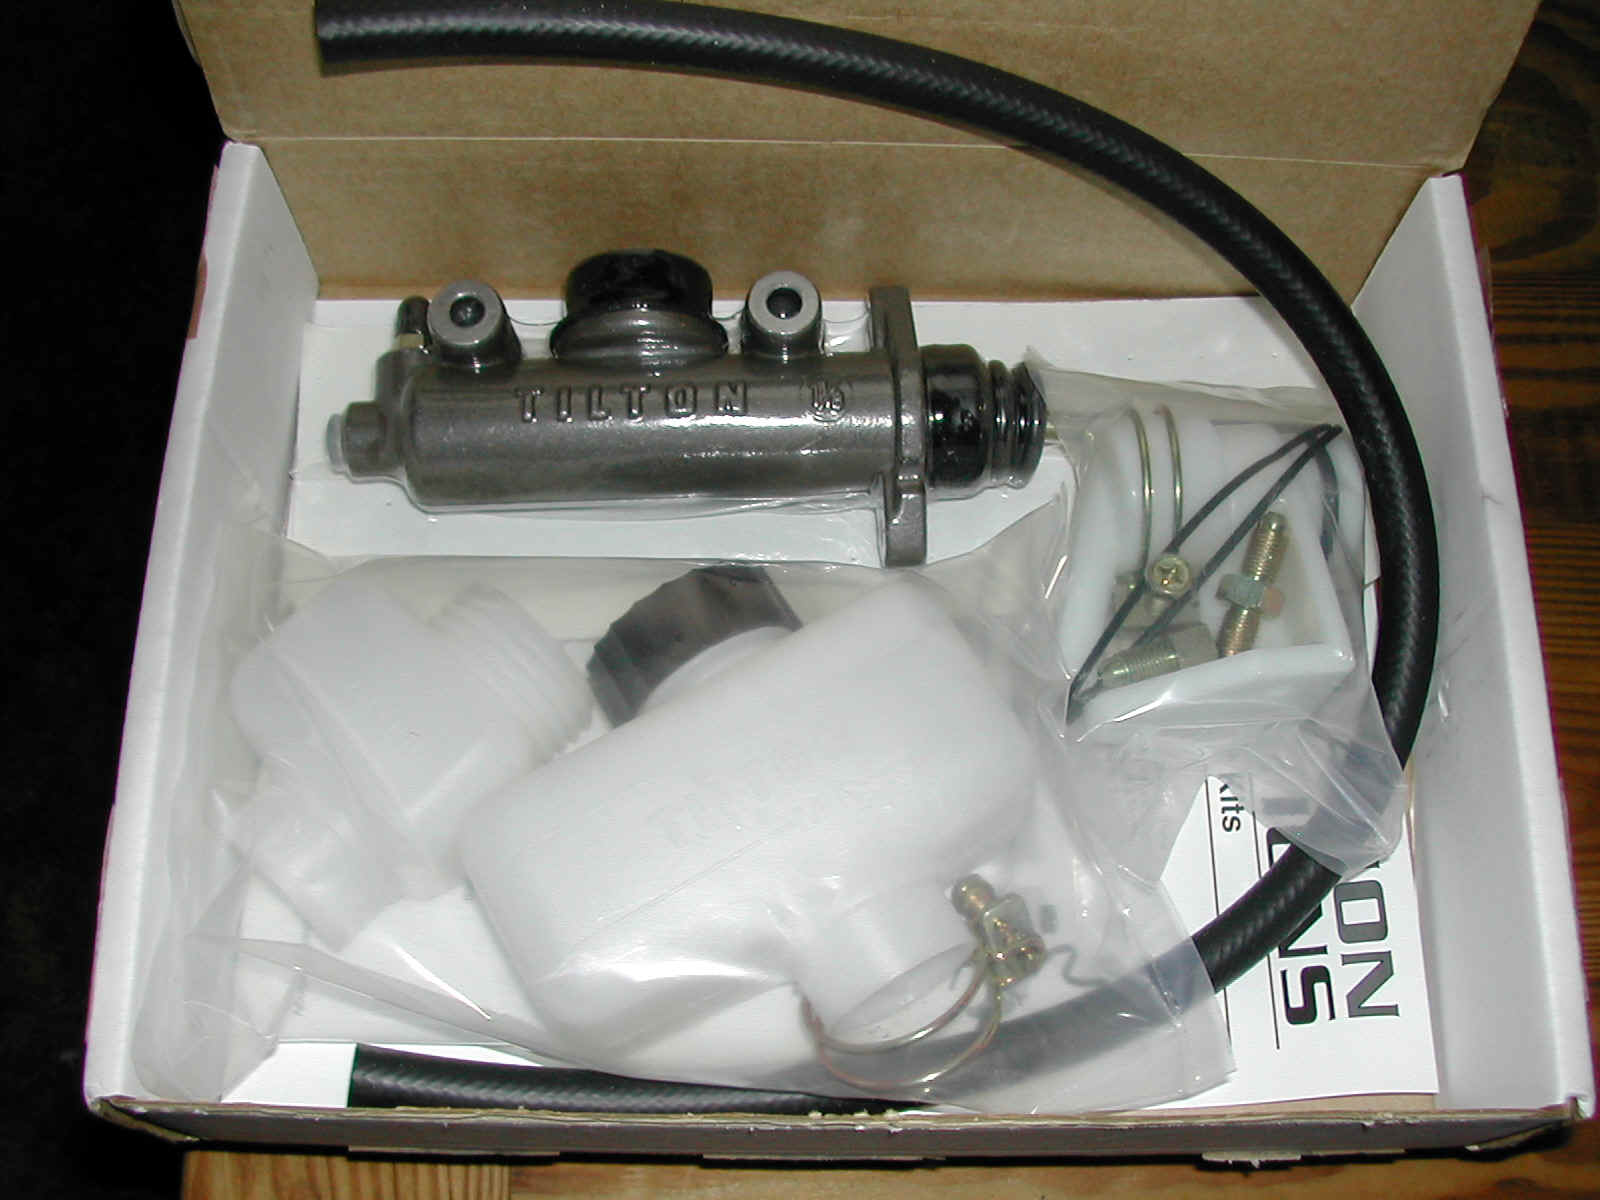 32
32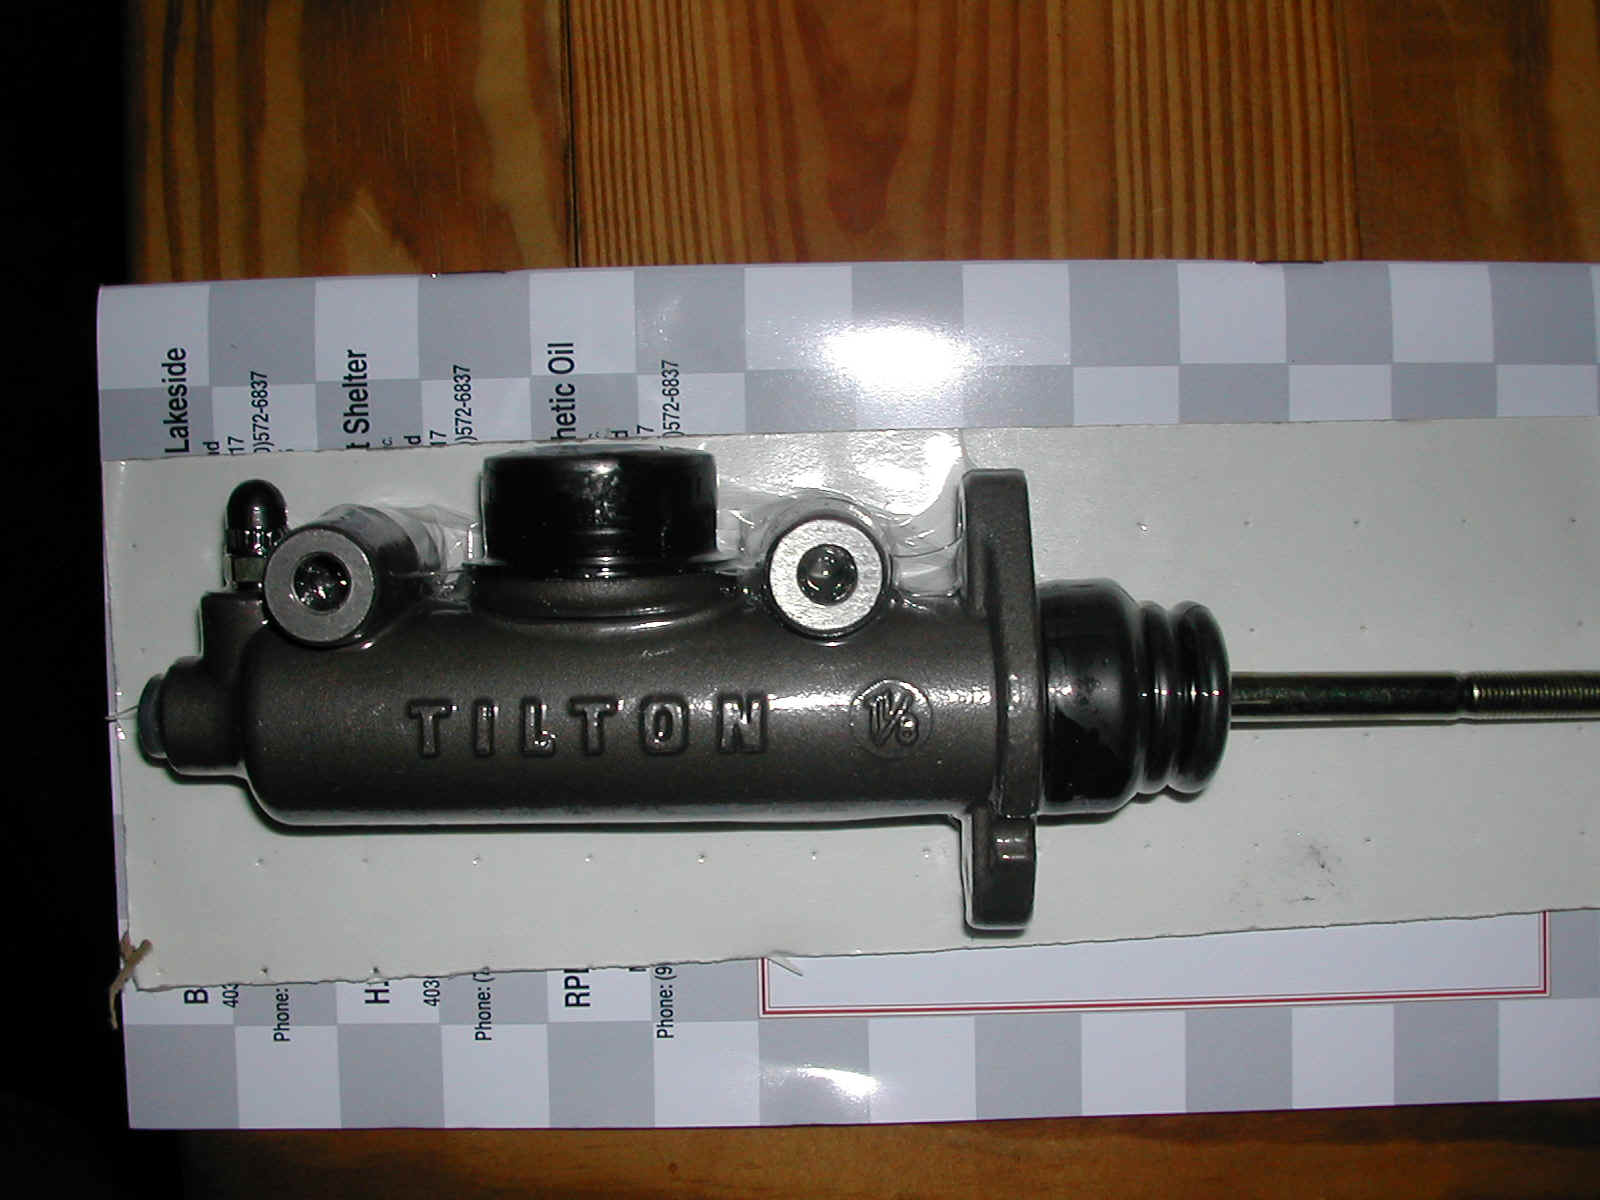 33
33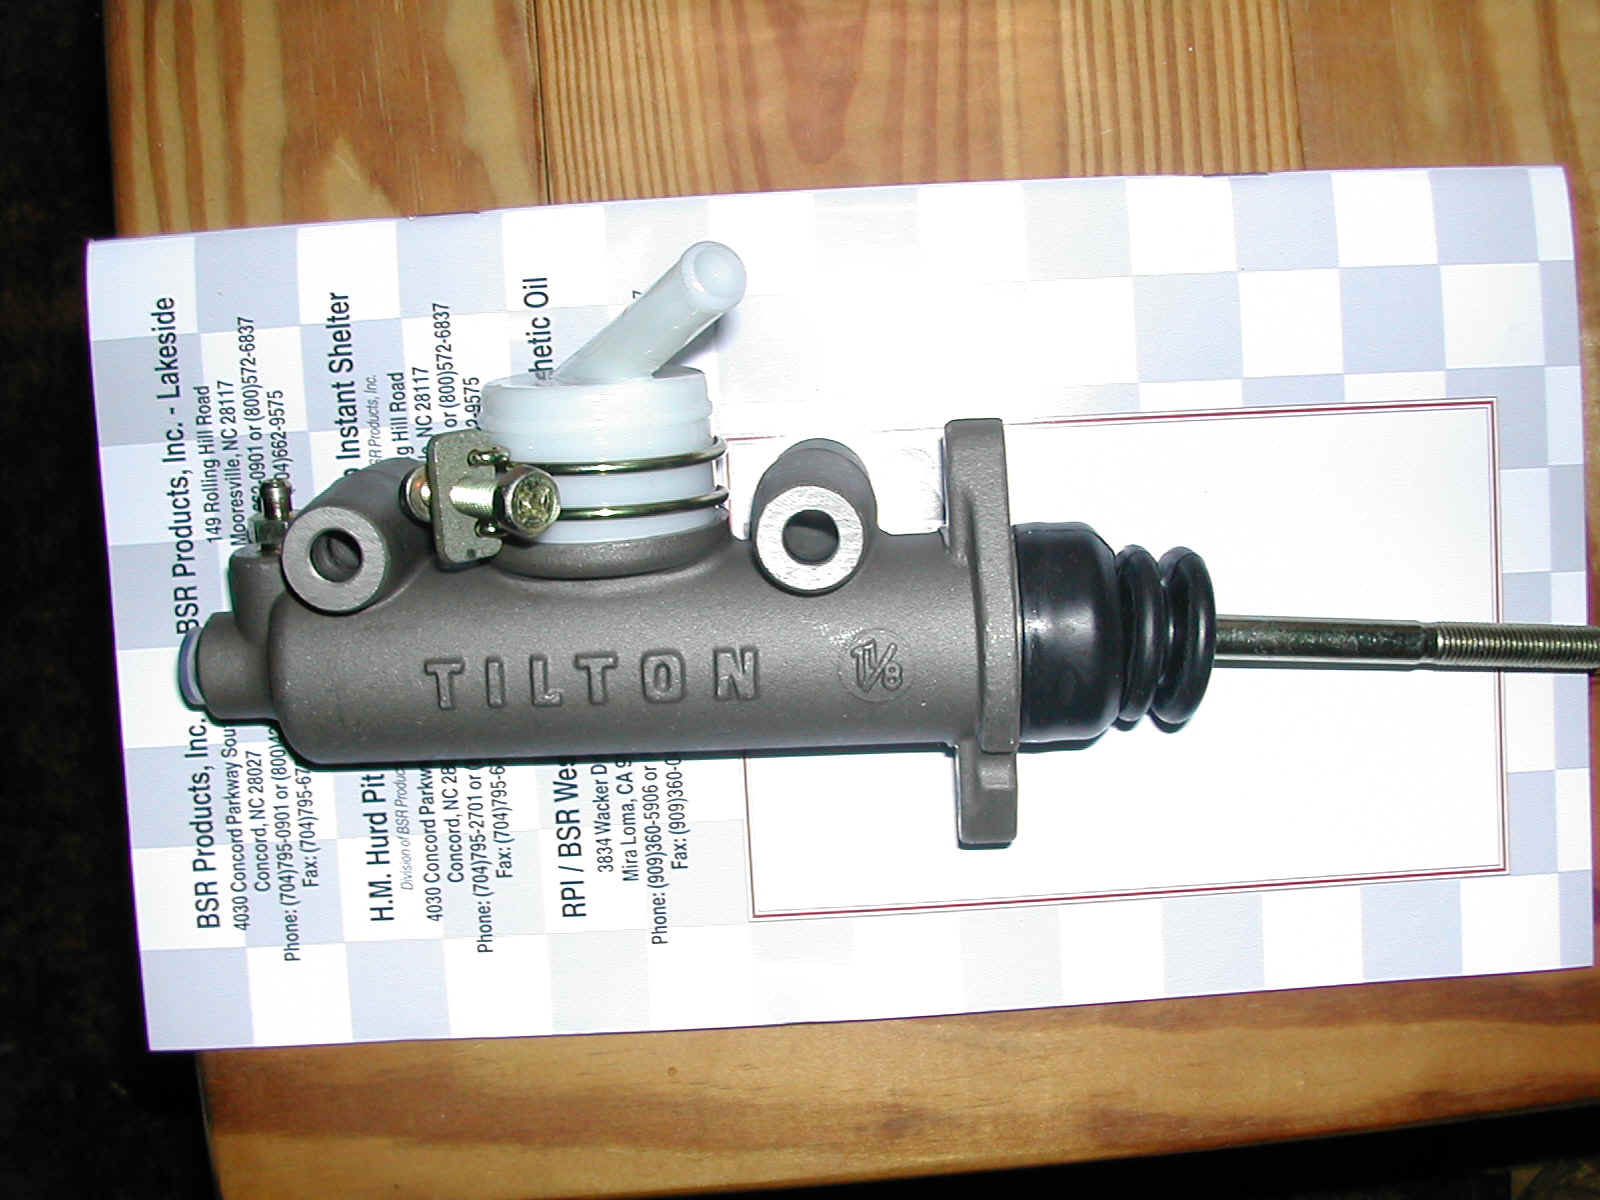 34
34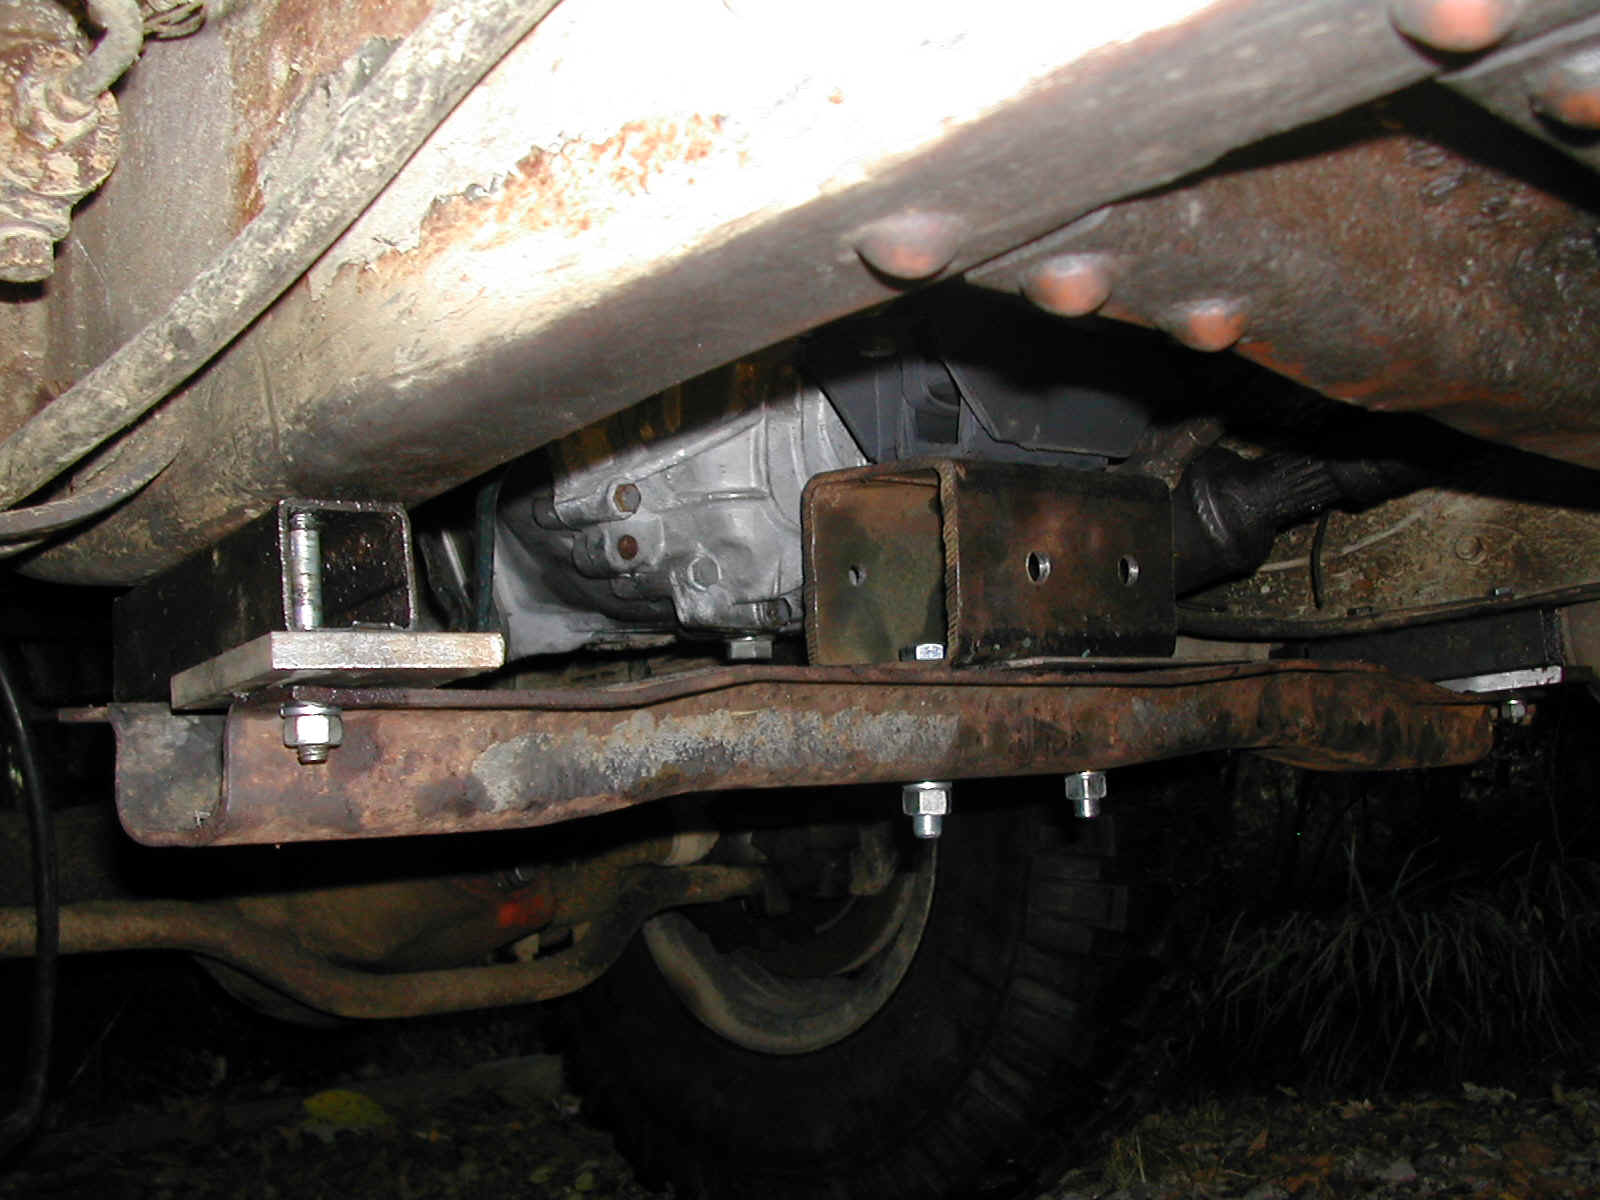 35
35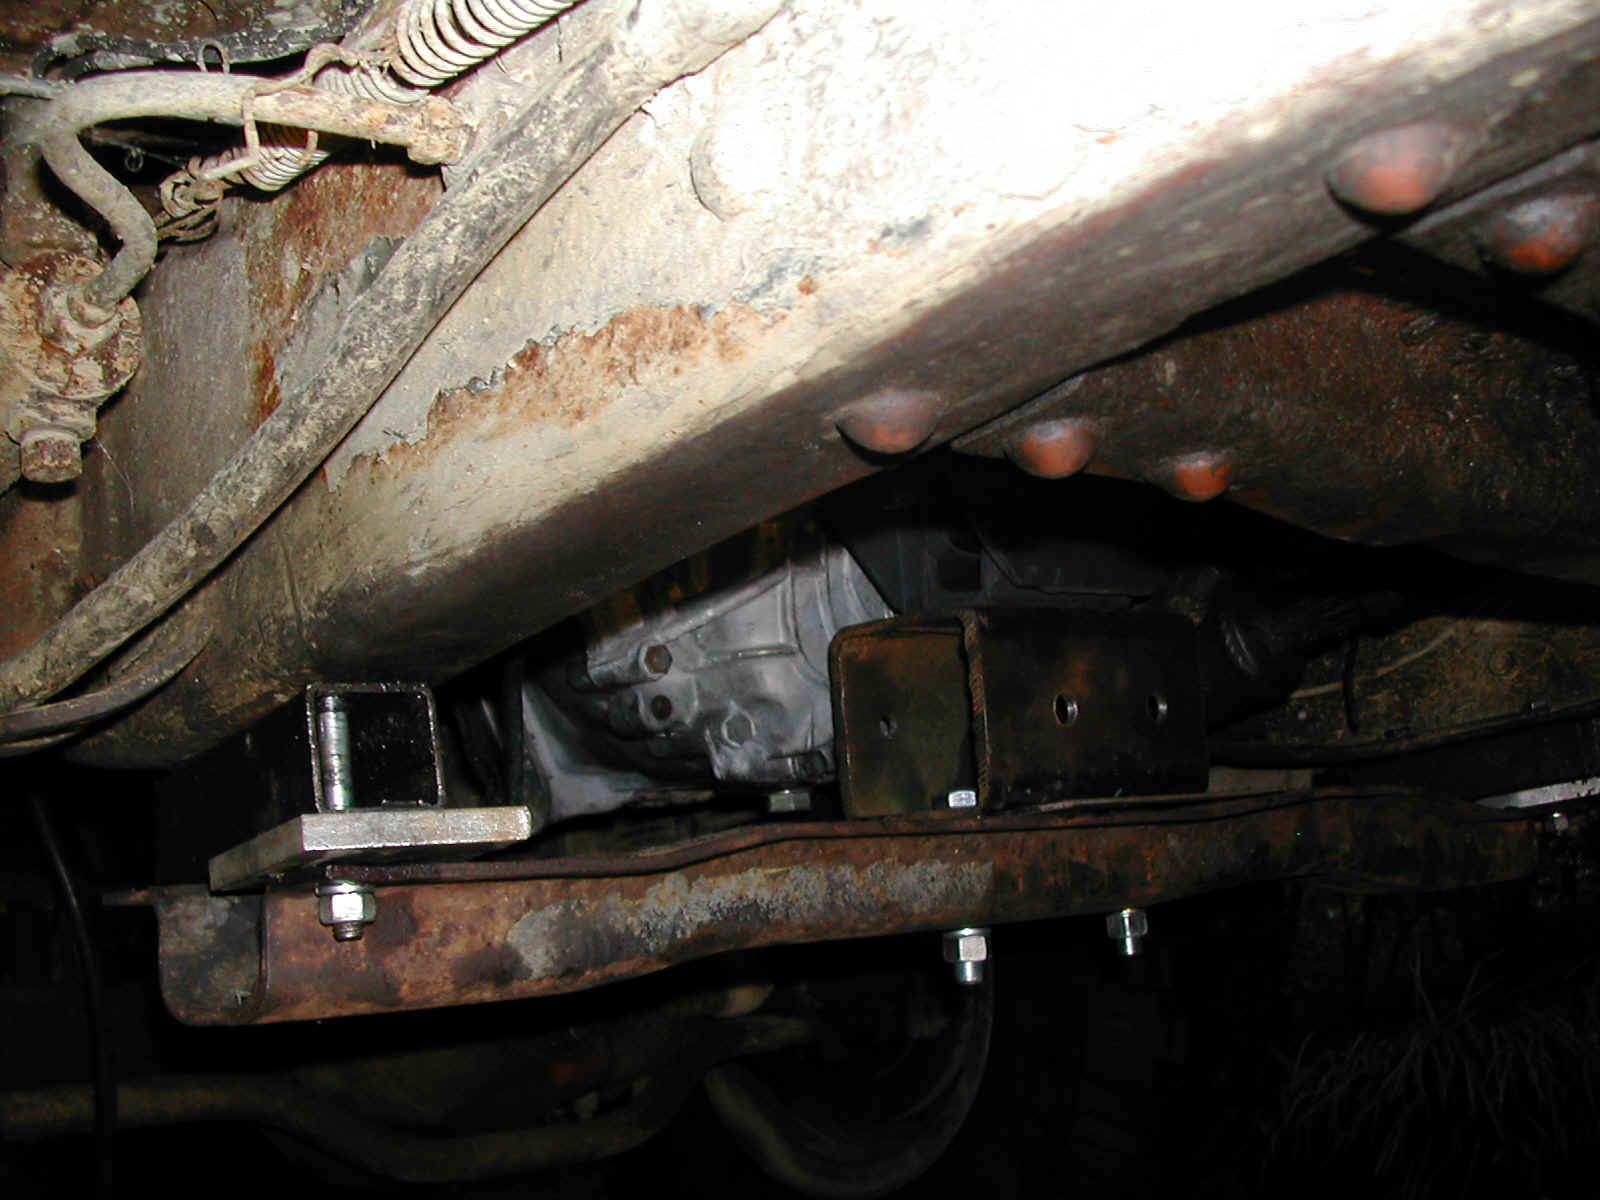 36
36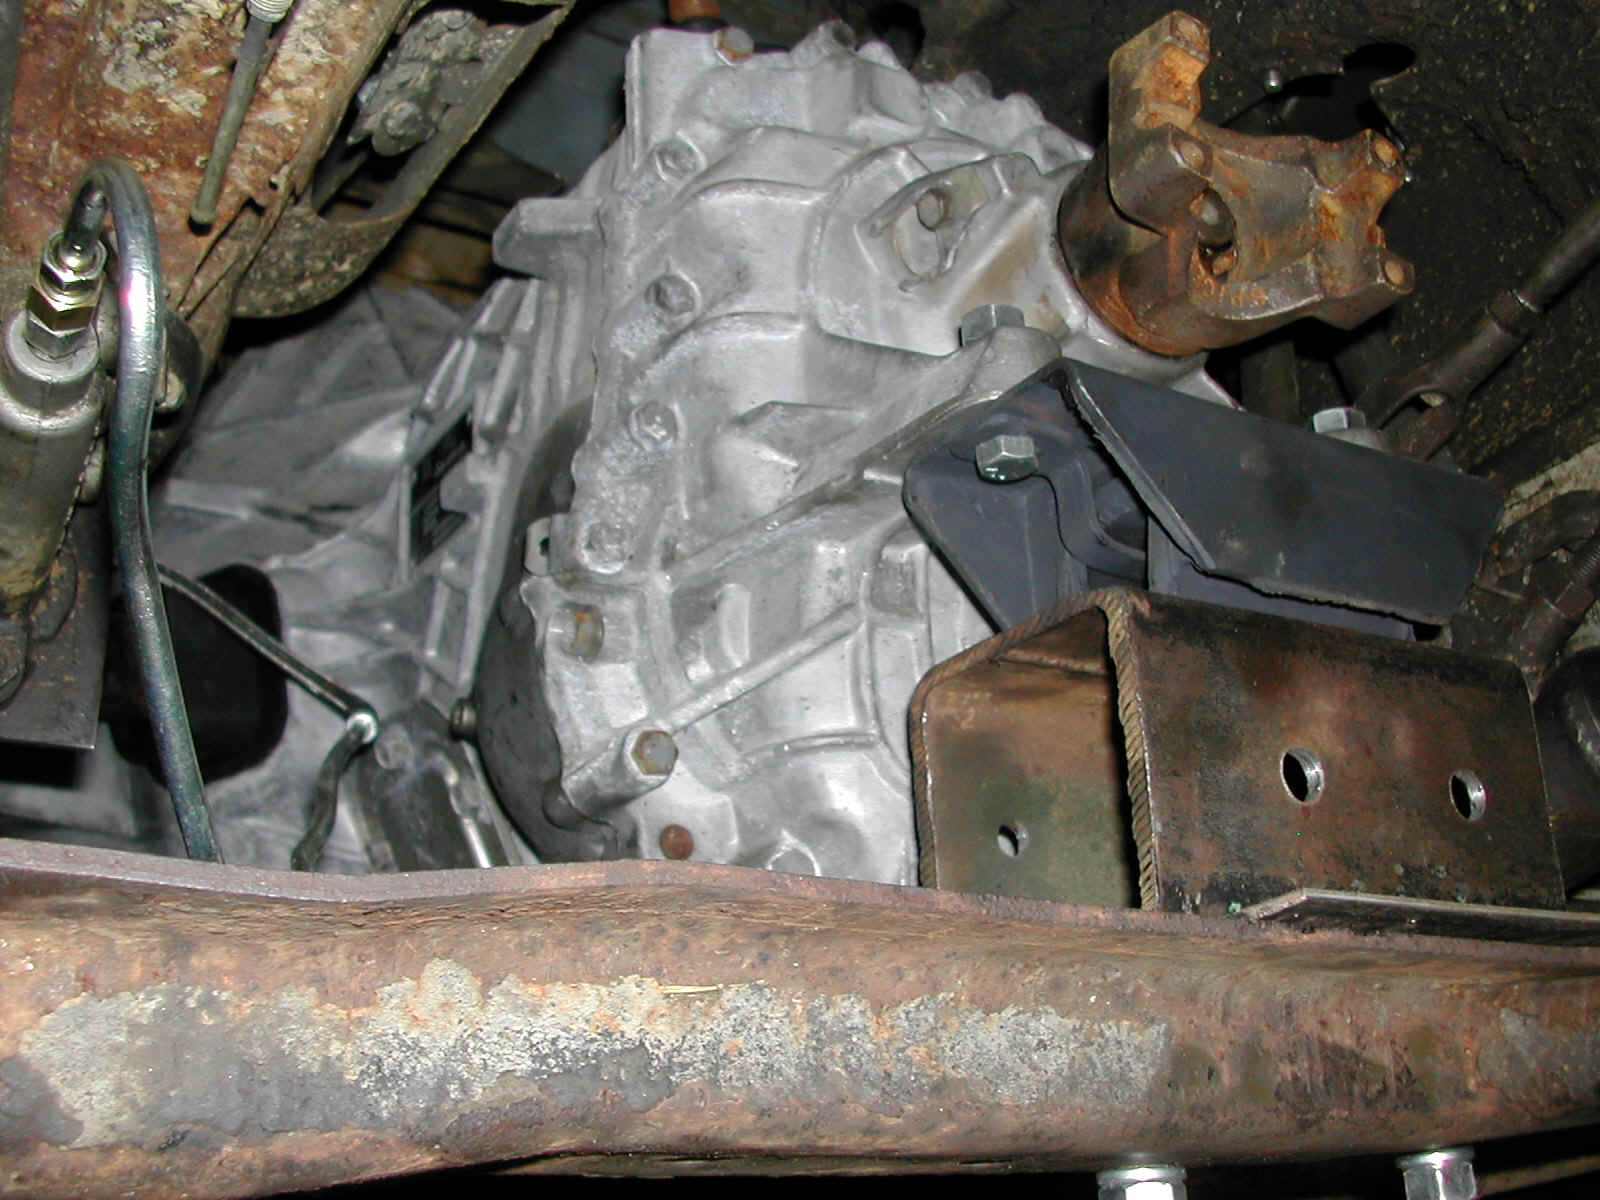 37
37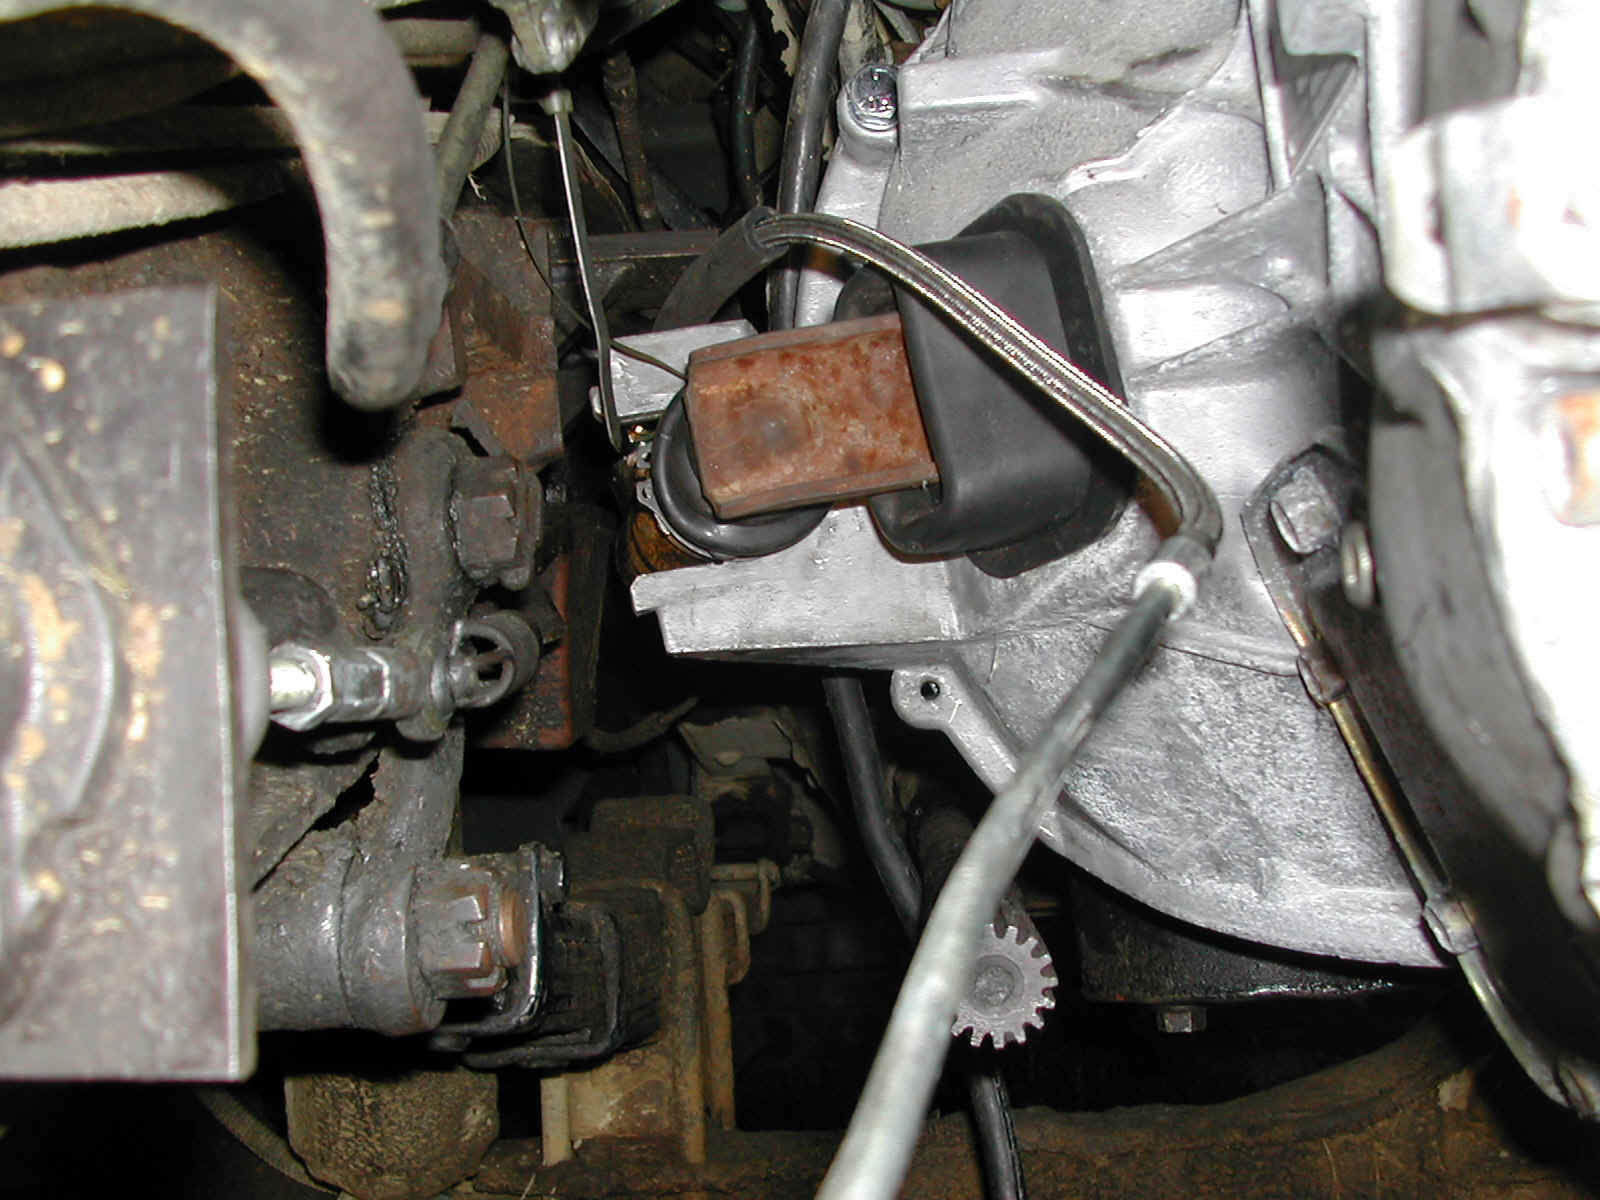 38
38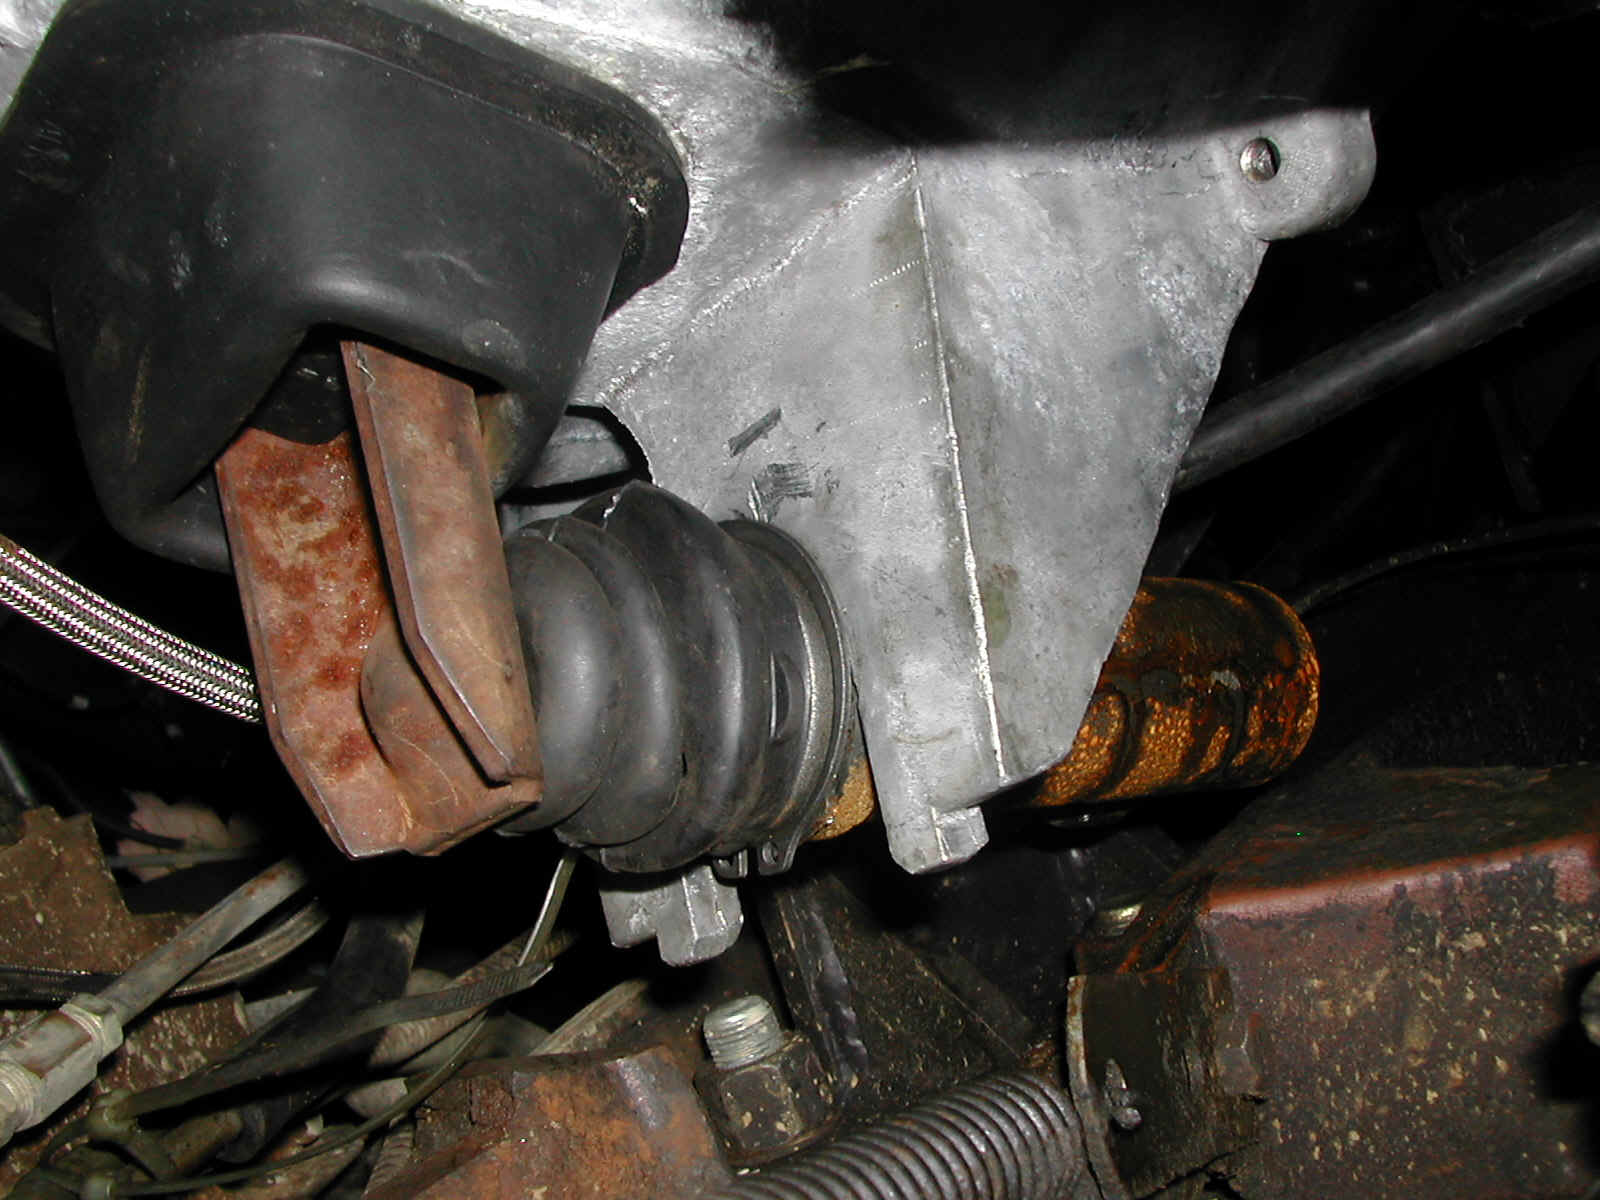 39
39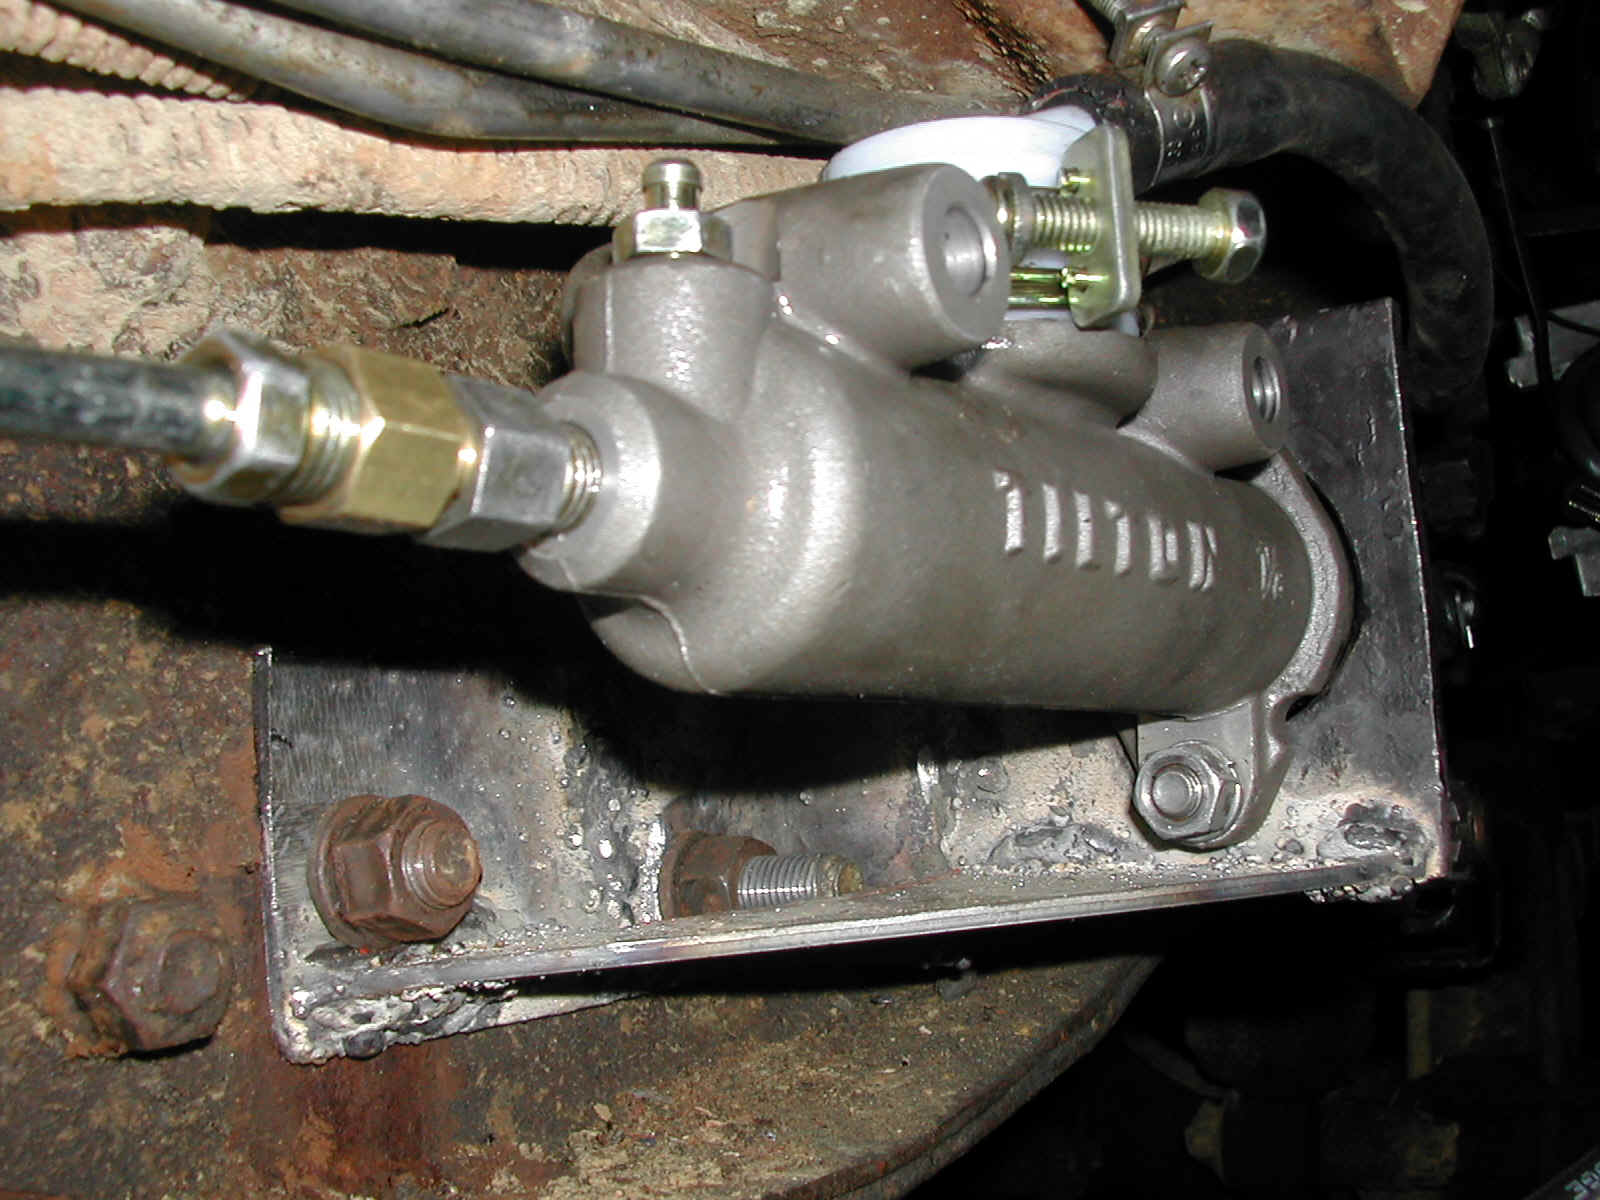 40
40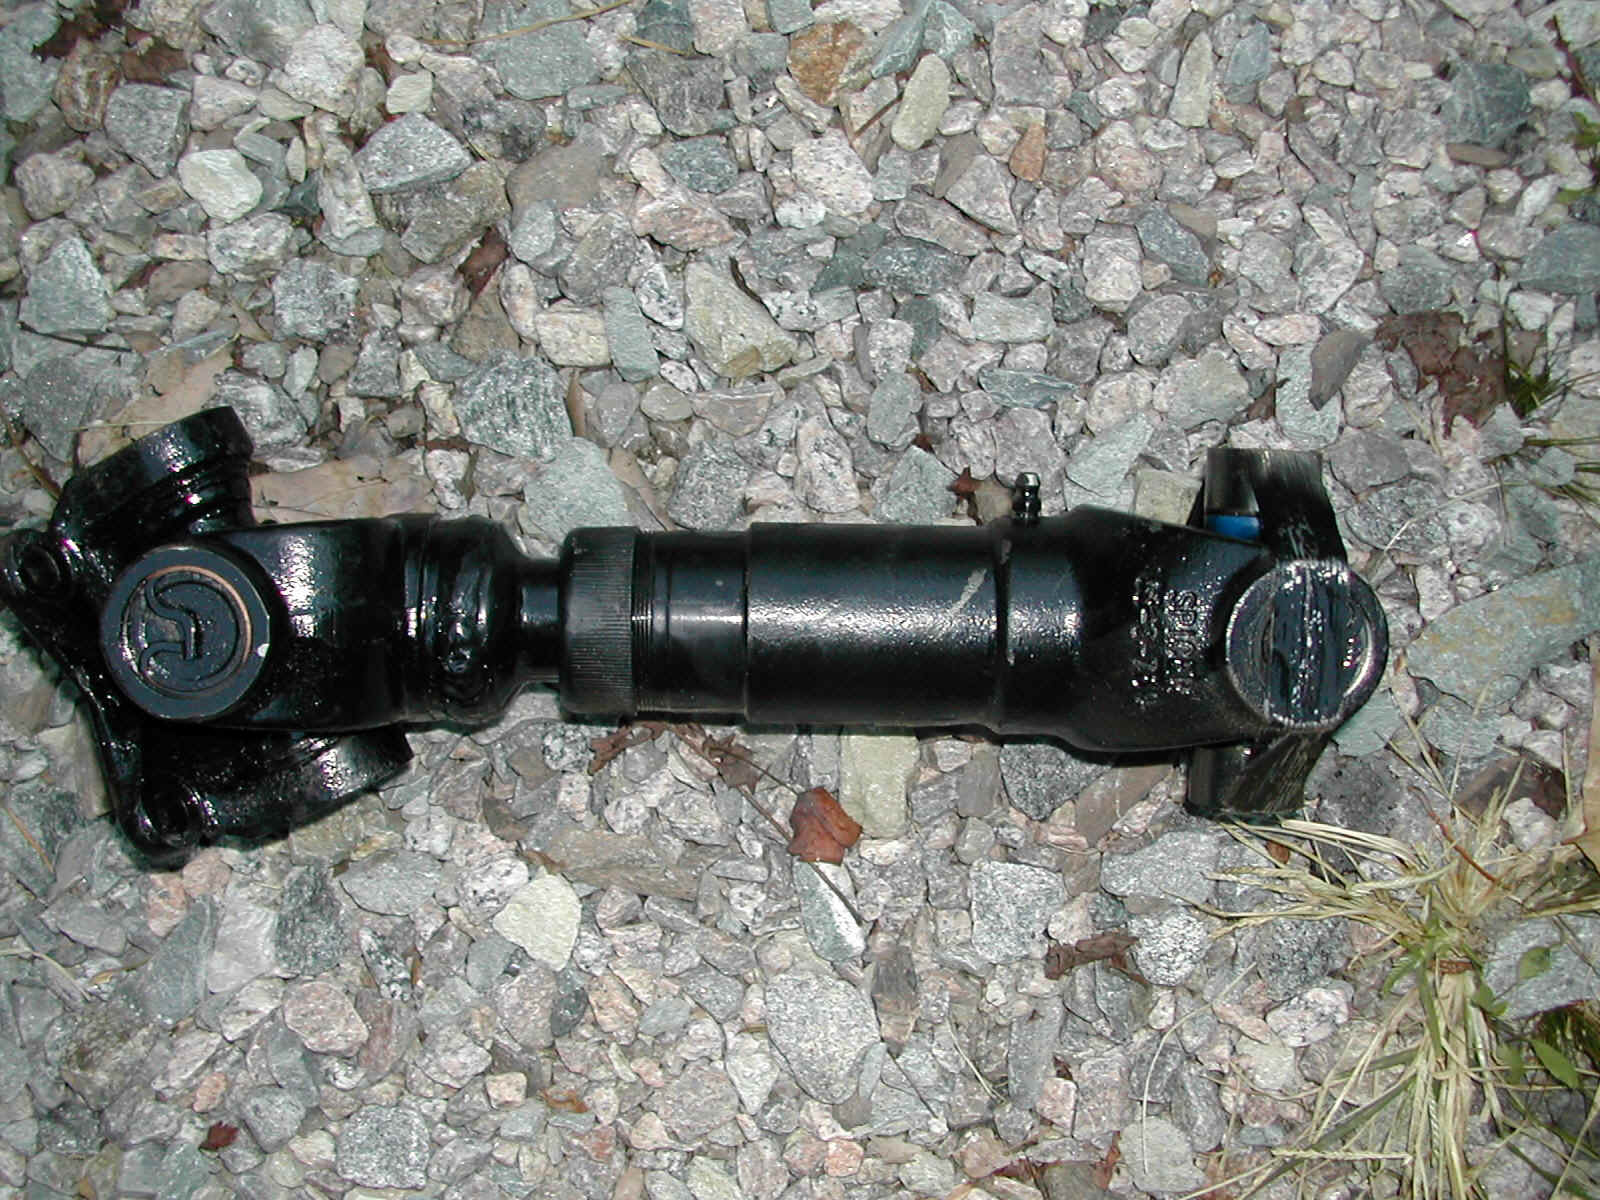 41
41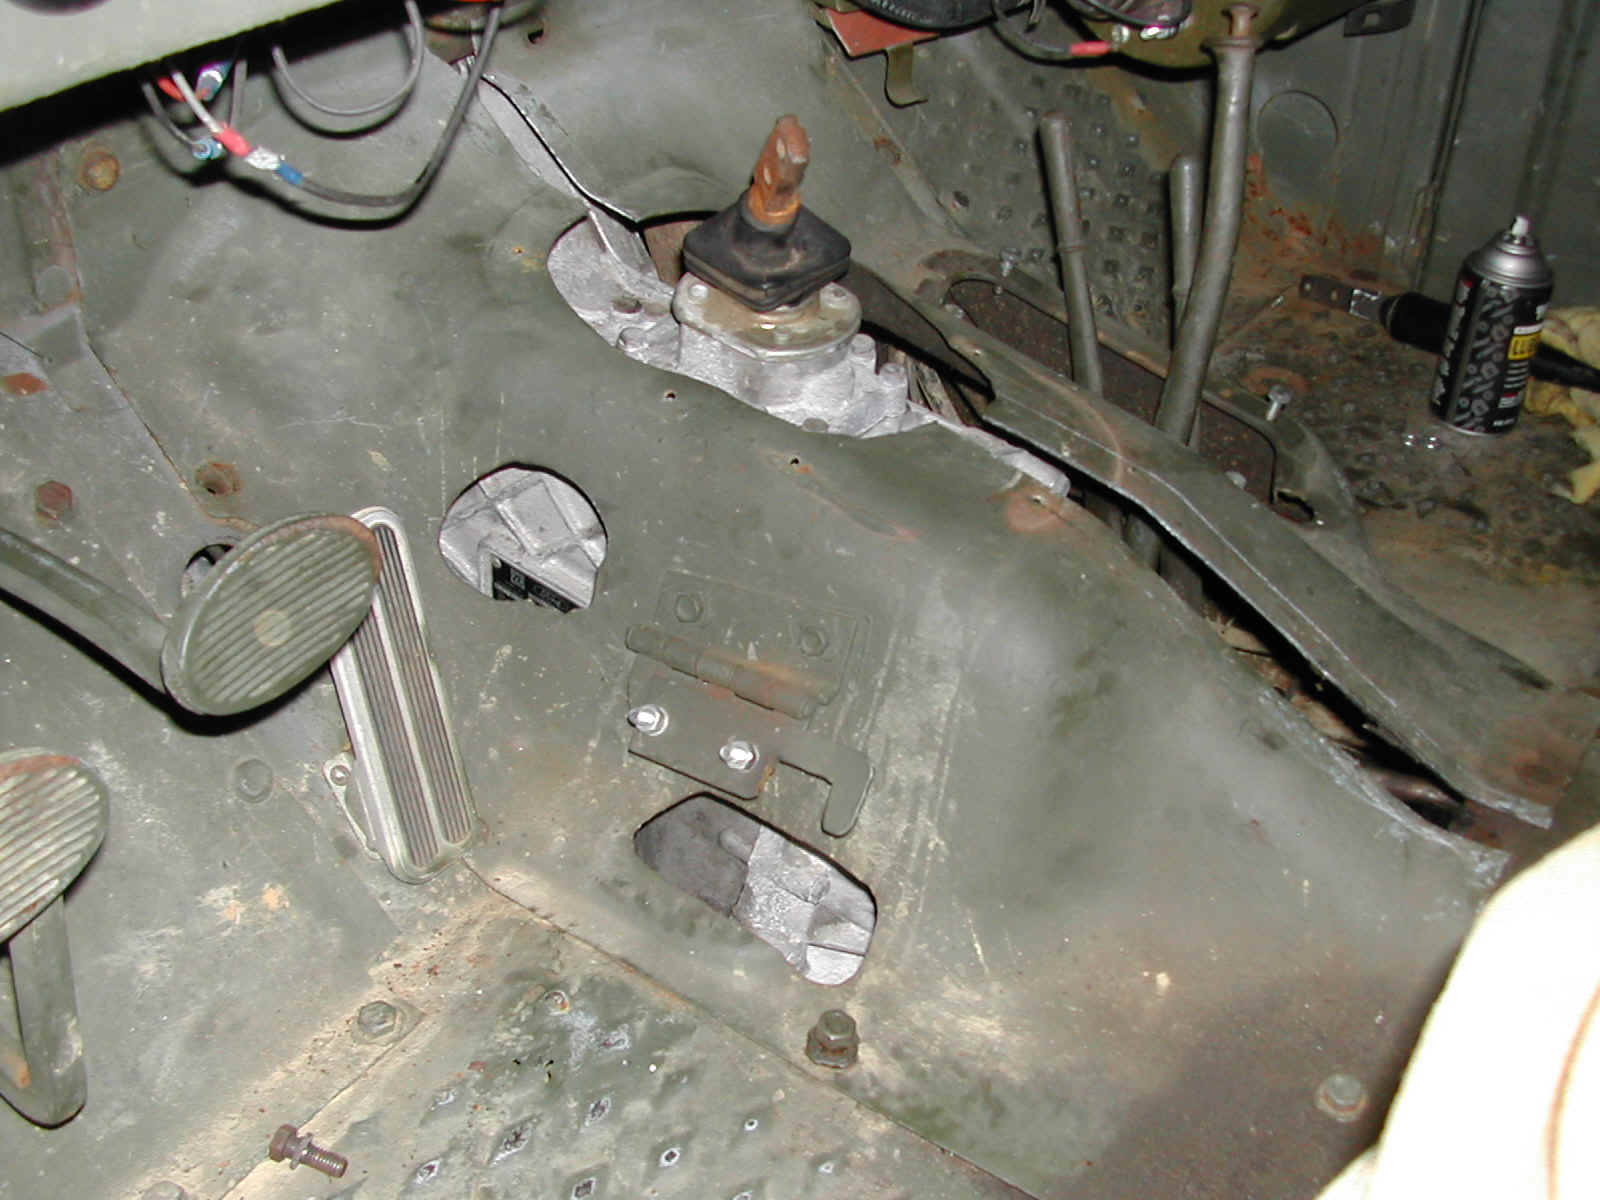 42
42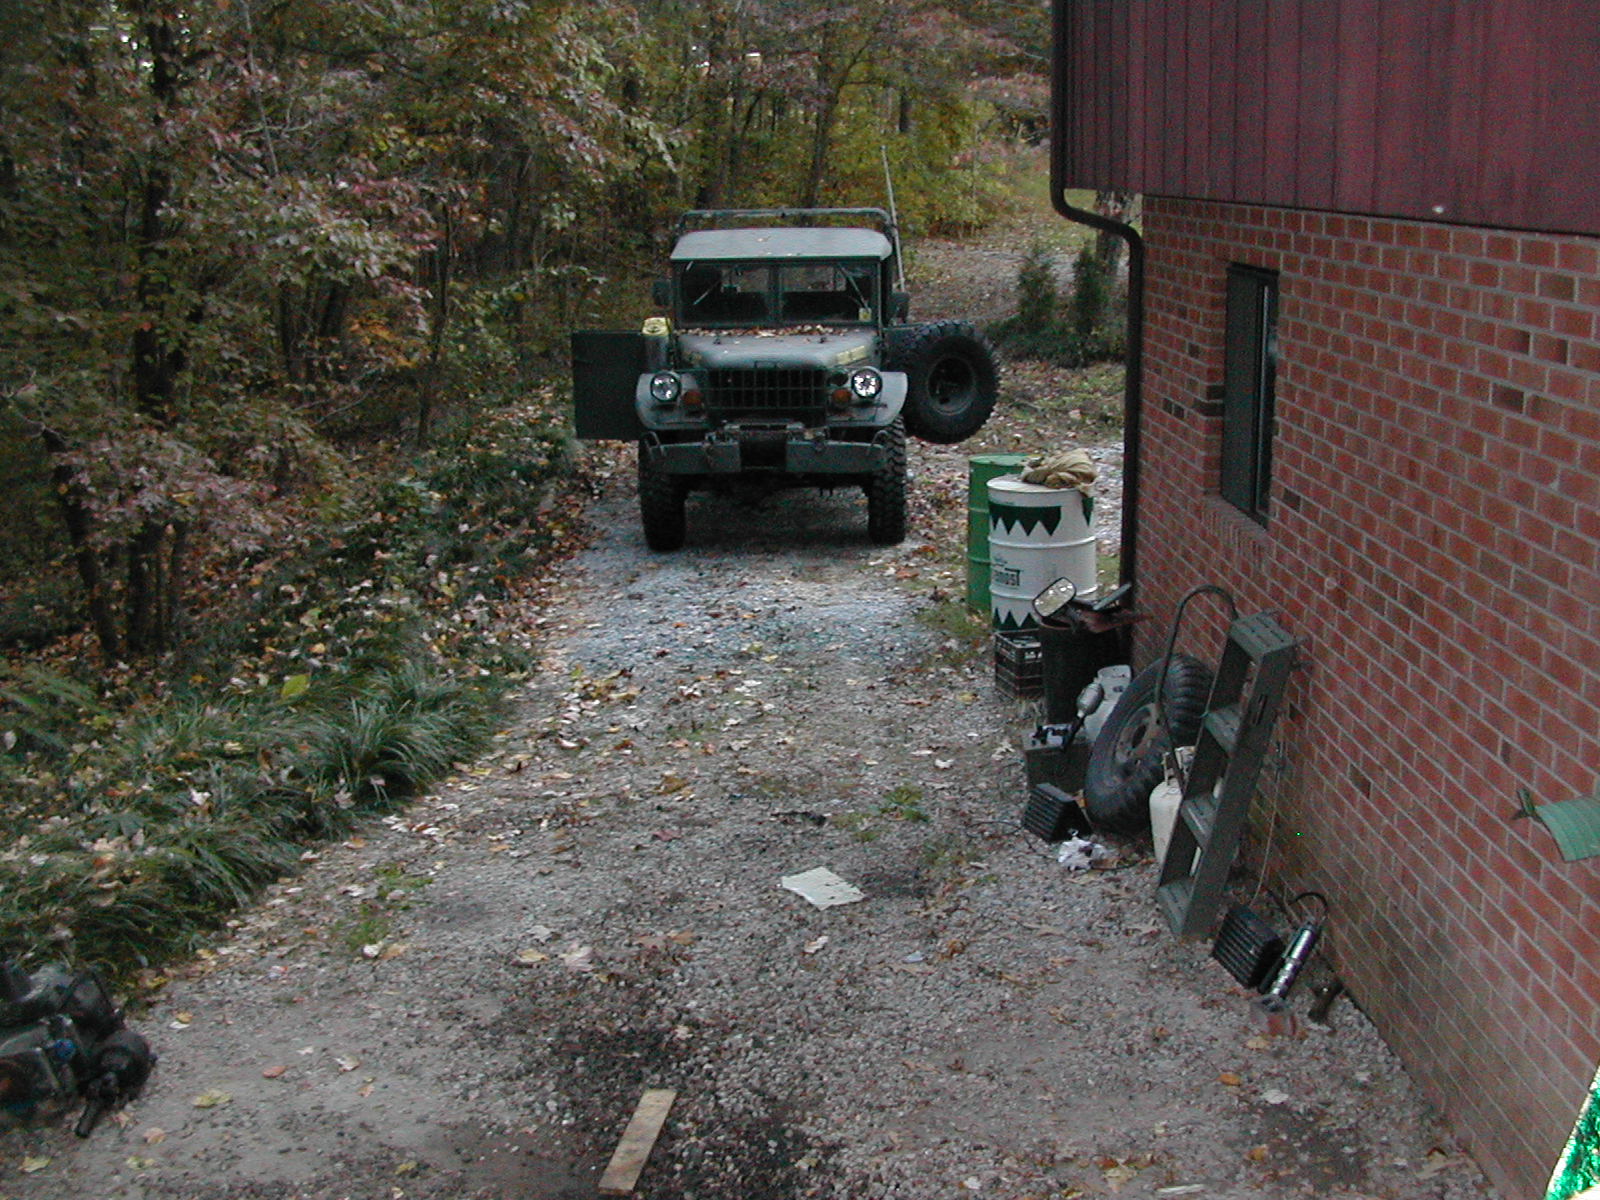 43
43M37 Transmissions.
These are some shots that I took of the transmission set up in my 1953 M37 when I replaced the shift tower one day. The tower (transmission cover) had worn enough that I was having difficulties shifting so I replaced it with a NOS unit. Also on the page are a couple of photos of my spare Ranger Overdrive and a friend's NV5600.
I decided during the summer of 2004 to replace the RangerOD/NP88950(NP420) combination with ZF five speed using the adapter setup that Roger at FordCummins fabricates. For some time, I had been thinking that it would be nice to have a fully synchronized transmission not only for my own driving pleasure, but also so that I could occaisionally loan my truck to friends without having to spend a day teaching them how to shift the transmission pair that I had. Since I lost the synchronizer in the RangerOD during the trip to the Southern Power Wagon rally in Monteagle, TN in May (due in large part to my having to run the overdrive with too little gear lube and natural versus synthetic at that at one point in the past, but that is another story entirely...), it seemed like a good time to swap things around a bit. As things go, it took a lot longer to swap from the RangerOD/NP setup to the ZF setup than I had planned, but with a few phone calls to Roger at FordCummins, some shopping at regional salvage yards, and a fair amount of wrench turning on weekends, I managed to get everything switched over with time to spare for our local Veterans' Day parade (and I managed to paint my M38 jeep in the same time period...).
If you have questions about any of these photos, send me an email and I'll try to provide an answer.
| 1 |
2 |
3 |
4 |
| 5 |
6 |
7 |
8 |
| 9 |
10 |
11 |
12 |
| 13 |
14 |
15 |
16 |
| 17 |
18 |
19 |
20 |
| 21 |
22 |
23 |
24 |
| 25 |
26 |
27 |
28 |
| 29 |
30 |
31 |
32 |
| 33 |
34 |
35 |
36 |
| 37 |
38 |
39 |
40 |
| 41 |
42 |
43 |
| Photo | Caption |
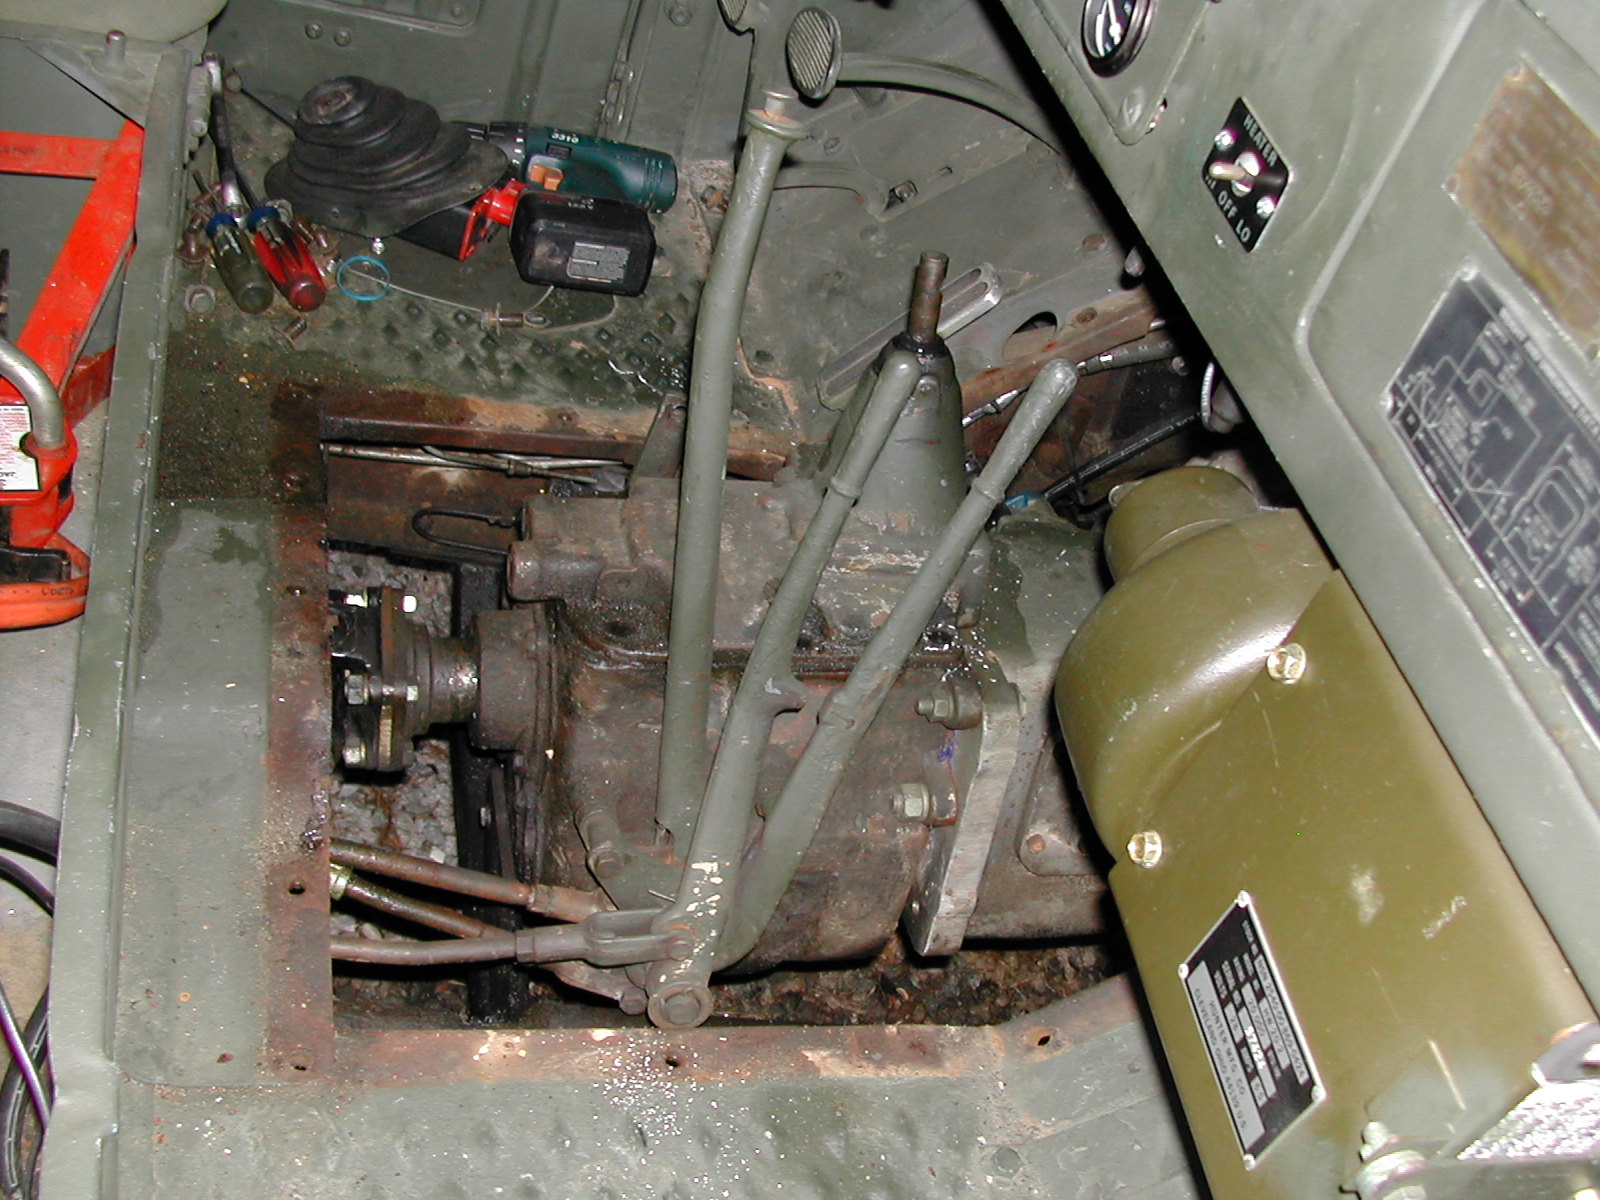
| 1-6 | Shots of the early series M37 transmission bolted to the back of the Ranger Overdrive that is bolted to the Chevy bellhousing on the back of the Cummins 4BT. Notice that the "bread van" bellhousing is designed to give the transmission combination a slight tilt towards the driver when the engine is mounted flat without a tilt to the side. You can also see the M151 heater under the glovebox, the 3" diameter exhaust pipe coming down from the turbo, and the rear transmission brace. |
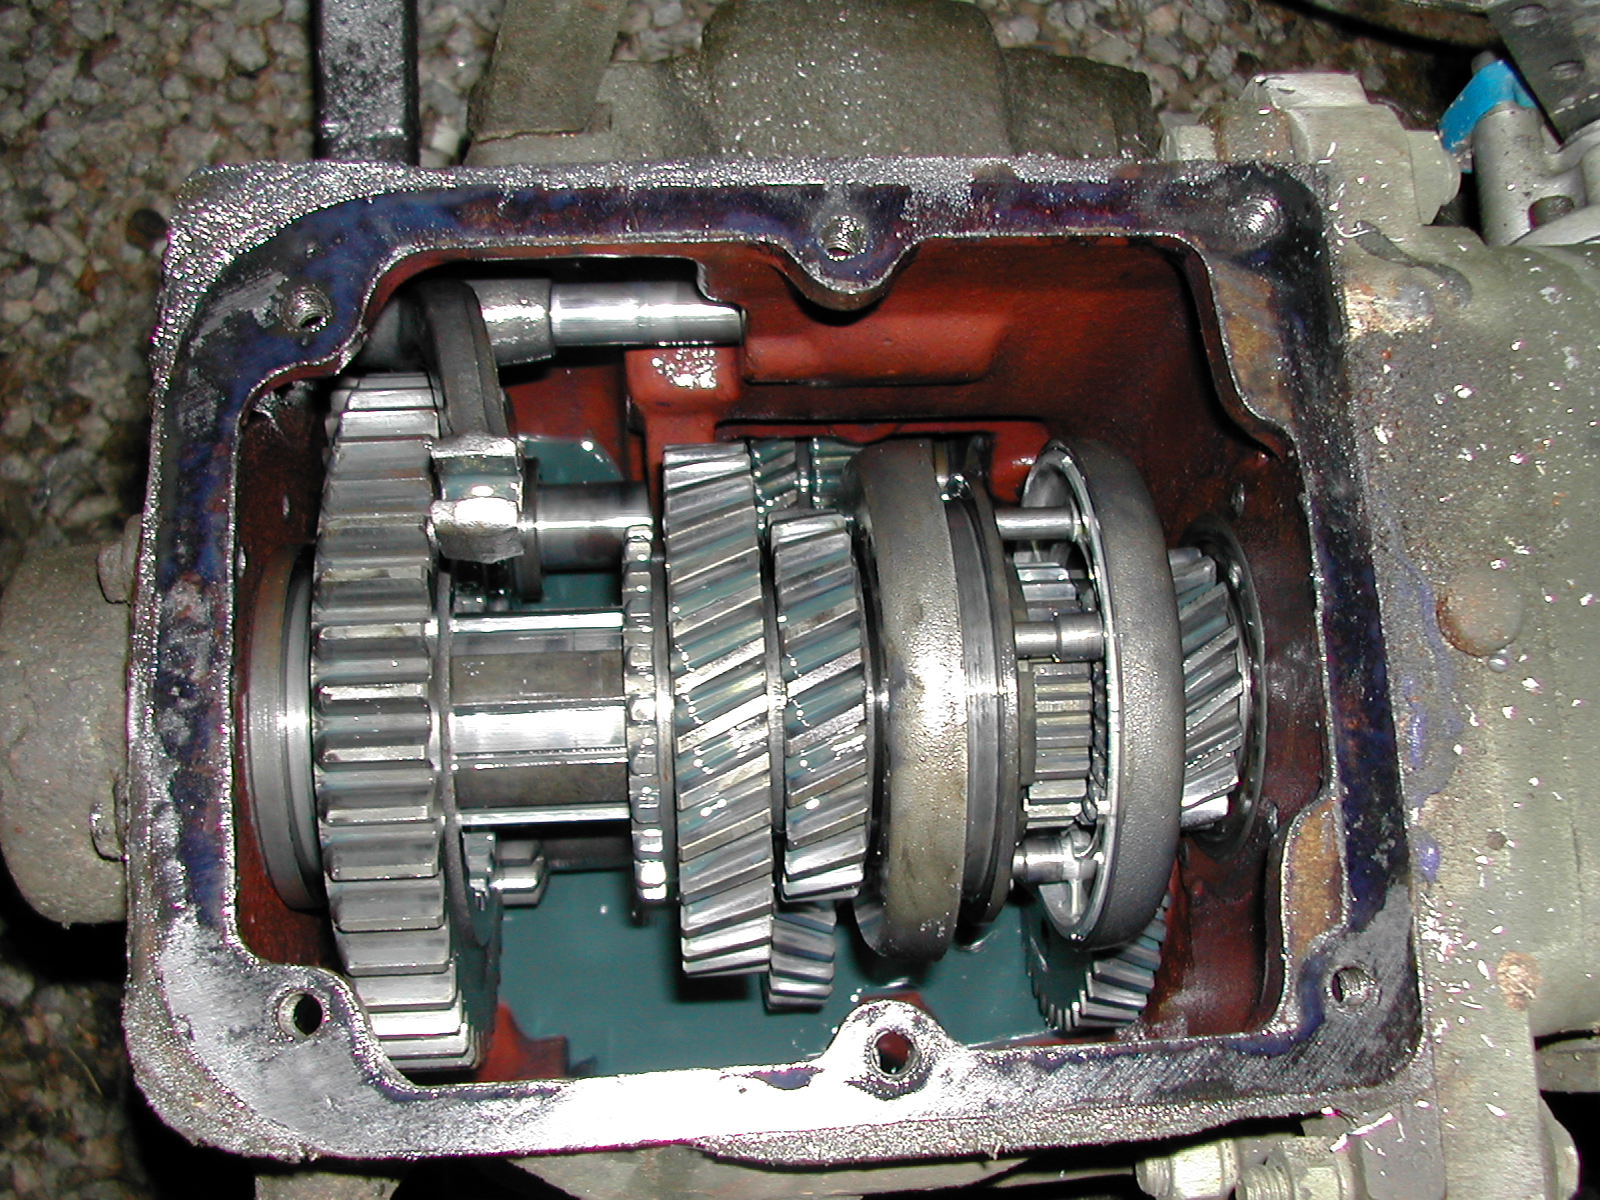
| 7 | Looking down into an early series transmission (1953 M37) with the top removed. Notice that the reverse lever is mounted in the transmission case. The later series transmission (NP420) had the reverse lever mounted in the transmission cover. Gear lube is a little low since I had just returned from a 500 mile trip when the cover was pulled off the transmission. |
| 8-9 | Shots of the early series transmission cover showing the two shift forks and the safety wires. |
| 10-11 | Two views of a Ranger Overdrive. The front face of this one is set up with the older Chevy pattern (SM465) in order to bolt it up to a Chevy bellhousing on a Cummins bread van engine. The rear is a modified Ford pattern with an output pocket custom splined to match the New Process transmission in an early Dodge. |
| 12-13 | Two views of Gil's NV5600 that he is installing in a Cummins Ram to replace the original Getrag unit. |
| 14-18 | RangerOD/NP88950 (early version of NP420) installed in my truck. Notice slight twist (seven degrees) toward the driver as a result of the twist put into the GM/Chevy flywheel adapter supplied for use with Cummins B series blocks. Twist in adapter was for mounting the engine into a P30 or similar route van (bread truck) chasis as a replacement for a GM/Chevy smallblock. |
| 19-20 | Shots of both sides of a flywheel taken from a 1991 Cummins Dodge W250. Cummins B series flywheels are the same from the six to the four, so the easiest and least expensive method for me to get a Dodge specification flywheel was to shop around at salvage yards... Notice the new oilite bearing from FordCummins installed. Although the diameter and spline count on the ZF transmission matches that of the Getrag transmission that was installe in early RAM pickups with the Cummins, the diameter of the tip is different, so Roger supplies a bearing that is used in place of the ones supplied in a clutch kit. |
| 21-22 | Both sides of the aluminum flywheel adapter that Roger at FordCummins fabricates. Adapter plate is designed to attach a Ford specification ZF transmission to a Cummins B series engine using the Cummins Dodge flywheel, starter,a nd clutch. |
| 23 | Steel shim plate provided by FordCummins that mounts between the flywheel adapter and the engine block. |
| 24 | Driver's side view of the ZF S5-42 from a two wheel drive 1994 Ford F250 Heavy Duty truck with a Powerstroke engine. I decided to go with this transmission in order to allow me to continue to use my divorced transfer case and because the gear ratios are closer than those in the version put behind the gas engines. First gear is not as steep as the version behind the gasser, but the overdrive ratio is the same. |
| 25 | Back of the Cummins 4BT with everything removed... |
| 26 | Back of the block showing the steel shim plate in place ready for the flywheel adapter. All that is holding the shim plate in place is a little bit of friction between some dowel pins in the block and a dab of grease between the plate and the block. |
| 27 | Tab on the block on the bottom right has to be trimmed in order to mount the starter. There is plenty of meet here and even though it seems like a lot is removed, there is plenty of metal for the adapter plate bolt. |
| 28 | Flywheel adapter plate mounted. |
| 29 | Flyhweel mounted. |
| 30 | Clutch mounted. Clutch is a LUK standard duty 1994 Dodge Cummins Ram unit from Dial-a-Clutch. |
| 31 | Decided to remove the exhaust pipe to make installing the new transmission easier. With the exception of some new hangers and a few pieces of custumn bent pipe, it is the same system (exhaust pipe and muffler) that was originally installed behind the Cummins in the Chevy P30 chasis that I got the engine out of. |
| 32 | Box with the new Tilton remote master cylinder for use with the Ford slave cylinder (F250HD early version that is the same as that used for a while in the Dodges with the NV4500). Only needed the master cyllinder itself, but the extra parts in the kit can always find a use somewhere... More info on this bassic setup is on my photo page eight. |
| 33-34 | Shots of just the new Tilton remote master cylinder. Since the one that I had been using with the Howe hydraulic throw out bearing in my Chevy clutch setup with the RangerOD/NP88950 was just a 3/4 bore, I had to more up to a 1 1/8" bore in order to match the new Ford slave cylinder. |
| 35-37 | Shots of the new transmission crossmember. I used a bunch of scrap that I had in the garage along with a transfer case crossmember out of a parts M37 and bolted everything together. At some point, I will weld most of the seams and will replace the shims with some beveled pieces, but this works in the meantime while everyithing is tweaked. Mount between the transmission and the piece of tubing on the crossmember is stock Ford and was acquired from Advance Auto. |
| 38-39 | Some really bad angles of the slave cylinder, but at least you can see where I have to tweak the hydrualic line routing when the PTO is mounted and the c-clip retainer that holds the slave in place. The newer version of the slave cylinder has a big spring clip on it that makes a much more visually reasuring connection to the transmission, but I forgot to install it before I slid the transmission into place, and I couldn't get it to mount afterward. The slave used therefore is the earlier, longer version with the c-clip retainer. Both slave cylinders utilize a hydraulic line with a compression fitting that utilizes an o-ring for sealing and a roll pin for retention. I purchased a hydraulic line locally and cut the master cylinder end off, installed a regular brake line compression nut, flared it, and bolted it right up to the Tilton MC. Ford used to sell the componenets (slave, master, and line) seperately, then sold the slave and line as a pair, then moved to selling them as a complete unit. Finding a setup in a salvage yard and utilizing the old line along with a new slave sourced from Advance Auto (local chain auto parts store) is fairly innexpensive. |
| 40 | New master cylinder mounted using same bracket that the old one used but I did get around to welding in the gusset that I had been thinking about ever since the setup was first installed... |
| 41 | New intermediate driveshaft fabricated by the folks at Fleetpride in Garner, NC. They built my old short driveshaft back when they where Stone Heavy Duty. Driveshaft goes between the yoke on the ZF S5-42 transmission and the flange on the stock NP200 transfer case. Unit is built from Spicer components and is 12" long. |
| 42 | ZF transmission is just a bit wider at the top than the NP box was, so I decided to slice the transmission hump down the center in order to gain clearance. I ended up drilling some new holes in the passenger side about an inch to the left of the original bolt holes and just bolted both halves right back in. I was planning on welding a stip of steel plate back in to cover the resulting slot between the halves, but a NCMVPA club member suggested that I use sheet metal screws to hold the new pieces in place in order to facilitate any future removal of the cover. |
| 43 | Shot taken right after I backed the truck out of "the shop" for the first time with the five speed installed... |