 1
1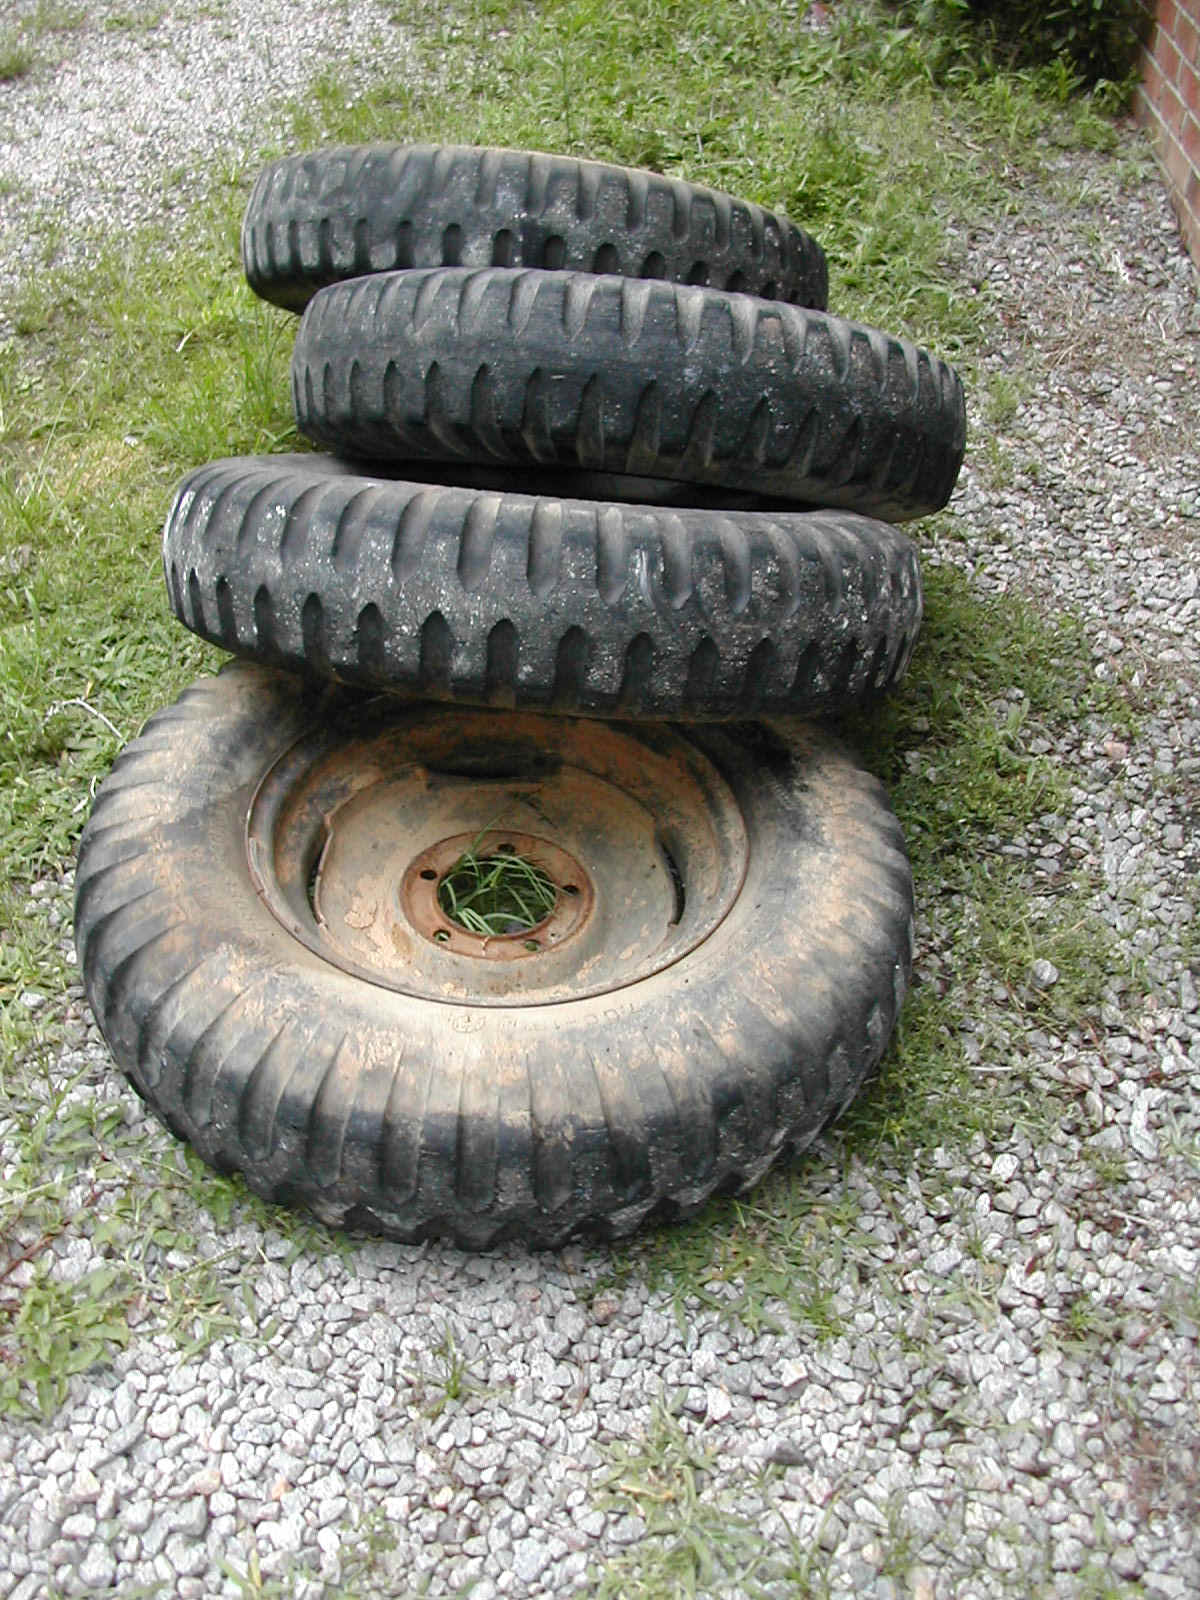 2
2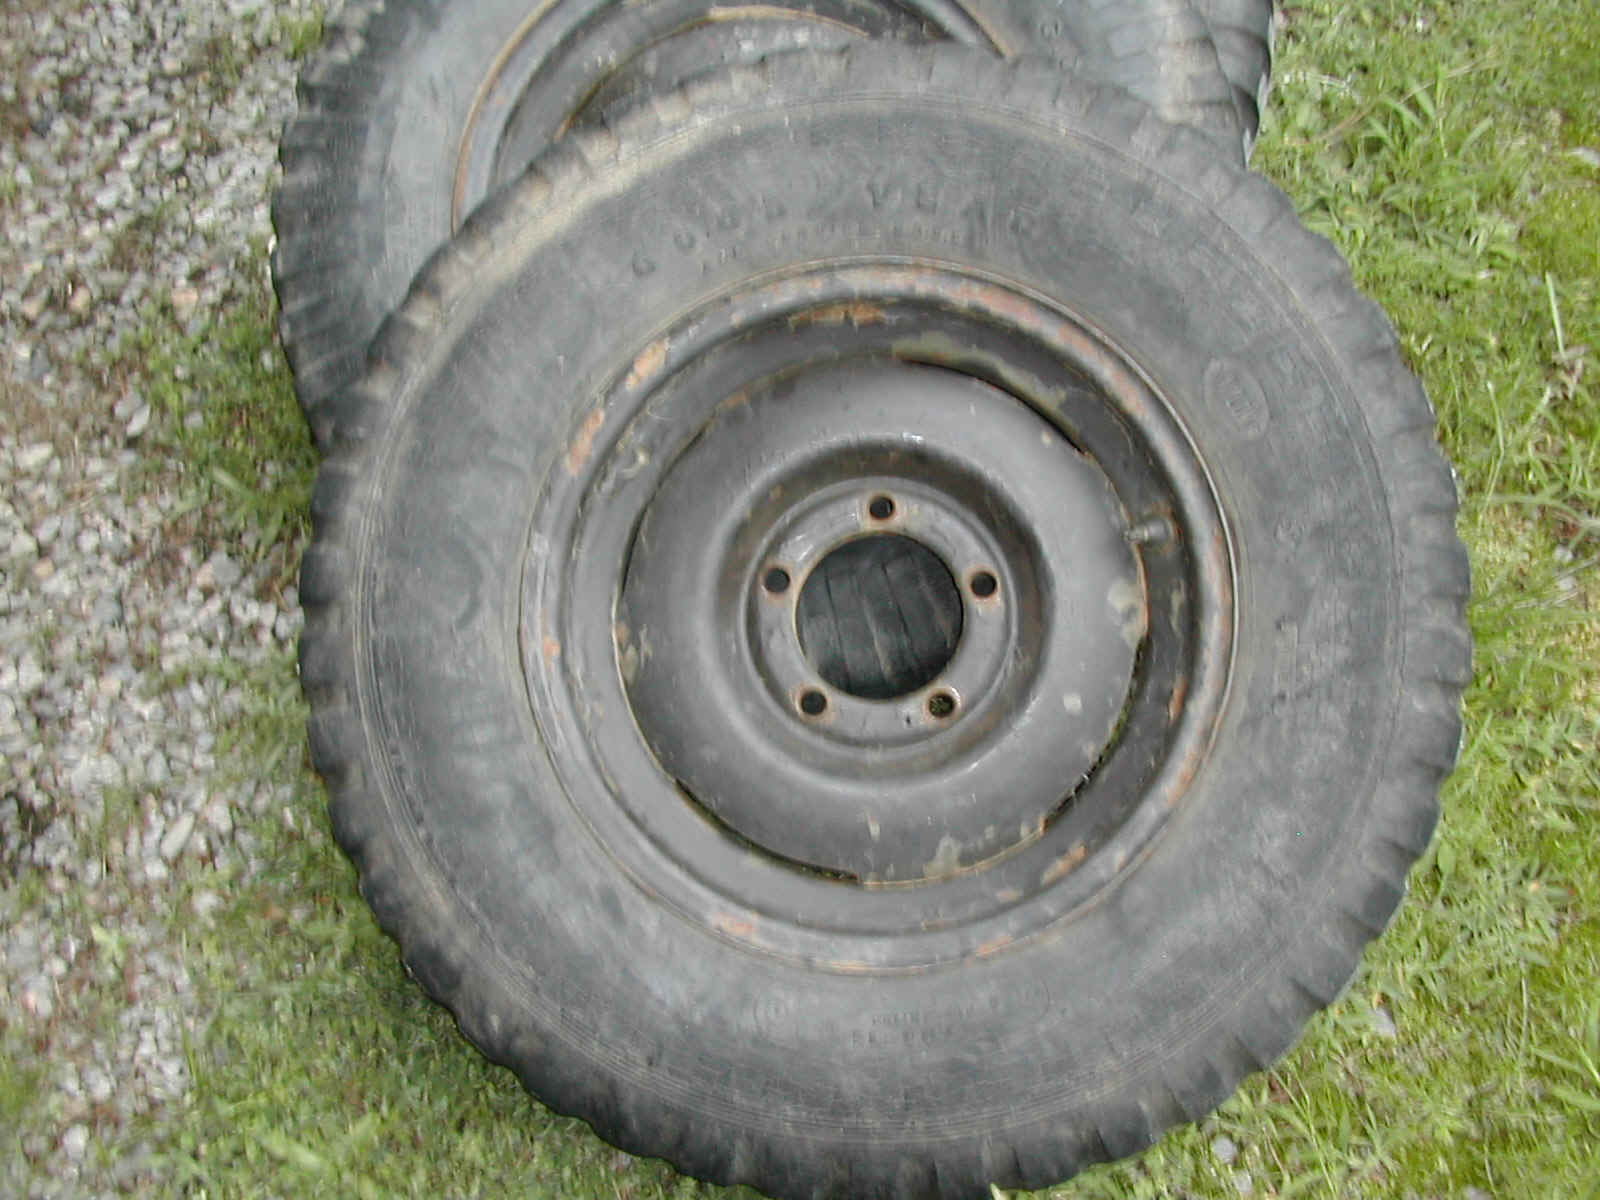 3
3 4
4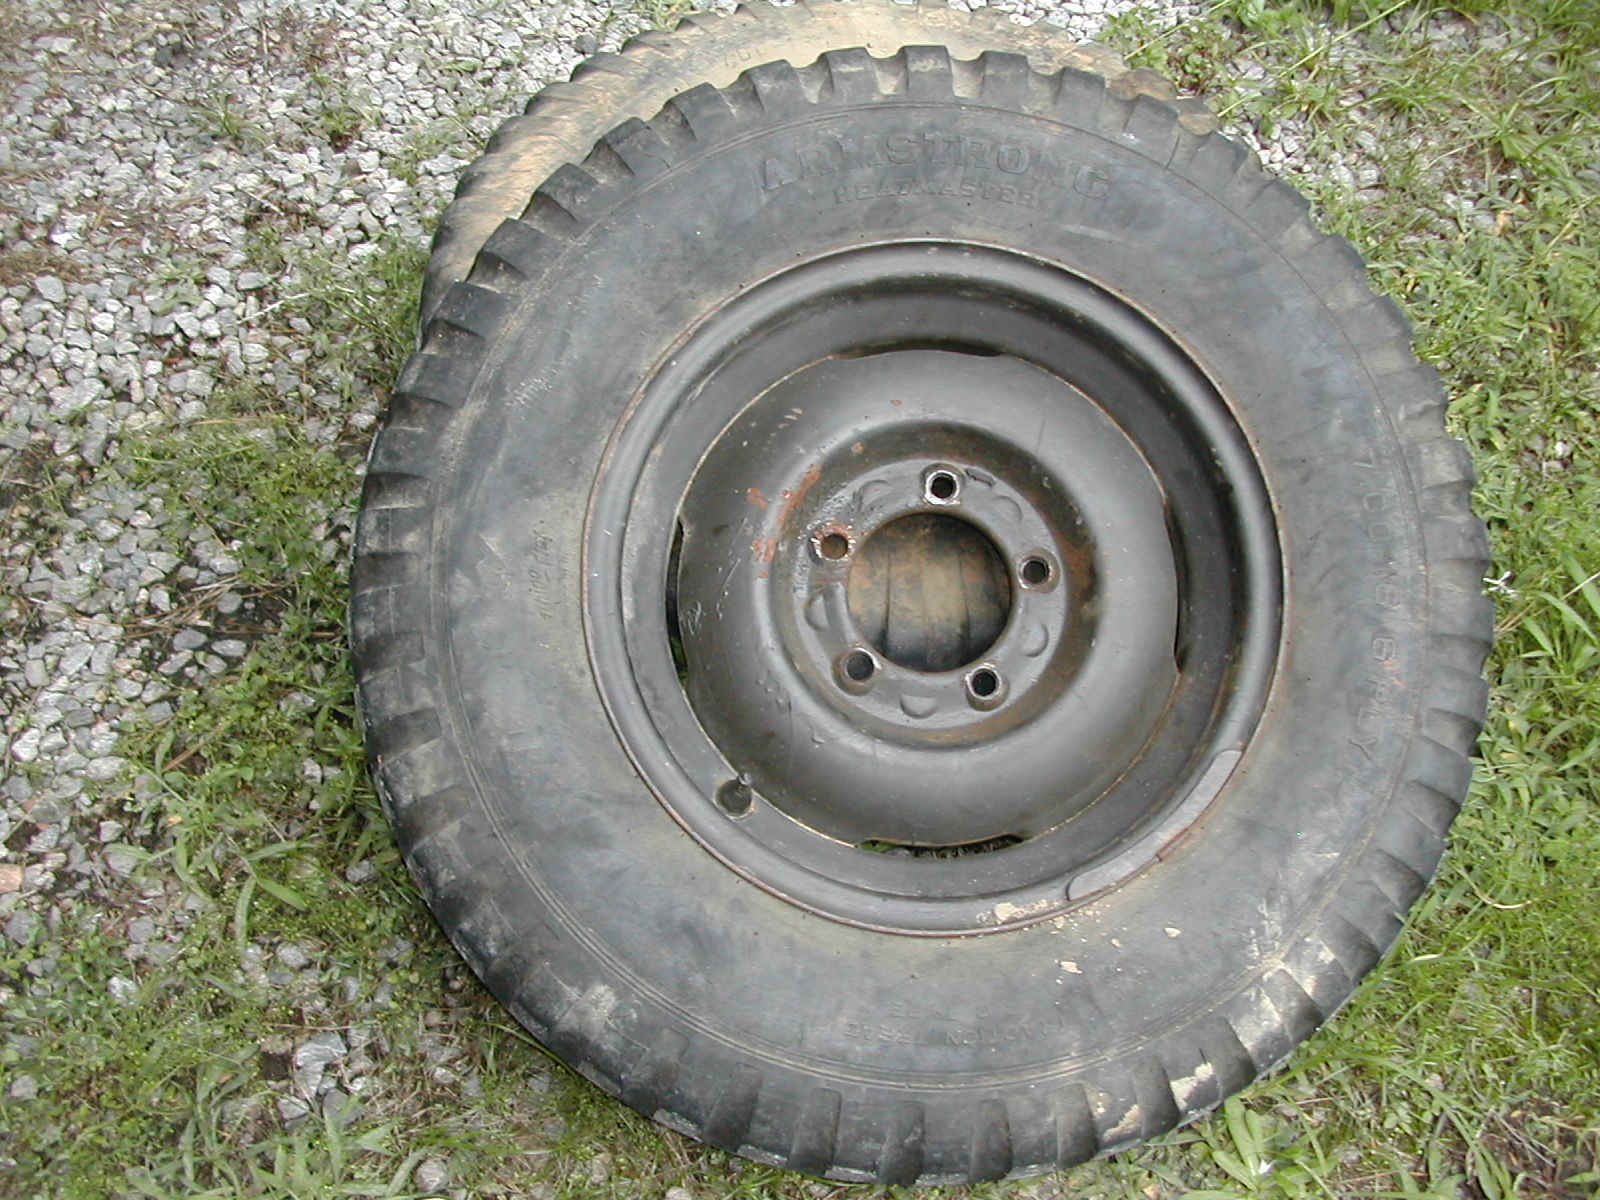 5
5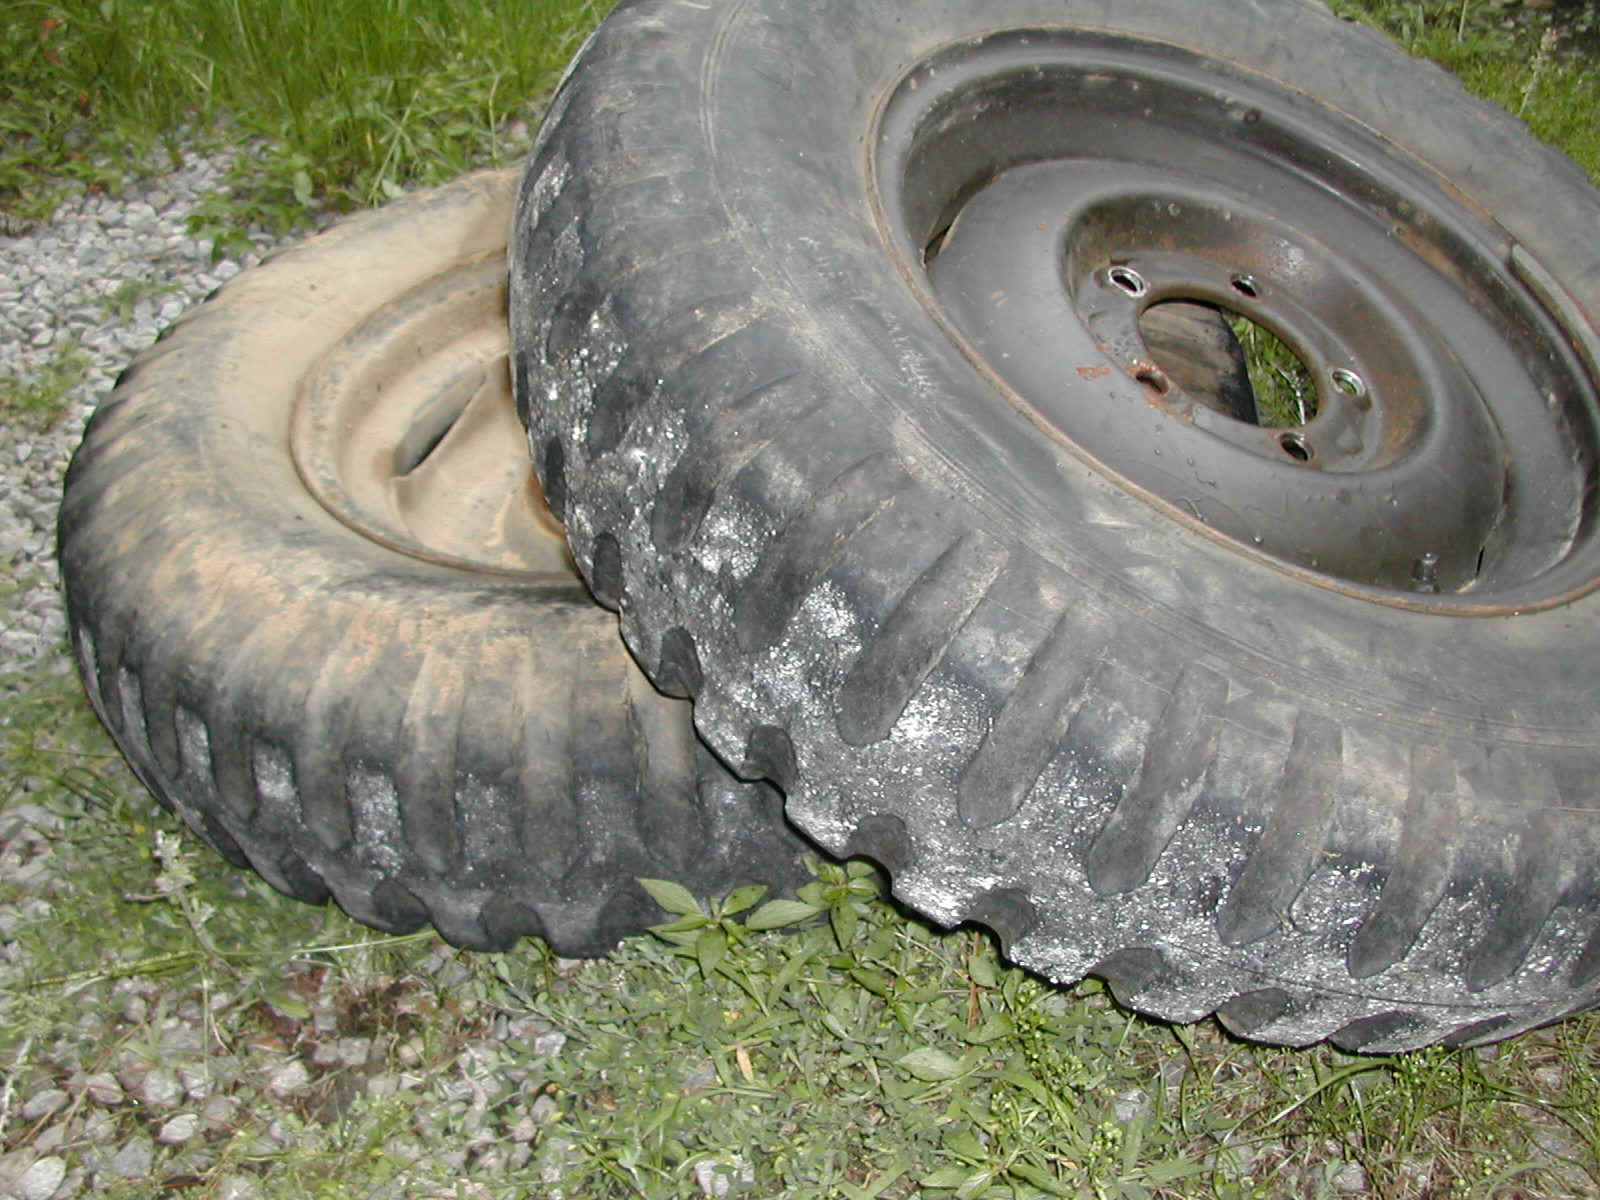 6
6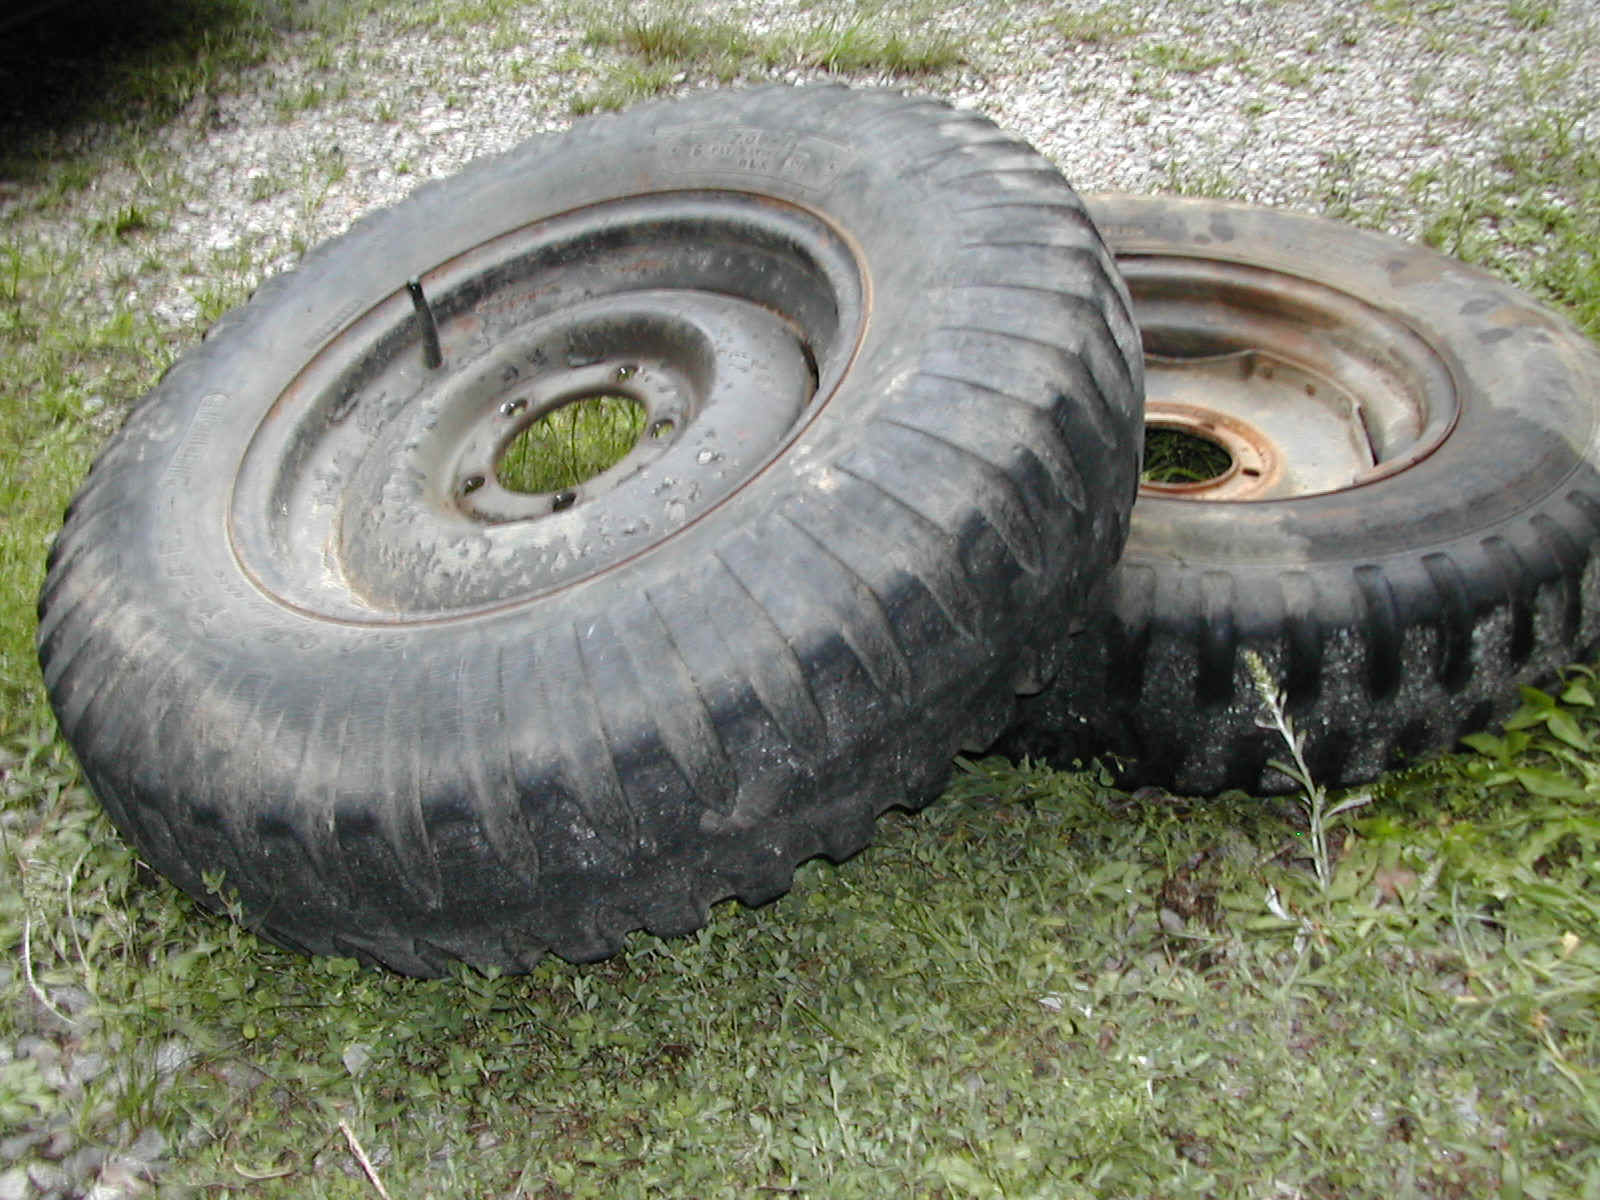 7
7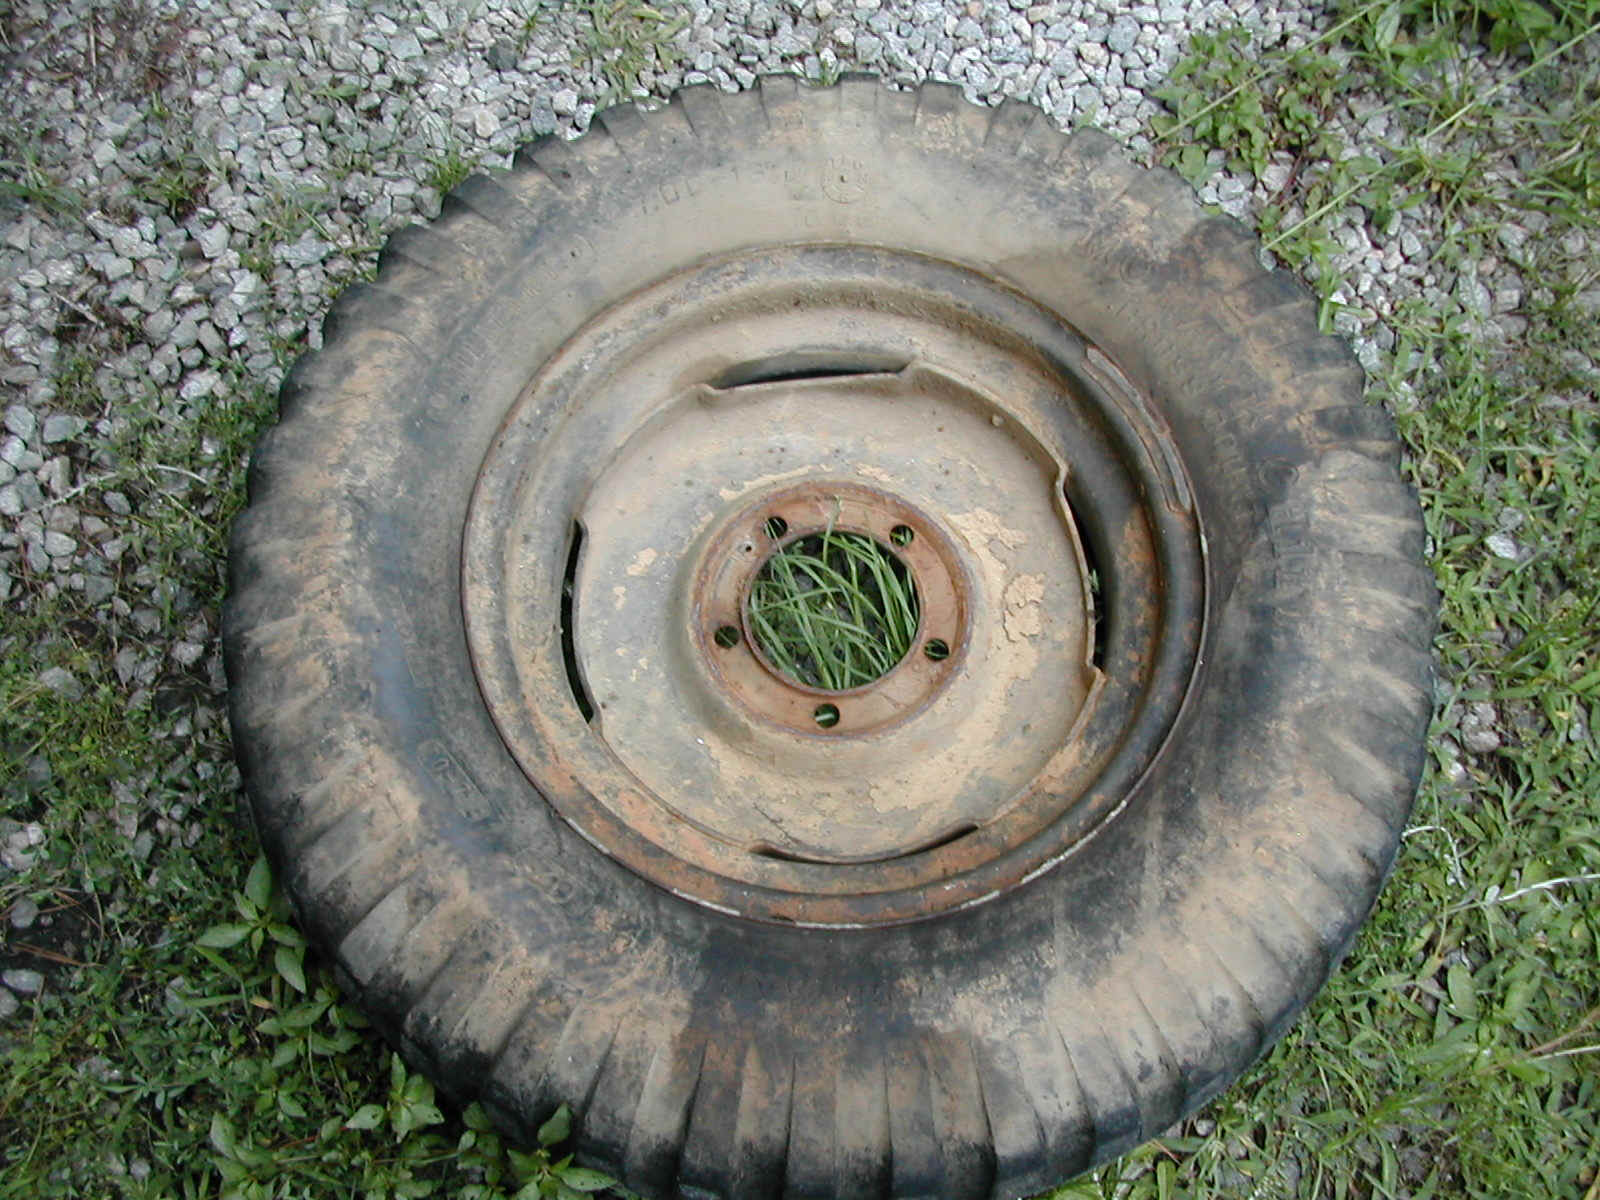 8
8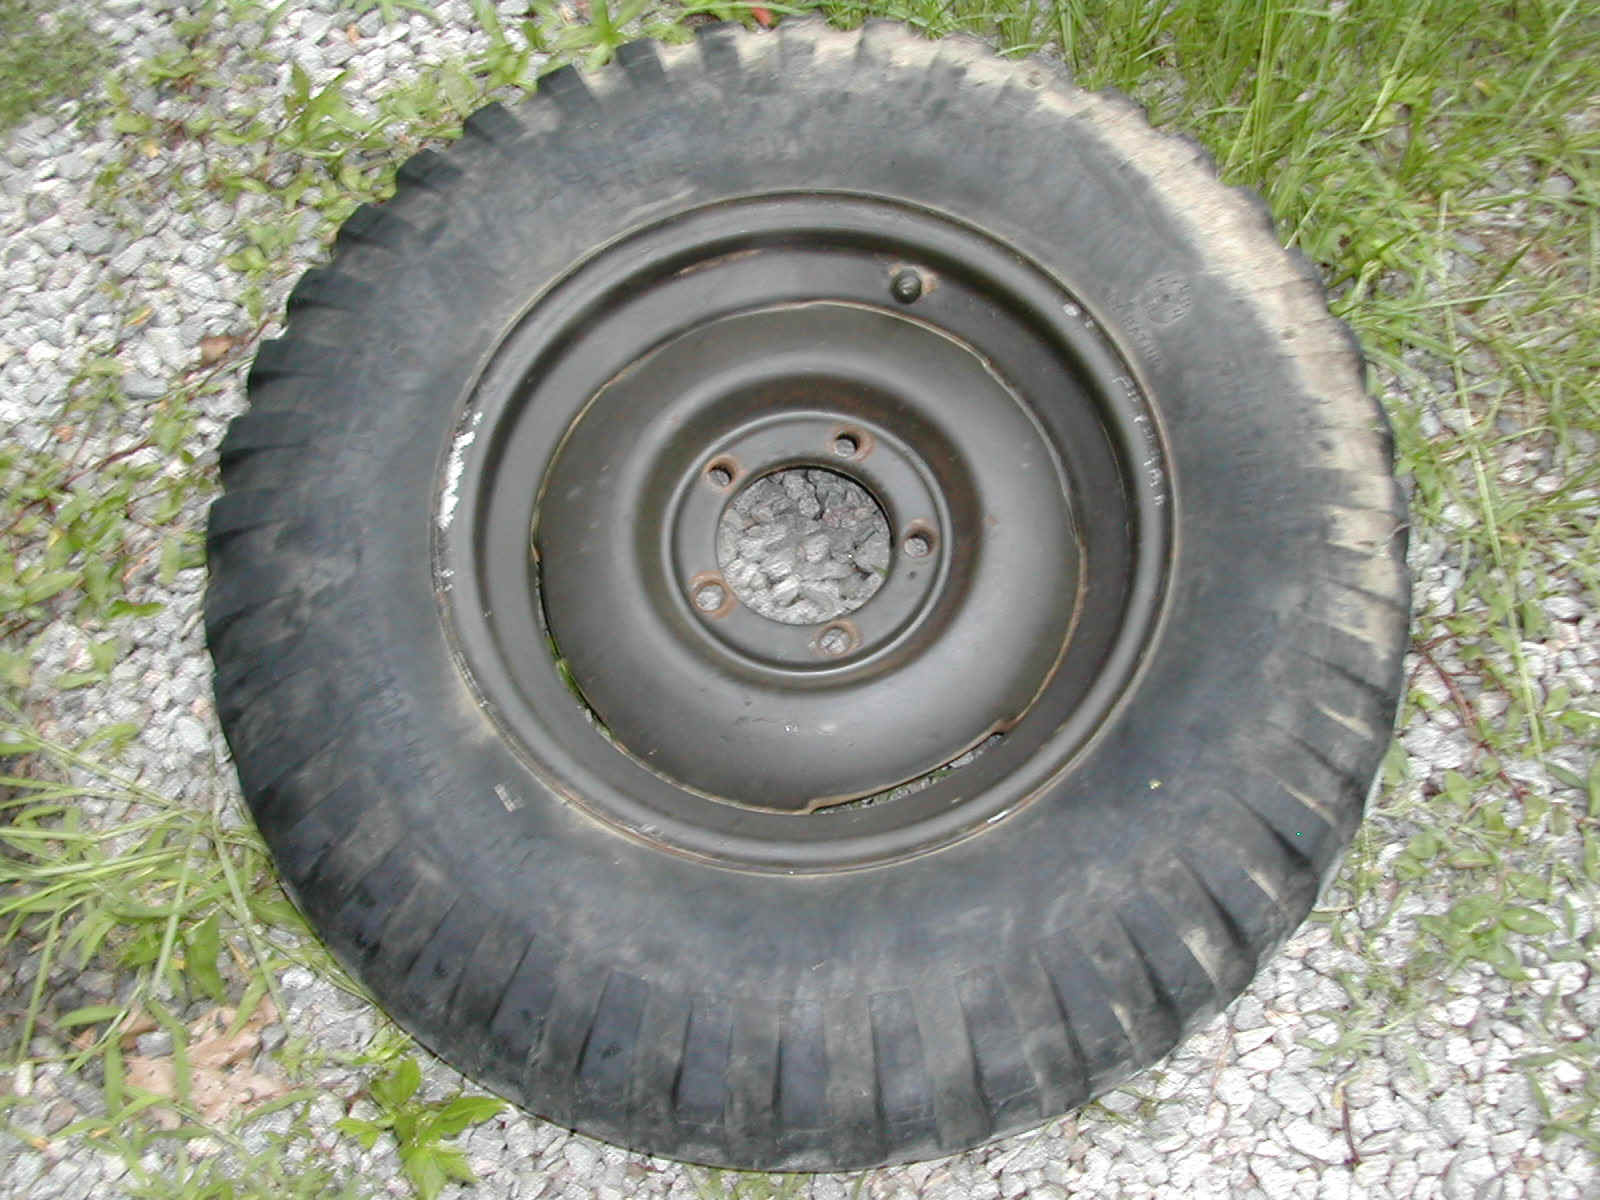 9
9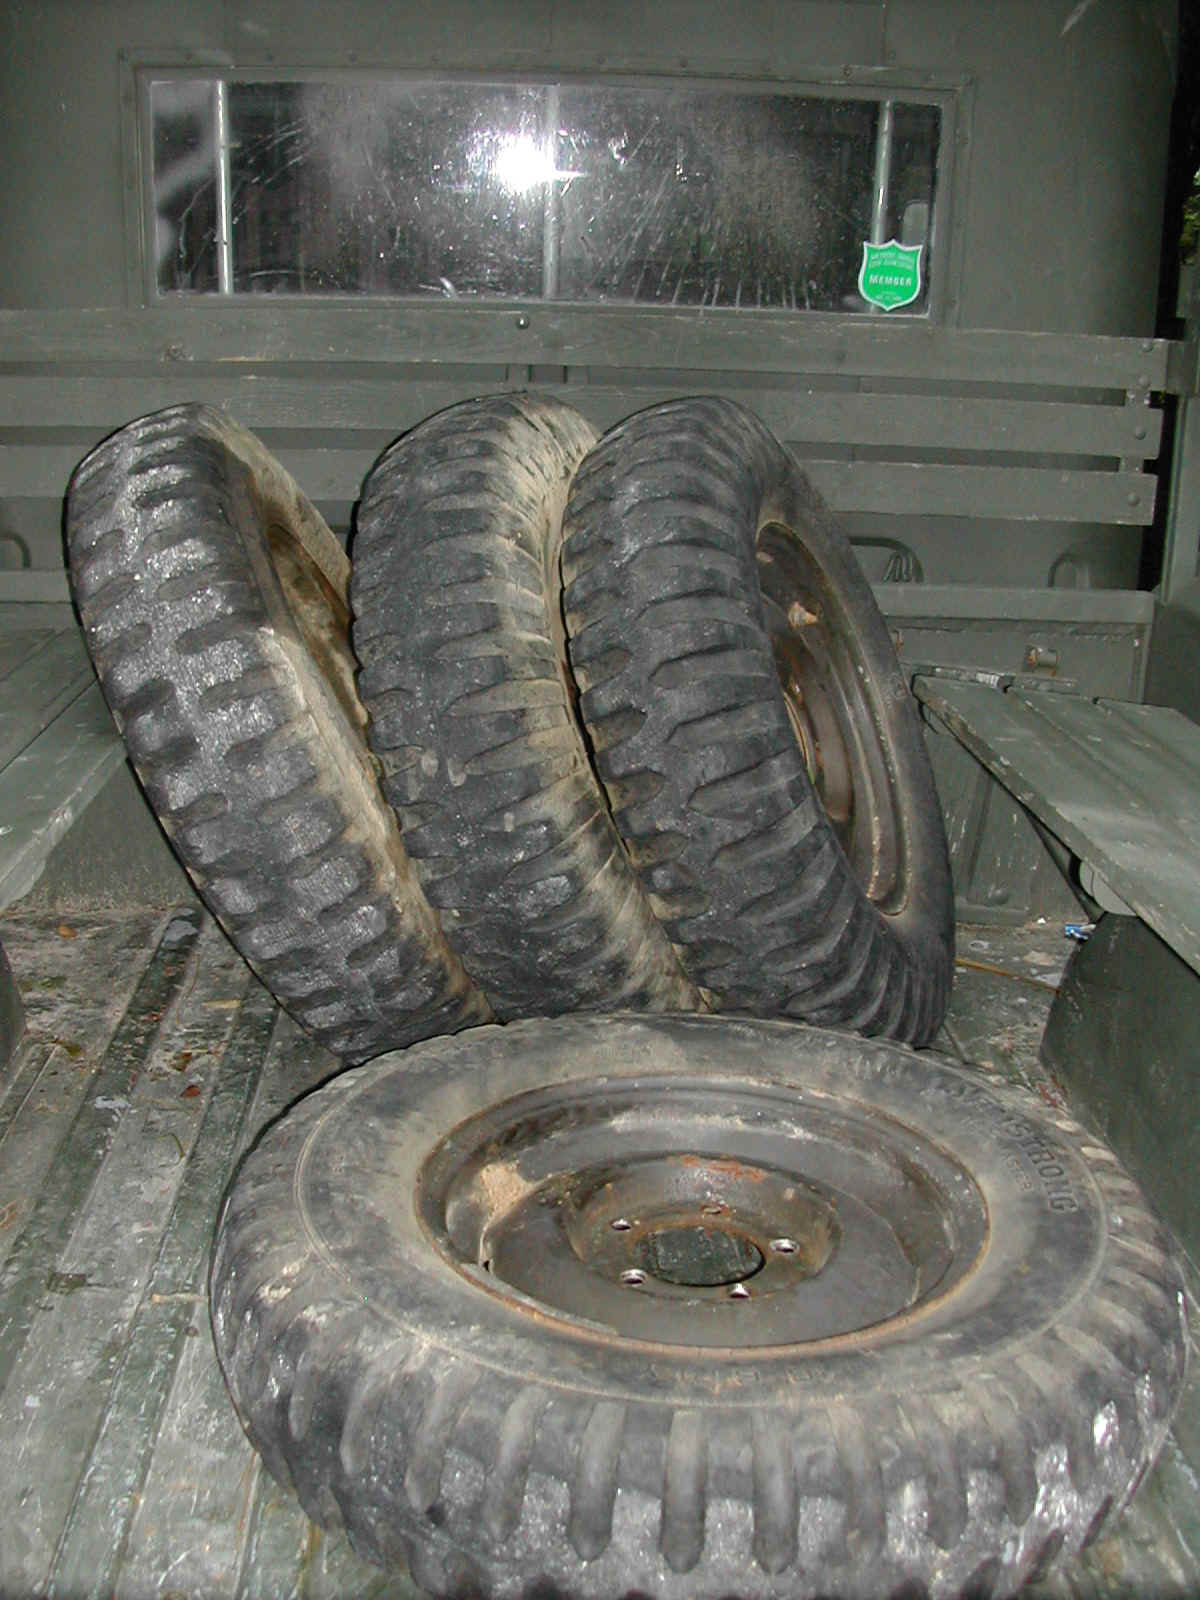 10
10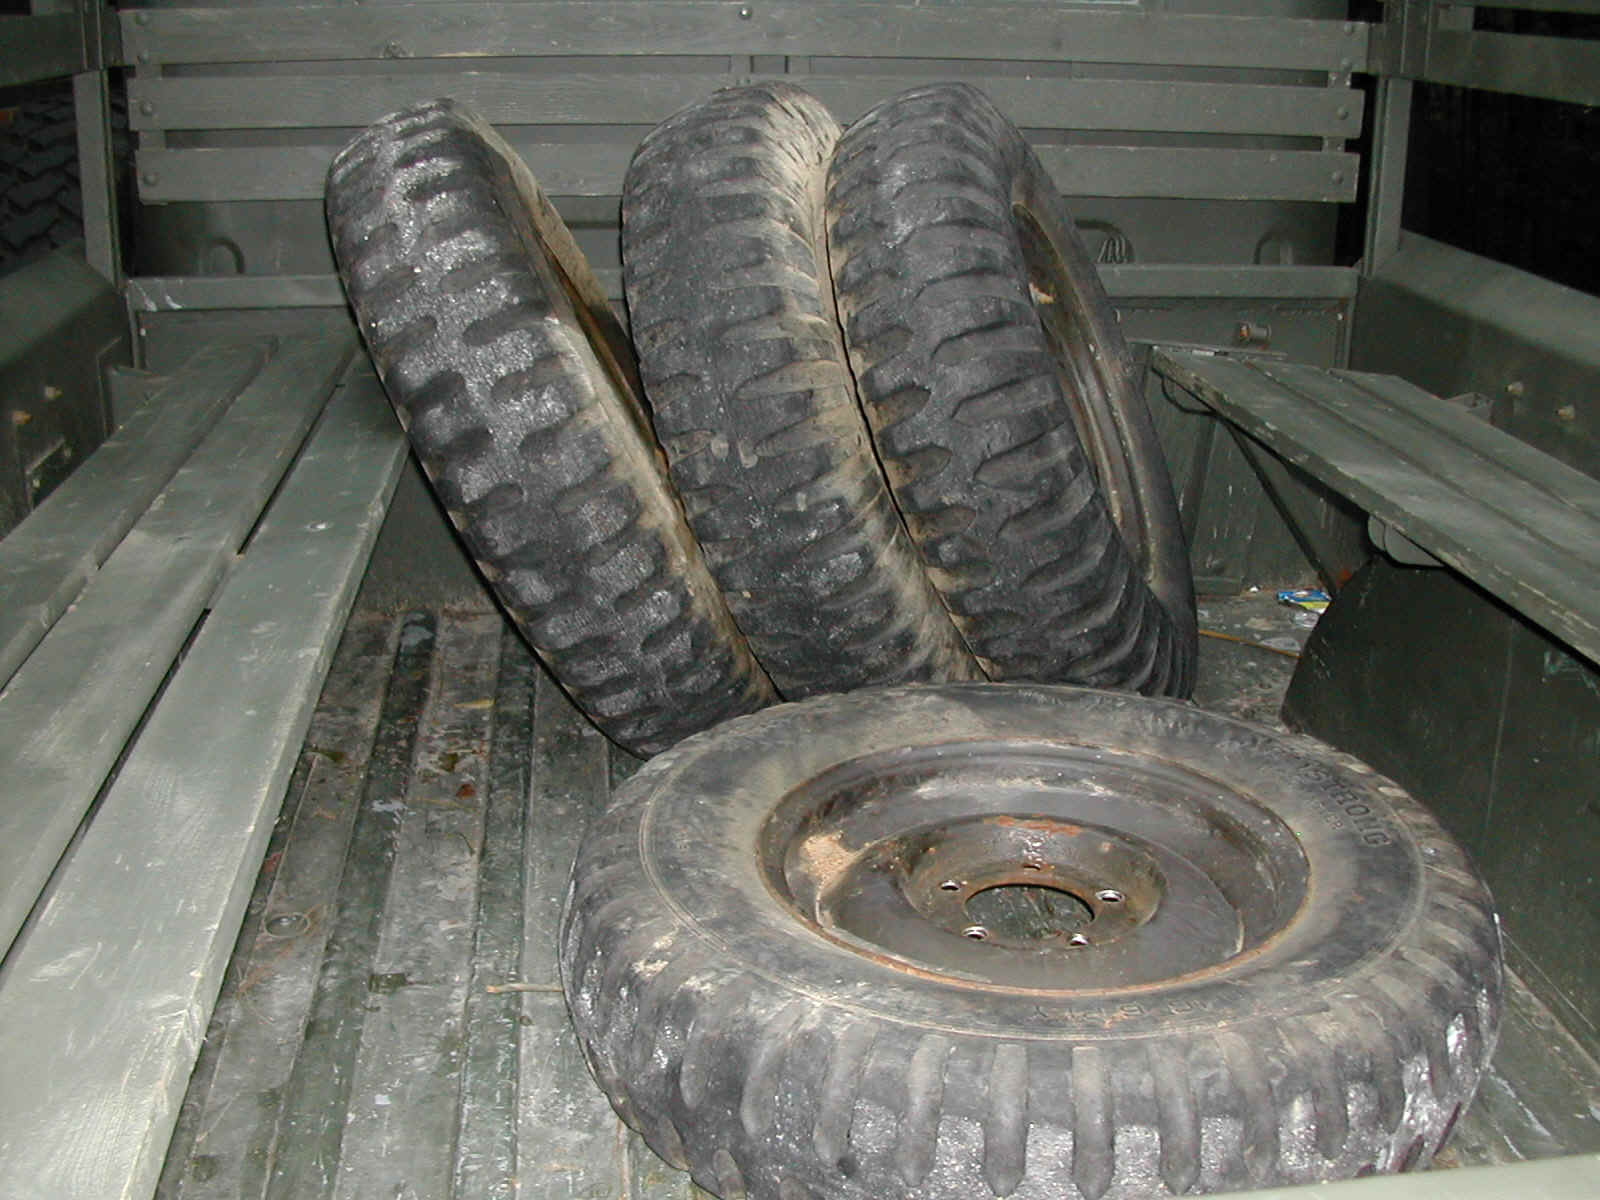 11
11 12
12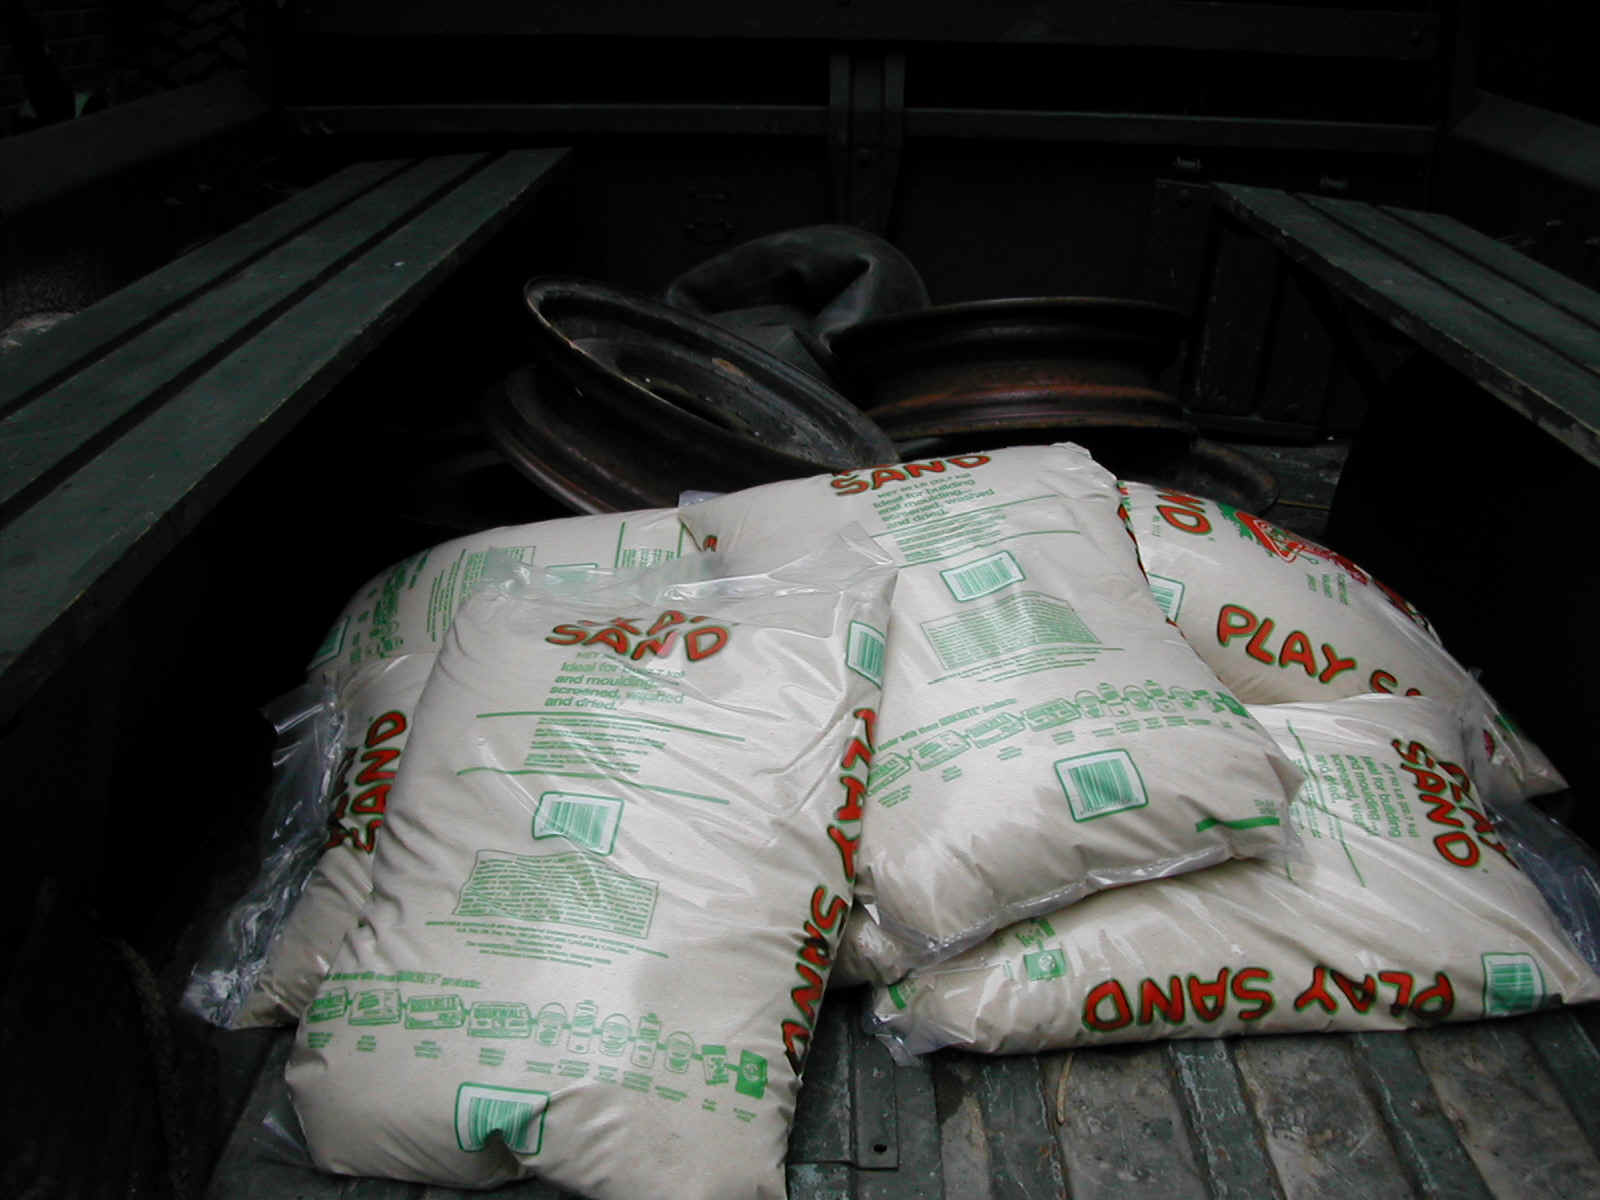 13
13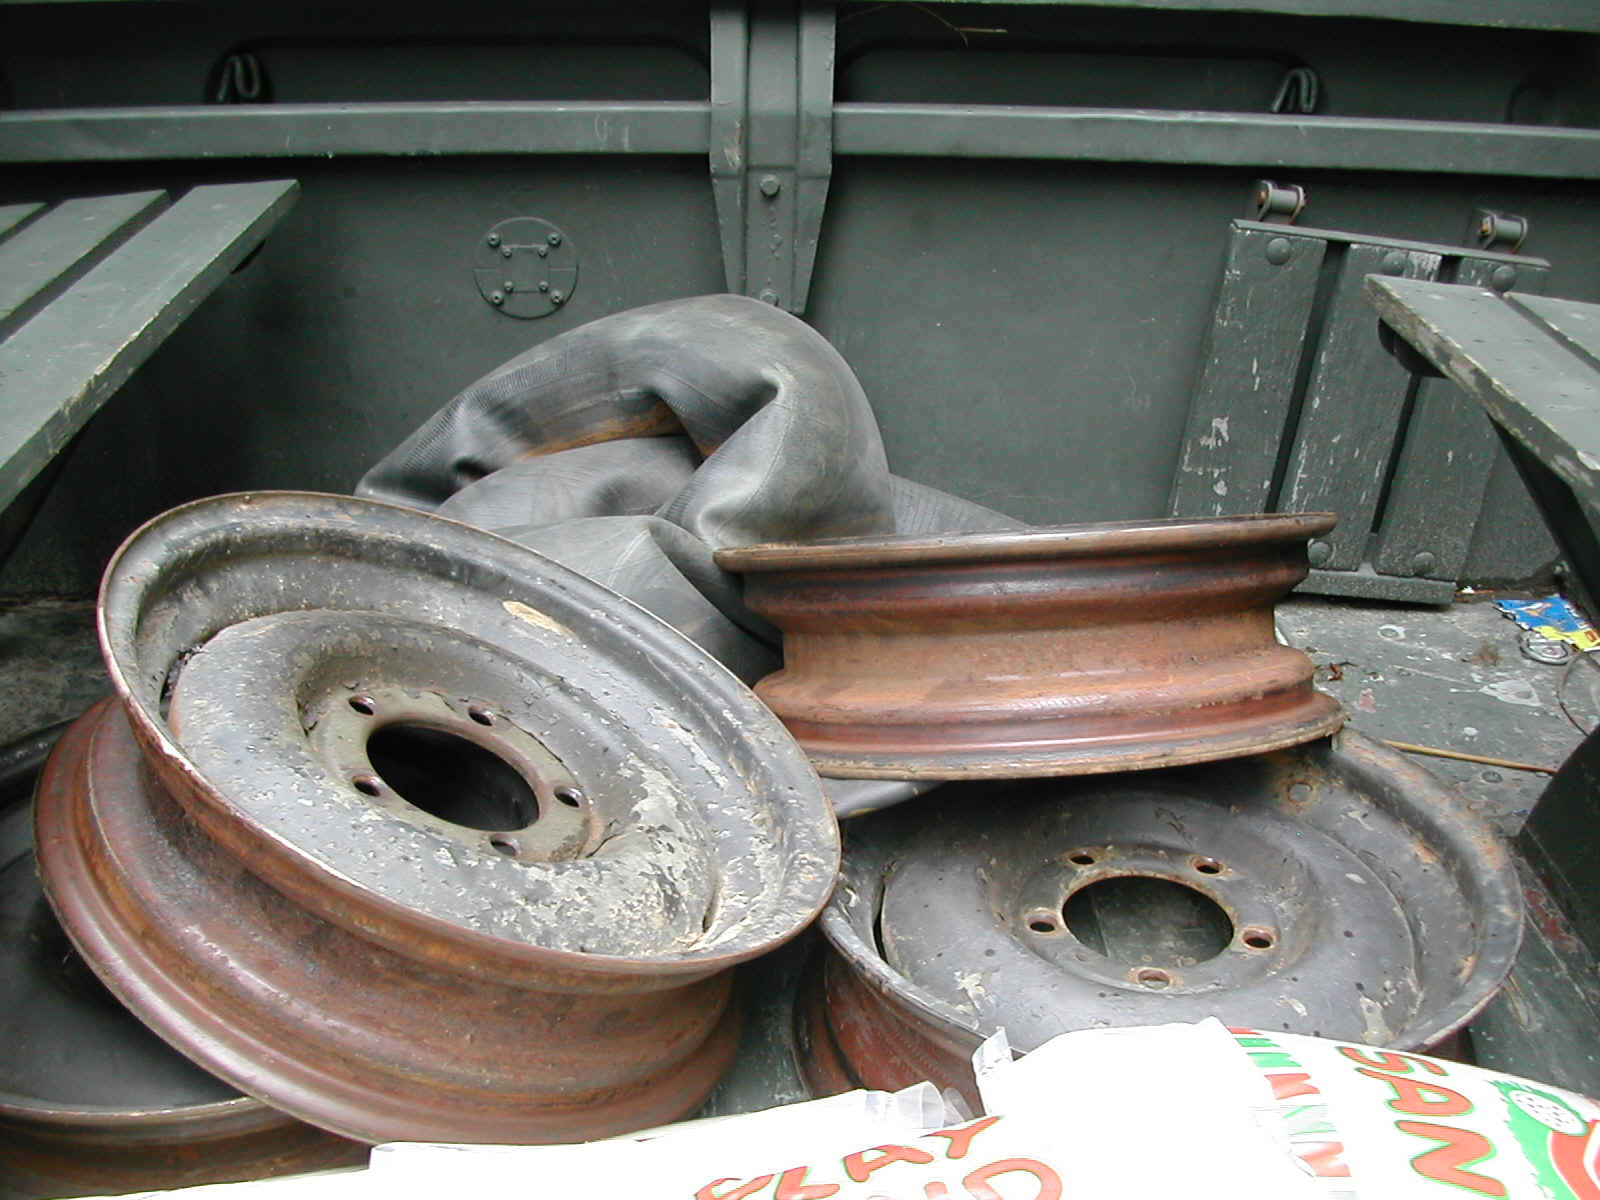 14
14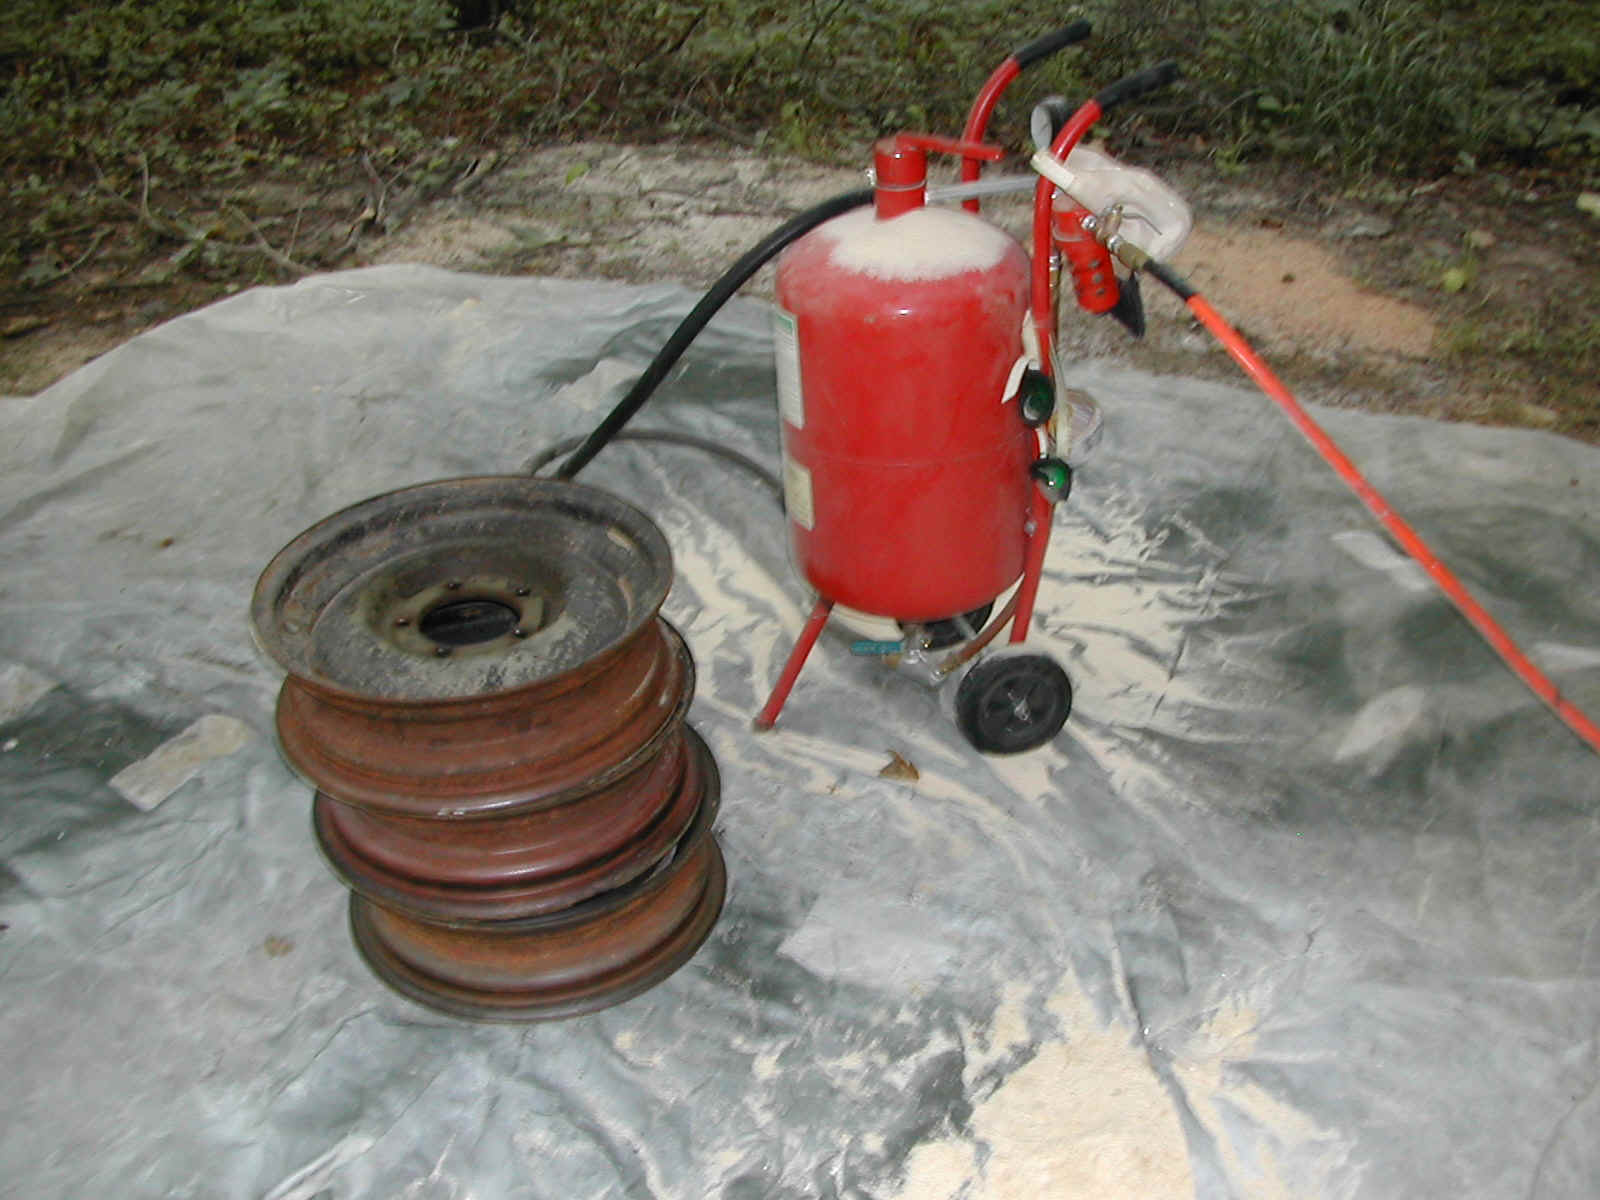 15
15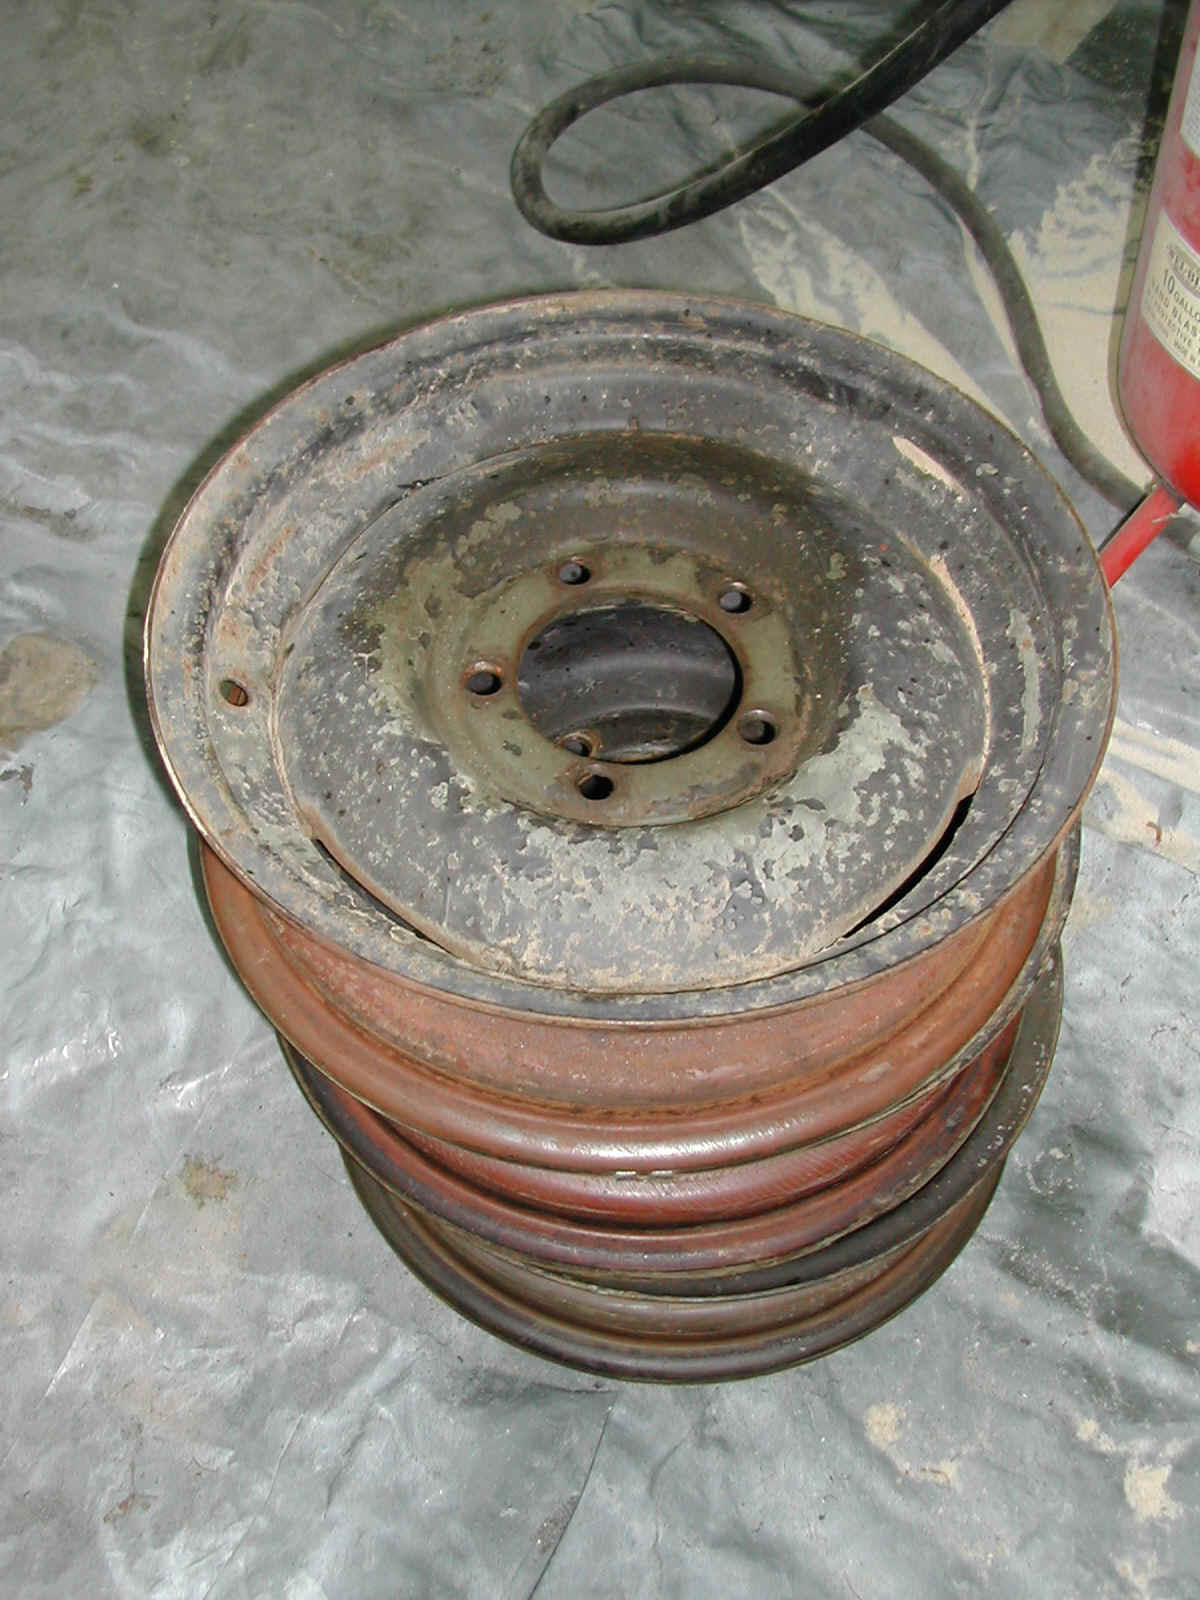 16
16 17
17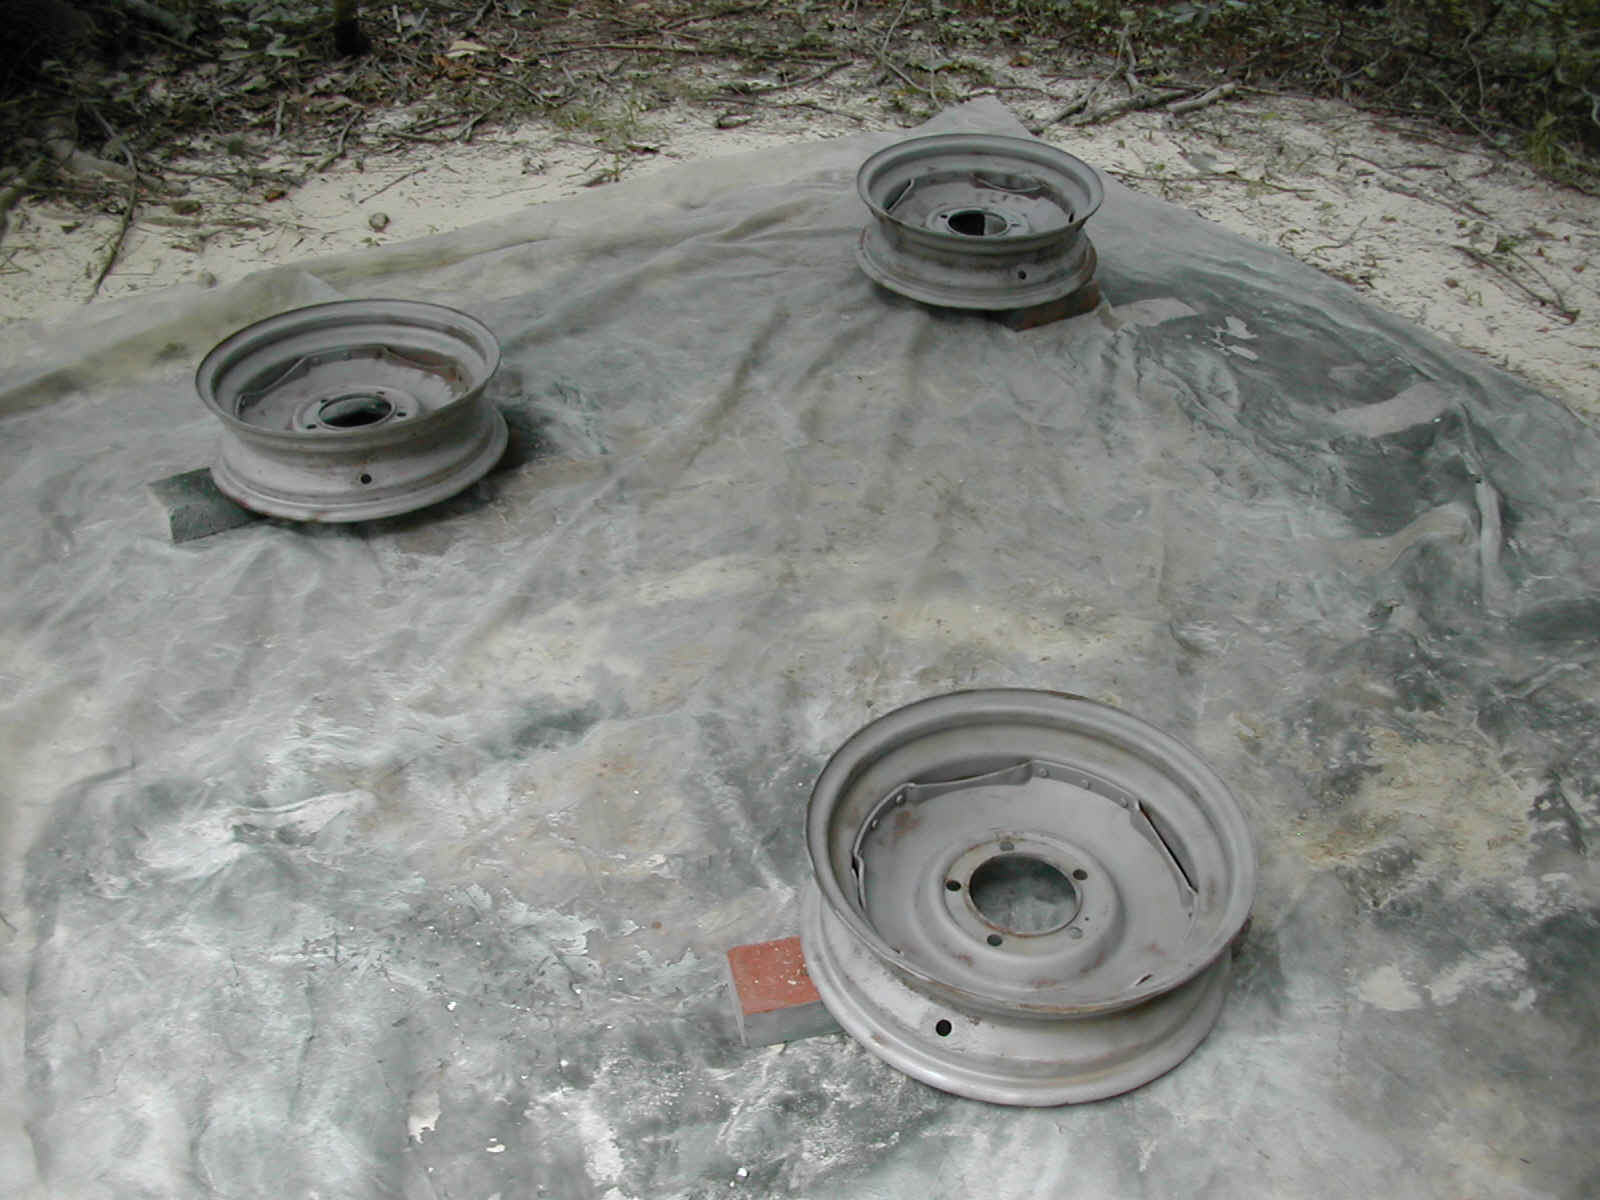 18
18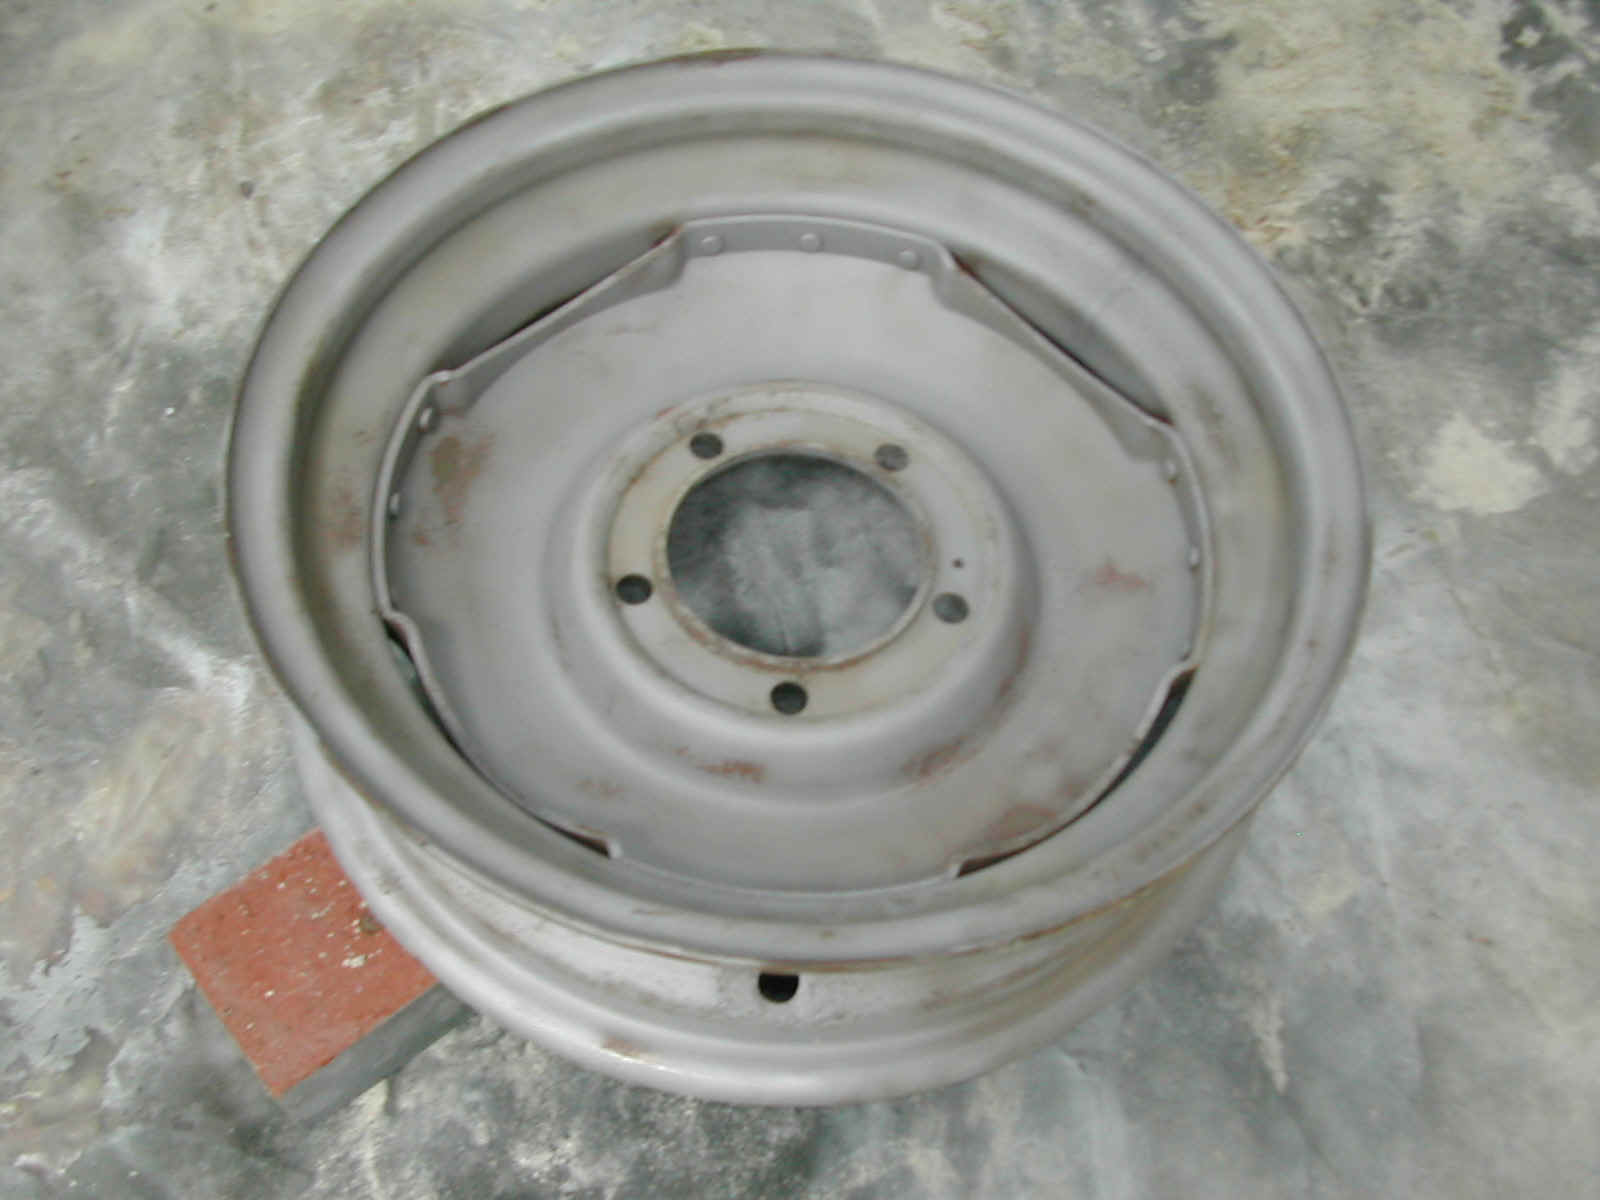 19
19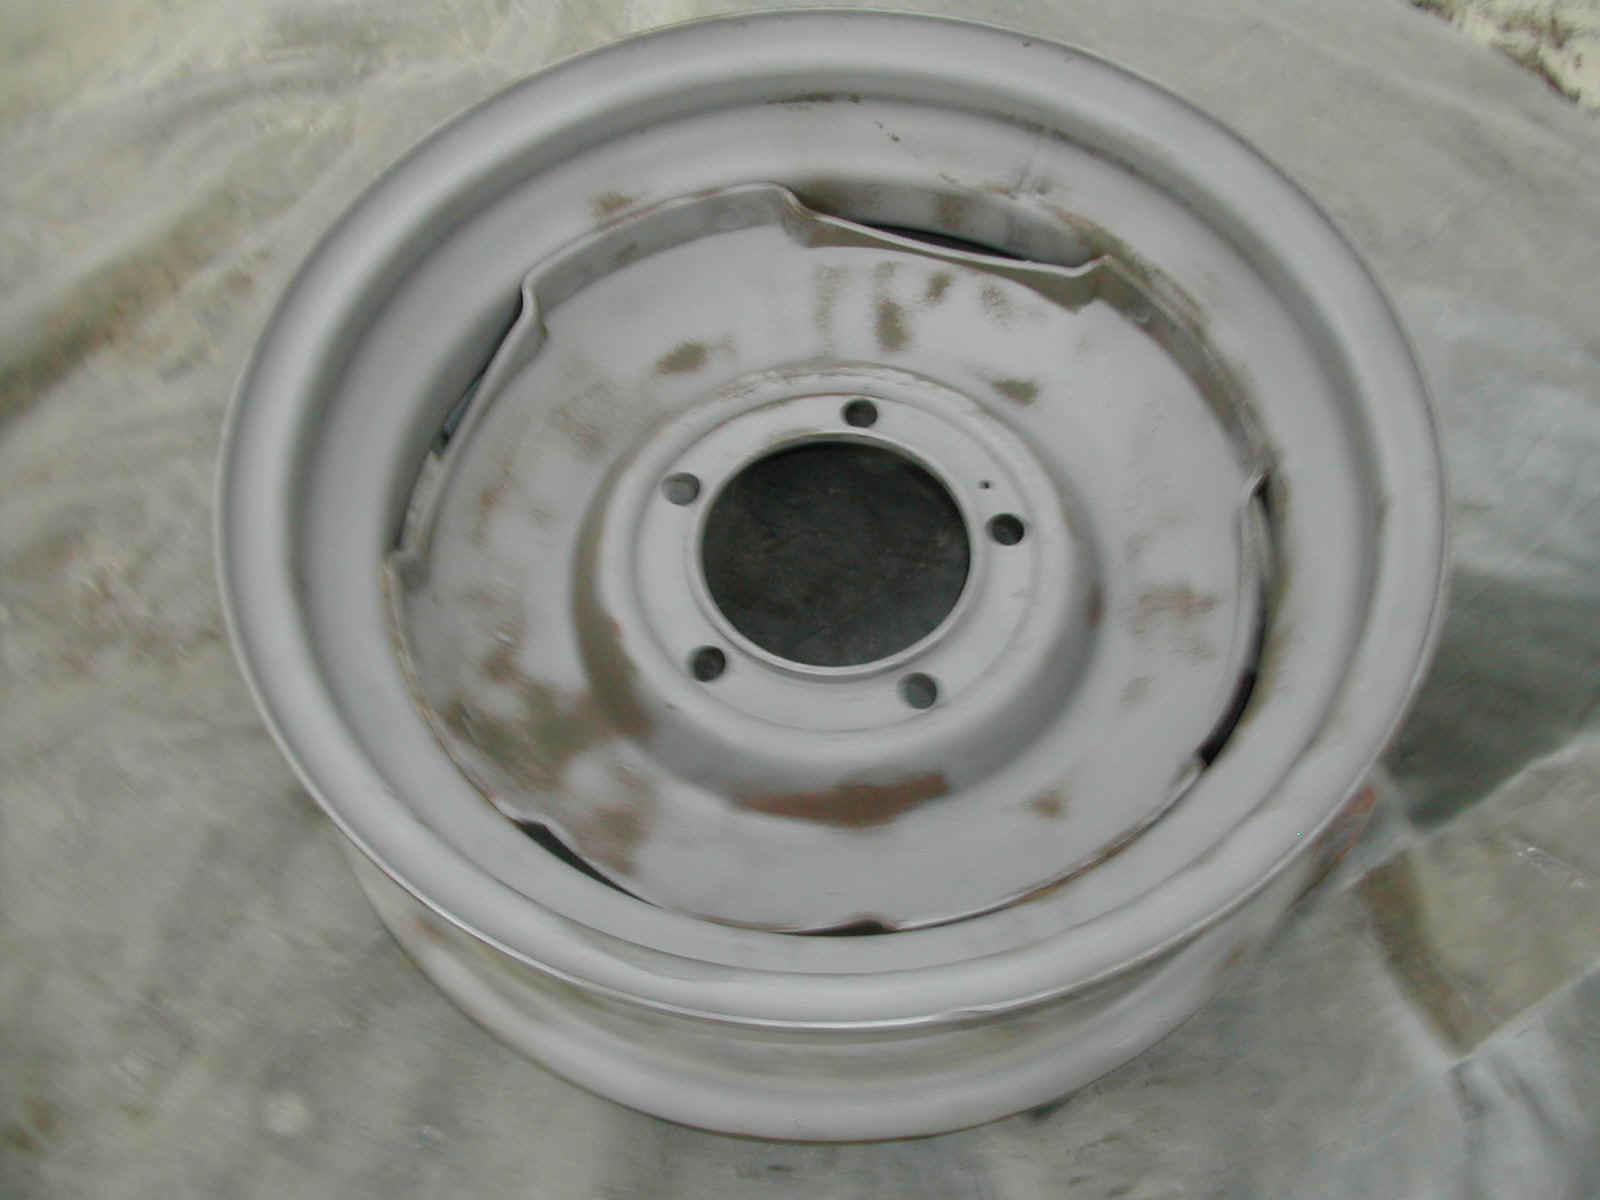 20
20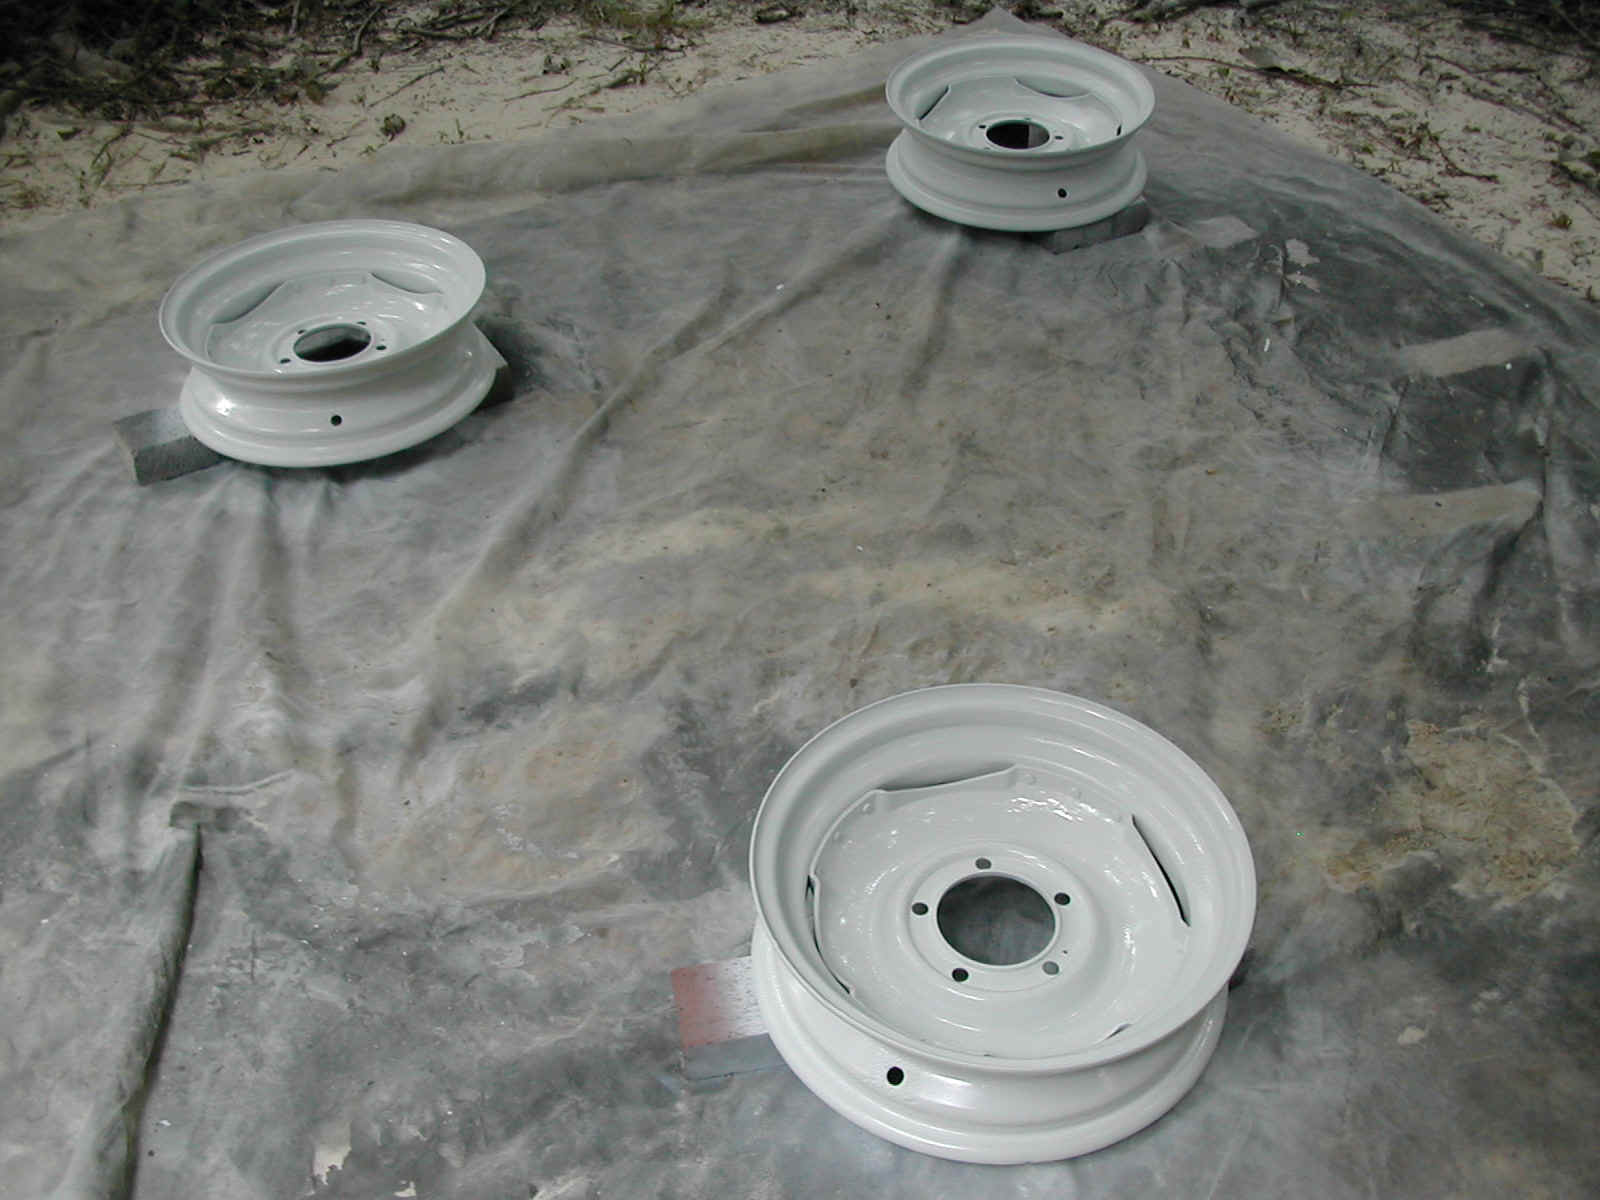 21
21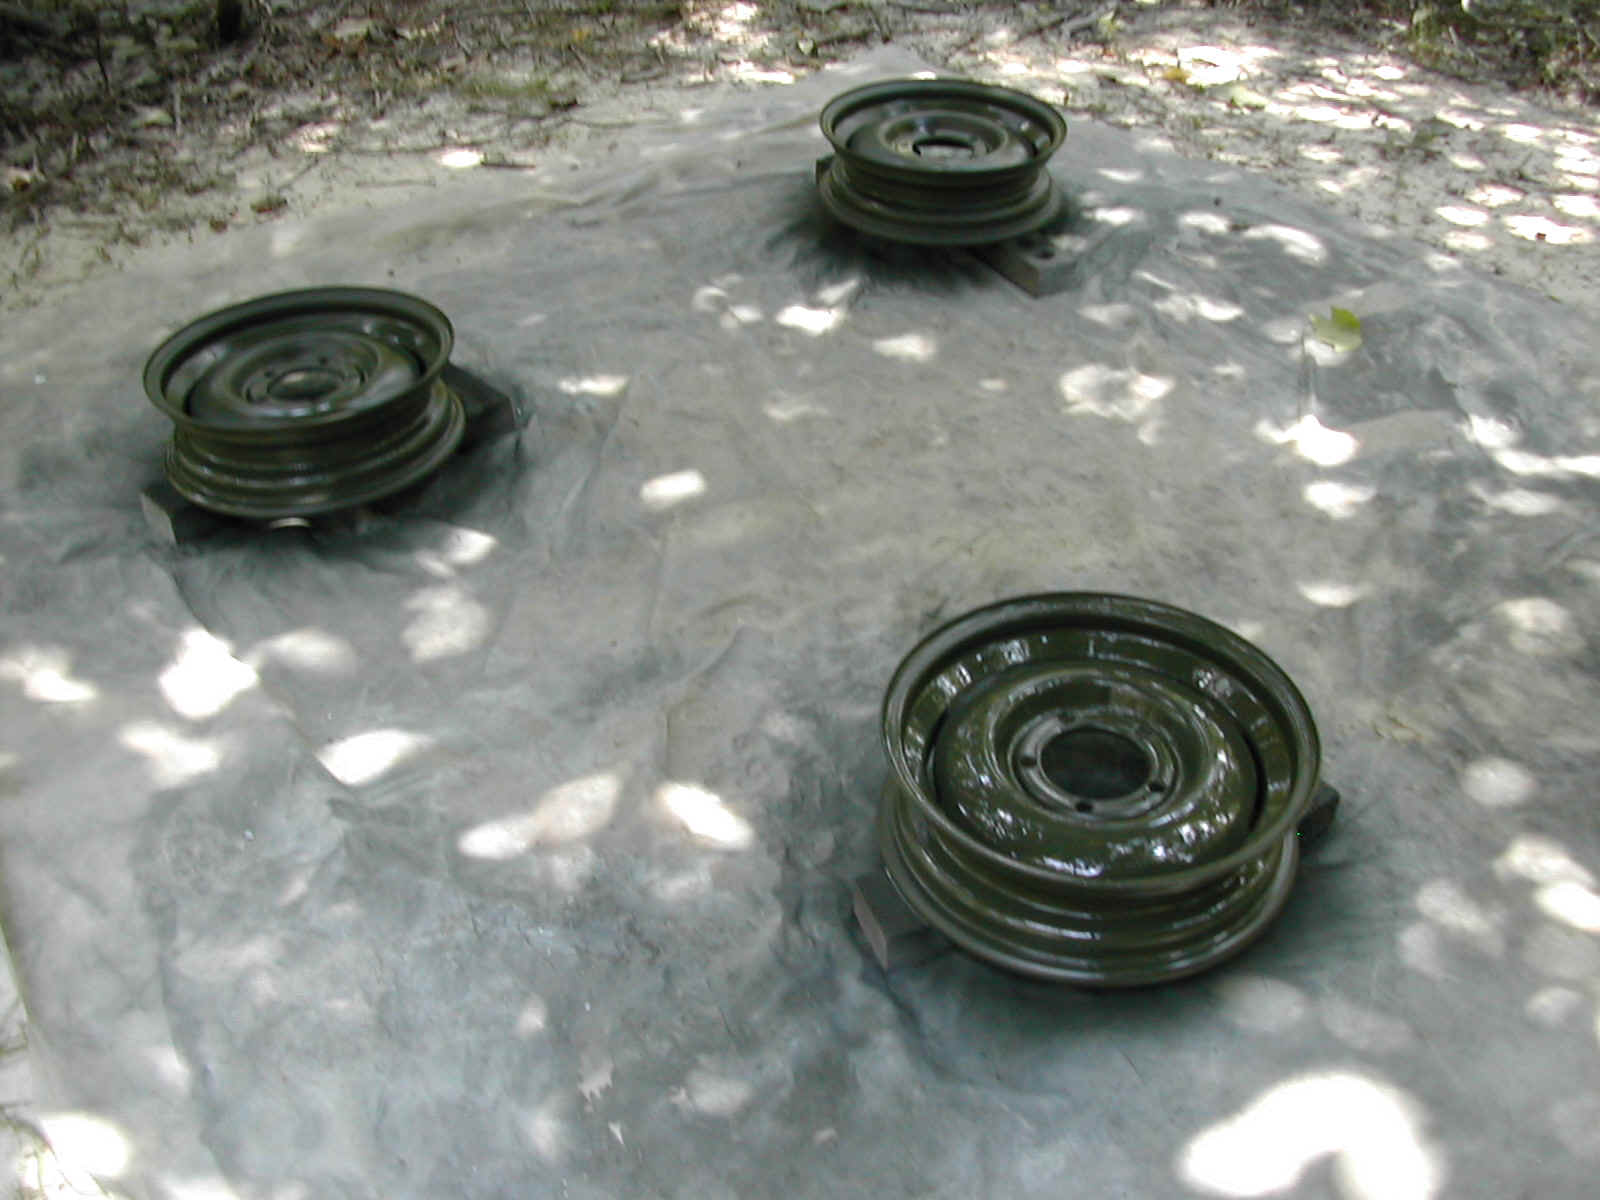 22
22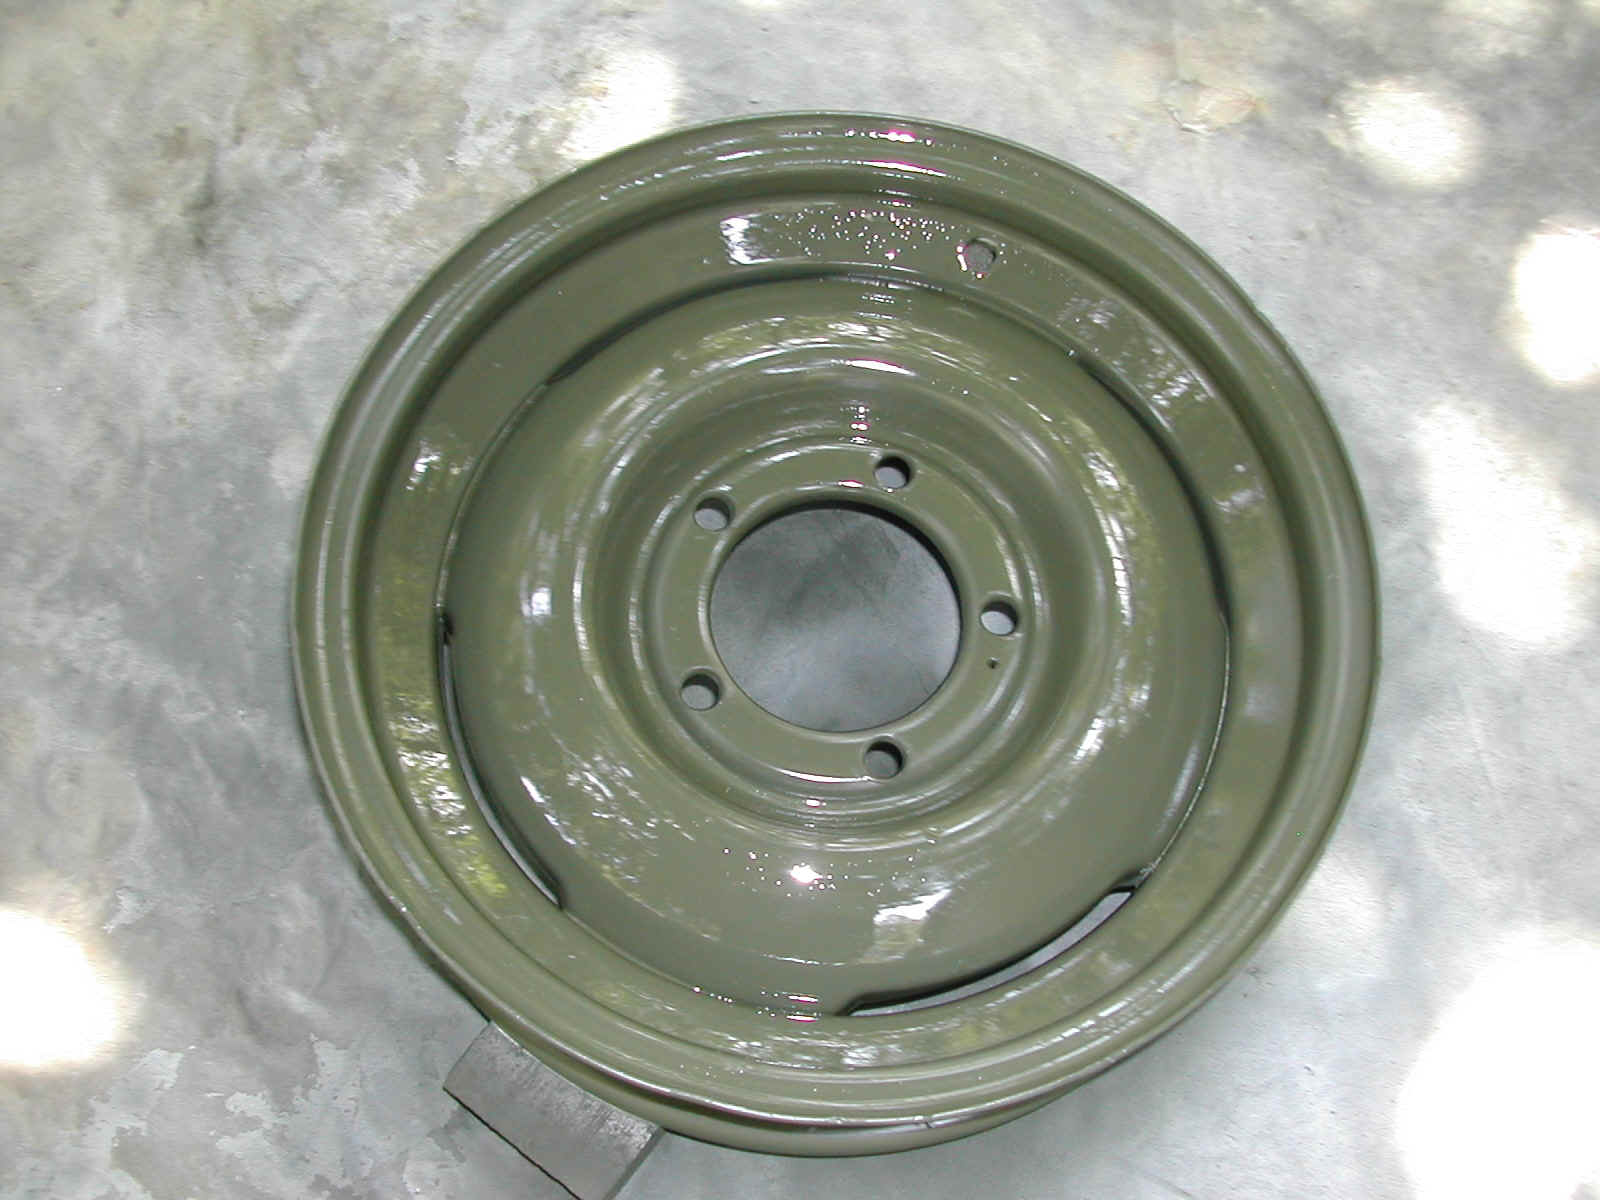 23
23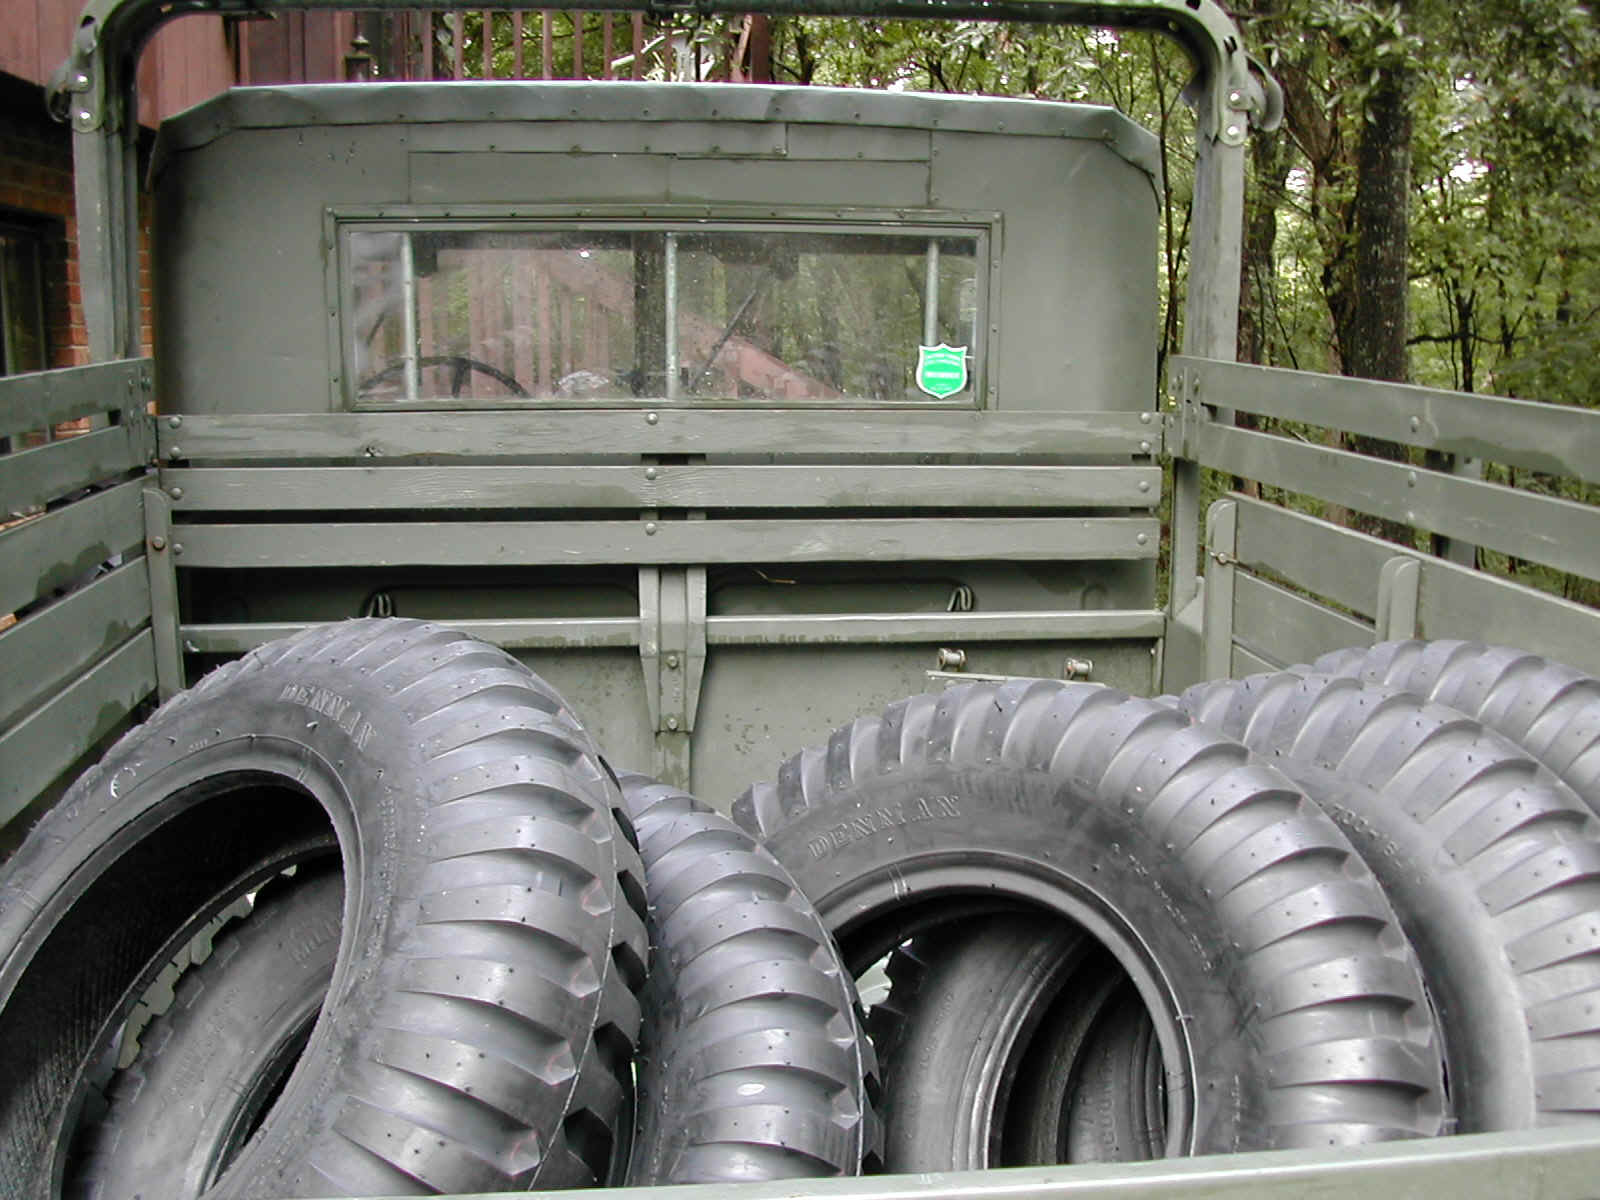 24
24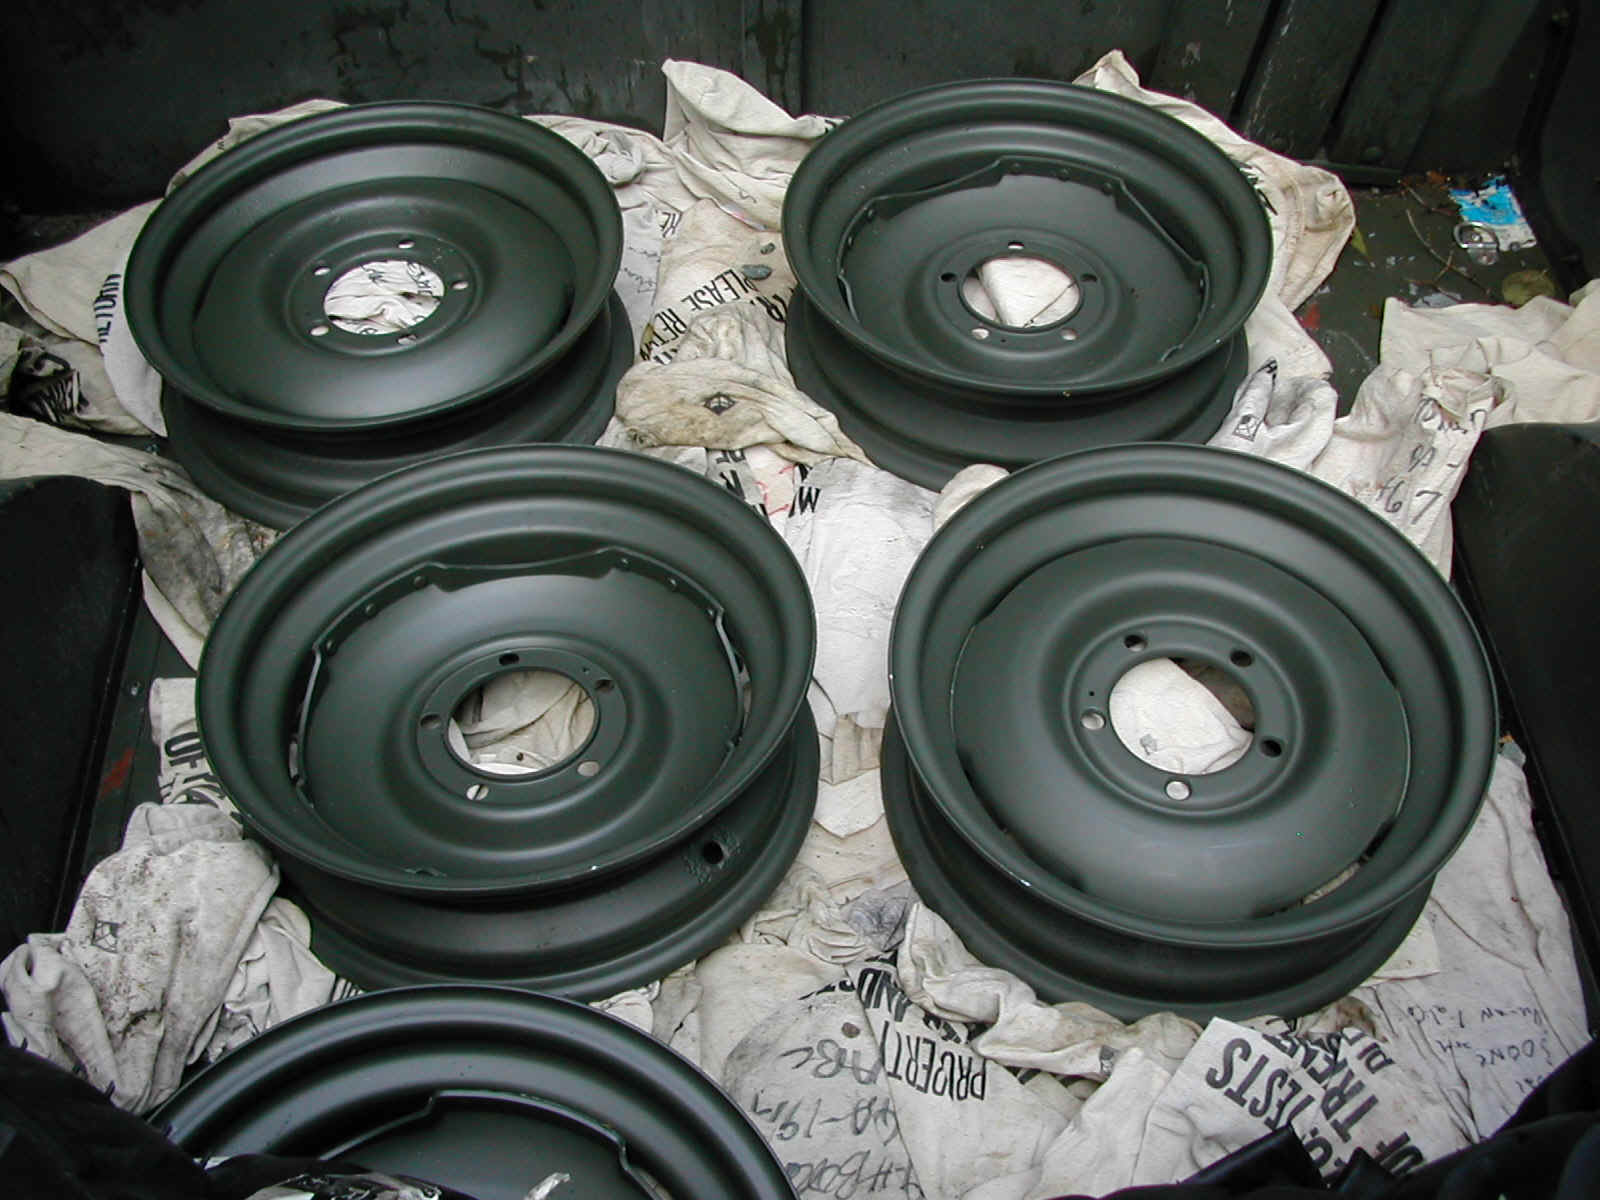 25
25M38 Wheels and Tires
When I purchased the 1951 M38, it had tires on it that had obviously seen better days. They all had some tread on them, but the oxidation, weather cracking, and hardness caused me to want to replace them sooner rather than later. I also discovered that a previous owner had removed a lug nut and stud from the left front of the truck with a chisel and had damaged the lug nut seat on the rim, necessitating replacement of the rim. Luckily, this rim was also found out not to be a M38 wheel as was of a different manufacture that looked similar from ten feet away, but was obviously incorrect upon closer examination. Since I needed to replace the wheel, stud, and lugnut in order to pass the state's safety inspection, I decided to purchase two rims (so that I would have a spare), sandblast and paint all five rims, and mount five new tires and tubes.
I purchased tires, tubes, and flaps (which I didn't need since the M38 has single piece rims, but they came this way from the dealer) as a package deal from Second Armor Productions. I originally planned to purchase the tires from Mark at RAPCO when I placed a large paint order since I knew that he could ship them by truck with the paint and I would save on shipping, but he told me that he was temporarily out of stock, but that the guys at Second Armor had split an order from Denman Tires with him and had the same pricing. The tires are new production Denman 700x16 NDCC and where less expensive than any of the other dealers that I looked at (half of whom where selling fresh tires made by Specialty Tires of America which is the former McCreary Tire Company). The tubes that came with the tires are Firestone and are rated for radial or bias ply tire service.
Paint used was Gillespie 34087 USMC Lusterless Forest Green from Mark at RAPCO placed over RustOleum Clean Metal (white) Primer. Both the primer and the color paint where reduced 4:1 with Zylene. I placed three coats of primer and two coats of color on each wheel.
If you have questions about any of these photos, send me an email and I'll try to provide an answer.
| 1 |
2 |
3 |
4 |
| 5 |
6 |
7 |
8 |
| 9 |
10 |
11 |
12 |
| 13 |
14 |
15 |
16 |
| 17 |
18 |
19 |
20 |
| 21 |
22 |
23 |
24 |
| 25 |
26 | 27 | 28 |
| 29 | 30 | 31 | 32 |
| Photo | Caption |
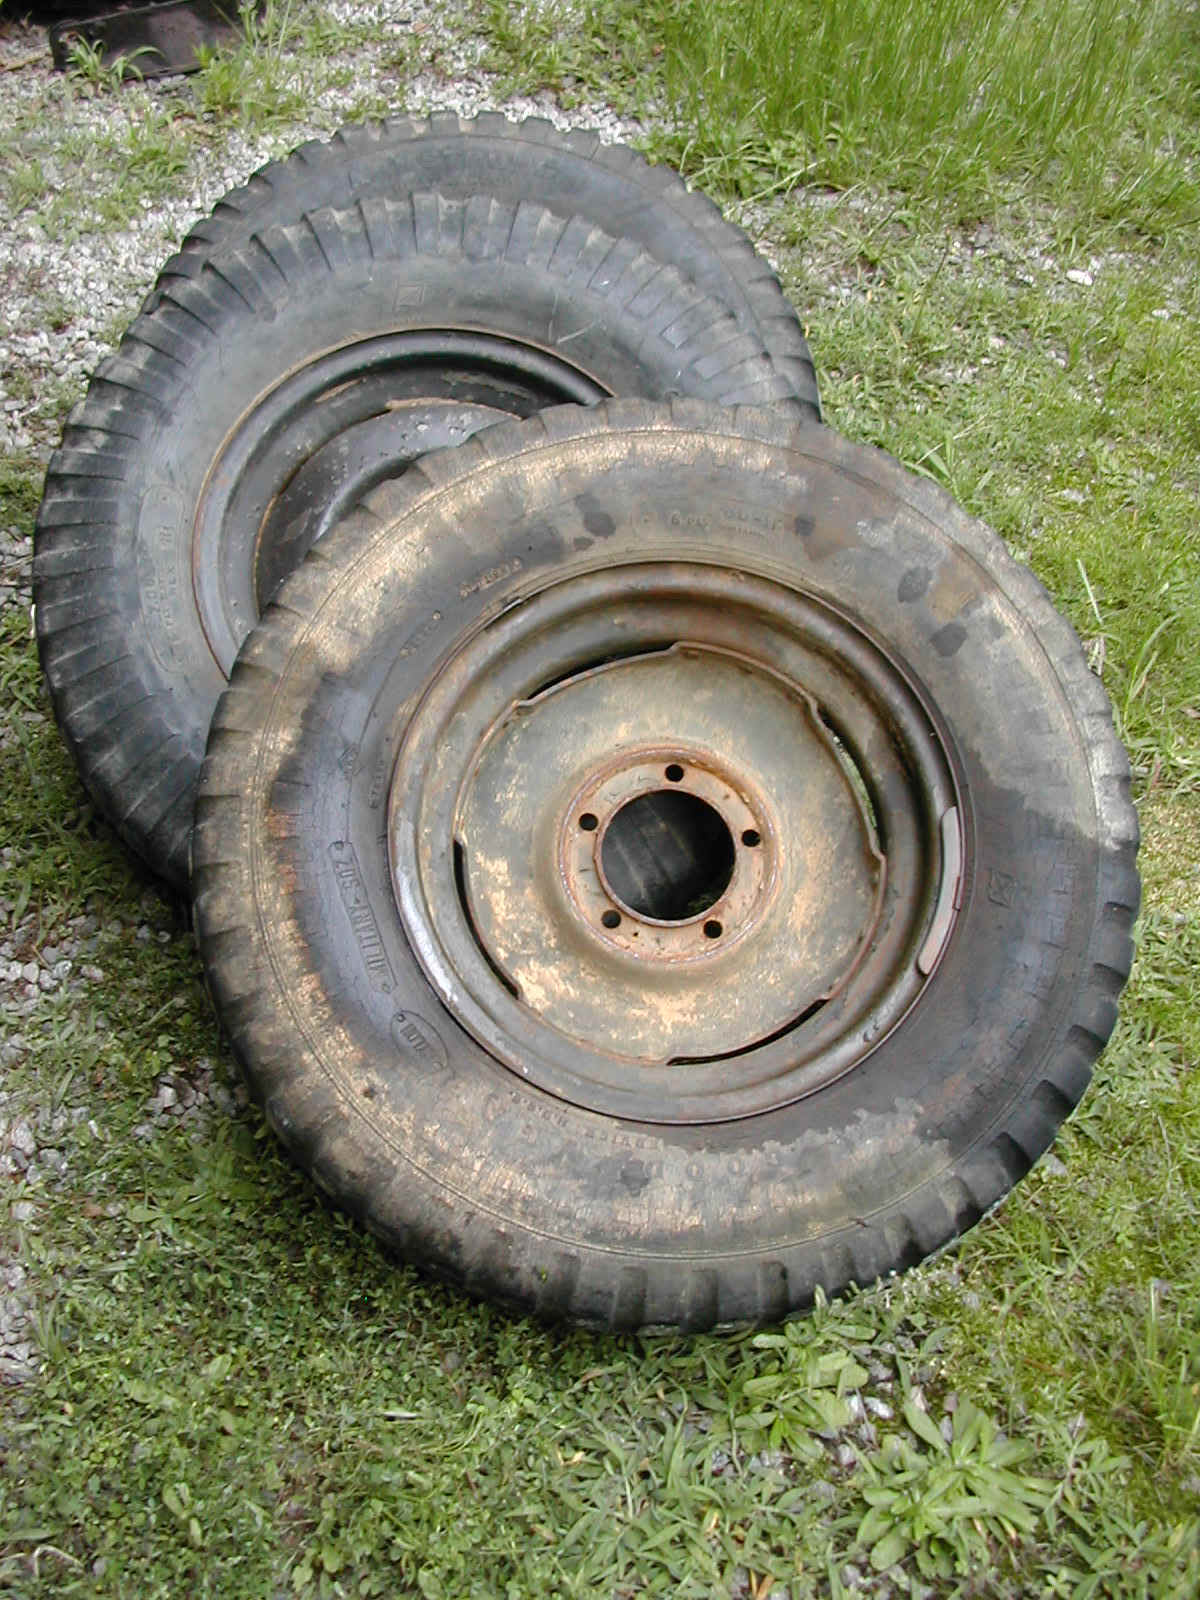
| 1-2 | Stack of wheels as they looked when I took them off the M38. Date codes ranged from 1951-1953. |
| 3 | |
| 4 | |
| 5 | |
| 6 | |
| 7 | |
| 8 | |
| 9 | |
| 10-12 | Wheels loaded into the M37 for the trip to the tire shop for demounting of the old tires. My jeep only came with four wheels, and one of them was damaged when a previous owner cut a lug nut off with a chisel, so of the four wheels in the truck, only three will get used on the jeep. Two previously enjoyed rims purchased from another M38 owner will join them on my truck. |
| 13 | Play sand that I obtained from Lowes (home building supply superstore) for use in the sandblaster. |
| 14 | Rims and the old tubes fresh from the tire shop where I had the old tires demounted and discarded. |
| 15 | Sandblasting setup. The air compressor is located in the garage on the other side of the house and is a 5hp single stage vertical unit with a 60 gallon tank that I purchased a dozen years ago when Sam's first opened up in town. There are three water separators between the compressor tank outlet and the sandblaster. The sandblaster was purchased from Northern Hydraulic. |
| 16 | Stack of rims showing the condition of the paint that was on them when I purchased the M38. |
| 17 | Rim after a pass with the sandblaster. Second rim serves as a work stand for the first one. I did the sandblasting sitting on a milk crate... |
| 18 | Shot of three wheels ready for painting. Plastic sheet helps prevent dirt from getting picked up by the airflow from the sprayer, bricks provide some spacing between the rims and the plastic. Spraying is done in the backyard. |
| 19-20 | Close up of two of the wheels just before spraying the first coat of primer. Notice that I didn't bother to get them super clean with the sandblaster but left a little of the original primer in spots as it was adhering really well. |
| 21 | Shot of three of the wheels just after spraying the rim surface and inside with the first of three coats of RustOleum white (clean metal) primer. Paint was sprayed at a ratio of 4:1 paint:zylene. |
| 22 | Shot of three of the wheels after spraying them in Gillespie 34087 Lusterless USMC Forest Green. I sprayed the inside of the rims, let them dry, then turned them over to spray the outside and repeated with each coat of paint. This way, its easy to insure that all the angles inside the rim area are covered, and the presentation side of the wheel (that folks will see when the tire and rim are mounted on the truck) are painted last for each coat. |
| 23 | Close up shot of one of the wheels (outer side) after spraying in Gillespie 34087 Lusterless USMC Forest Green. The paint really looks glossy due to being wet and the sunlight through the trees gives the impression of spots on the paint. |
| 24 | Denman tires loaded in the back of the M37 for the trip to the tire shop for mounting and balancing. Tires where purchased from Second Armor Productions and are Denman 700x16NDCC. The came wrapped in individual boxes with tubes and flaps included (didn't use the flaps since the M38 has single piece wheels). |
| 25 | Rims loaded in the back of the M37 for the trip to the tire shop. I used a bunch of used canvas sample bags from work to pad the rims. |